Tennis Split-Step Timing Made Simple: Fix It in Two Sessions
A practical, video-first guide that helps juniors, parents, and adults diagnose and fix split-step timing in two sessions using phone slow motion and three progressive drills. Includes doubles patterns and match metrics.
The fastest court-speed upgrade most players ignore
If you want to feel quicker in rallies without getting stronger or doing extra sprints, fix your split-step timing. A cleanly timed split step unlocks faster first steps, better balance on contact, and fewer late swings. It is simple to learn, and you can verify it with your phone. Most players can look faster within two focused sessions, especially when they measure progress.
What the split step is, and how it should feel
The split step is a light, coordinated hop that puts you on the balls of your feet right as your opponent hits the ball. You land softly, knees slightly flexed, hips centered, and ankles ready to push in any direction. Think of it like loading a spring just before the direction of force is revealed. When the spring is loaded at the right moment, it releases smoothly into your first step. When you land too early, the spring leaks energy and you freeze flat-footed. When you land too late, you chase from behind.
Two parts matter most:
- The landing moment. Aim to have your feet reconnect with the court just before or as the opponent’s strings meet the ball.
- The first push. As soon as the ball leaves the opponent’s strings, push off the outside edge of the foot that points toward the direction you need to go.
Keep the hop small and quiet. You are not jumping high; you are skimming. Most players over-jump and then collapse, which slows the first step.
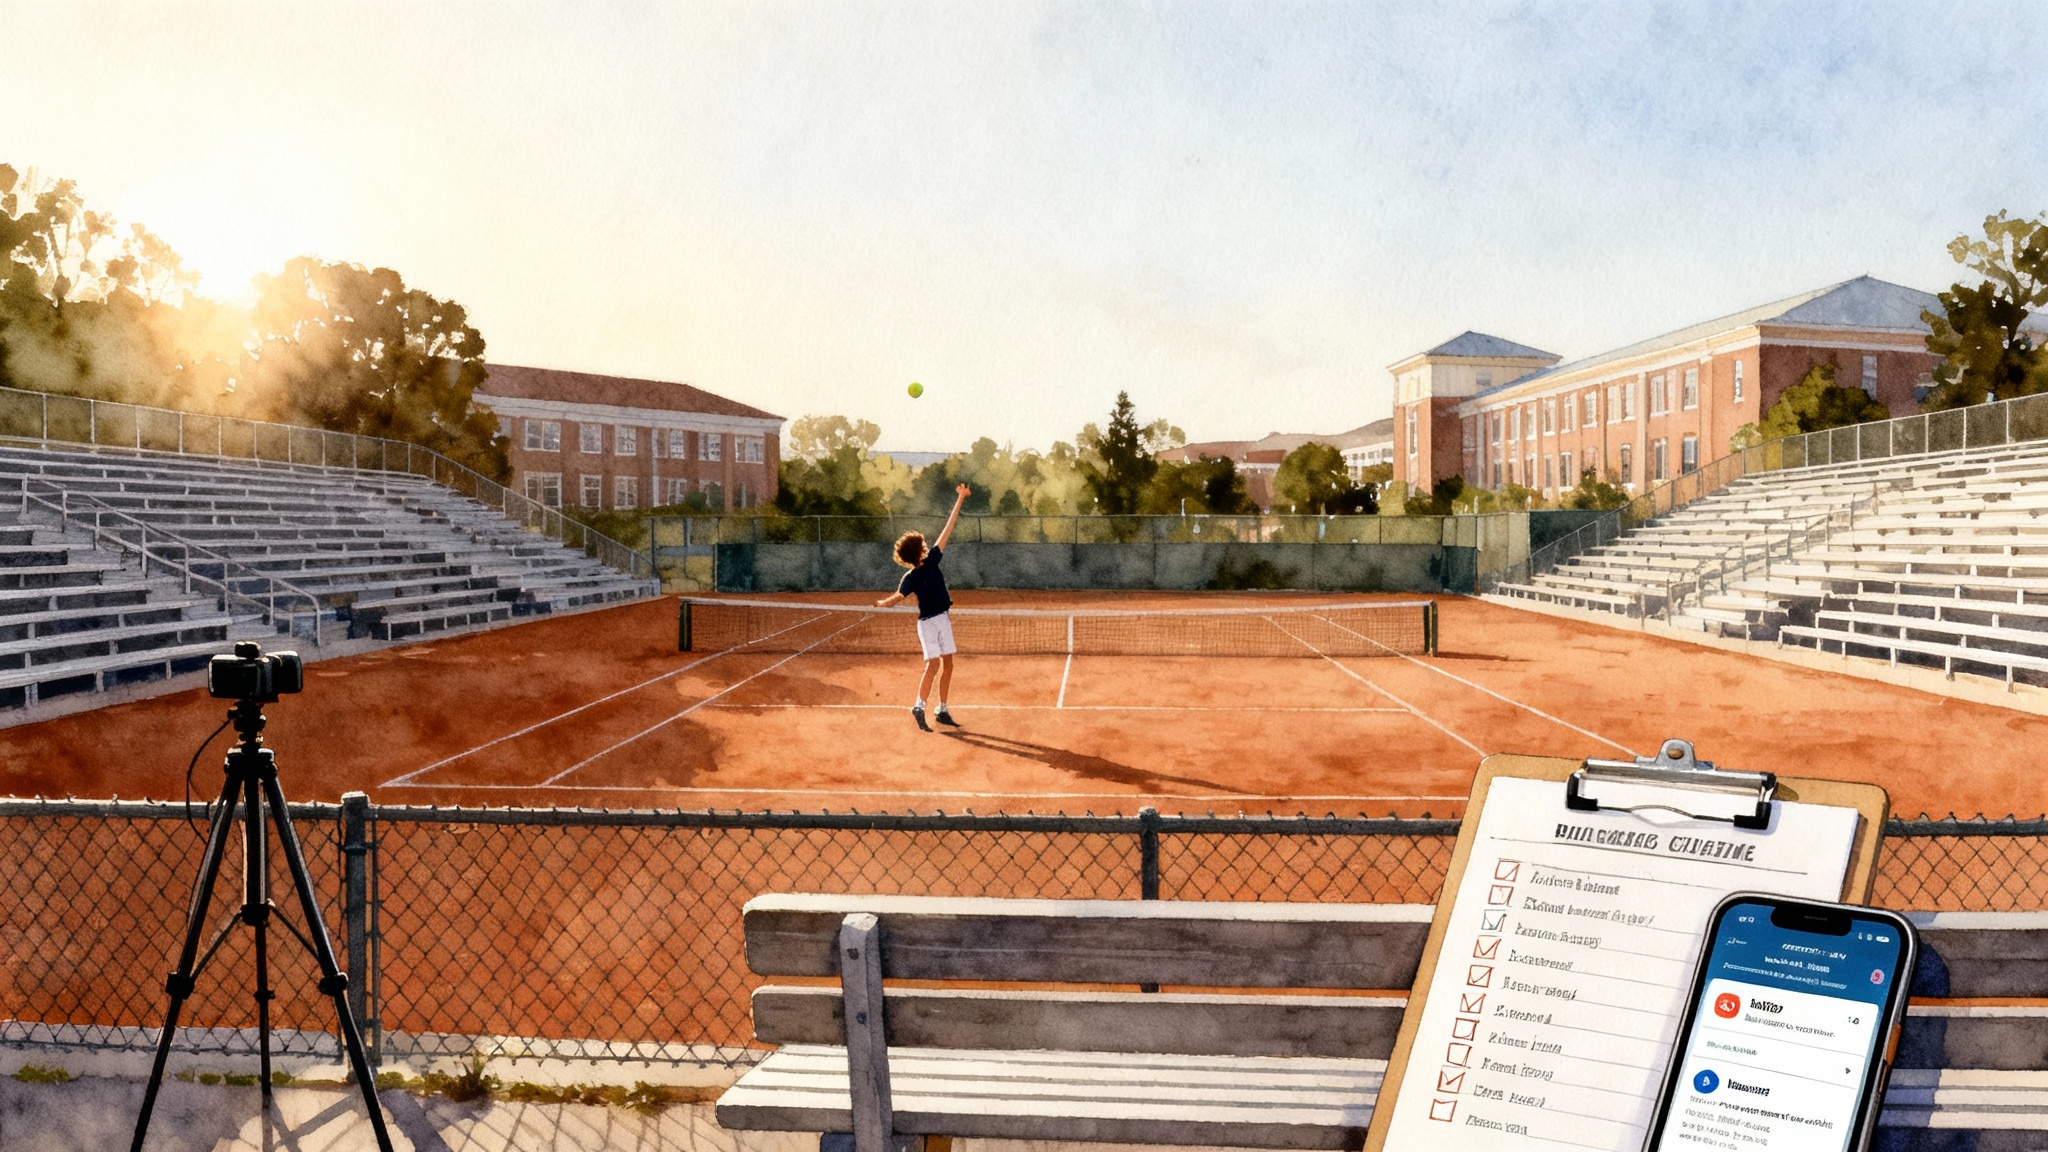
A video-first self-diagnosis you can do today
You do not need a biomechanical lab. Your phone plus slow motion is enough.
What to use
- Camera frame rates. If your phone offers 120 frames per second or 240 frames per second slow motion, use it. If not, record in normal video and analyze at quarter speed.
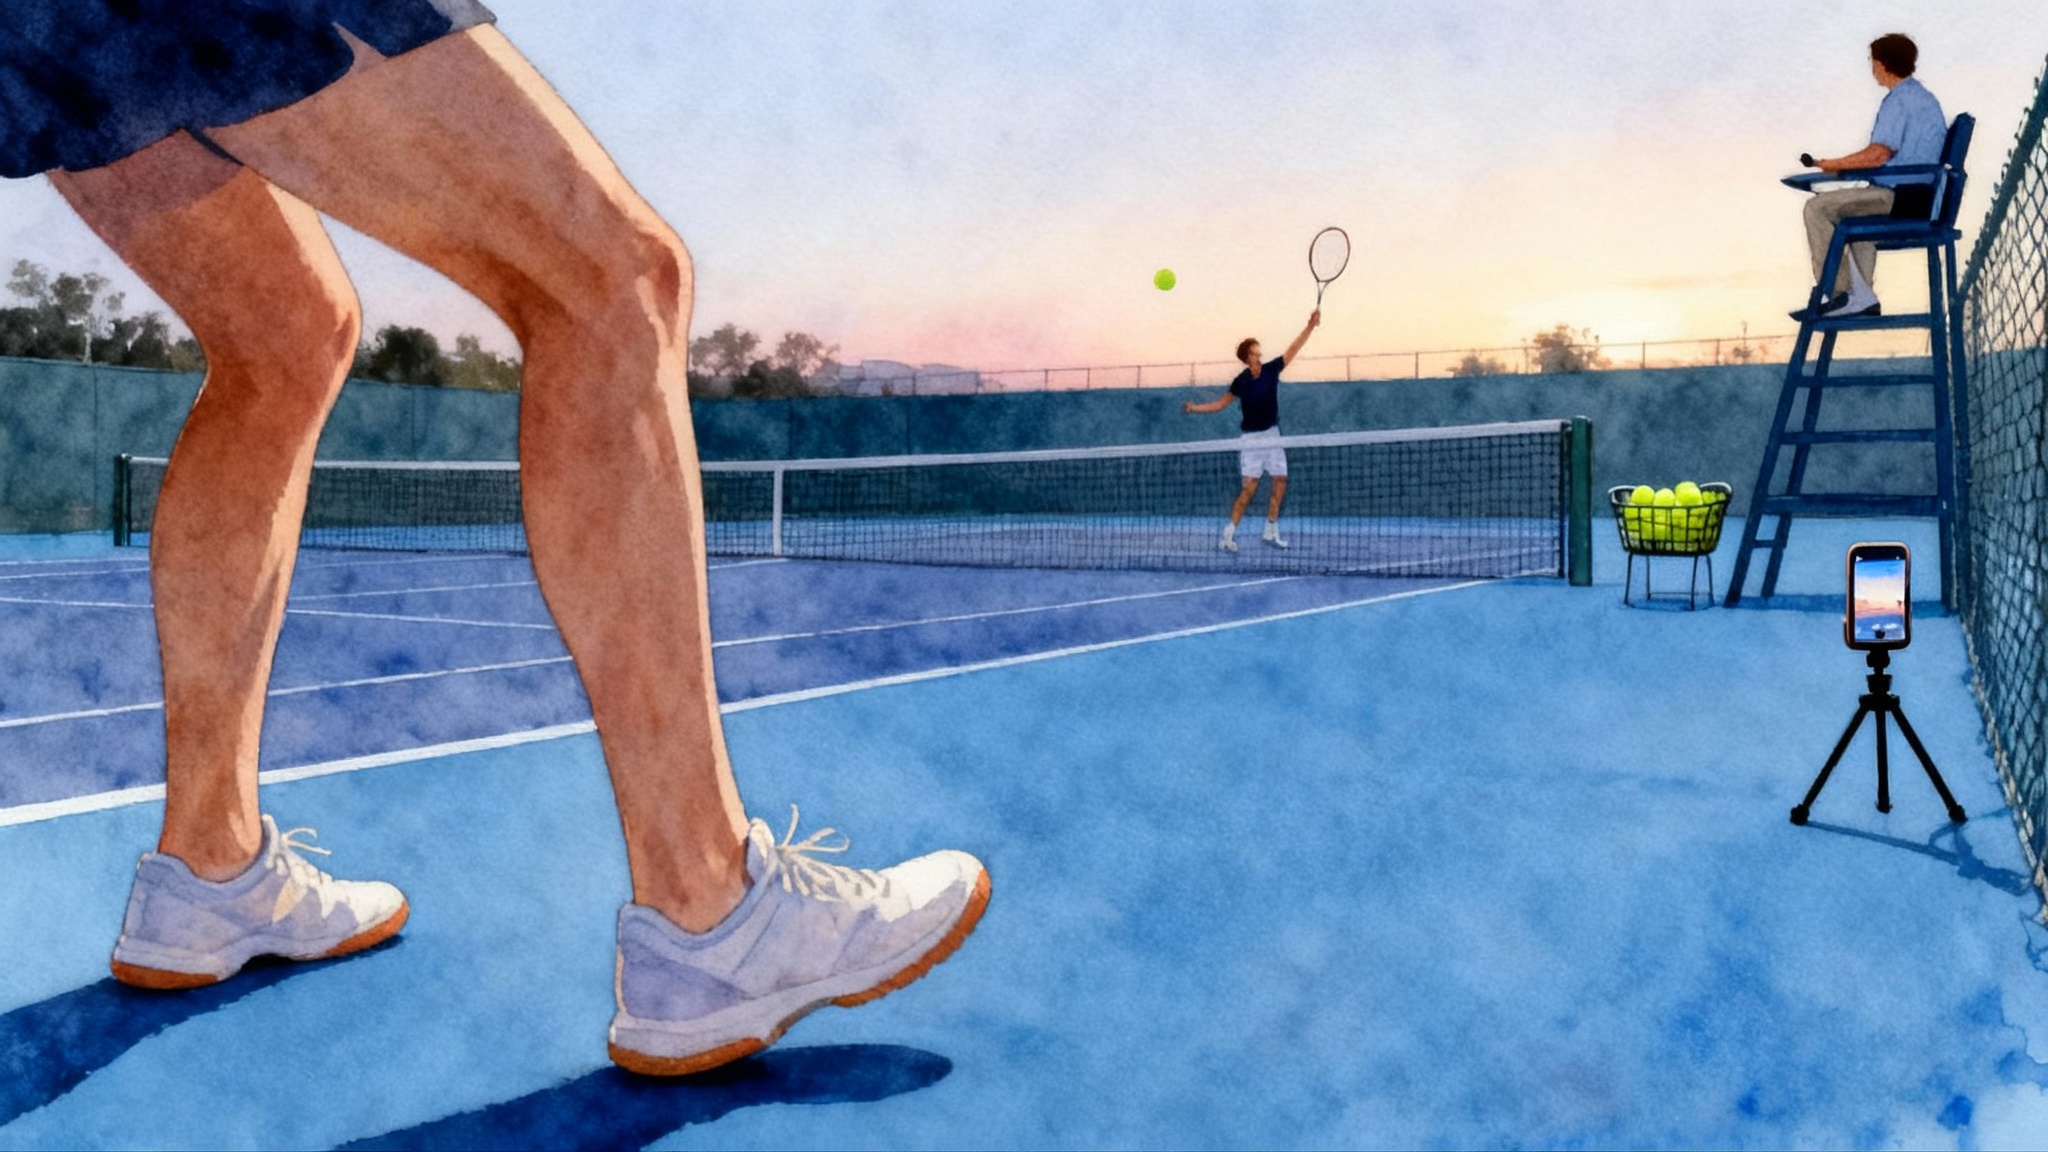
- Tripod or fence mount. A mid-height angle from behind your court half is ideal; sideline angles work too.
How to record
- Rally or have a feeder stand across the net. Record 8 to 10 opponent contacts, each followed by your movement.
- Place the camera at the center behind you so the frame includes the opponent’s contact and your feet.
- Keep each clip five to ten seconds for easy review.
How to measure with frames
- Mark opponent contact. Scrub the video frame by frame until the ball visibly compresses on the opponent’s strings.
- Mark your landing. Find the frame your heels or forefoot reconnect with the court during your split.
- Landing-before-contact metric. Count the frames between landing and opponent contact. Your target is landing 0 to 1 frame before contact or exactly at contact. If you are two or more frames late at 120 frames per second, that is a clear fix opportunity.
- First-step time. Count frames from opponent contact to the instant your lead foot leaves the ground or your heel clearly unweights into a push. More advanced players will see that number shrink as timing improves. The goal is to reduce your own baseline by a meaningful margin over a week. You do not need a magic number; you need to be consistently quicker than last session.
Simple math for context
- At 120 frames per second, one frame is about 0.008 seconds.
- At 240 frames per second, one frame is about 0.004 seconds.
You can write “L” for landing and “C” for contact in a notes app, then log sequence numbers like L at frame 1, C at frame 2; first step at frame 26. Repeat over ten rallies and compute your average. If you are layering fitness, see our 12-week tennis strength plan to support quicker first steps.
Two sessions to fix your timing
You can change the habit fast if the sessions are focused and filmed. Use three progressive drills in both sessions: shadow, cue-and-react, then live ball. By the end of session two, you should have cleaner timing and a repeatable checklist to carry into matches.
Session 1: Feel and timing without chaos
Objective: find your natural rhythm and line it up with an external cue.
- Shadow split, then freeze
- Stand on the baseline in ready position. A partner calls “bounce” and “hit” to mimic the ball’s path, or you say it yourself. Land the split as you say “hit.”
- Key cues: soft ankles, small hop, land to load. If you hear loud feet, you over-jumped.
- Reps: 3 sets of 12, filming from the side.
- Cue-and-react without a ball
- Partner stands across the net and lifts an empty hand as the cue. You shadow a small split, land as the hand lifts, and take your first step toward the hand. The hand determines direction.
- Reps: 12 reactions total, randomize left and right.
- Cue-and-react with tossed ball
- Same setup, now the partner raises hand and softly tosses a ball to either side. You split, land, then take two fast steps toward the ball and catch. No swing yet.
- Reps: 2 sets of 8.
- Debrief with slow motion
- Review your land-versus-contact frames and first-step frames. Note the average and the outliers. Pick one cue for tomorrow, for example “land by hit,” or “small hop, quick push.”
Session 2: Make it real with ball and patterns
Objective: keep the timing as decisions get harder.
- Live-ball rally with target landings
- Cooperative rally at medium pace. Your only goal is to land by the opponent’s contact 8 out of 10 times. Have a partner call “yes” when they see you land on time.
- Reps: 5 minutes continuous, then review one short clip.
- Directional rally with early decision
- Partner alternates forehand and backhand to you. You call your intended direction as you land, then hit. This aligns decision and action with the landing moment.
- Reps: 10 balls per side, twice.
- Serve and first step, return and first step
- Server: perform a small pre-split while tossing, then a tiny split at your own contact to stay reactive for the next ball. Focus on the first step after serve. Returner: split at server’s contact, then take an immediate driving step on your read.
- Reps: 2 games worth of points, filming a few.
- Debrief with slow motion
- Recompute your landing-before-contact percentage and first-step frames. If your percentage is above 80 percent in drills and 60 percent under point play, you are on track.
The three progressive drills, explained simply
Use these three in every warm up to keep the habit sticky.
- Shadow rhythm builder
- Setup: no ball, just your ready position, and a metronome app at a comfortable beat, or verbal “bounce, hit.”
- Action: mini split on “hit,” hold your posture one count, then reset. Think cat landing, quiet feet.
- Why it works: repetition grooves the landing moment without decision stress.
- Cue-and-react builder
- Setup: partner across the net, or a parent at the service line with an arm cue.
- Action: partner raises left or right arm to signal side as they say “hit.” You split, land on “hit,” then push toward the cue for two steps.
- Why it works: you marry timing with direction change, the same way rallies demand.
- Live-ball transfer builder
- Setup: cooperative rally or controlled feeds, camera rolling.
- Action: land the split by the opponent’s contact, call your direction as you land, and commit to the first step you choose.
- Why it works: it keeps timing under ball speed and decision pressure.
Junior-safe cues during growth spurts
Growth spurts change limb lengths, weight distribution, and coordination. Make timing easy, safe, and repeatable.
- Keep the hop tiny. Think “credit-card height” off the court, not a jump. The goal is to unweight and reload, not to leap.
- Use soft ankles, quiet feet. If shoes slap loudly, the hop is too high or the knees are too stiff.
- Start with a micro-split. A small heel unweighting can be enough for younger players before progressing to a full split.
- Count “bounce, hit.” Parents can say it. Player lands on hit. This simple cadence reduces overthinking.
- Favor forward posture. Nose over laces, not behind heels. This positions the body to push.
- Reduce total volume. Ten quality landings, then a minute’s rest. Growth plates are sensitive; quality beats quantity.
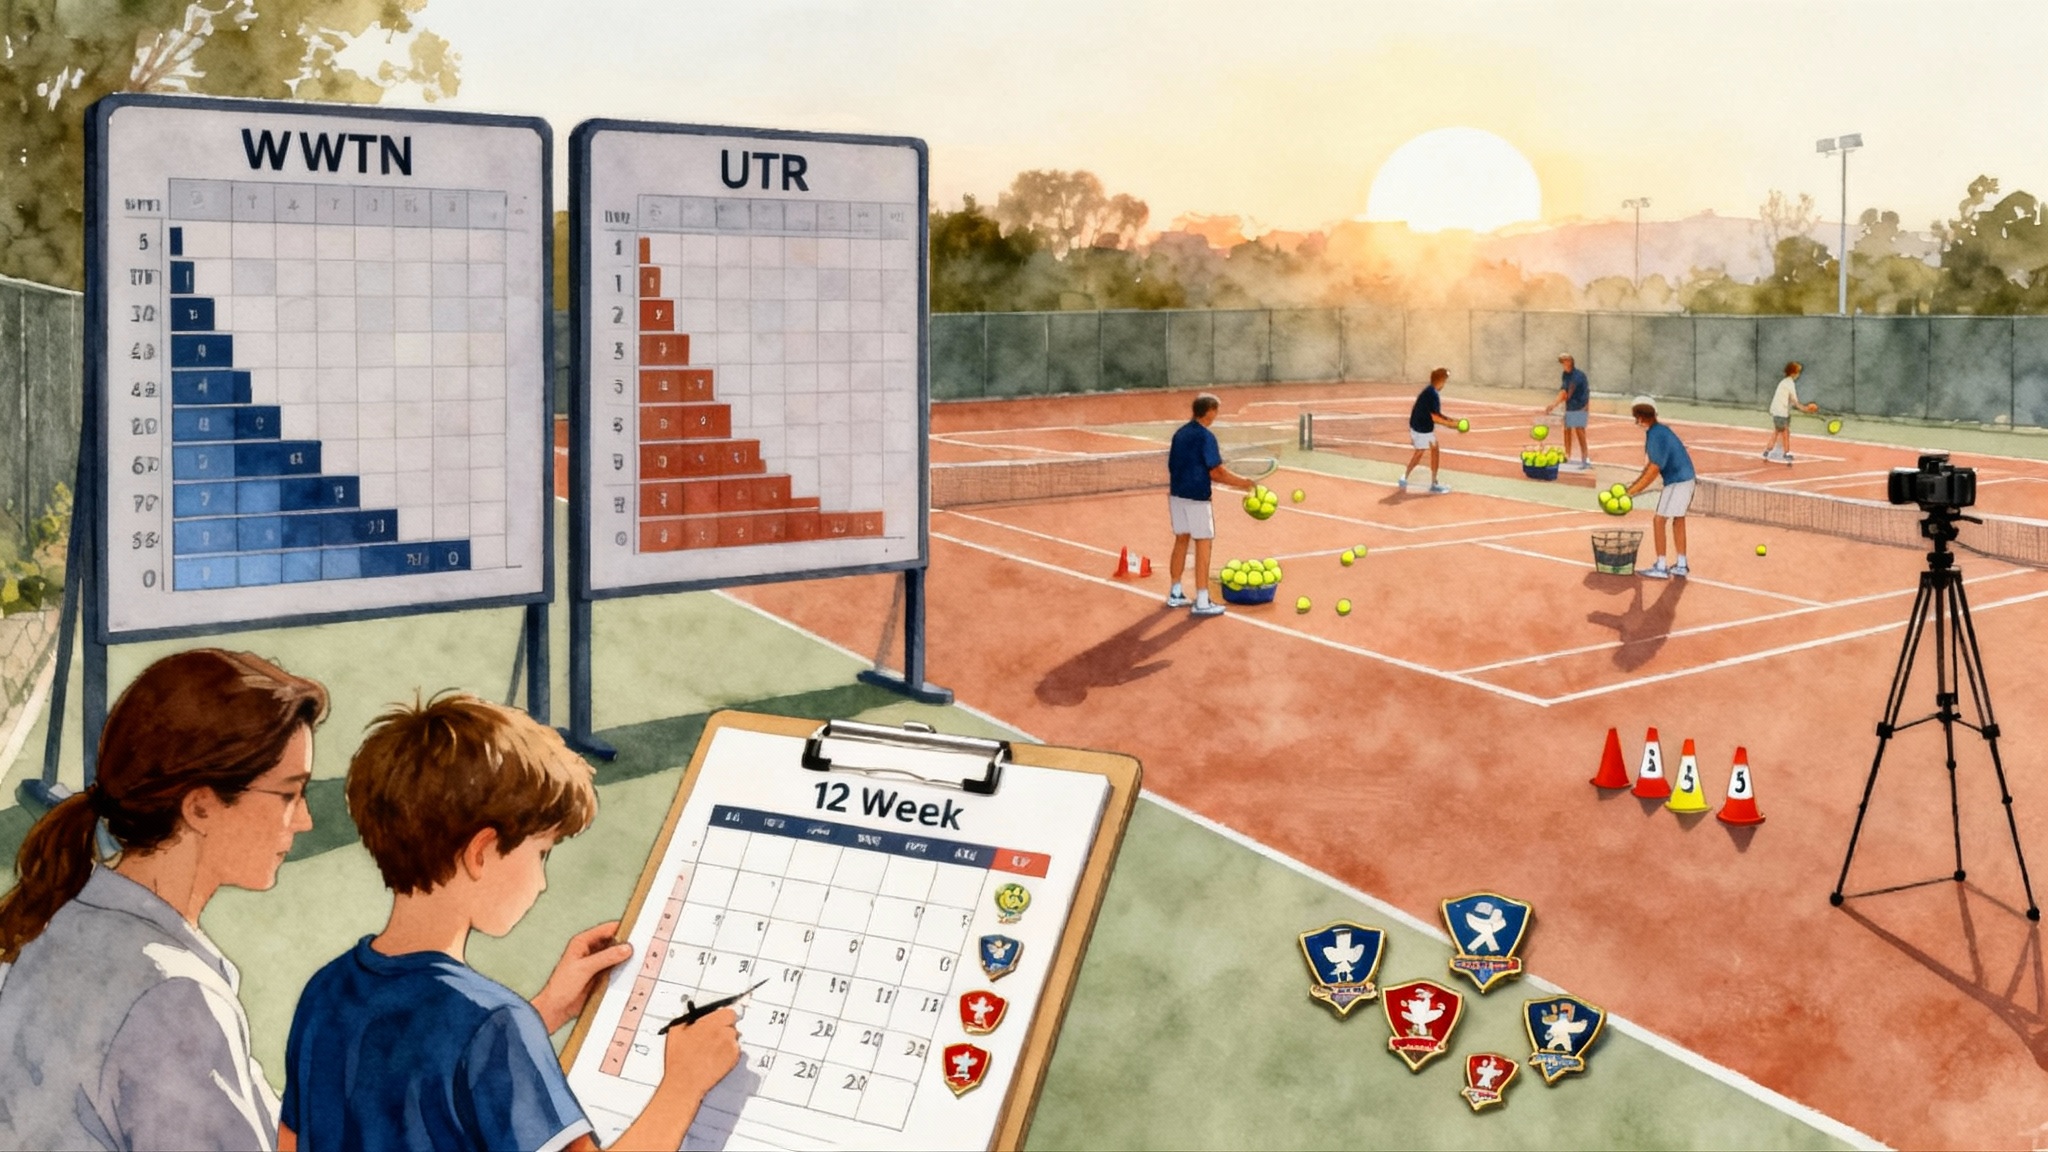
If your junior is mapping a season, pair this with our WTN vs UTR 2025 guide to align training and tournament goals.
Doubles-specific split-step patterns
Doubles has two contact moments to respect, not one. Build patterns around them.
- Server pattern. Perform a tiny pre-split as you toss to stay elastic, then a micro landing through your own contact so you can explode to the next ball or cover a return down the line.
- Returner pattern. Land at the server’s contact, then split again at the net player’s volley if the ball is redirected. Two small hops are better than one big, mistimed hop.
- Net player pattern. As your partner serves, use a micro-split at the opponent’s contact to set your poach. If you plan to poach, time your split to land as the returner hits, then push across immediately.
- Transition pattern. When you or your partner move forward, add a mini split as the next opponent contacts the ball to prevent overruns and to set your volley base.
Work one pattern per practice block, film it, and count on-time landings. The percentage metric keeps everyone honest.
The match-transfer checklist with simple metrics
Bring your practice gains into points with this quick pre-match and post-match checklist.
- Landing-before-contact index. Ten random points, mark if you landed by opponent contact. Target: 70 percent or better in matches, 80 percent or better in practice blocks.
- First-step time. Pick three rallies per set. Count frames from opponent contact to your first push. Goal: reduce your personal baseline by 15 to 25 percent over two weeks. Compare apples to apples by using the same frame rate.
- Quiet-feet audit. In a silent clip, listen for foot slaps on landing. Fewer slaps usually means smaller, more efficient hops.
- Doubles cadence check. In doubles games, audit whether you split at both server contact and net player contact when relevant. Target: at least 60 percent early on, then raise the bar.
- Serve and return habit. After your own serve, did you re-load into a tiny split for the next ball, or did you stand tall and watch? After the return, did you split as the net player moved? Make a tally.
How academies lock gains in a 30-minute evaluation
A short, sharp footwork evaluation makes timing visible and actionable. This structure is used by many high-performing programs, including Mouratoglou Academy Zephyrhills.
Minute 0 to 5: baseline capture
- Ready position check, two camera angles.
- Ten rallies at medium pace, no coaching yet. Mark opponent contact, your landing, and your first step across five clips.
Minute 5 to 10: shadow and cue-and-react
- Shadow split with bounce-hit cadence, then cue-and-react with partner arm signals.
- Retest landing-before-contact in two short clips. Coaches look for quiet feet, centered hips, and decision at landing.
Minute 10 to 18: live-ball transfer
- Directional rally, then serve plus first step, return plus first step. Two balls each direction, repeated.
- Coaches record and tag three clips per pattern. Notes include on-time landings, first-step frame counts, and posture on landing.
Minute 18 to 24: doubles patterns
- Net player poach timing, returner split at server contact, transition mini split.
- Tally percentage of on-time doubles splits.
Minute 24 to 30: debrief and plan
- Review two best clips and two worst clips side by side.
- Assign one cue and one drill. Example: “Small hop, land by hit” plus cue-and-react drill for homework, three sets of twelve.
- Schedule a check-in. Fifteen short clips over the next two weeks, logged with frame counts and percentages.
What makes this work is the tight loop: record, tag, cue, retest. The player sees the change, not just hears it.
Parent and partner roles that accelerate learning
- Film and count. Parents can take the phone job during practice. Partners can call “yes” or “no” on landing timing in live rallies.
- Say the cadence. Call bounce and hit so the player hears a rhythm. It keeps focus on timing rather than stroke tinkering.
- Keep the drill short. Two to three minutes per block, then switch roles. Short blocks keep quality high.
Turn insights into a habit
Add a two-minute timing block to every warm up:
- Ten shadow splits with bounce-hit.
- Eight cue-and-react reps with arm signals.
- Ten live-ball landings at half pace.
Log your landing percentage and first-step frames once per week. Do not chase perfection; chase consistency. When your numbers plateau, raise the bar gently by adding speed or decision pressure.
Bringing it all together
Split-step timing is a leverage point. With a phone and two focused sessions, you can diagnose your current timing, practice the simple habit of landing at contact, and track whether it transfers into real points. Use the three progressive drills to build the skill, add junior-safe cues when bodies are changing, and practice doubles-specific patterns so two-contact points do not catch you flat-footed. Keep score with a landing percentage and a first-step frame count. The result feels like a speed upgrade without adding a single sprint. You will look faster because you truly started earlier, and your tennis will feel easier because your body is on time.