Clay-to-Hard Tennis Footwork: Split-Step, Slide, Recover
A practical guide to master split-step timing, first-step acceleration, safe sliding, and efficient recoveries on clay and U.S. hard courts. Includes age-banded drills, 10-minute circuits, and simple benchmarks with parent coaching cues.
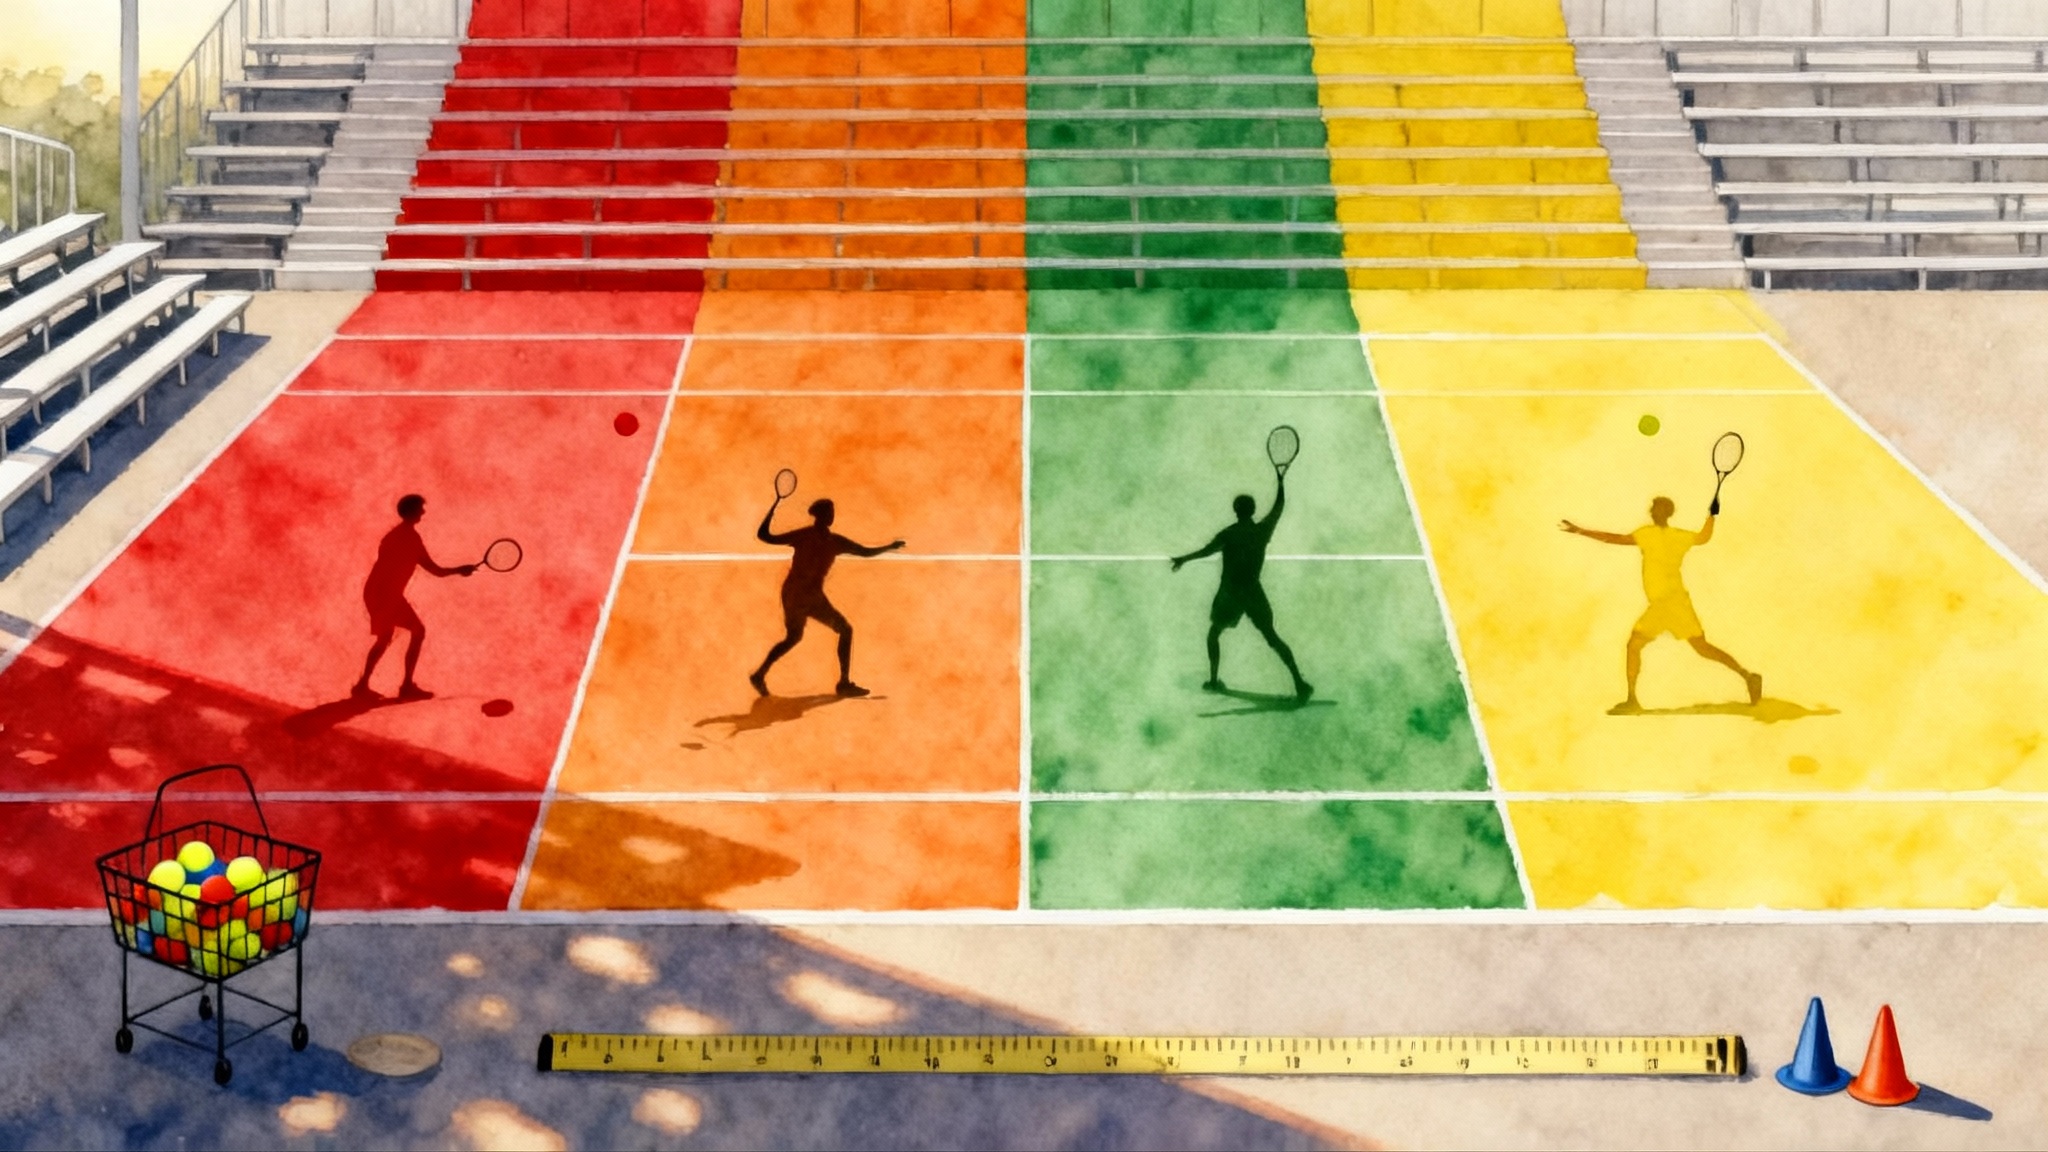
Why clay-to-hard movement matters now
Clay teaches patience, balance, and long rallies. Hard courts reward sharper acceleration and braking. If you or your player lives in the United States, the season often swings from spring and summer clay to fall hard courts. That change can feel like shifting from hiking on sand to running on a gym floor. Your feet meet a different level of grip, the ball climbs or skids differently, and your joints experience new forces. The goal of this guide is simple. Build a footwork progression that works on both surfaces, then make a clean transfer so the habits you earn on clay become safe, fast, and repeatable on hard courts.
This plan covers split-step timing, first-step acceleration, sliding and braking, and efficient recoveries. You will find age-banded progressions for juniors, teens, and adults, 10‑minute add-on circuits, simple benchmark tests, and parent coaching cues. We finish with a transfer plan and optional training blocks with clay immersion and hard-court application.
The big three differences you must feel
- Grip underfoot: Clay lets your shoe shear slightly. Hard courts grip more, so deceleration forces travel up the chain if you try to slide without preparation.
- Bounce: Clay sits up and slows, which buys time for lateral movement. Hard courts stay lower and arrive sooner, which punishes slow first steps.
- Braking distance: On clay, you can bleed speed over a longer path. On hard courts, you must brake earlier and shorter with better angles.
Keep those differences in mind. We will use them to decide when to glide, when to stick, and how to protect ankles, knees, and the Achilles tendon.
The universal fundamentals
- Athletic posture: Hips back, ribs stacked over hips, eyes level, arms relaxed. Imagine sitting on a tall stool while holding your chest proud.
- Split-step timing: Land as the opponent strikes the ball, not before and not after. Think pop on contact, then launch.
- Unit turn early: As soon as you read direction, rotate shoulders and racquet together so your feet can move you, not your arms.
- Small adjusters late: Close to contact, shift to short, crisp steps so your head stays quiet and your strike zone stays stable.
Split-step timing simplified: Pop, land, launch
A good split-step is a mini trampoline under your hips.
- Pop: Rise a few centimeters while your opponent swings.
- Land: Touch down as the ball leaves the opponent’s strings. Land on the balls of your feet with knees soft.
- Launch: Let ground contact spring you in the read direction. Your first move begins from the second half of the landing.
Cues coaches love:
- Pop as they swing, land as you hear the hit.
- Quiet head, loud feet.
- Eyes read, feet lead.
Common errors to fix:
- Late landings that force a hop after the read. Train with shadow reps. Partner calls “hit” from across the net to sync your landing.
- Landing flat-footed. Use a rope line or tape to keep your heels light on the first contact.
First-step acceleration: Shin angle and three-step rule
Your first three steps determine whether you play offense or defense.
- Positive shin angle: On the push foot, your shin should tilt toward your target. This creates horizontal force.
- Three-step rule: Explode through three quick steps before you lengthen. The first two are the quickest, the third sets your stride.
- Arm switch: Drive the opposite arm back, then punch the same-side arm forward to help turn your hips.
Micro-drill: From the center mark, partner points right or left at the call “hit.” You pop, land, and sprint three steps to the sideline, then decelerate to a stop. Reset and repeat for ten reps each side.
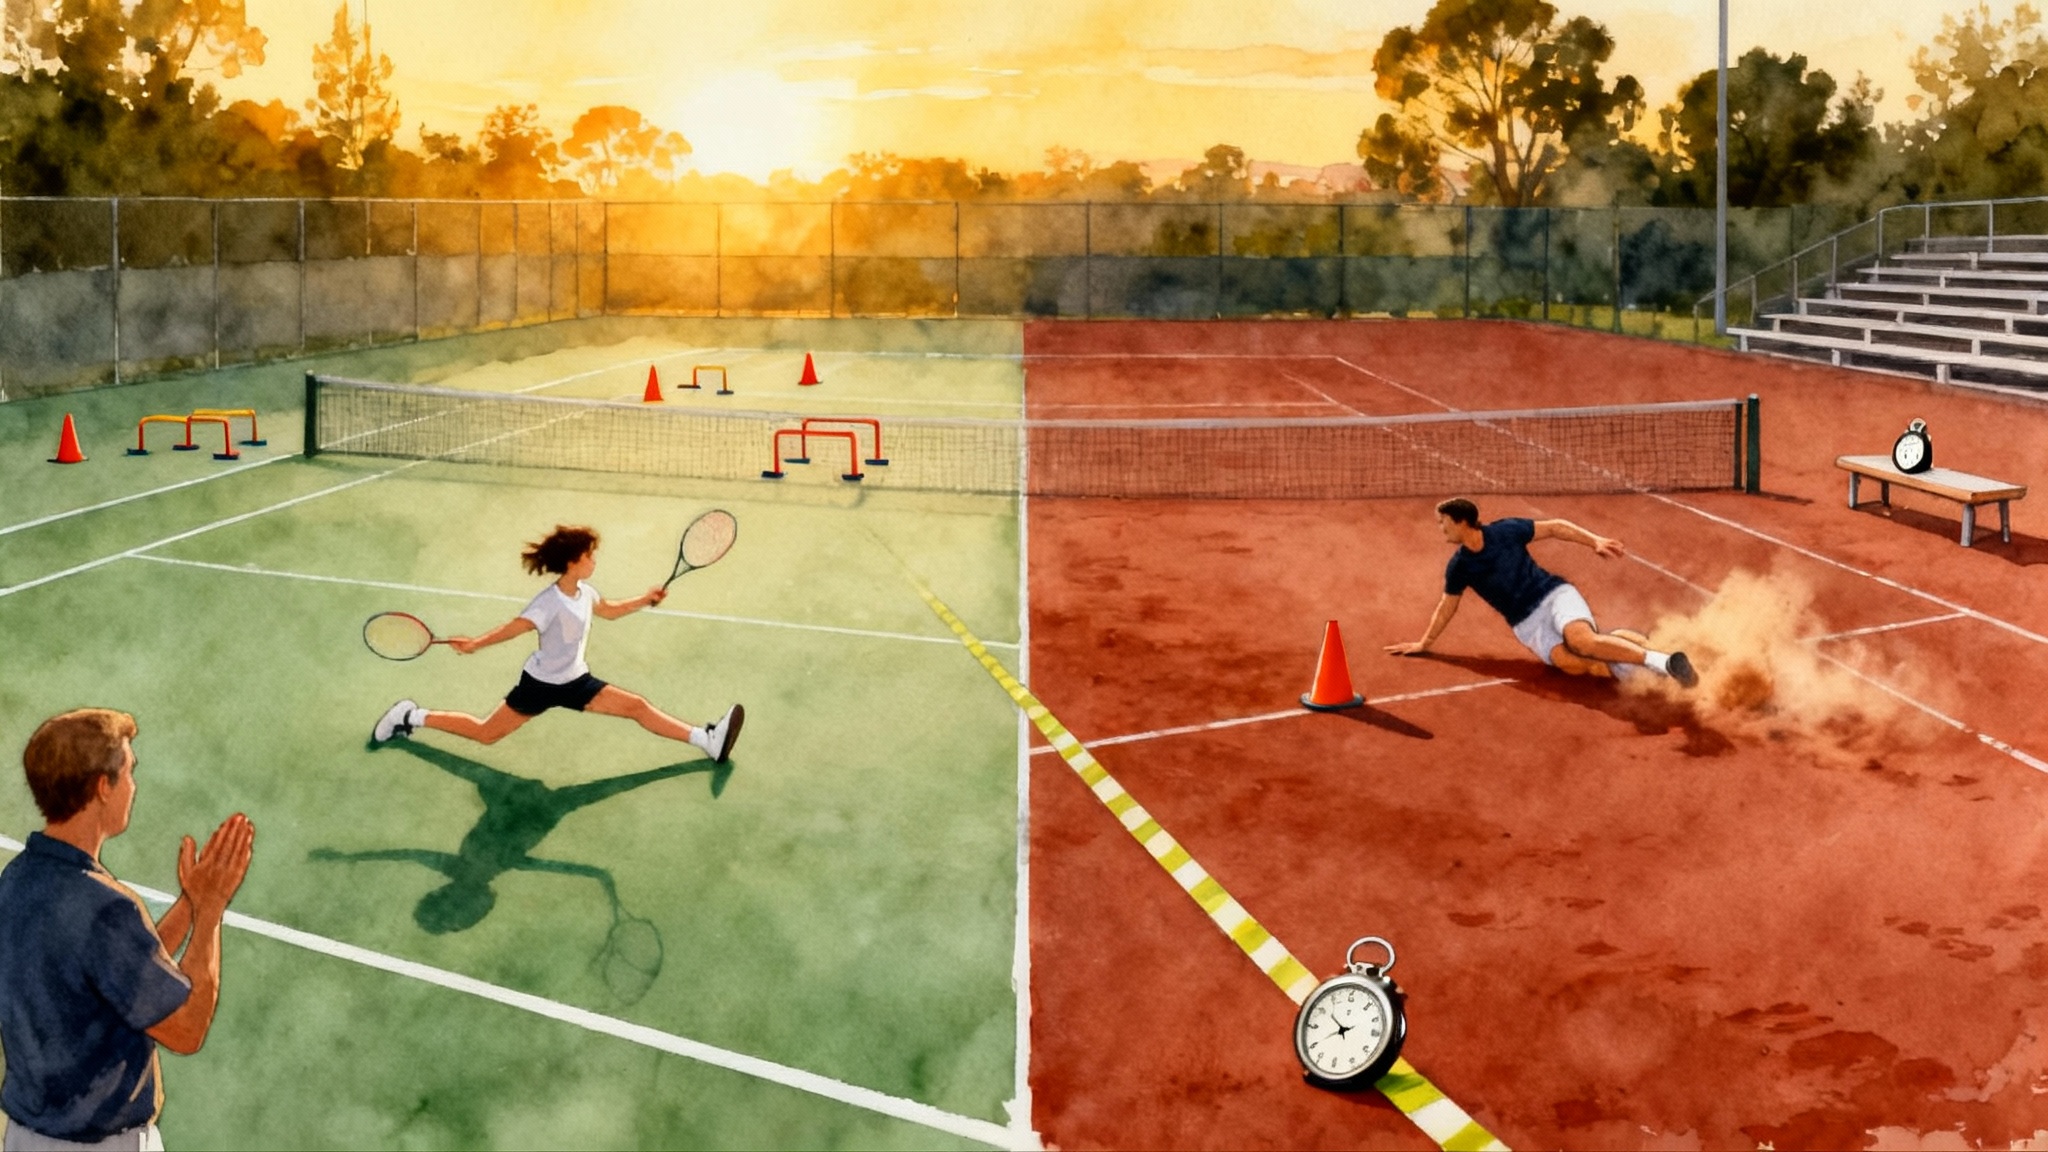
Sliding and braking: Clay habits, hard-court safety
On clay, sliding is a tool. On hard courts, sliding is an advanced skill that demands strength, ankle mobility, and the right shoes. Here is the safest way to progress.
- Clay half-slide: Enter at medium speed, lead with the outside foot, and let the shoe shear as you lower your center. Keep your chest over the knee and feel your inside foot feather the ground for balance.
- Clay full-slide: Build speed, then lower early. Outside foot plants, inside foot hovers for balance, racquet front-facing. Finish with a small hop to recover.
- Hard-court braking pattern: Replace slide with a stick-brake. Outside foot hits slightly ahead of the hips, knee tracks over toes, then cross-behind or cross-over to exit. Think brake then cross.
- Controlled micro-slide on hard courts: For advanced players only. You do not chase a full slide. You let a tiny shear occur after a strong decel if the line paint or top coat allows it and only if you can stop within a single racket length. If you cannot stop on command, you are not ready.
Three non-negotiables:
- Do not learn to slide on hard courts. Learn your deceleration angles first.
- No valgus knees. Your knee should track over the second toe, never collapsing inward.
- If Achilles or patellar tendon is angry after practice, remove sliding work until pain-free.
Efficient recoveries: Win the next step
Fast players are fast between shots. Recoveries connect the strike to the next split-step.
- Circle back and cross: After strike, take a small curved retreat with your outside foot, then cross over to center. This keeps your chest oriented to the court and buys space for the split-step.
- Two-step recoveries: On short balls, recover with only two long steps into your next split to avoid crowding the baseline.
- Line awareness: Recover to a functional middle, not the logo in the court’s center. Shade toward the danger side.
Age-banded progressions
Ages 8 to 12: Make the court a playground
Goals: rhythm, posture, and safe stops.
- Split-step ladder: Place six marks across the baseline. Kid pops and lands on each mark while a coach claps as the hit. Ten passes.
- Traffic-light first steps: Red means freeze on the split. Yellow means two small steps. Green means three fast steps. Calls are random. Build listening and speed.
- Clay to hard stop-and-stick: On clay, glide into a soft half-slide to a cone, tap cone with racquet, recover. On hard courts, perform the same entry but finish with stick-brake and cross-over. Eight reps each side.
- Rally game: Feed alternate sides and award points for landing the split on your clap and reaching the ball in three steps.
Cues for parents:
- Pop as I clap, land when I finish the clap.
- Big chest, soft knees.
- Three fast steps before the swing.
Ages 13 to 18: Speed with control
Goals: reliable reads, strong deceleration, and efficient recoveries.
- Reaction split with direction call: Partner tosses or hits and calls color or number that maps to a corner. Player must pop, land, and hit three steps in the called direction. Fifteen reps.
- Decel angles on clay and hard: Set cones into a shallow V. On clay, enter, half-slide, then push off. On hard, enter, stick-brake at the wide cone, then cross-behind to exit. Ten reps each side.
- Off-balance rescue: Feed a stretched wide ball. Player uses a one-leg plant, reaches, and sends a high, deep neutral ball. Recovery cross to center with two steps and split. Eight reps each side.
- Serve plus first two steps: Player serves out wide, lands, and takes two fast steps into position for the next ball. This builds serve plus one patterns.
Cues for parents and coaches:
- Shin points where you go.
- Brake early, not late.
- Finish the cross step before you split.
Adults: Protect joints, build repeatable speed
Goals: comfort sliding on clay, confident braking on hard courts, and recovery timing.
- Box decel: Set a square of four cones at service box corners. Sprint to each corner, stick-brake, side shuffle to the next corner. Two laps clockwise, two counterclockwise.
- Clay glide to drop-shot: Coach feeds short to the forehand service box. Enter with a soft half-slide, play the touch, then recover with a cross step. On hard courts, same feed, replace glide with a stick-brake and pivot.
- Two-step recovery timer: After any wide ball, you must be in your next split within two steps. Use a metronome or a partner’s clap as a timing cue.
Cues:
- Quiet upper body on the stop.
- Cross, then split.
- If you cannot stop clean, slow down until you can.
Ten-minute add-on circuits
Use these as a finisher after practice or as a warm-up on light days. Set a timer and move smoothly with short rests.
Speed and first-step circuit
- Wall pogos, 30 seconds: Forefoot hops while leaning into a wall. Focus on elastic ankles.
- Split to three steps, 6 reps each side: Pop on a clap, then sprint three steps sideways and backpedal to start.
- A-skip line, 20 meters x 3: Knees up, toes up, stiff ankles.
- Lateral bound to stick, 6 reps each side: Bound sideways and hold the landing for two counts.
- Mini-hurdle shuffle, 3 passes: Two in each space, quick feet.
Mobility and braking circuit
- Ankle rocks, 10 reps each side: Knee forward over toes with heel down.
- Hip airplane, 6 reps each side: Hinge on one leg, open and close the hip without rotating the chest.
- Split squat isometric, 20 seconds each side: Knee over midfoot, torso tall.
- Copenhagen side plank, 15 seconds each side: Support the top leg on a bench to strengthen adductors.
- Calf raise plus slow lower, 12 reps: Three seconds up, three seconds down.
Benchmark tests you can run this week
Testing makes training honest. Use these to set targets and guide workload. Record all times and notes in a simple sheet.
5-0-5 agility test
Purpose: Measure change of direction speed with a sharp 180-degree turn.
Setup: Mark a 15 meter sprint line. From the 15 meter line, measure back to a midpoint at 10 meters, and the start line at 0. You will sprint from 0 to 15, turn at 15, and time from 10 to 15 back to 10. Many programs use a 10 meter total with timing across the final 5 meters. Choose one setup and stay consistent.
Protocol:
- Warm up fully.
- Begin at 0 with a rolling start so you hit the 10 meter line at pace.
- Start the timer as your hip crosses 10.
- Plant, turn at 15, and sprint back. Stop the timer as your hip crosses 10 on the way back.
- Rest 90 seconds and repeat up to five times. Keep the best time.
Scoring ideas for tennis groups:
- Ages 8 to 12: Learn the pattern cleanly, then chase consistency. Do not chase maximal speed yet.
- Ages 13 to 18: Aim to reduce your best by small chunks across a six week block. Improvement of 2 to 5 percent is meaningful.
- Adults: Track best and average across three reps. If average drops while best stays the same, your repeatability improved.
T-test of agility
Purpose: Measure lateral, forward, and backward speed with controlled stops.
Setup: Place four cones. Cone A is the start. Cone B is 10 yards forward. Cones C and D are 5 yards left and right from B.
Protocol:
- Sprint forward from A to B and touch the base with your right hand.
- Shuffle left to C and touch with left hand. Do not cross your feet.
- Shuffle right to D and touch with right hand.
- Shuffle back to B and touch with either hand.
- Backpedal to A under control.
- Two to three trials with full rest. Record the best.
Safety reminders:
- Laces double knotted and court dry.
- No sliding on hard courts during either test.
- If your shin angle collapses inward on stops, regress to slower entries and add more isometric strength work.
What good looks like for pathway readiness
Instead of chasing universal numbers, adopt tiered goals that map to your pathway. Use these as practical targets inside group training at the academy level.
- High school varsity readiness: Consistent, clean patterns with no missed stops in both tests. Recoveries start automatically after the stop.
- College readiness: Times that improve over a six week block, plus the ability to reproduce your best within 3 percent across three trials. Coaches value repeatability under fatigue more than a one-off peak.
- Pro pathway: Add ball-strike layers to both tests. For example, on each cone touch, hit a shadow forehand or backhand with balanced finish. Movement quality stays high while your heart rate rises.
Parent coaching cues that work on any surface
- Land on the hit. Say it every rally for a week, then taper.
- Three fast steps, then small steps. First you travel, then you organize.
- Brake early. The earlier the brake, the easier the swing.
- Point your shoelaces. Point the shoelaces of the push foot where you want to go.
- Finish the cross. After a wide ball, complete the cross step before you split.
A four week clay-to-hard transfer plan
This plan turns clay habits into hard-court speed without injury. Use two to three focused sessions per week alongside normal hitting.
Week 1: Clay imprint
- Focus: half-slides, clean split-step landings, three-step acceleration.
- Drills: Clay half-slide to cone and recover, 3 sets of 6 per side. Reaction split with direction call, 3 sets of 10.
- Strength: Mobility and braking circuit, 10 minutes.
- Benchmark: One familiarization run of 5-0-5 and T-test at conversational pace.
Week 2: Mixed surface
- Focus: replace clay slides with hard-court stick-brakes at the same cone distances.
- Drills: Box decel on hard courts, 2 clockwise and 2 counterclockwise laps. Serve plus first two steps, 2 sets of 6 per side.
- Strength: Speed circuit, 10 minutes.
- Benchmark: 5-0-5 official attempts. Record best and average.
Week 3: Hard-court bias
- Focus: early braking and efficient recoveries.
- Drills: Lateral bound to stick into cross step, 3 sets of 5 per side. Two-step recovery timer, 3 rounds of 60 seconds.
- Strength: Mobility and braking circuit, 10 minutes.
- Benchmark: T-test official attempts. Note whether shuffles stay clean without crossing feet.
Week 4: Pattern integration
- Focus: layer movement into point play.
- Drills: Coach feeds alternating wide balls, player executes brake or micro-slide appropriate to the surface, hits neutral, and recovers to a split. 12 ball sequences x 3.
- Strength: Your choice of either circuit. Keep it sharp, not exhausting.
- Benchmark: Re-test both 5-0-5 and T-test. Compare best and average. If average improves with equal best, your training worked.
Optional training blocks to accelerate learning
If you want a guided experience, consider these partner blocks inside our network.
- Clay immersion: Two or four week blocks at Sporttech Academy clay immersion that build comfort with half-slides, full slides, and glide-to-stop patterns. Sessions include deceleration strength and recovery timing.
- Hard-court application: Two or four week blocks at the Tennis Innovators hard-court program that convert clay habits into safe, sharp hard-court braking and recoveries, including serve-plus-one first-step work.
Both options plug directly into the four week transfer plan. You can start on clay, build the glide and posture, then move to hard courts to master early braking and two-step recoveries.
Troubleshooting guide
- I keep missing the split-step: Use the clap cue. Partner claps at contact and you land on the end of the clap. Film from the side for 5 minutes and correct timing using our video analysis at home guide.
- I slide on hard courts without trying: Slow down entries and build stick-brake strength. Add split squat isometrics and lateral bound to stick, three times per week for two weeks, then reassess.
- My wide forehand feels rushed: Check the three-step rule. Many players take one big step and stall. Force three quick steps, then adjust late.
- My knees cave in when I stop: Regress intensity and add banded knee-over-toe drills and adductor strength. The knee must track over the second toe.
Bringing it all together
Movement mastery is not a trick. It is a set of repeatable choices that begin at the split, continue through the first three steps, and finish with a confident stop and recovery. Clay teaches you to float and organize. Hard courts teach you to brake early and launch on time. When you progress with intention, the two surfaces make each other better. Use the age-banded drills to fit your stage, the 10‑minute circuits to keep the engine tuned, and the simple tests to keep you honest. Then decide whether a focused clay block or a hard-court block will close your next gap. If you can land on the hit, take three fast steps, stop clean, and recover into your next split without thinking, you are not just surface-ready. You are pathway-ready.