Tennis Video Analysis at Home 2025: Step-by-Step Guide
Why home video analysis works in 2025
Great coaches have always used slow, careful observation. Today your phone can do most of it. With the right angle and settings, you can pause, scrub frame by frame, draw a few lines, and see the truth of a swing better than memory or feel ever could. The best part is that you do not need a studio or expensive cameras. A ten minute setup and a simple checklist will get you the clarity you need.
This guide is written for three groups who often train together as families or teams: juniors and their parents, and adult competitors. The goal is not to make you a biomechanist. The goal is to help you film, review, and improve your forehand, backhand, serve, and return using clear steps you can repeat every week.
What you need
- A smartphone with slow motion at 60 to 120 frames per second. On iPhone you can adjust this in Camera settings. If you need a quick reference, see Apple’s guide to iPhone slow motion settings.
- A stable mount: small tripod, flexible tripod, fence clip, or a ball-cart clamp. If the court has no safe place behind the baseline, a fence clip is best.
- A few pieces of tape or sidewalk chalk to mark camera and player spots.
- Optional apps for drawing lines and timing. Apple Photos and Google Photos allow slow motion scrubbing. OnForm, SwingVision, and Kinovea add drawing tools and side by side comparison.
- A notebook or a shared family note in your phone to record metrics.
Keep it light. You can upgrade later. The point is a repeatable routine you will actually use.
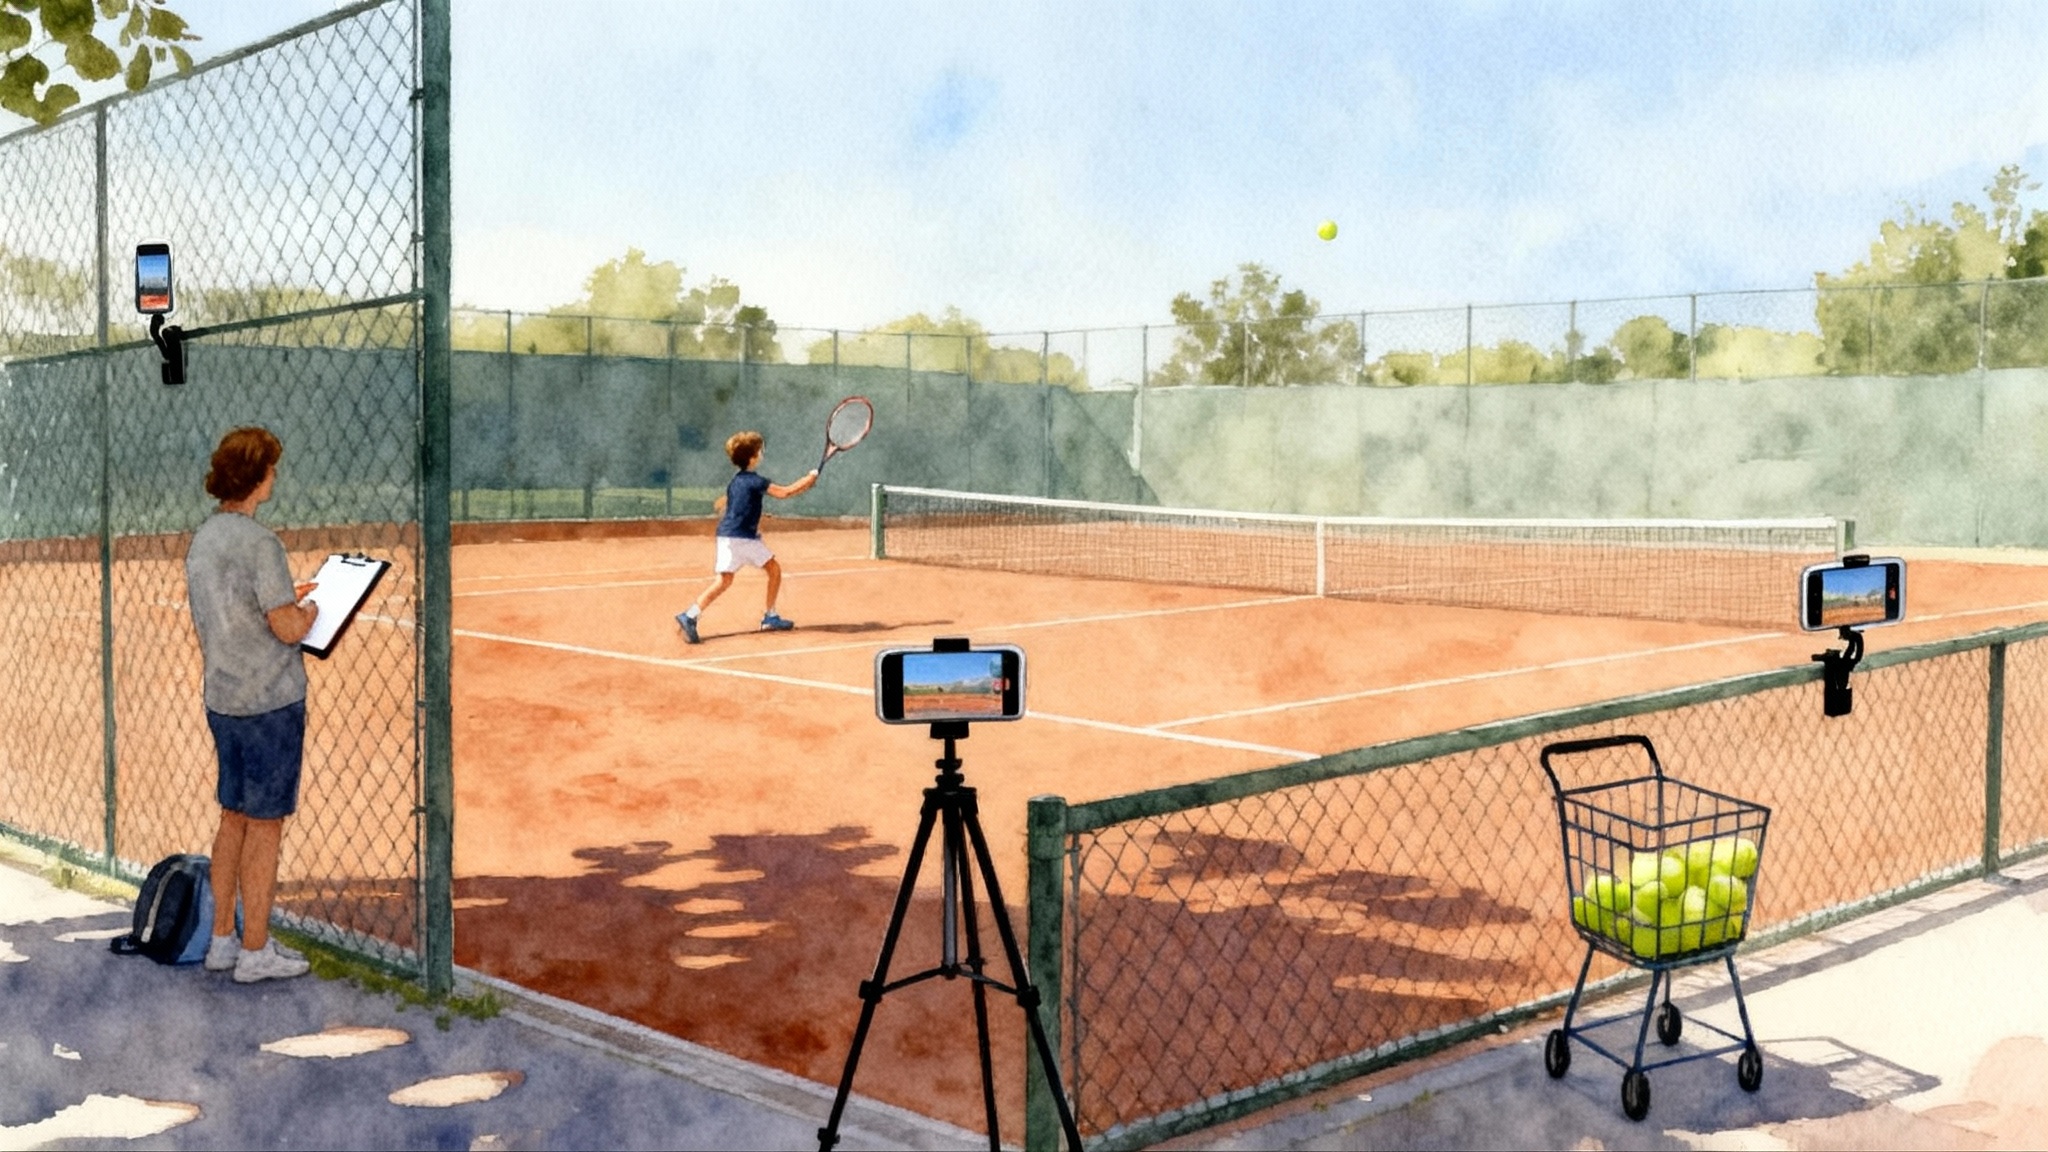
The three camera angles that reveal the truth
Film in landscape orientation. Use the 1x lens, not wide or telephoto. Turn on gridlines if your phone offers them, since horizontal and vertical references make measurement easier.
1) Baseline back view
- Purpose: shows direction of swing, contact relative to the body, and footwork patterns.
- Setup: place the phone two to three feet behind the center mark on your side, lens at chest height. Align the center of the frame with the center strap on the net. Tilt slightly downward so you can see your feet and the bounce.
- What to capture: 8 to 10 forehands and 8 to 10 backhands, rally pace. If safe, capture 6 to 8 serves and 6 to 8 returns as well.
Safety note: keep the phone low and tight to the fence or just behind the baseline outside the singles line so it is not a target.
2) Sideline view
- Purpose: shows swing shape, racquet drop, and spacing.
- Setup: stand the phone three to four feet behind the doubles sideline at approximately the service line. Lens at chest height. Frame the hitter from feet to at least two feet above the head.
- What to capture: a short rally segment and several serves. This angle is great for seeing the low to high path and the racquet face.
3) Service-line diagonal
- Purpose: serves and returns. Reveals toss location, shoulder and hip alignment, and landing.
- Setup: put the phone on the same side as the server, one step behind the service line and a step inside the doubles alley, aimed diagonally across the net at the server.
- What to capture: 8 to 10 serves at match pace and 6 to 8 returns. The ball should travel into the far service box in full view.
If time is tight, choose one angle per session and rotate each practice: baseline on Monday, sideline on Wednesday, service-line diagonal on Saturday.
Phone settings that matter
- Frame rate: set 60 to 120 frames per second. Faster frame rates reduce motion blur and help you see contact. On iPhone, use the Camera settings or tap the frame rate in the Camera app to switch. Apple explains this in its support article.
- Resolution: 1080p is enough for analysis. If your phone allows 4K at 60 frames per second and storage is not an issue, it is fine to use.
- Stabilization: turn off Action Mode or Super Steady for analysis. These modes can bend lines and hide subtle racquet motion.
- Focus and exposure: tap and hold to lock focus on the hitter. Slightly increase exposure if the subject is backlit.
- Audio: keep it on. The sound of contact is a useful sync point.
Record like a pro in ten minutes
Use this short routine. It is designed for teams that share a court and busy families.
- Warm up three minutes. No filming.
- Place the phone and do a single 20 second test clip. Check framing and horizon.
- Record 10 balls per stroke. Rally pace first, then 4 to 6 match pace swings.
- Capture 6 serves out wide, 6 to the body, 6 up the T. If you are new to filming, film only 6 total.
- Stop. Watch one clip at normal speed, one at slow speed. Fix framing if needed.
- Pack up. Do not film for twenty minutes. You want a few clear reps, not a data dump.
Label clips as you go: “2025-10-10_baseline_back_Jordan_forehand_120fps.” Consistent names help you compare across weeks.
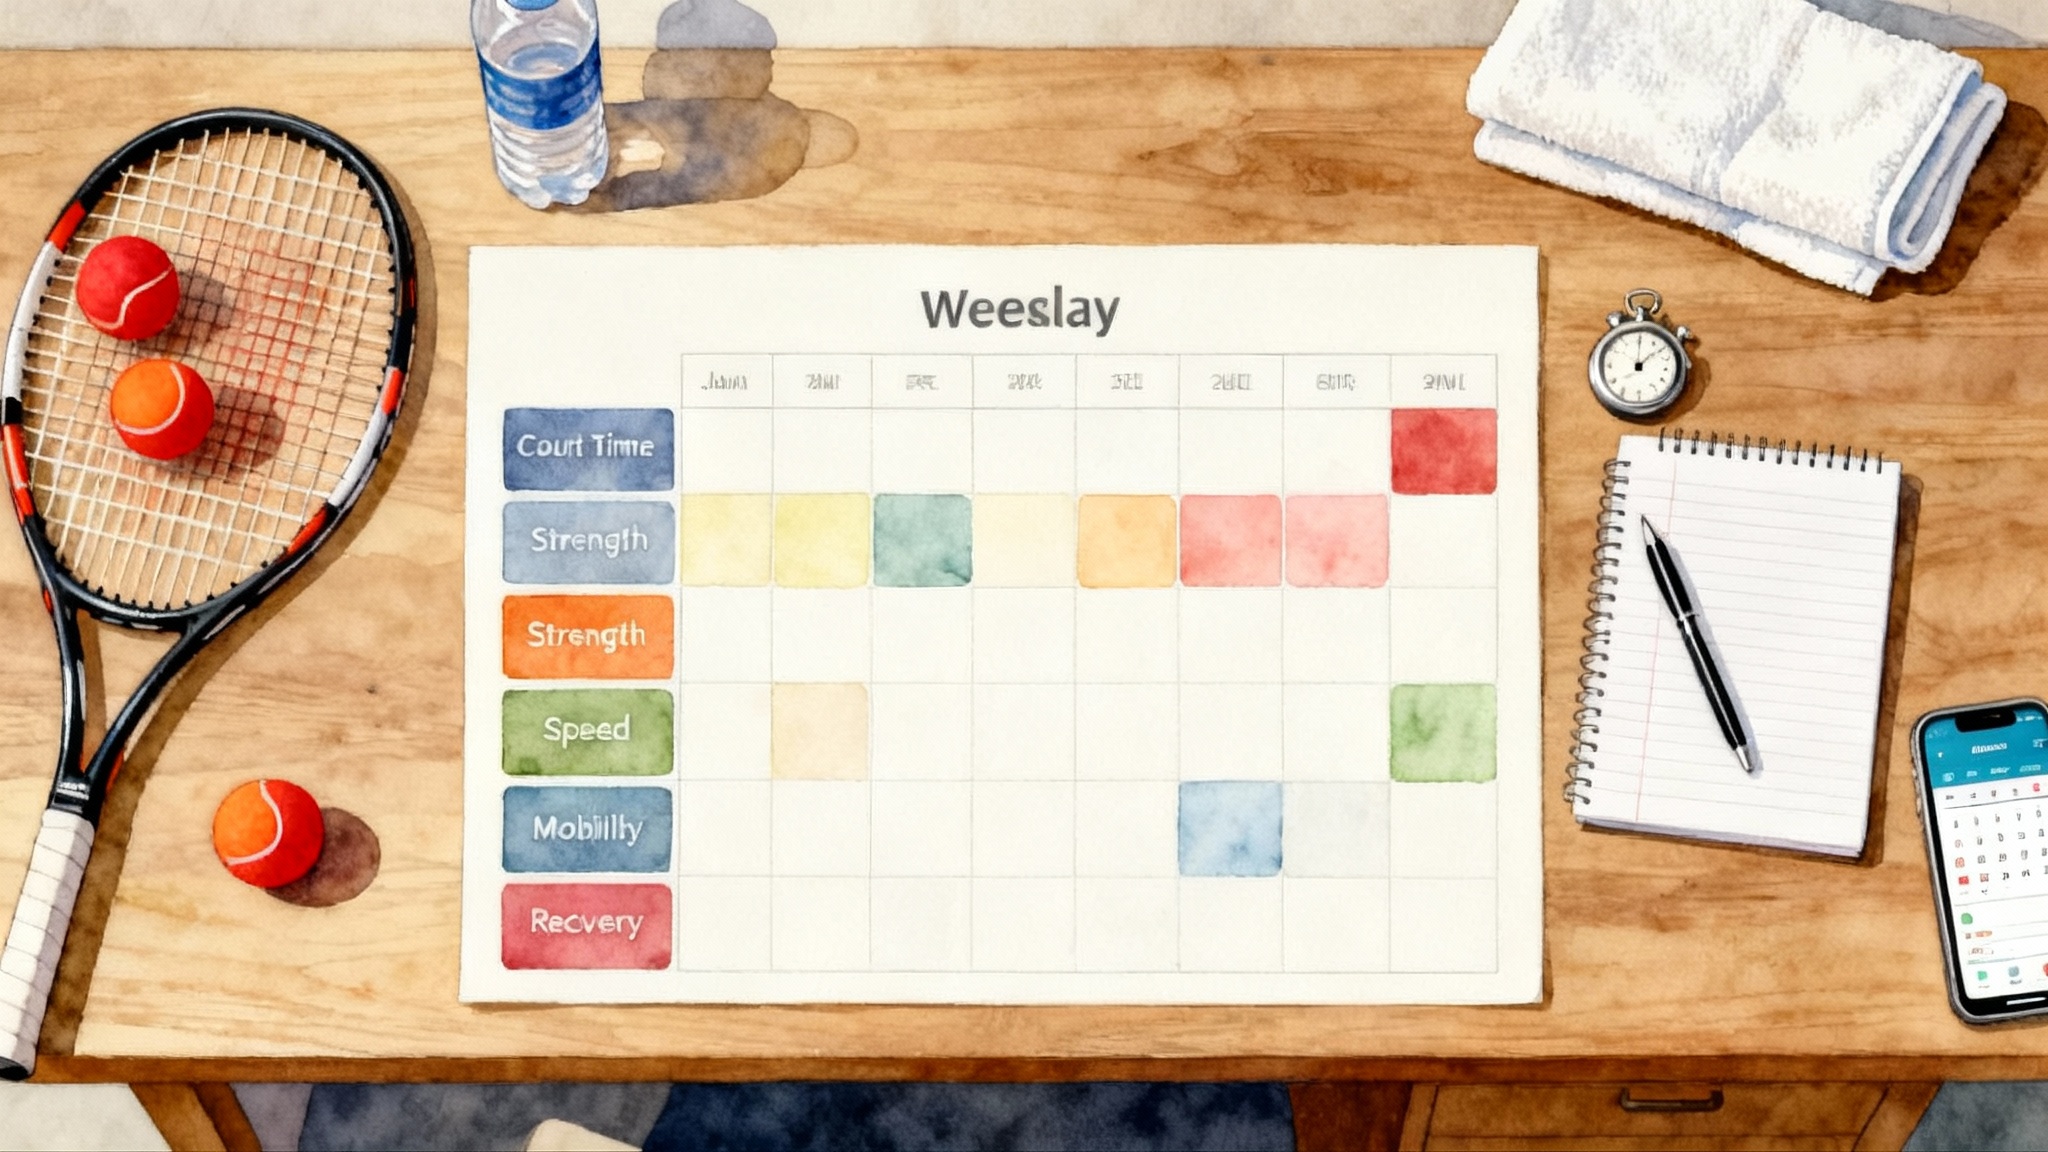
For session design that pairs clean video with purposeful hitting, use our 2025 weekly training blueprints.
Stroke checklists you can trust
Watch each clip twice. First, full speed for rhythm. Second, slow motion for positions. Pick one item to fix at a time.
Forehand
- Ready and split step: split as the opponent begins forward swing, land as the ball leaves the strings.
- Unit turn: both hands start the turn, chest points sideways before the racquet drops.
- Spacing: at contact there is daylight between elbow and ribs.
- Contact: slightly in front of the lead hip, strings square to the target you chose.
- Extension and finish: hand travels toward target before wrapping, chest rotates toward the net, eyes remain on the contact zone for a beat.
- Recovery: small adjustment steps, racquet returns to neutral by the time the opponent hits.
Backhand
For a two handed backhand:
- Set: grip and height early, hands move together.
- Coil: hips turn, shoulders turn a bit more than hips, back shoulder slightly under the front shoulder.
- Contact: in front of the front hip, back shoulder driving through.
- Finish: hands finish around chest height, head stays level.
For a one handed backhand:
- Turn: early shoulder turn with a stable non hitting arm guiding the turn.
- Contact: out front with a firm wrist, arm extended but not locked.
- Finish: high with the chest rising, back foot releases.
Serve
- Base: balanced stance, knees soft, toss hand relaxed to eye level.
- Coil: shoulders turn more than hips to create separation without strain.
- Racquet drop: the racquet head is below the elbow and near the shoulder blades before the push upward.
- Contact: arm reaches up and out in front, body leans slightly into the court.
- Pronation and finish: edge of the racquet leads into contact, forearm pronates, landing inside the baseline with balance.
Return of serve
- Ready: compact hand position, strings facing forward.
- Split: land as the server strikes the ball.
- First move: small step to the ball, short turn not a full backswing.
- Contact: slightly in front, firm wrist.
- Recover: step back or forward based on serve depth, eyes up early.
If you build patterns off the serve, study the first four shots framework and align your drills with it.
Four simple metrics to track
Elegant numbers make progress visible. You do not need pro software. You need a clear frame, a small ruler on your screen, or the gridlines, and patience.
1) Contact point relative to the body
- What to measure: the horizontal distance from the front hip to the ball at contact.
- How to measure: pause at contact. Use the gridlines or a drawing tool to drop a vertical line up from the lead hip. Measure to the ball in ball diameters or hand widths.
- Targets: groundstrokes are often one to two ball diameters in front of the lead hip. Serves are usually farther forward relative to the head and lead foot. More important than any exact number is consistency within your own range week to week.
2) Racquet drop depth on the serve
- What to measure: the lowest point of the racquet head before the upward drive.
- How to measure: from the sideline view, freeze one frame before the knees begin to extend. Mark the lowest racquet point relative to the line of the shoulders or to the bottom of the shoulder blades.
- Targets: you want a clear drop below the elbow with relaxed shoulders, not forced. Track the drop over time. If your drop is one inch lower and your shoulder feels fine, you probably stored more elastic energy.
3) Shoulder to hip separation
- What to measure: the angle difference between the shoulder line and the hip line during the coil.
- How to measure: from the service-line diagonal, draw a line through both shoulders and a line through both hips. Estimate the angle between them.
- Targets: many effective serves show roughly 30 to 45 degrees of separation at peak coil. Groundstrokes often show a smaller gap. Start with a comfortable 20 to 30 degrees and let strength and mobility guide increases.
4) Split step timing
- What to measure: the timing between your split step landing and the opponent’s contact.
- How to measure: count frames between the moment your feet re contact the court and the moment the opponent’s strings contact the ball. At 120 frames per second one frame is about eight milliseconds.
- Targets: land within one frame before or at the moment of the opponent’s contact. If you land after contact, you will feel late. If you land too early, your legs will go flat. For movement quality to support this timing, see our guide to safer deceleration and stops.
Record results after each session. Example entry: “2025-10-10, forehand contact 1.5 balls in front, serve drop at shoulder blade level, separation about 30 degrees, split timing on returns within one frame.”
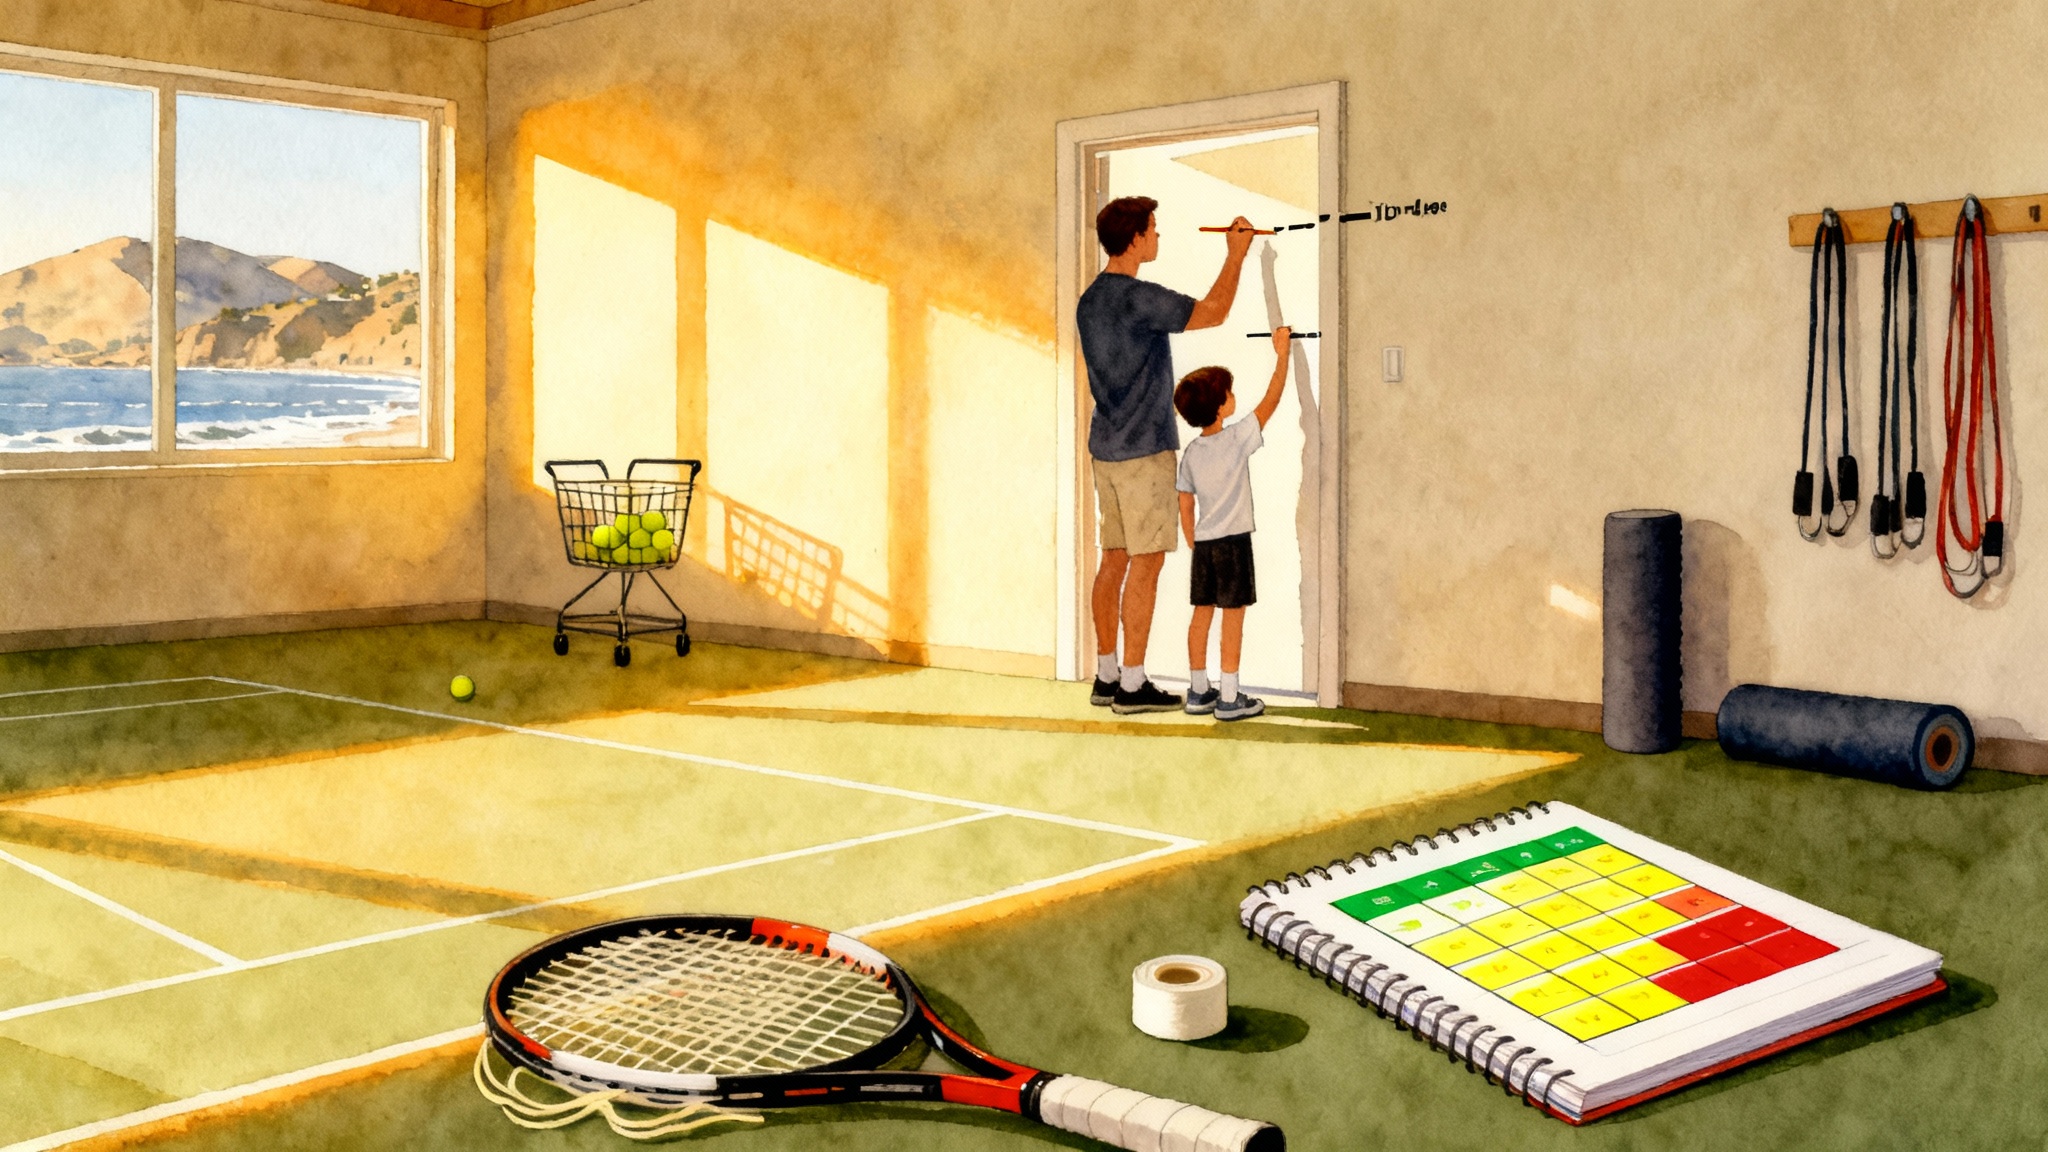
The weekly improvement loop
You only improve what you repeat. Here is a loop that works for families and adult competitors.
- Day 1, Plan: pick one focus per stroke from the checklists. Example for a junior: forehand spacing and return split step. Example for an adult: serve racquet drop and backhand contact in front.
- Day 2, Film: collect the three angles over 15 to 20 minutes.
- Day 2, Review: watch once at full speed for rhythm, once in slow motion for positions. Write one sentence on what to keep and one on what to adjust.
- Day 3 to 5, Practice: do two short drills that bias the desired change. For spacing, feed balls farther from the body. For serve drop, relax the hitting hand and breathe out during the coil.
- Day 6, Re film: repeat the same angles. Compare side by side. Did the metric move in the right direction by even a small margin, such as half a ball forward contact or one frame better split timing?
- Day 7, Rest and reset: celebrate a small win and pick the next focus.
Families can batch this loop on weekends. Siblings film each other. Parents can cue tempo and spacing. Adults can swap roles between sets.
Privacy and safeguarding for juniors
Protecting young players matters more than a perfect angle. Keep these steps as non negotiables.
- Disable location tagging in your camera and gallery before filming.
- Film on public courts or club courts with permission. Avoid filming near locker rooms or classrooms.
- Use neutral clothing without school names that identify location or team.
- Store clips in a shared family cloud folder with limited access. Use view only permissions when sharing with coaches.
- Blur faces before public posts, or do not post publicly at all. Many phones and free apps can blur in one tap.
- When filming other juniors who are not your child, get written consent from their parent or guardian.
- Adopt clear rules for who can receive the clips and for how long they may keep them. The U.S. Center for SafeSport publishes practical guidelines in the Minor Athlete Abuse Prevention Policies.
Write your policy down, even if it is two sentences. Consistency builds trust.
Remote feedback template modeled on Santa Cruz High Performance
When you ask a coach for remote feedback, a tidy package earns better answers. The template below is modeled on structured remote review formats used by high performance academies in Santa Cruz and beyond.
Subject line
- “Remote review request, Jordan Lee, 14U, forehand and serve, 2025-10-10, 120 frames per second.”
Message body
- Player info
- Age group, dominant hand, injury history if any, current racquet and string, typical weekly hours.
- Goals for this review
- One sentence per stroke. Example: “Forehand spacing, want contact one ball in front more consistently.”
- What you have been working on
- A brief note. Example: “Added a pause at the top of the toss, breathing out during serve coil.”
- Clips and angles
- Baseline back view, 10 forehands, 10 backhands.
- Sideline view, 6 serves.
- Service-line diagonal, 6 returns.
- Each clip 10 to 15 seconds, labeled with date, angle, stroke, and frames per second.
- Metrics you measured
- List your four numbers, even if rough. Example: “Serve racquet drop at shoulder blade level, split step landing within one frame of opponent contact.”
- Specific questions
- Ask two questions. Example: “Is my toss too far left on wide serves” and “Do I recover with my outside foot fast enough on backhand returns.”
- Consent and privacy
- State permission to review and store clips for coaching only, and your preferred deletion date.
File sharing
- Put all clips into one cloud folder. Give view access to the coach’s email. Include a text file with your checklist, goals, and metrics. If you are sending to an academy, follow their format and file naming rules exactly.
Expected response
- Ask for a three part response: one thing to keep, one change with a drill, and one metric to retest. Request a two week follow up if possible.
Many academies will respond faster when they see organized clips and a short ask.
Troubleshooting and quick fixes
- The player looks tiny in the frame. Move the phone closer and lower. A chest high lens places the subject front and center.
- The video is blurry. Increase light. Overcast is perfect. Indoors, move closer and use 60 frames per second rather than 120.
- The horizon tilts. Turn on gridlines and use the bottom net tape as a reference.
- The ball leaves the frame during the serve. Raise the phone a little or step it farther back. Keep the player at the bottom third of the frame at the trophy position.
- The phone gets hit. Tuck it behind the center baseline on a low tripod or clip it to the fence at service line height.
Accessories that help
- A compact fence clip lives in a racquet bag and solves most angle problems.
- A small bubble level or the level in your phone keeps horizons honest.
- A bright wristband on the hitting arm makes contact easier to see in slow motion.
Example practice, film, review plan for a family
Saturday morning, two siblings and a parent at the park for 45 minutes.
- Minutes 0 to 5, Warm up: mini tennis, no phones out yet.
- Minutes 5 to 10, Film baseline back view: 10 forehands, 10 backhands each.
- Minutes 10 to 25, Drill: rally crosscourt, one child focuses on forehand spacing, the other on finishing higher on the backhand.
- Minutes 25 to 30, Film sideline view: 6 serves each.
- Minutes 30 to 40, Drill: serve plus one pattern, parent feeds from the opposite service box. Tie your patterns to the first four shots framework.
- Minutes 40 to 45, Quick review on the bench: circle one metric per player to check next week.
This rhythm fits into real life. It keeps the camera as a helper, not a distraction.
A smart finish
Video does not replace a coach. It prepares you to use coaching time better. At home, the most powerful habit is not a specific grip or a single number on a screen. It is the weekly loop of filming from proven angles, tracking the same simple metrics, and asking one precise question at a time. Juniors learn to see their own swing. Parents learn to guide without guessing. Adult competitors learn to audit the habits that hold under pressure.
Start this week with one angle and one metric. Build your library of clips with clear names and a short note. Share with a coach using the remote template and your privacy rules. A season from now, you will have more than highlights. You will have a record of how you got better, one clear frame at a time.