DIY Tennis Video Analysis 2025: Phone Setups and Checklists
Why phone video works in 2025
A modern smartphone gives you slow motion, sharp 1080p or 4K sensors, and easy editing in one pocket tool. That means juniors, parents, and adult players can capture the three strokes that shape most matches: forehand, two‑handed backhand, and serve. With a simple setup and a short checklist, you can see the ball, the strings, and the key body positions clearly enough to make specific changes next session.
This guide shows you the exact phone angles for hard and clay courts, the slow motion settings that freeze the ball, technical checkpoints by level, a three‑week record-analyze-correct loop, and how to turn match clips into a clean recruiting highlight without chasing ratings. It also shows how to sync home practice with One Tennis Academy in Boca Raton on‑court video assessments through the TennisAcademy.app video uploader.
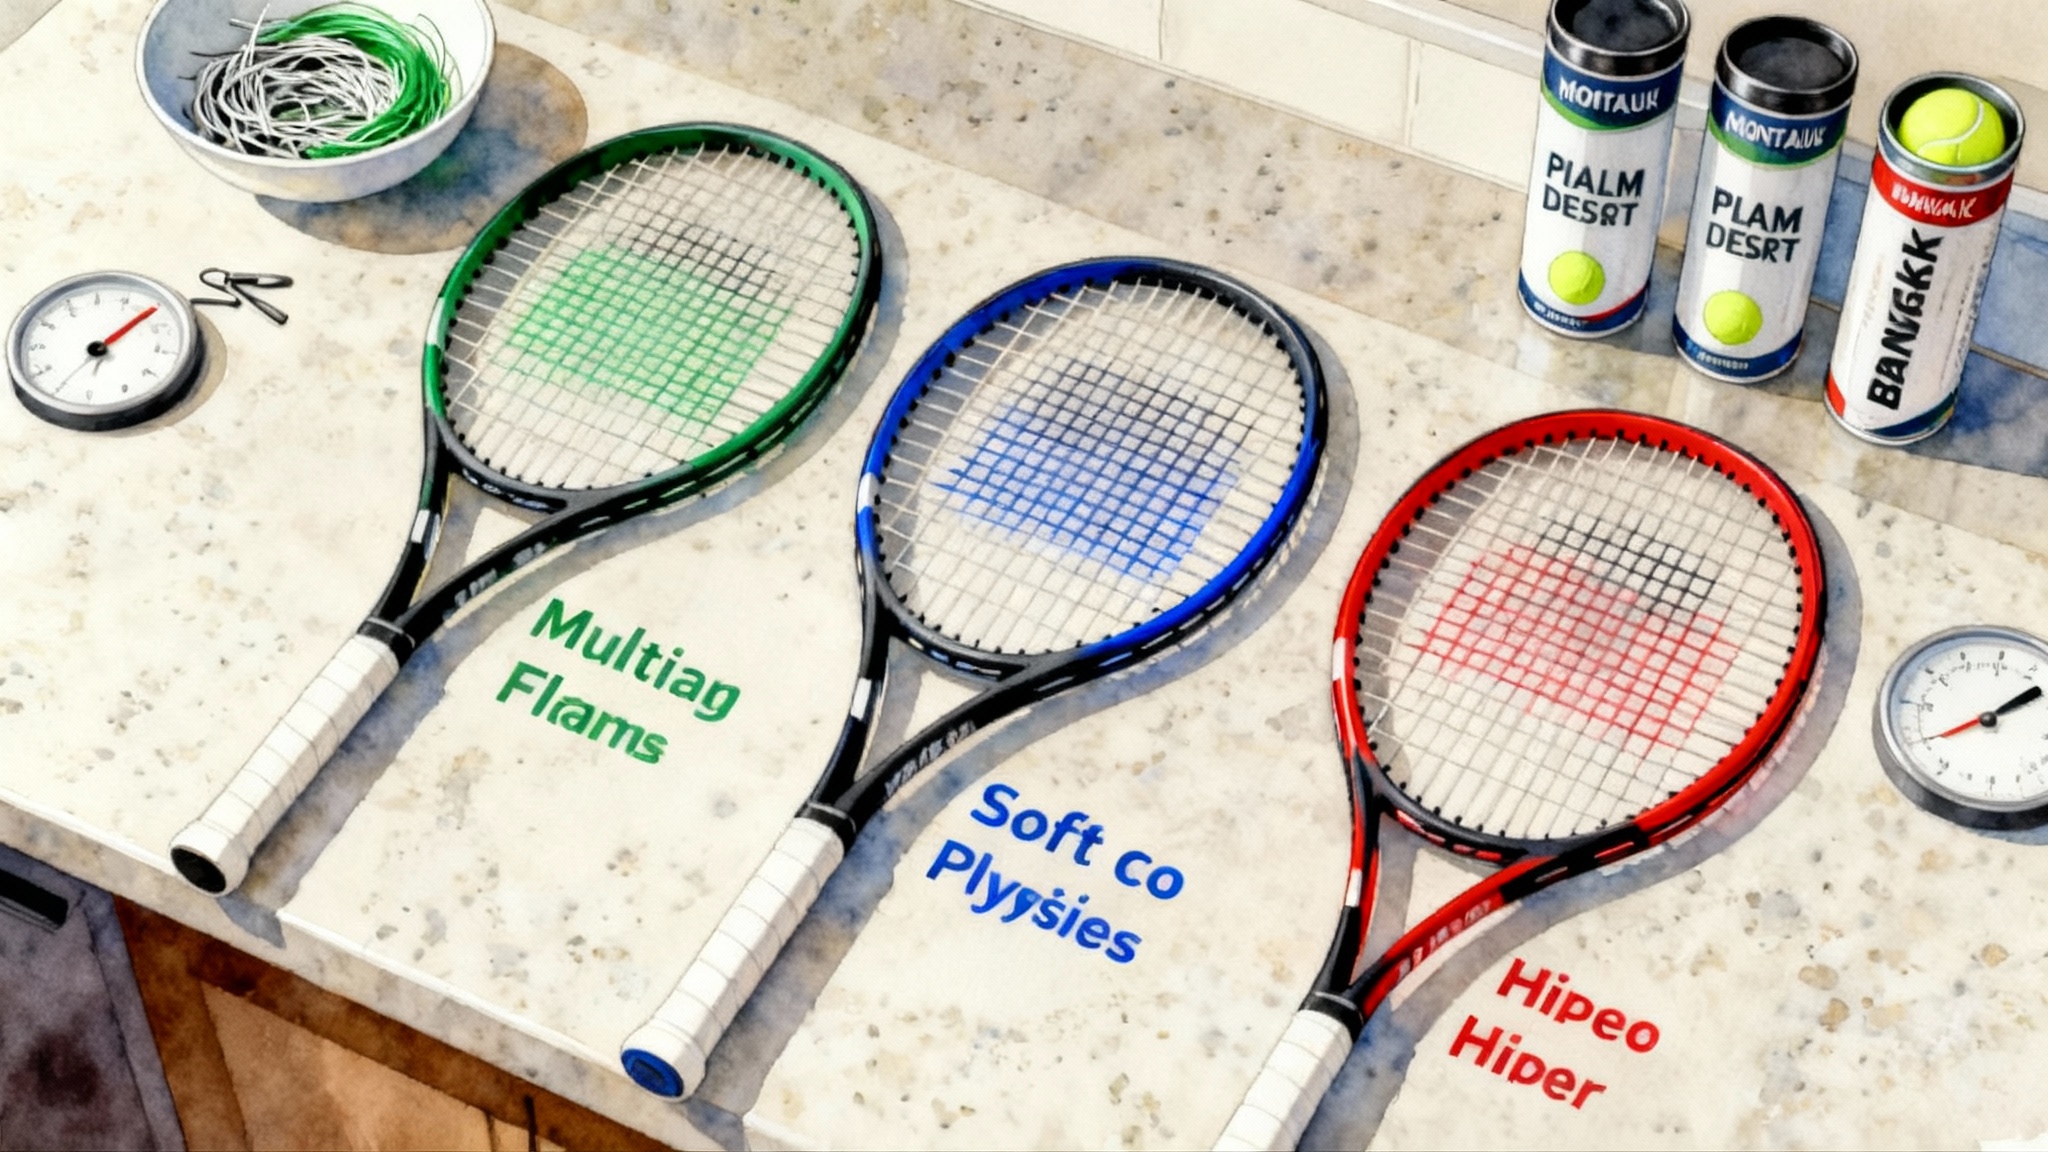
Your low‑cost kit
You can film a full session with items that fit in one backpack:
- Smartphone with slow motion at 60 frames per second or higher
- Fence mount or tall clamp to get the camera above the back fence
- Lightweight tripod if you cannot mount to the fence
- Power bank and short charging cable
- A small microfiber cloth for lens cleaning
- Optional clip‑on circular polarizer for sunny hard courts
- A tennis ball can or mini cone to mark a consistent camera spot
Keep it simple. If you are buying one thing, make it the fence mount. Height is the main difference between a shaky, ball‑blurred clip and a clear tactical view.
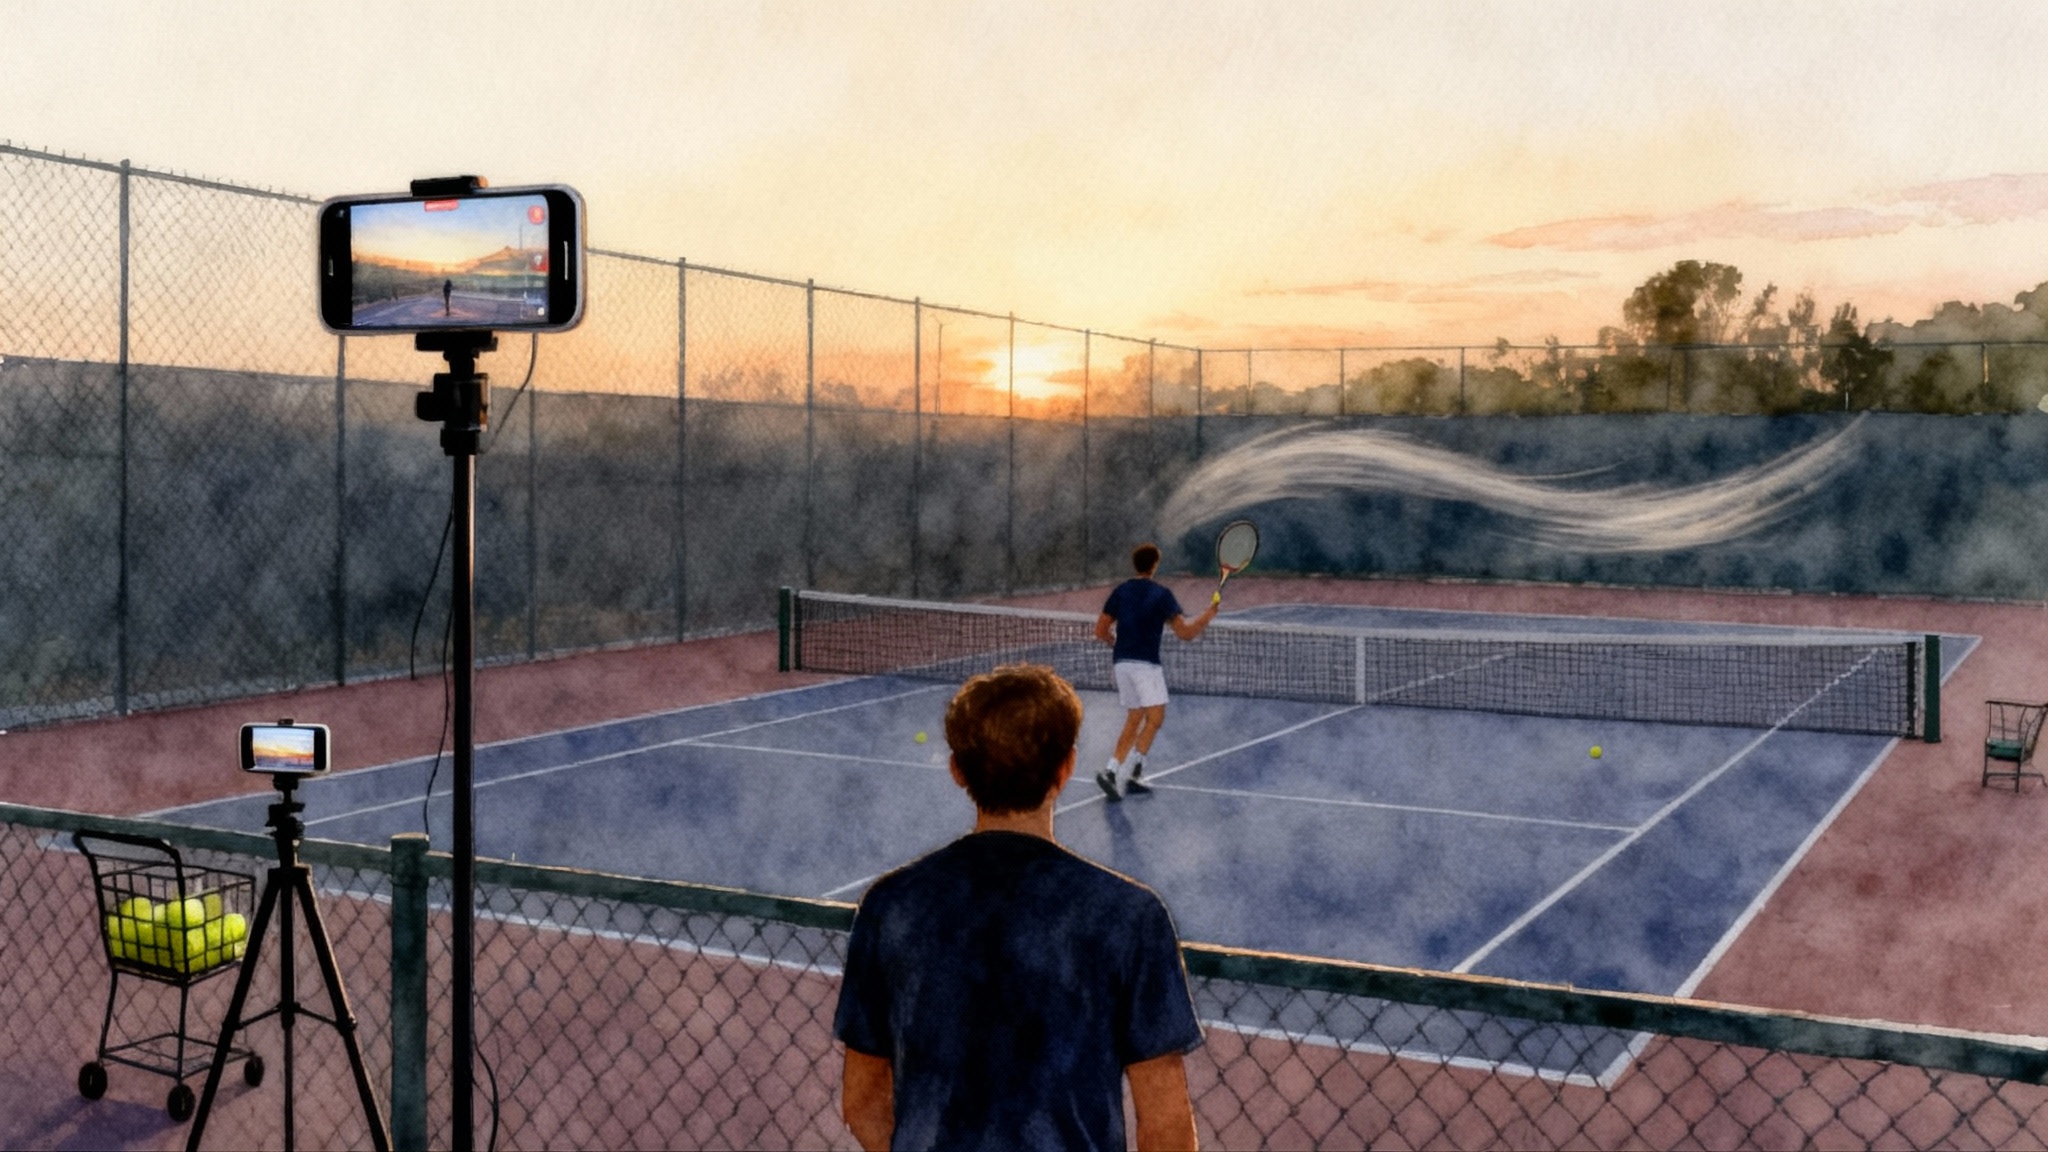
Camera angles that actually show what matters
Your goal is to see spacing, swing path, ball trajectory, and contact. Use these court‑proven angles for each stroke.
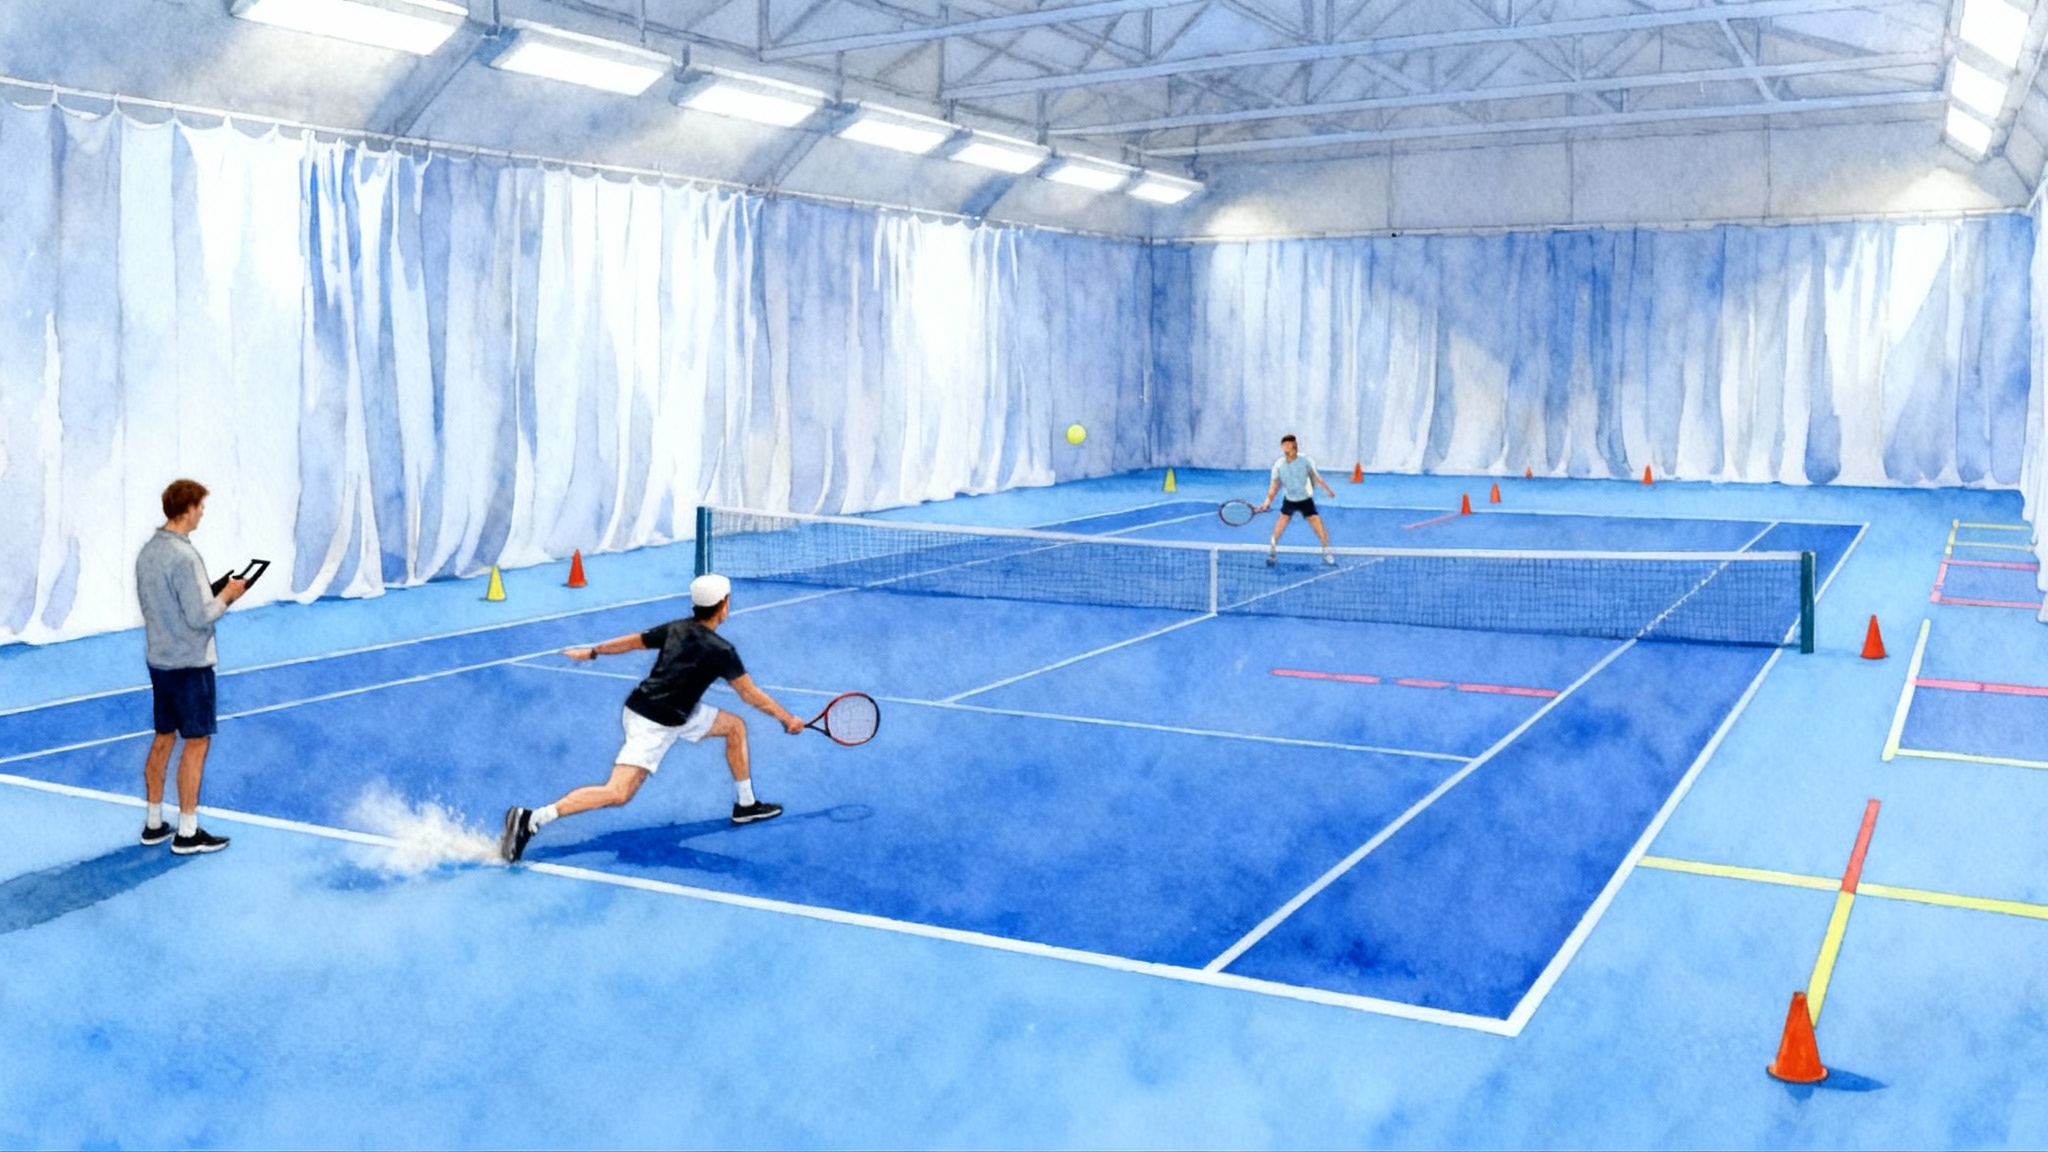
Baseline view for groundstrokes
- Position: Centered behind the baseline, 3 to 4 meters behind the back fence if space allows. If you must film through a fence, raise the phone so the lens is between two fence diamonds.
- Height: As high as you can stabilize. A fence mount at 2.5 to 3 meters gives a clean view over the net tape.
- Framing: Include both sidelines and from the baseline to just past the service line on the far side. Your hitting zone should sit in the middle third of the frame.
- Why it works: This view shows whether the ball clears the net with shape, if you are late or early, and how well you recover.
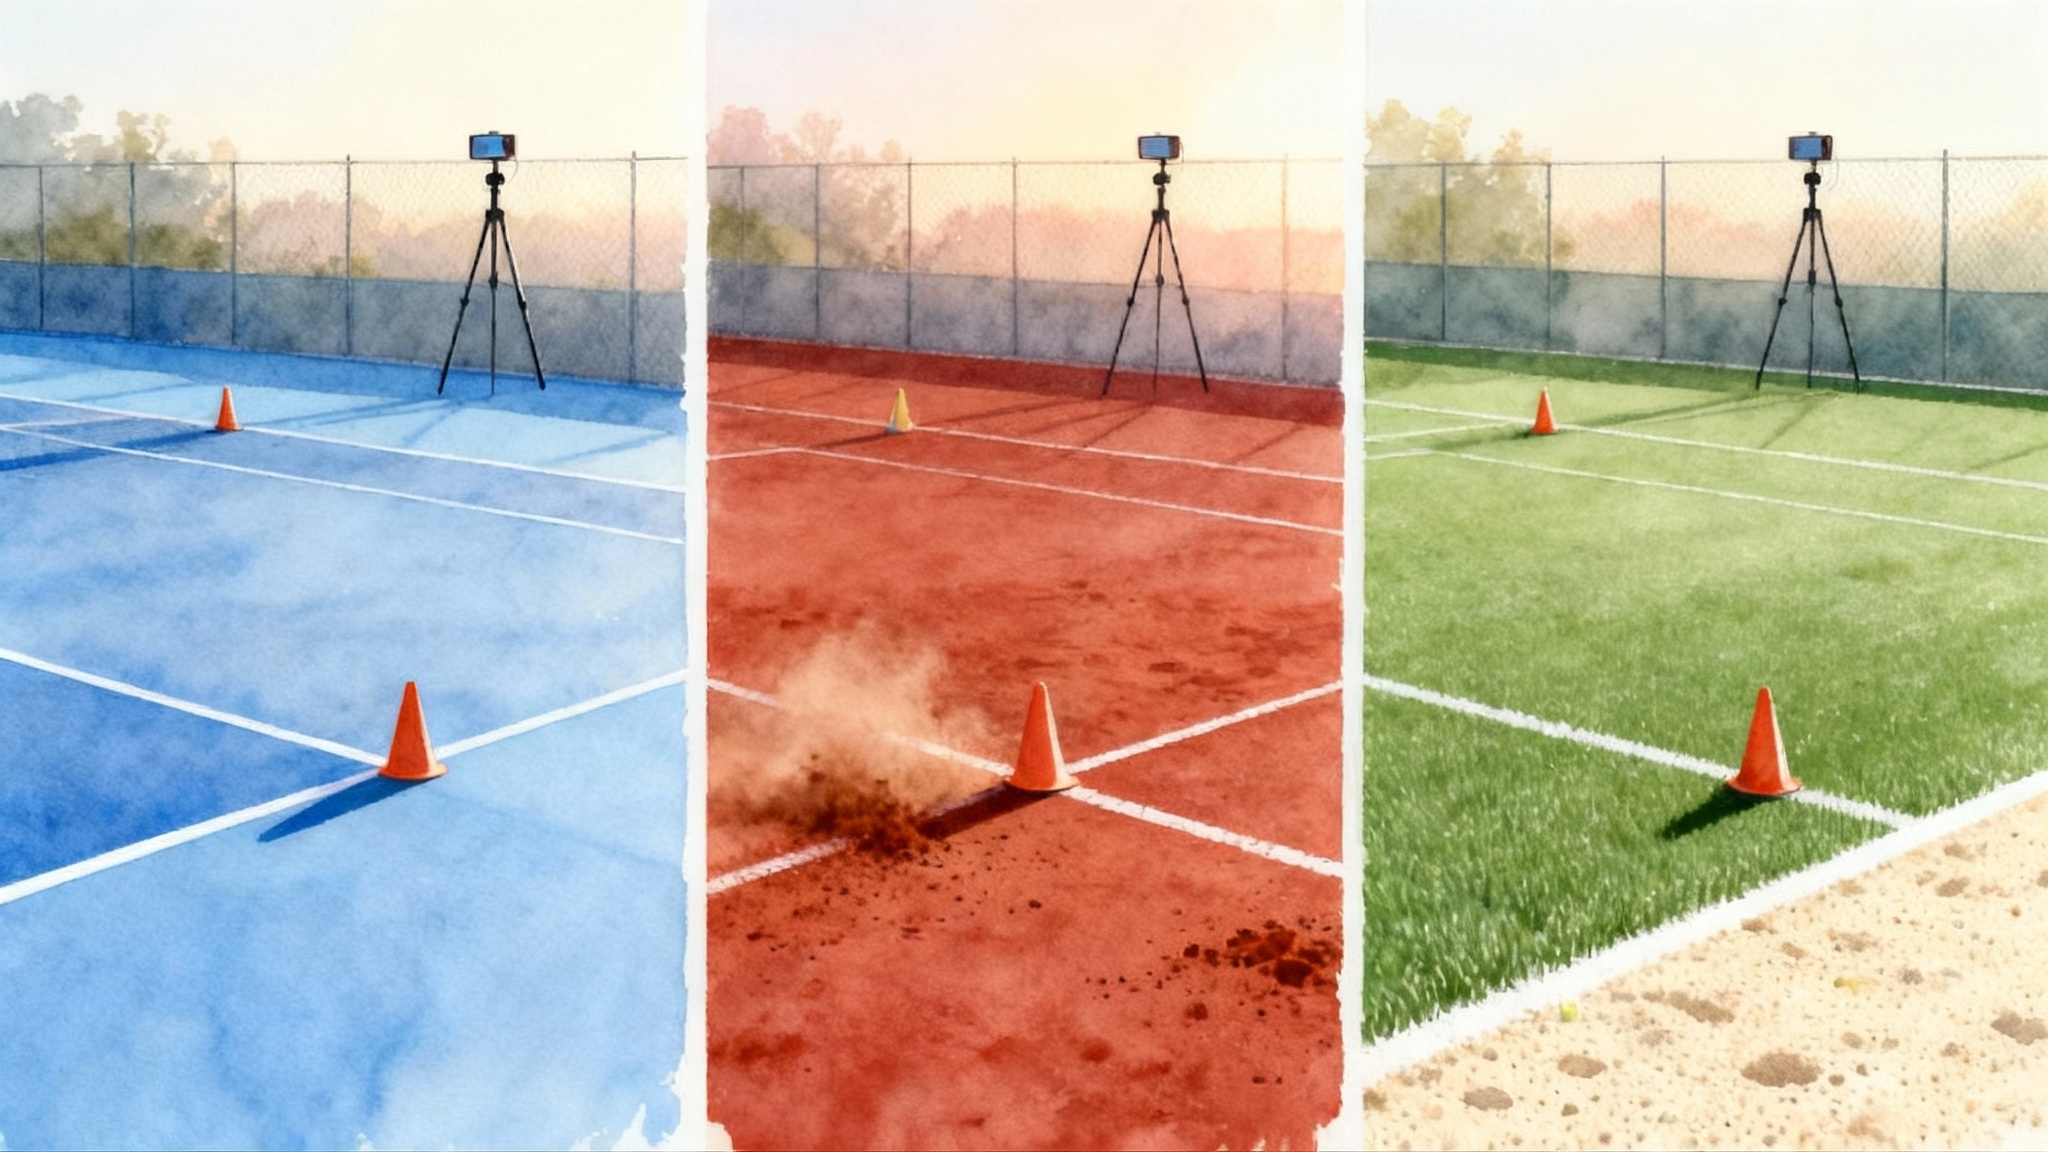
Hard vs clay adjustments:
- Hard: Reduce glare by avoiding a low sun behind the opposite baseline. If highlights blow out, lower exposure a notch before recording.
- Clay: Dust can haze the image. Wipe the lens often. Raise the camera slightly higher to separate the ball from the background, and underexpose a touch to keep the white lines crisp. See our multi-surface tennis footwork guide for movement adjustments that pair well with video.
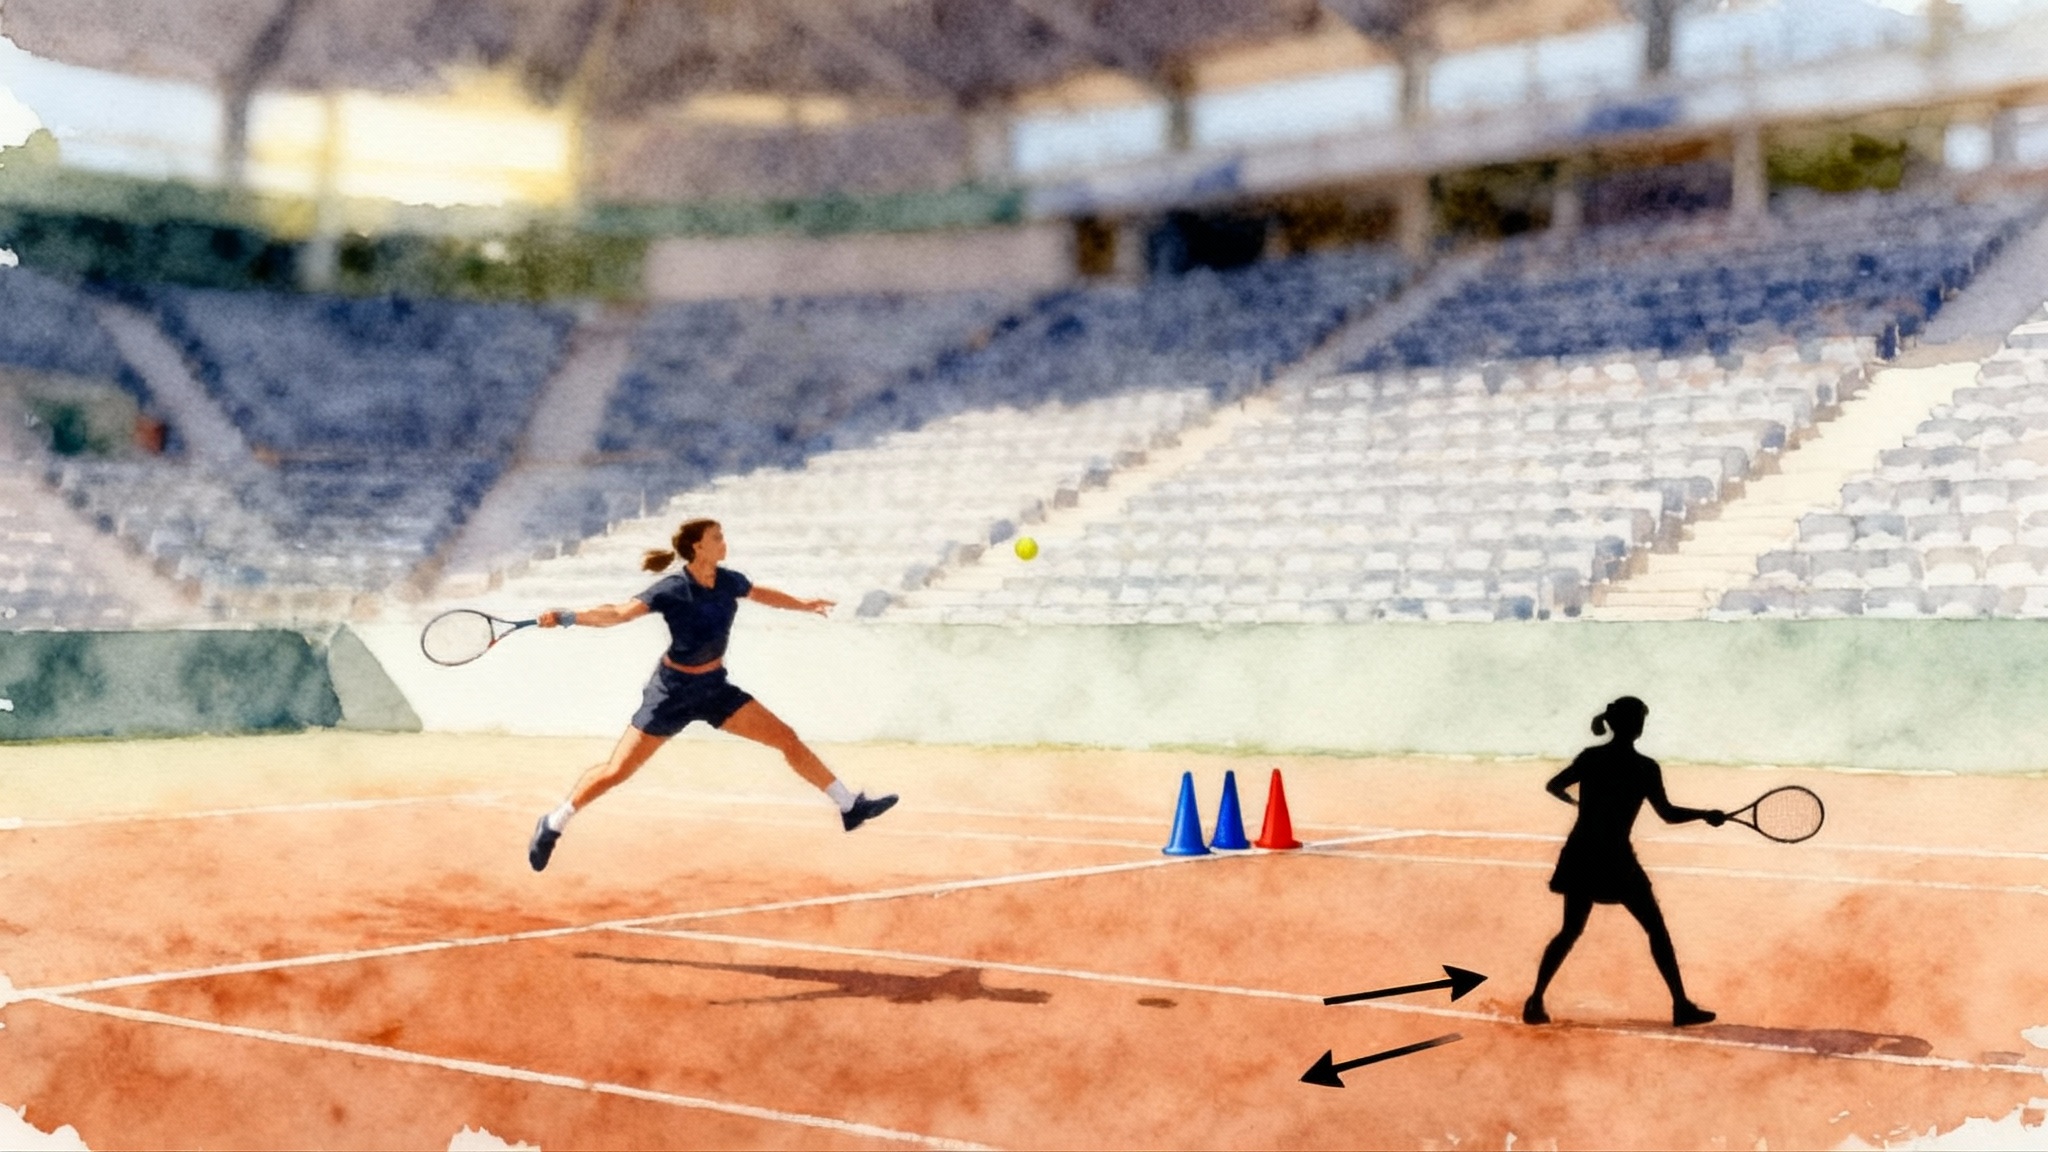
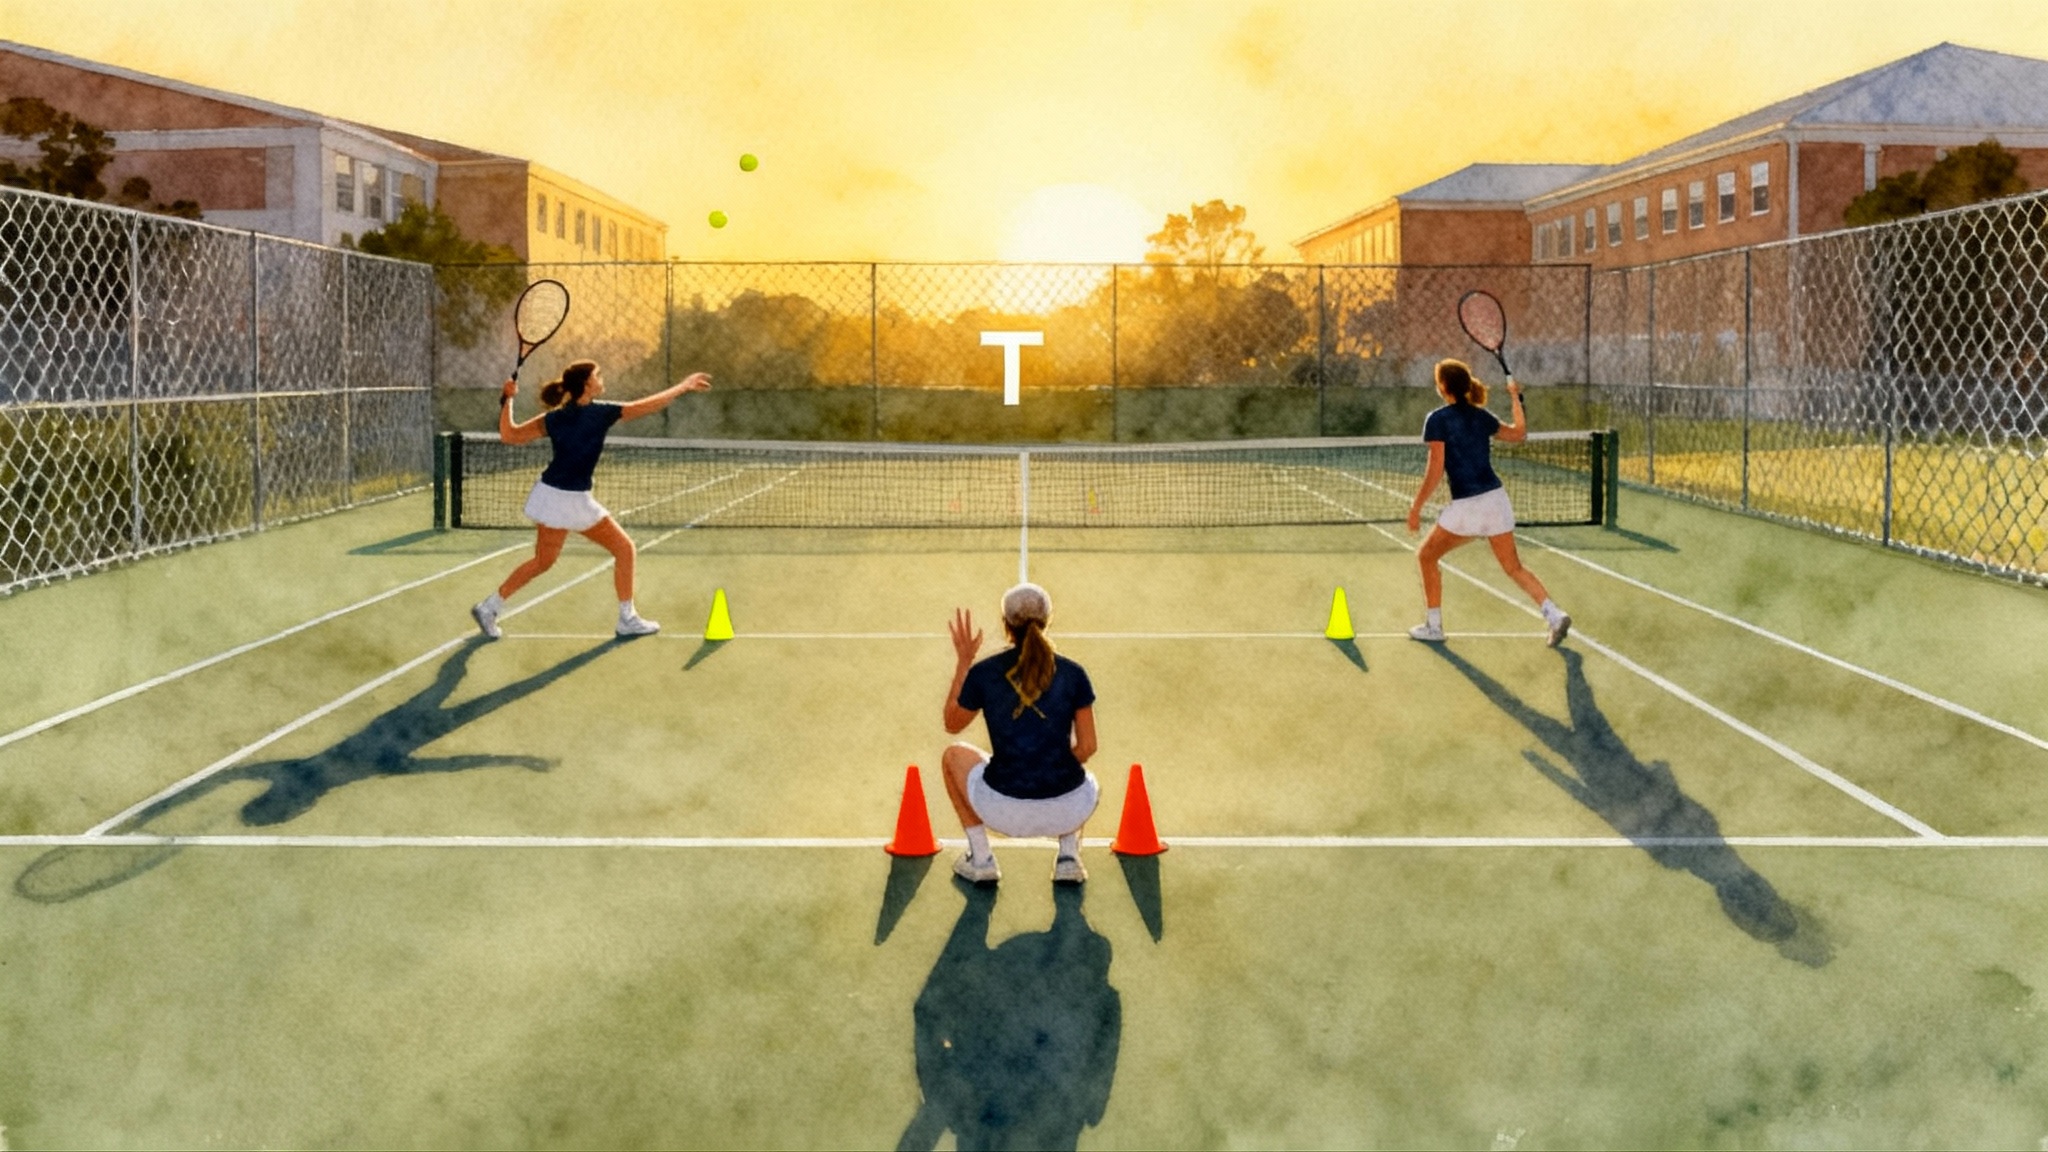
Side view for stroke mechanics
- Position: On the deuce side fence for a right‑handed forehand, ad side for a right‑handed two‑handed backhand. Align the lens midway between the baseline and service line, perpendicular to the player.
- Height: Chest to head height is enough. The goal is a true side profile of the kinetic chain.
- Framing: From feet to just above the follow‑through. Keep the hitting arm and racquet fully inside the frame at contact.
- Why it works: This view reveals unit turn, lag, contact point, and finish shape.
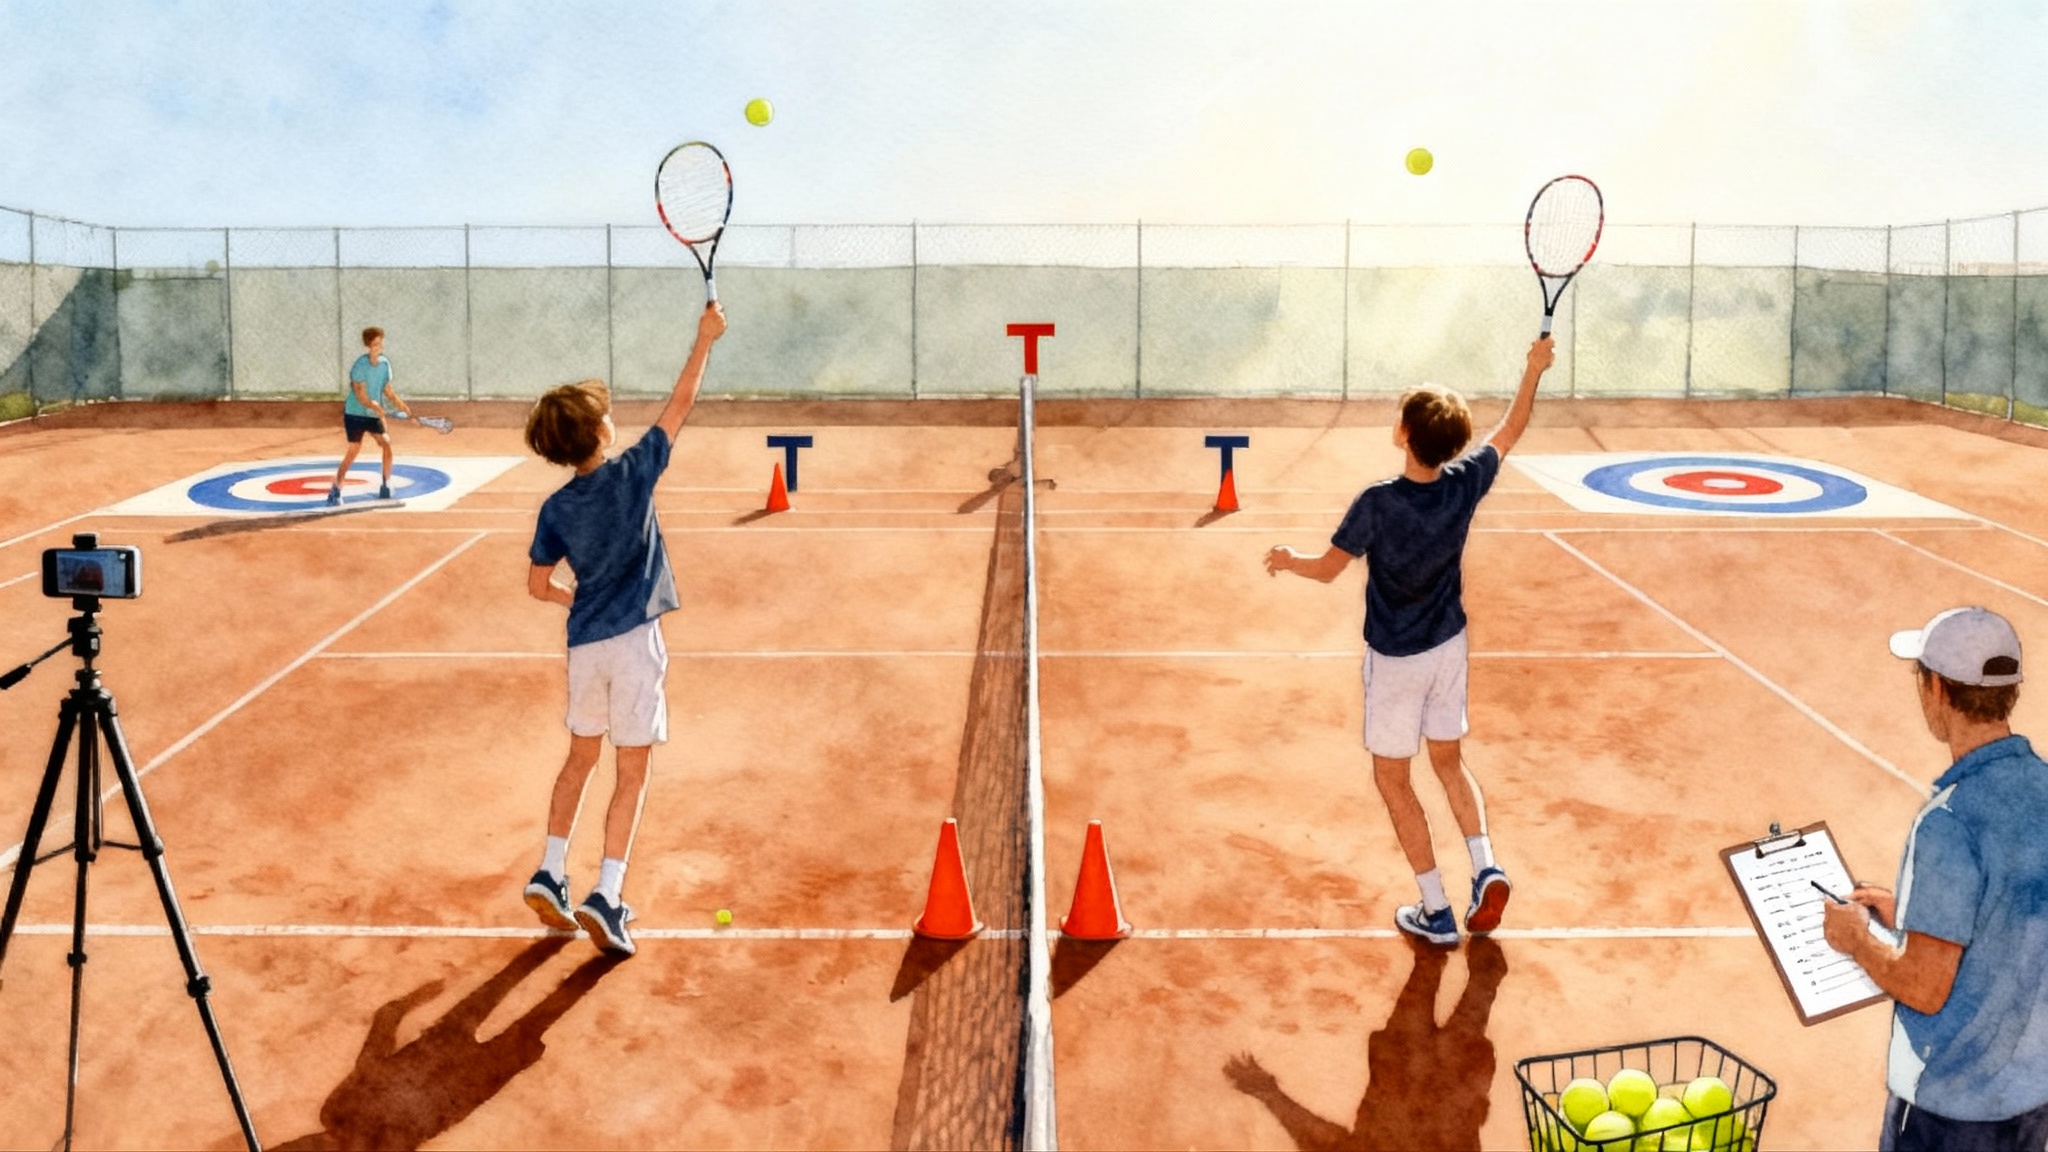
Serve view that shows toss and racquet drop
- Position: Directly behind the server, centered on the center mark, 4 to 6 meters behind the baseline. If you cannot get centered, offset slightly toward the deuce side to keep the toss and racquet head in frame.
- Height: 2.5 to 3 meters if possible so you capture the full toss arc and the top of the contact.
- Framing: Feet to at least a meter above the fully extended racquet.
- Why it works: You can freeze key frames for knee bend, shoulder over shoulder action, racquet drop, contact height, and landing.
Phone settings that freeze the ball
- Resolution: 1080p is the sweet spot for clarity and file size. Use 4K only if your phone and storage are comfortable handling it.
- Frame rate: 120 frames per second for close‑up side views of mechanics. 60 frames per second is fine for the baseline tactical view. Use 240 frames per second on very fast serves if your phone supports it cleanly.
- Exposure: Tap to focus on the hitting zone, then lock focus and exposure. Slightly underexpose in bright sun for better ball visibility.
- White balance: Set it to daylight when possible to avoid color shifts on clay and under mixed lighting.
- Stabilization: Use the fence or tripod. Optical or electronic stabilization helps, but height plus a stable mount helps more.
- Audio: Wind reduction on if available. Good audio makes match highlight clips more watchable.
If your camera app allows manual shutter speed, aim for a shutter near 1/1000 for strokes and 1/2000 for serves on bright days. If you cannot set it, record in bright light so the phone automatically uses a faster shutter.
Filming checklists by level
The fastest progress comes from spotting the one change that fixes three problems. Use these concise checkpoints when you scrub through slow motion.
Juniors and parents
Forehand
- Unit turn: Both hands move the racquet together as the shoulder turns. Pause at this moment to check.
- Spacing: A fist of space between hand and hip at contact.
- Finish: Racquet finishes above the shoulder with chest facing the net.
Two‑handed backhand
- Grip check: Top hand knuckles behind the handle, not on top of it.
- Step and load: Front foot plants before contact, back hip drives forward.
- Contact: Out in front with arms forming a soft triangle.
Serve
- Toss location: Slightly in front of the baseline and inside the hitting shoulder.
- Power source: Bend the knees and extend up, do not just swing the arm.
- Finish: Land inside the court with balanced recovery.
Parent filming tips
- Count to three before and after each rally so the editor can find clean in and out points.
- Say the score out loud at the start of each point during matches. It helps later.
- Keep the frame wide. Coaches can zoom in after the fact more easily than reconstructing missed context.
High school and tournament players
Forehand
- Racquet drop: Strings point down before acceleration. Look for forearm relaxation rather than forced wrist action.
- Contact height: Match height to incoming ball. Low contact often signals spacing issues.
- Direction control: Adjust with the shoulder line, not the wrist.
Two‑handed backhand
- Hip‑shoulder sequence: Hips start, shoulders follow. Freeze just before contact to check the order.
- Lead arm: Top hand drives through contact, bottom hand supports.
- Finish: Over the front shoulder with the back foot releasing.
Serve
- Racquet drop depth: Elbow stays up while the racquet drops behind the back.
- Shoulder over shoulder action: Trunk tilts, not just arm reach. Check that the tossing shoulder lowers as the hitting shoulder rises.
- Second serve shape: Clear kick or slice identity instead of a slower flat ball.
Adult improvers
Forehand
- Set early: Racquet prepared before the bounce.
- Swing path: Low to high through contact for reliable shape.
- Recovery: First step back to center as soon as you finish.
Two‑handed backhand
- Load the legs: Bend both knees before the swing. Straight legs lead to arm‑only strokes.
- Head still: Keep the chin steady through contact.
- Follow‑through: Finish forward, not wrapped behind the head.
Serve
- Rhythm: Count a smooth one‑two‑three from start, to trophy, to contact.
- Toss height: Just high enough to reach full extension, not a moon ball.
- Targeting: Aim at service box corners and record where balls land. Grouping beats raw speed.
The 3‑week record-analyze-correct loop
This loop avoids analysis paralysis. You are always filming with a purpose and acting on the next clear step.
Week 1: Baseline and one change
- Record all three strokes from the recommended angles.
- Scrub in slow motion and pick one issue that shows up across rallies. Example: spacing is tight on both forehand and backhand.
- Choose one cue that addresses the cause. Example: start racket prep as the ball crosses the net.
- Practice with a basket or wall session focused on that cue. Record the last 10 minutes.
Week 2: Pressure test
- Record again from the same angles and distances. Consistency of camera position is key for honest comparisons.
- Add light pressure: serve plus one, first to seven points, or crosscourt live rally with targets.
- Check if the cue holds up. If it breaks under pressure, simplify the cue. Example: call “turn” out loud on the first step.
Week 3: Lock it in and measure
- Keep the exact camera framing. Create side‑by‑side clips with last week.
- Verify two objective markers. Examples: contact a ball width farther in front, or average net clearance one ball higher.
- If progress is stalling, book a targeted review to avoid the wrong fix. A short, focused check keeps momentum.
Use this loop repeatedly. One visible change per three weeks compounds into a different player over a season.
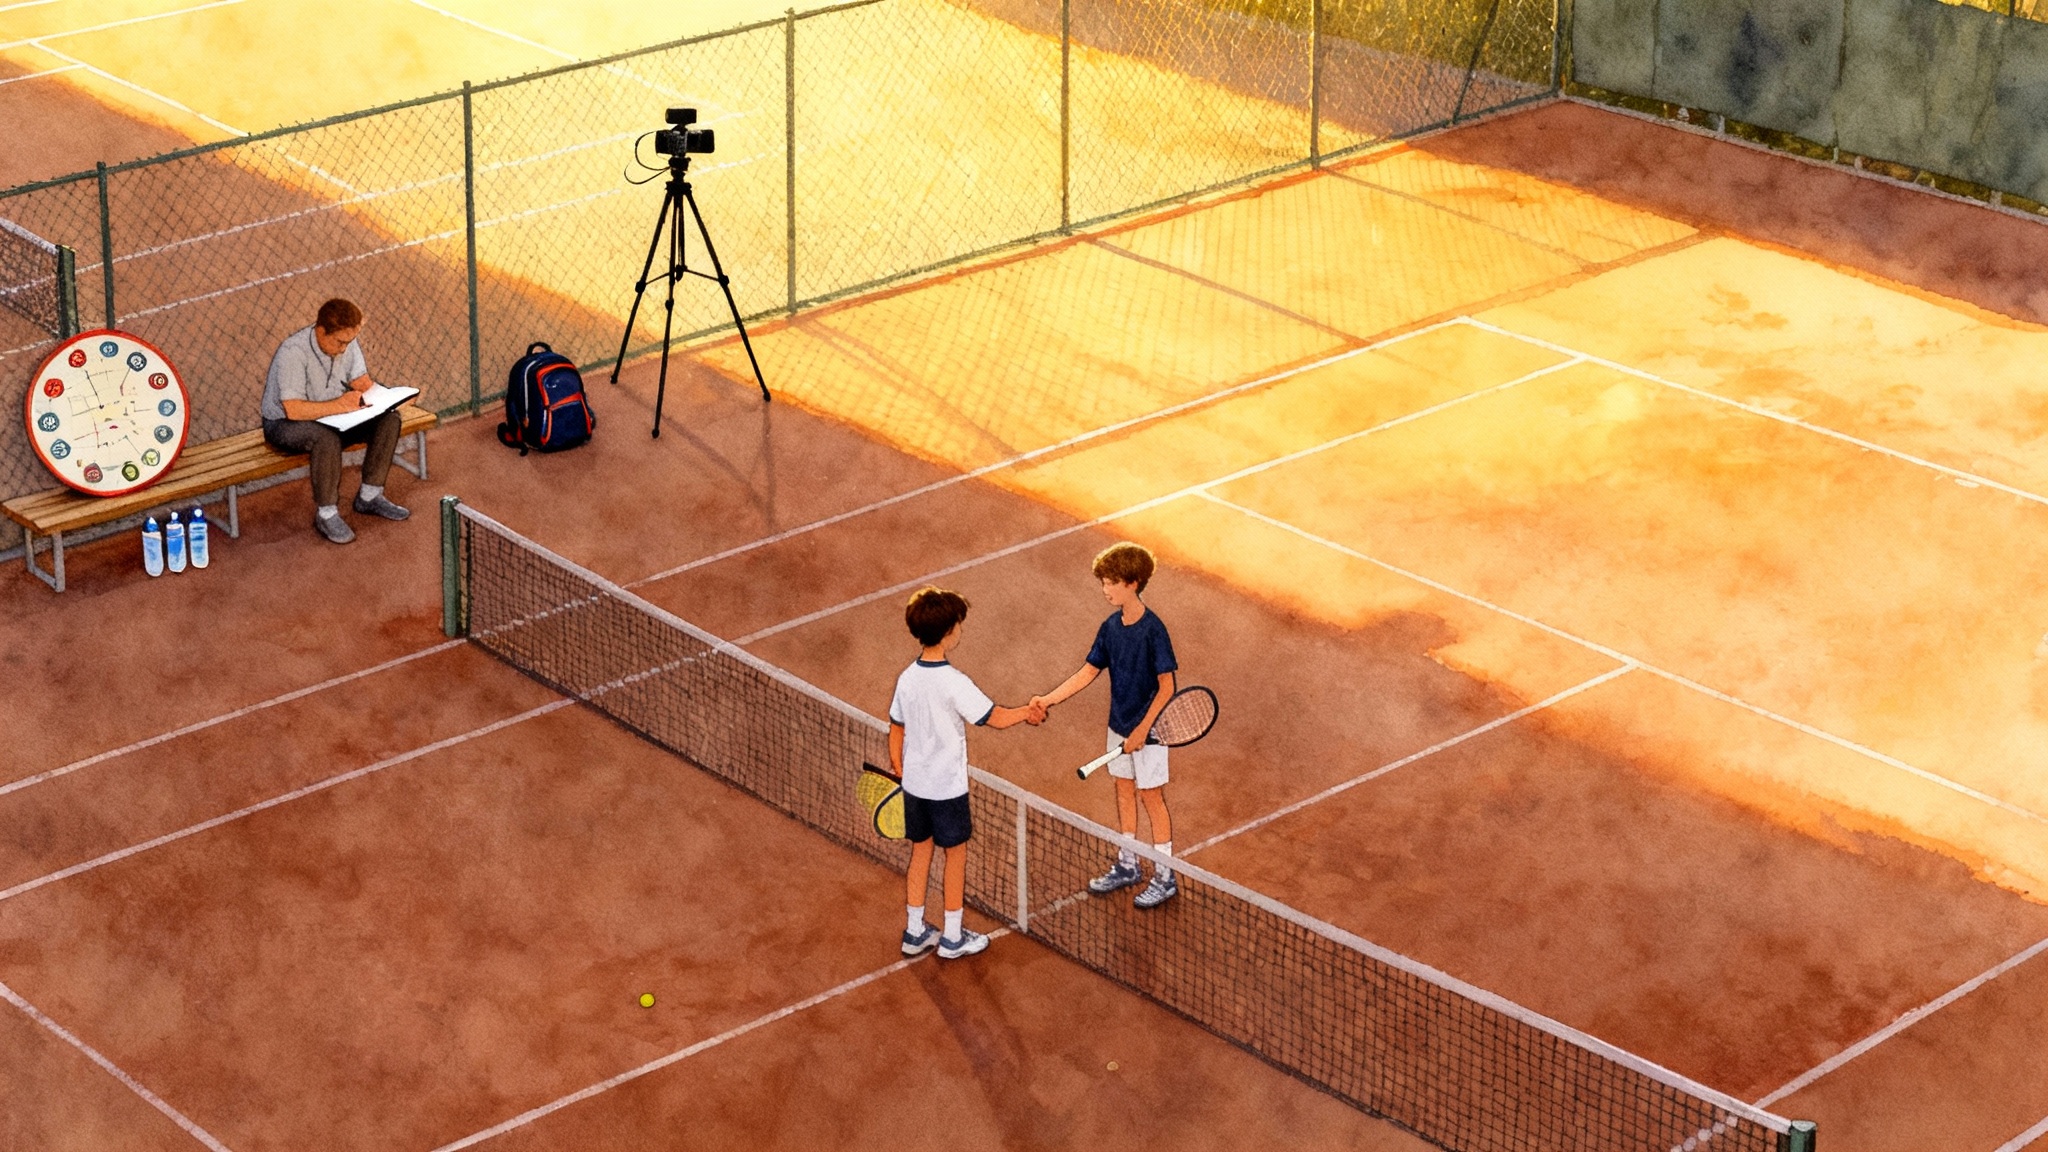
Turning match clips into a clean recruiting highlight
The best highlight tells a clear story in two to three minutes and lets coaches judge your habits quickly.
- Start with a title card: full name, graduation year, height, dominant hand, and location. Add email and phone.
- Open with four serves that show pace and shape, then two returns, then 6 to 8 points of point construction. End with two transition or volley points.
Editing rules that keep it watchable
- Keep each rally intact. Avoid jump cuts that hide errors.
- Use a simple score bug or a clean text overlay in the corner. Update at the start of each point.
- Vary opponents and locations. Show hard and clay if you play both.
- Include defensive points that become offense. Grit matters.
- Cap the video at three minutes. Add a link to full match footage if requested later.
For rating context decisions, read our WTN vs UTR recruiting guide. Do not chase ratings. A clear, honest highlight plus match wins will beat inflated numbers. Make the footage do the talking.
Practical tools
- Capture: your phone’s native camera app for reliability.
- Review and annotation: a low‑cost video analysis app that supports slow motion, drawing tools, and side‑by‑side comparison.
- Editing: your phone’s built‑in editor, iMovie on iOS, CapCut or VN on iOS and Android. Keep transitions simple and text readable.
When to escalate to professional feedback
Escalate quickly if any of these show up for two weeks in a row:
- Pain in the shoulder, elbow, wrist, or lower back
- A serve that gets slower as you try to fix it
- Two or more double faults per game even after changing toss or rhythm
- Frequent late contact despite early racquet preparation
- Conflicting cues from teammates or social media
- A plateau where the same miss returns after each drill
A 15 to 30 minute pro review can save a month of trial and error by pinpointing the cause. Book an on‑court session or upload a short clip through the TennisAcademy.app video uploader and ask for one or two specific questions to be answered. Focus beats volume.
Example workflow: syncing home practice with One Tennis Academy
This example shows how a junior or adult can connect solo filming with coached on‑court work.
- At‑home filming
- Monday: Record forehand and two‑handed backhand. Baseline view and side view, 60 frames per second baseline and 120 frames per second side.
- Tuesday: Record 20 first serves from the center mark and 20 second serves from the ad side at 120 frames per second.
- Wednesday: Choose the three clearest clips and write one sentence per stroke describing the main issue and a proposed cue.
- Submit for on‑court assessment
- Wednesday evening: Upload those three clips through the TennisAcademy.app uploader and select One Tennis Academy’s on‑court video assessment option. Include your cue hypotheses and match context.
- Thursday: Receive coach markup with lines on contact point, racquet drop, and body alignment, plus one focus cue per stroke.
- On‑court with a coach
- Saturday: Attend a 45 to 60 minute session at One Tennis Academy. The coach recreates your camera angles during live hitting to confirm the fix under pressure. You leave with a two‑drill plan and a 60 second voiceover recap.
- At‑home follow‑up
- Next Monday: Film the same angles with the updated cues. Create a split‑screen against last week’s clip and check the two objective markers the coach set.
- Next Wednesday: Upload a short update if you want a quick yes or no from the coach. Keep the loop tight so the change sticks.
This cycle keeps your home practice and coached work speaking the same language. You see exactly what changed and why.
Troubleshooting and quick fixes
Shaky video
- Solution: Use a fence mount. If the fence vibrates during play, brace the mount with a wristband between the clip and fence wire.
Ball hard to see against the sky
- Solution: Lower the camera angle slightly so the background is the court, not the horizon. Underexpose a third of a stop before locking exposure.
Fence pattern showing in the image
- Solution: Move the lens so it looks through a fence opening and set the focus beyond the fence. Slightly widen the framing.
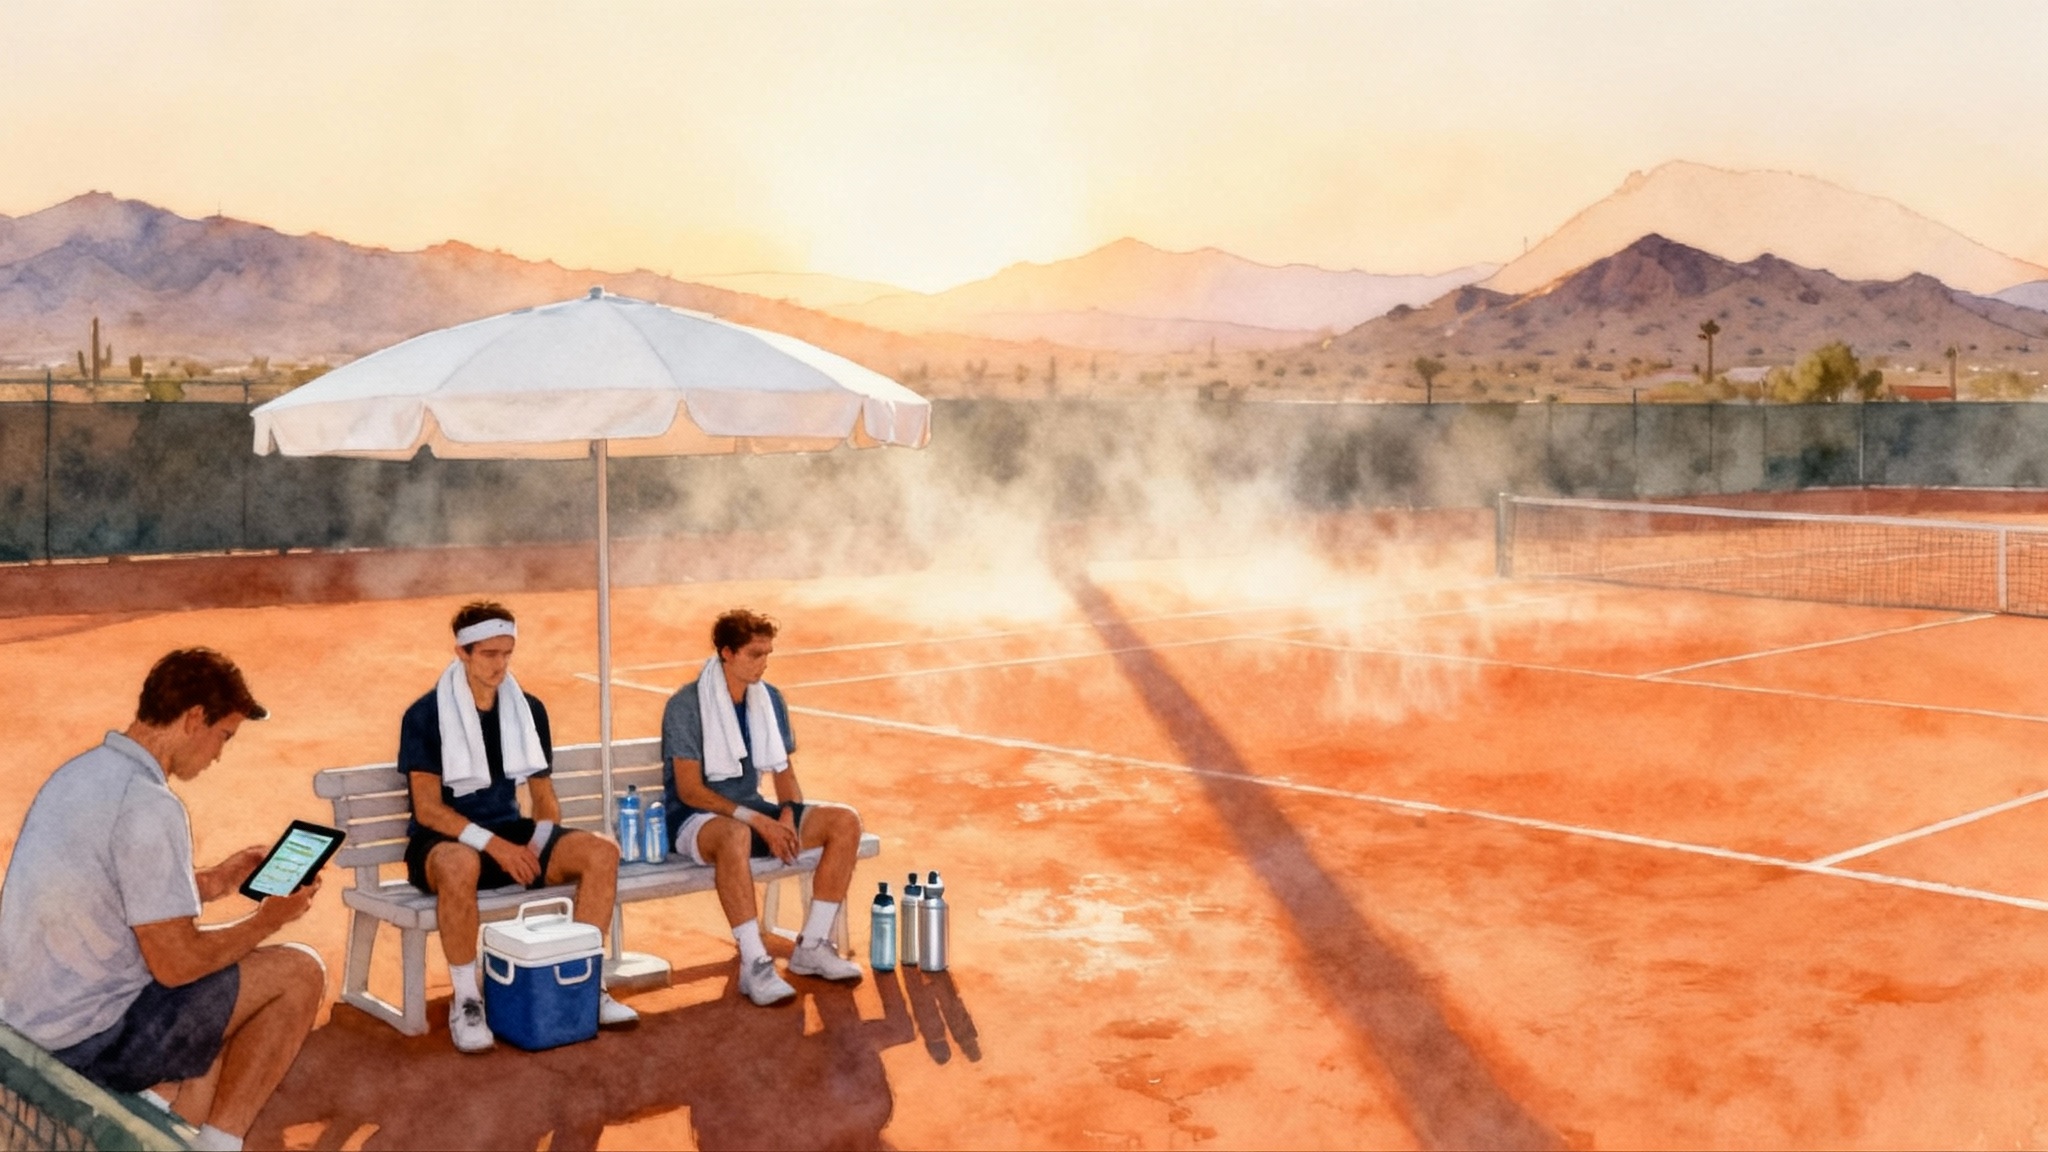
Phone overheats in sun
- Solution: Shade the phone with a white cap or towel. Record in shorter clips and let it cool during ball pickup.
Wind noise
- Solution: Turn on wind reduction in settings. Shield the bottom microphone with a thin fabric strip that does not touch the lens.
Storage full
- Solution: Prioritize 1080p at 60 or 120 frames per second instead of 4K. Delete in‑camera after you save the best take.
Low‑light blur indoors
- Solution: Move the camera closer and switch to 60 frames per second to allow more light. Add a small portable light aimed at the hitting zone if allowed.
A simple editing workflow that saves time
- Dump clips to a dedicated album titled with date and court type.
- Immediately favorite only the best two angles per stroke.
- Trim in and out so each clip shows the full stroke cycle without dead time.
- Use the analysis app to draw one or two lines that point to the cue. Example: a vertical line through the contact point or a line marking net clearance.
- Export a 30 to 60 second reel per stroke for your coach or for your own library.
Name files with a consistent pattern such as 2025-10-04_forehand_side_120fps.mov so you can compare month to month without guesswork.
Hard and clay court specifics you will notice on video
Hard courts
- The ball skids and stays lower, so check knee bend and racquet slot depth on groundstrokes.
- Glare is stronger. A clip‑on polarizer can darken reflections and make the ball pop.
- Shoes squeak show timing. If the squeak happens after contact, you are often late.
Clay courts
- Bounce is higher and slower, so spacing errors show as jammed contact near the body. Move the first step earlier.
- Footing leaves a trail. Use those slide marks to see if you are loading the outside edge on defense.
- White lines clip easily in bright sun. Slight underexposure helps preserve detail.
What a good slow‑motion review looks like
For each stroke, scrub to these three frames and write one sentence per frame.
Forehand
- End of unit turn: Are the hips coiled and hands together?
- Racquet drop: Are the strings pointing down with the hand relaxed?
- Contact: Is the ball in front with a firm wrist and a stable head?
Two‑handed backhand
- Load: Are the shoulders closed and the back hip coiled?
- Drive: Is the top hand leading through contact without pulling up early?
- Finish: Does the chest face the target with a balanced stance?
Serve
- Trophy: Is the tossing arm straight up and the elbow high?
- Racquet drop: Does the racquet fall deep behind the back while the elbow stays up?
- Contact: Is the hitting shoulder higher than the tossing shoulder with full extension?
These snapshots remove guesswork. If two frames look right and one looks off, you have found the link to fix.
Bring it all together
The gap between a phone clip and a real improvement is not equipment. It is a repeatable process. Raise the camera, lock exposure, pick one cue, and run the three‑week loop until the change holds in live play. When a problem keeps returning, let a coach pressure‑test your fix and give you one new cue. Use on‑court assessments to keep home filming and coaching in sync, and keep your best clips ready for a highlight that shows real habits. Clear angles and simple checklists turn your phone into a training partner you can trust.