Multi-Surface Tennis Footwork: Hard, Clay, and Synthetic Grass
Adapt your split-step timing, first-step acceleration, recovery routes, and safe sliding for hard, clay, and synthetic grass. Get 15-minute drills, phone-video checkpoints, and age-specific progressions with a Nice Tennis Academy spotlight.
Why surface changes everything
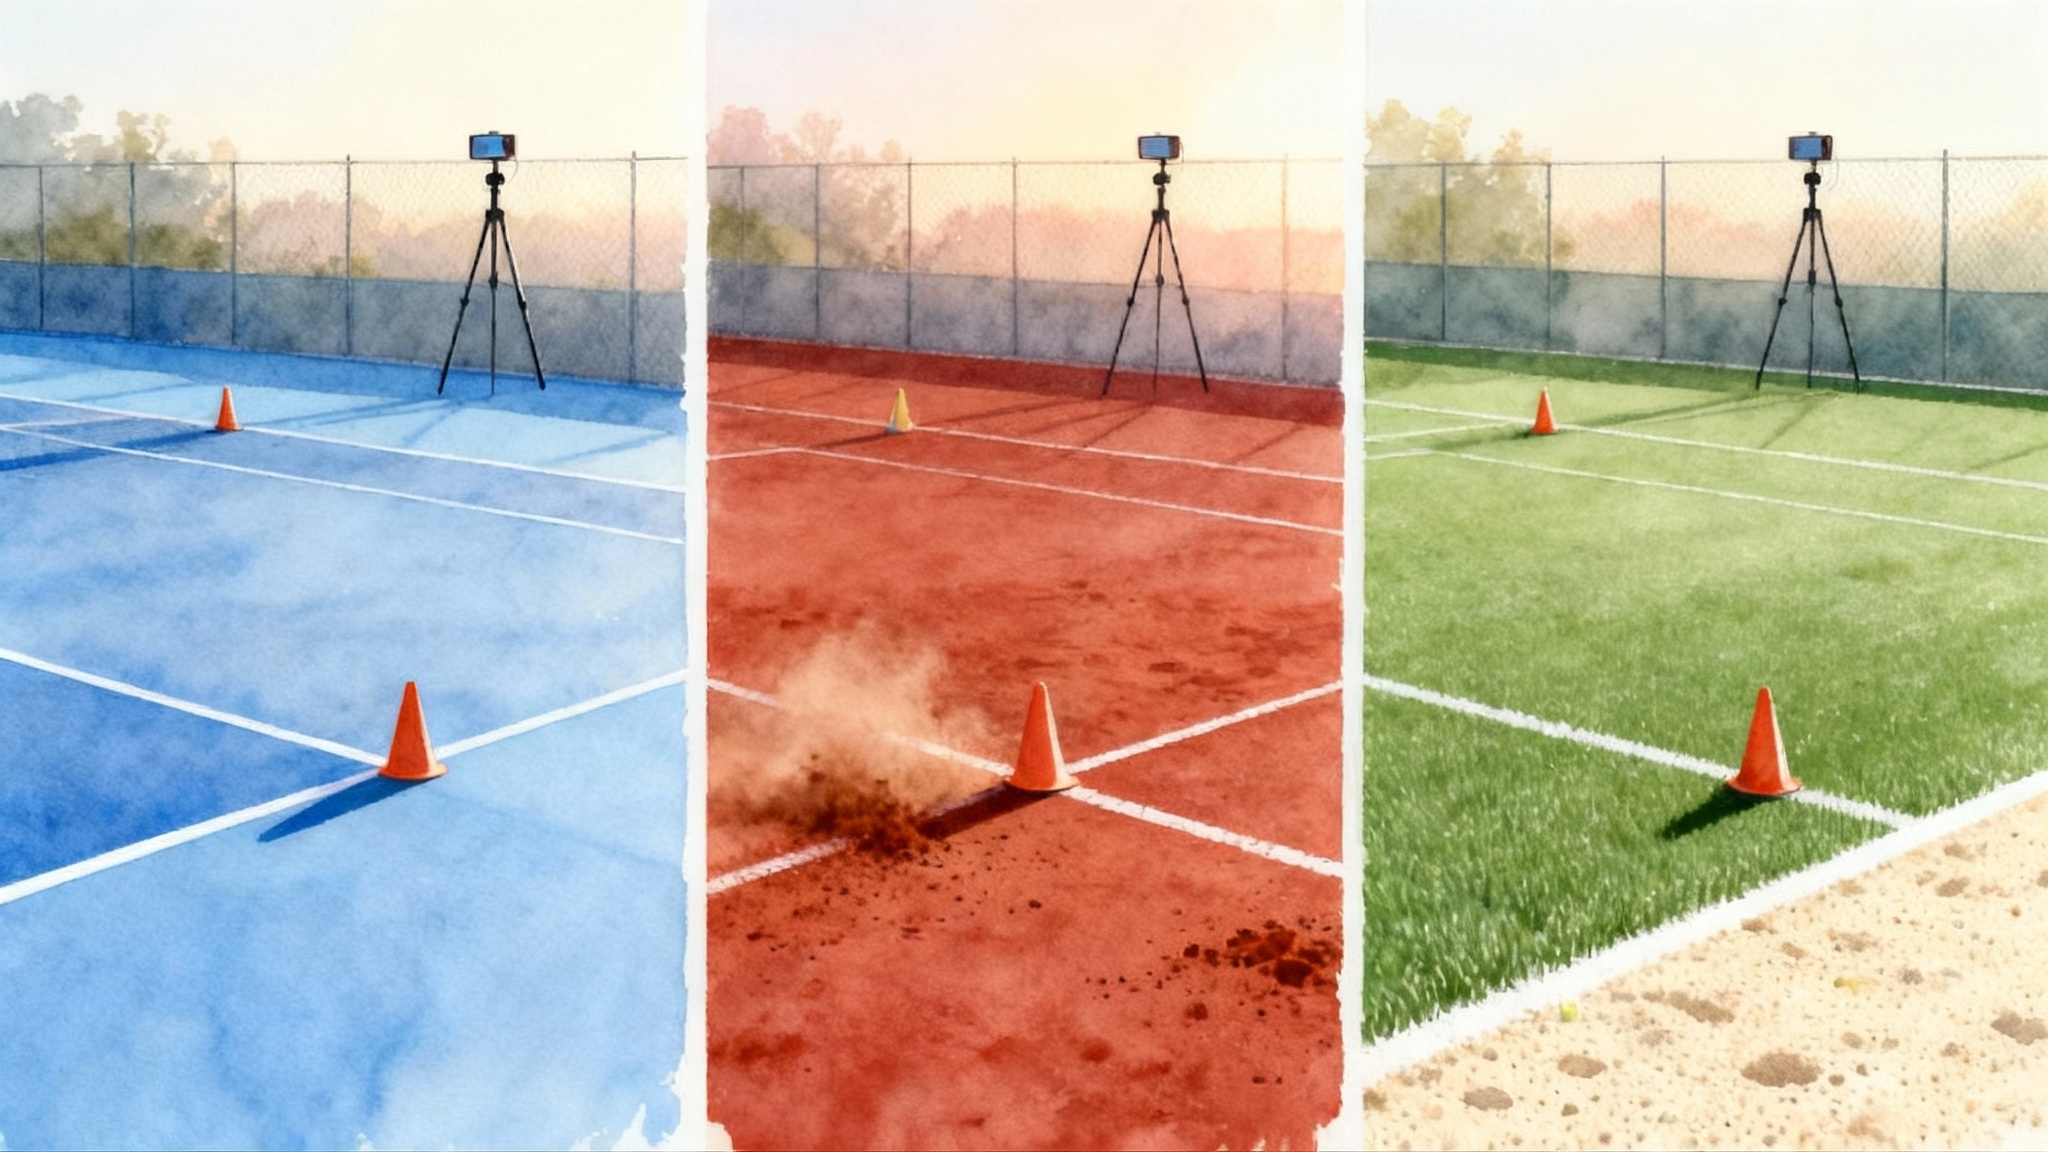
If the ball is the script of a point, the court is the stage. Hard courts, clay, and synthetic grass each change how your shoes grip the ground, how quickly you can stop, and how your body absorbs force. That is why a split step that feels perfect on hard can feel a touch late on clay, and why a first step that flies on synthetic grass can skid if your angles are wrong. The goal of this guide is to show juniors, parents, and adults how to tailor footwork to each surface with simple drills you can film on a phone, plus a 15‑minute session you can run before or after regular practice.
When you understand surface behavior, you make better decisions. Hard courts are firmer and return more energy into your joints. Clay gives you controlled slip and invites sliding when done correctly. Synthetic grass, often a sand‑filled artificial turf, has low friction at the top layer and can feel quick underfoot but unstable if you overstride. For a quick primer on how surfaces are categorized, see the International Tennis Federation surface categories.
How to use this guide
- Choose the surface you will play on next and run the 15‑minute session for that surface.
- Film the key checkpoints with a phone and compare against the cues below. Most phones capture at 60 frames per second. If yours has 120 frames per second or slow motion, even better.
- Progress by age and experience. Juniors and adults will use the same drills with different constraints.
If your season is moving indoors soon, use this plan alongside our indoor transition guide to adjust for bounce, speed, and lighting changes.
You will see four themes across all surfaces:
- Split step timing. Land slightly before or at opponent contact so your center of mass is ready to push.
- First step acceleration. Create a strong shin angle and push the ground away.
- Recovery patterns. Choose the shortest safe path back to a neutral position.
- Sliding mechanics. Learn when and how to use controlled slip on clay and, sparingly, on synthetic grass.
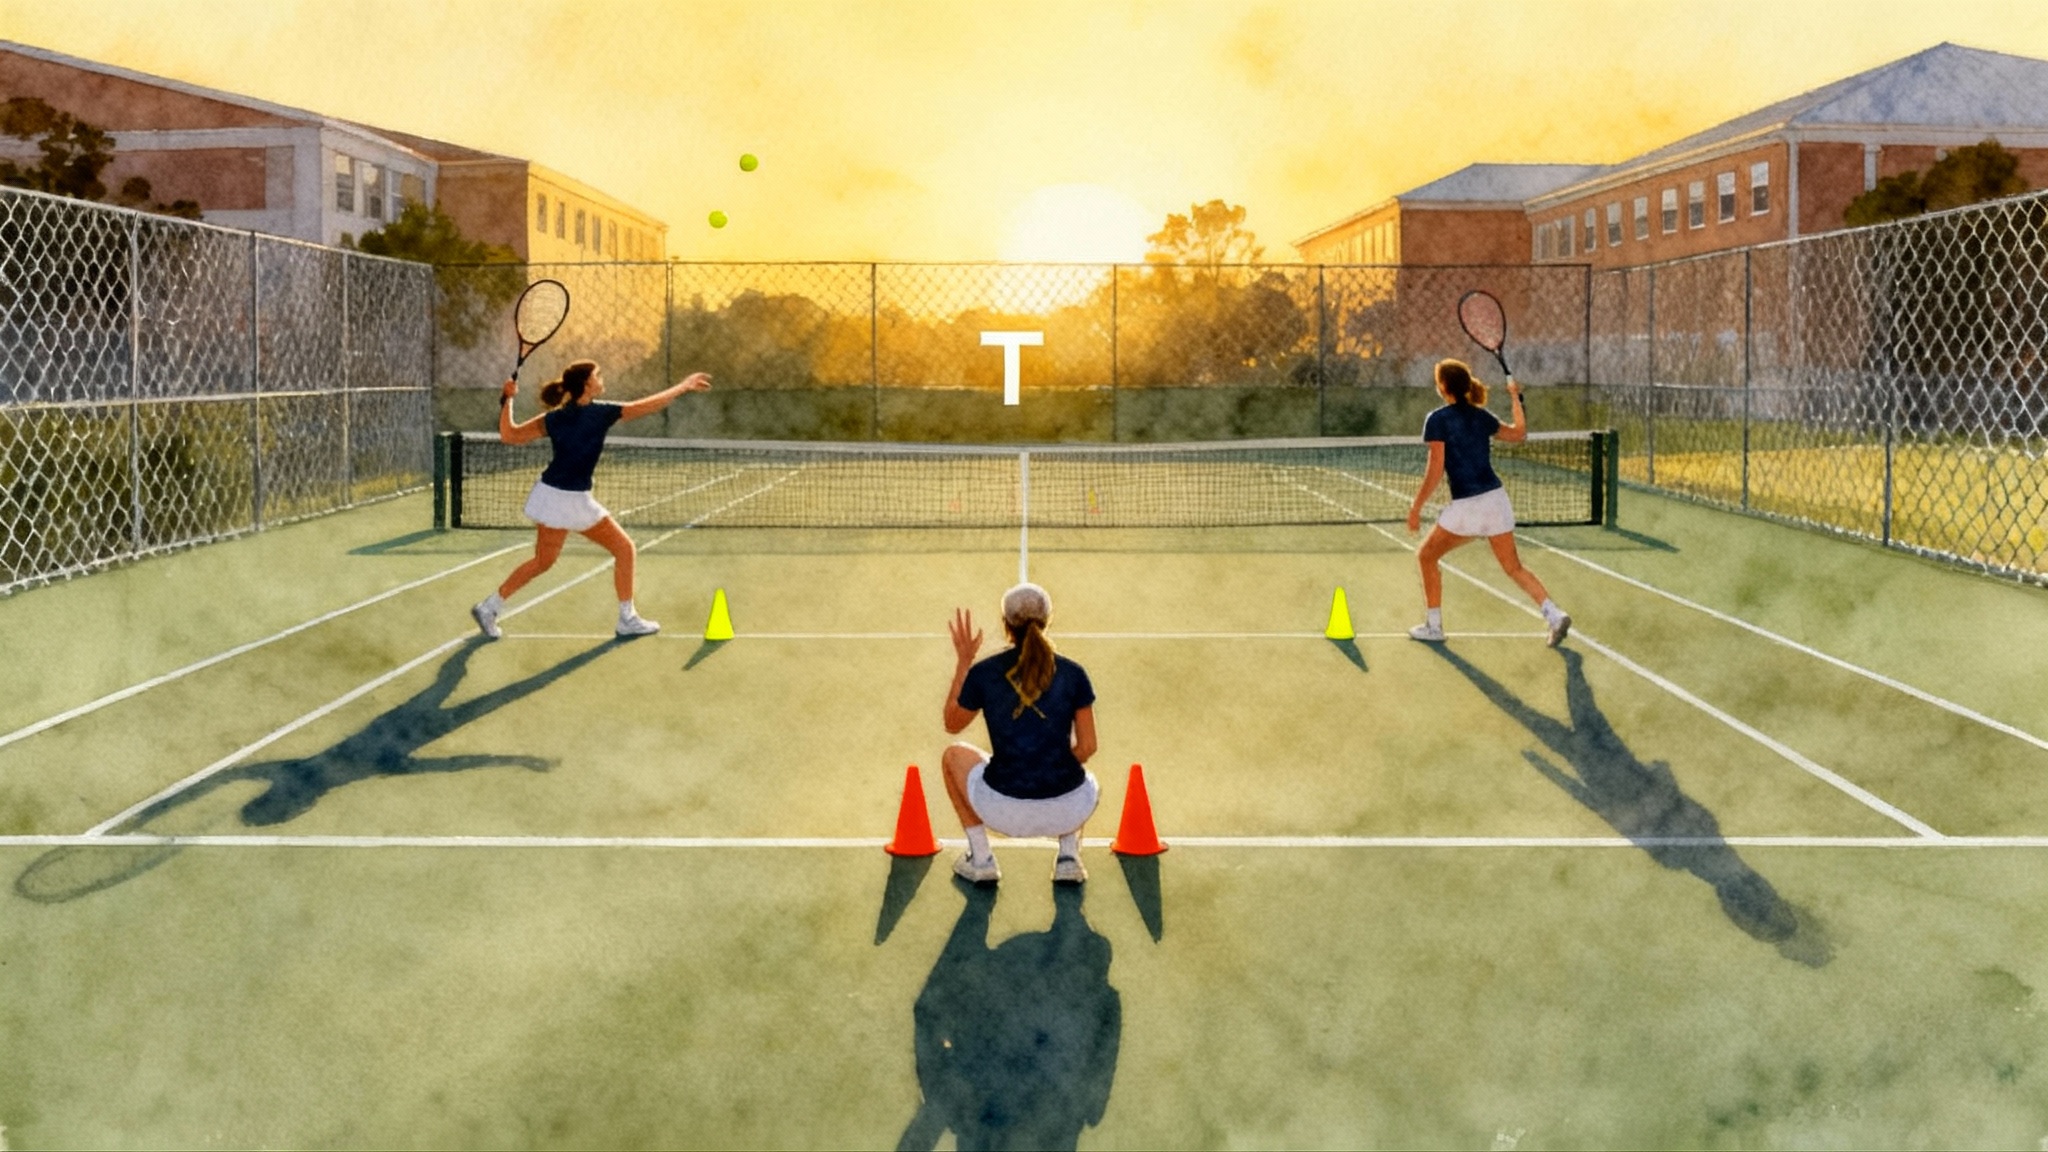
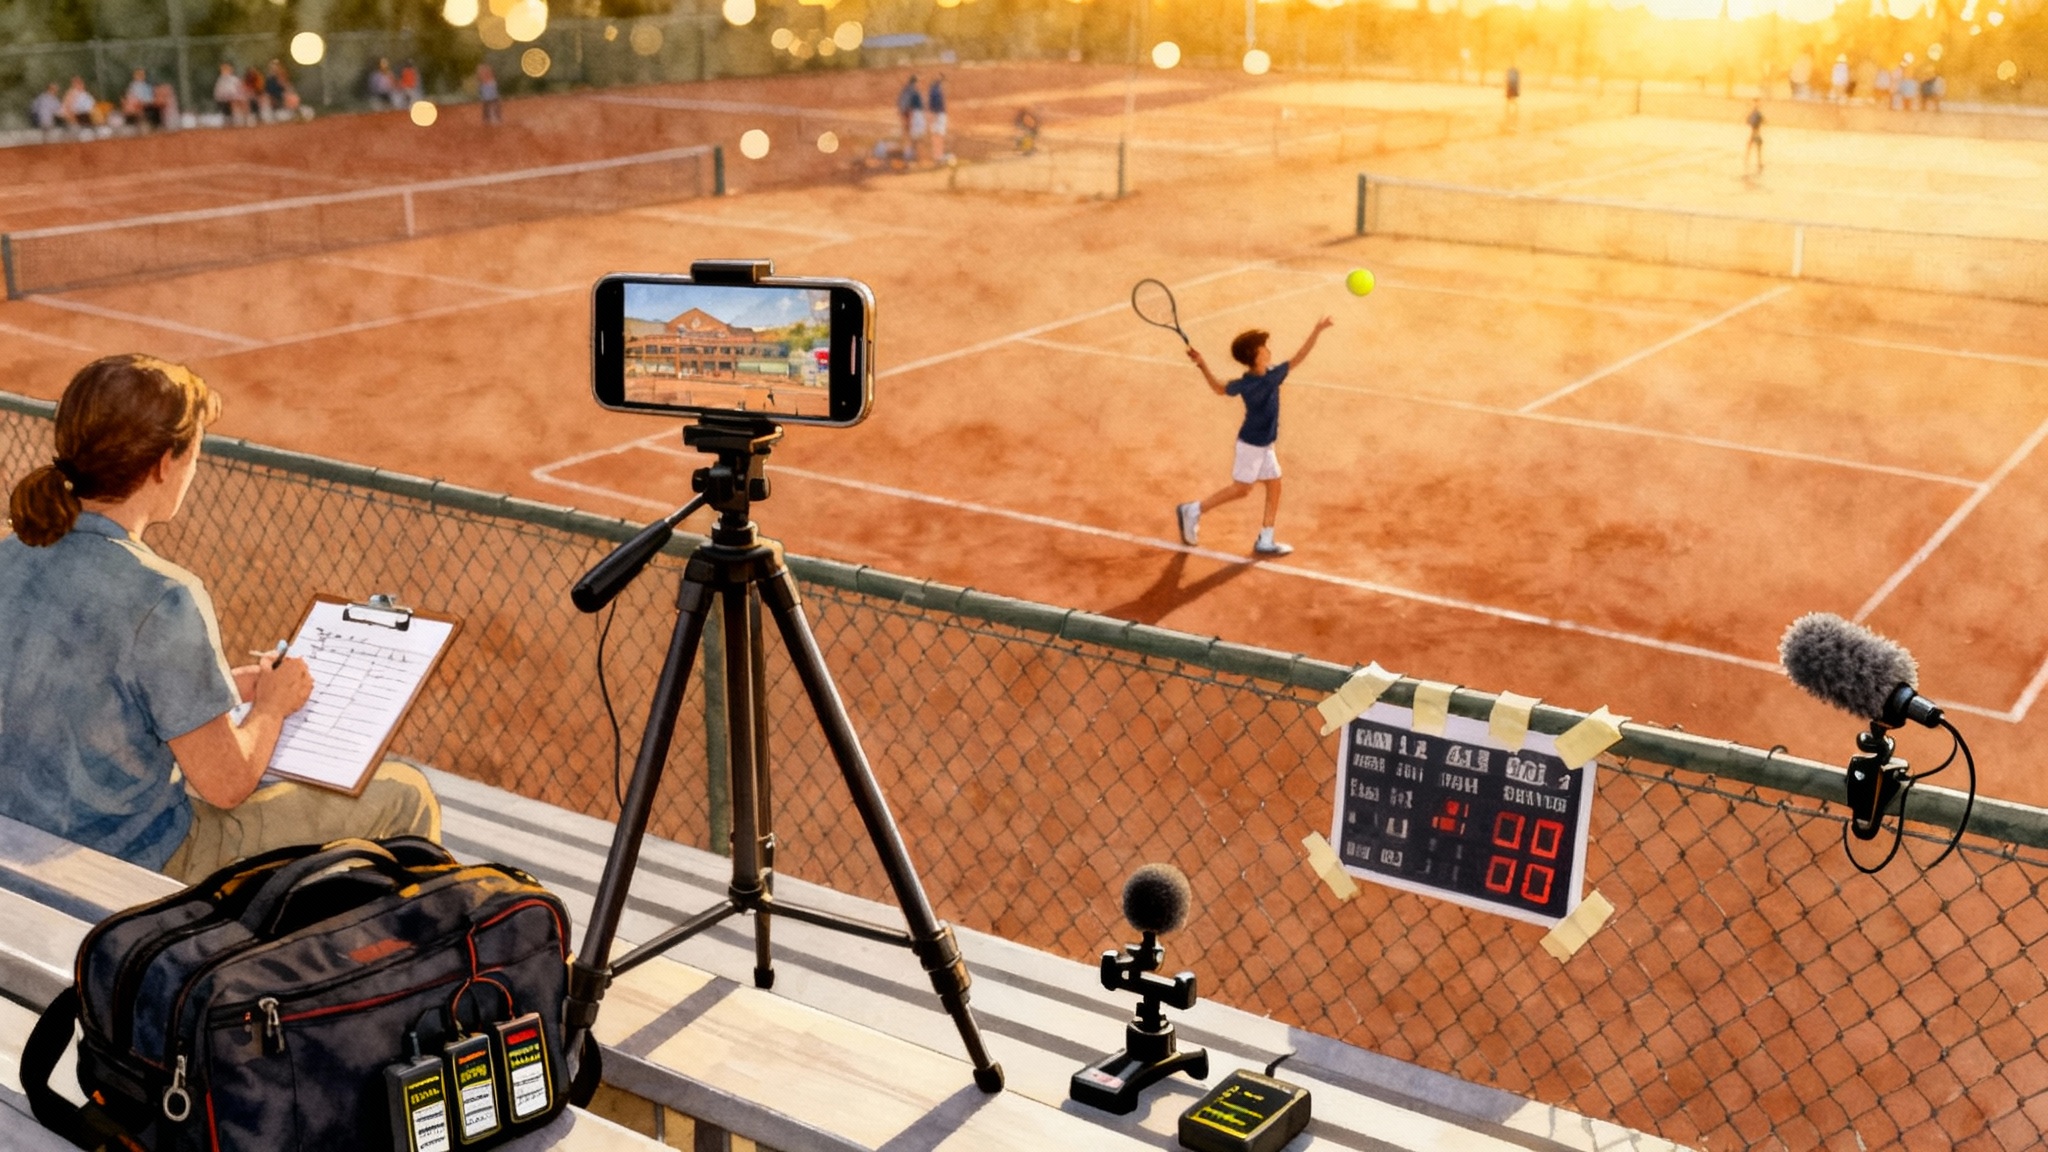
Simple phone‑video checkpoints
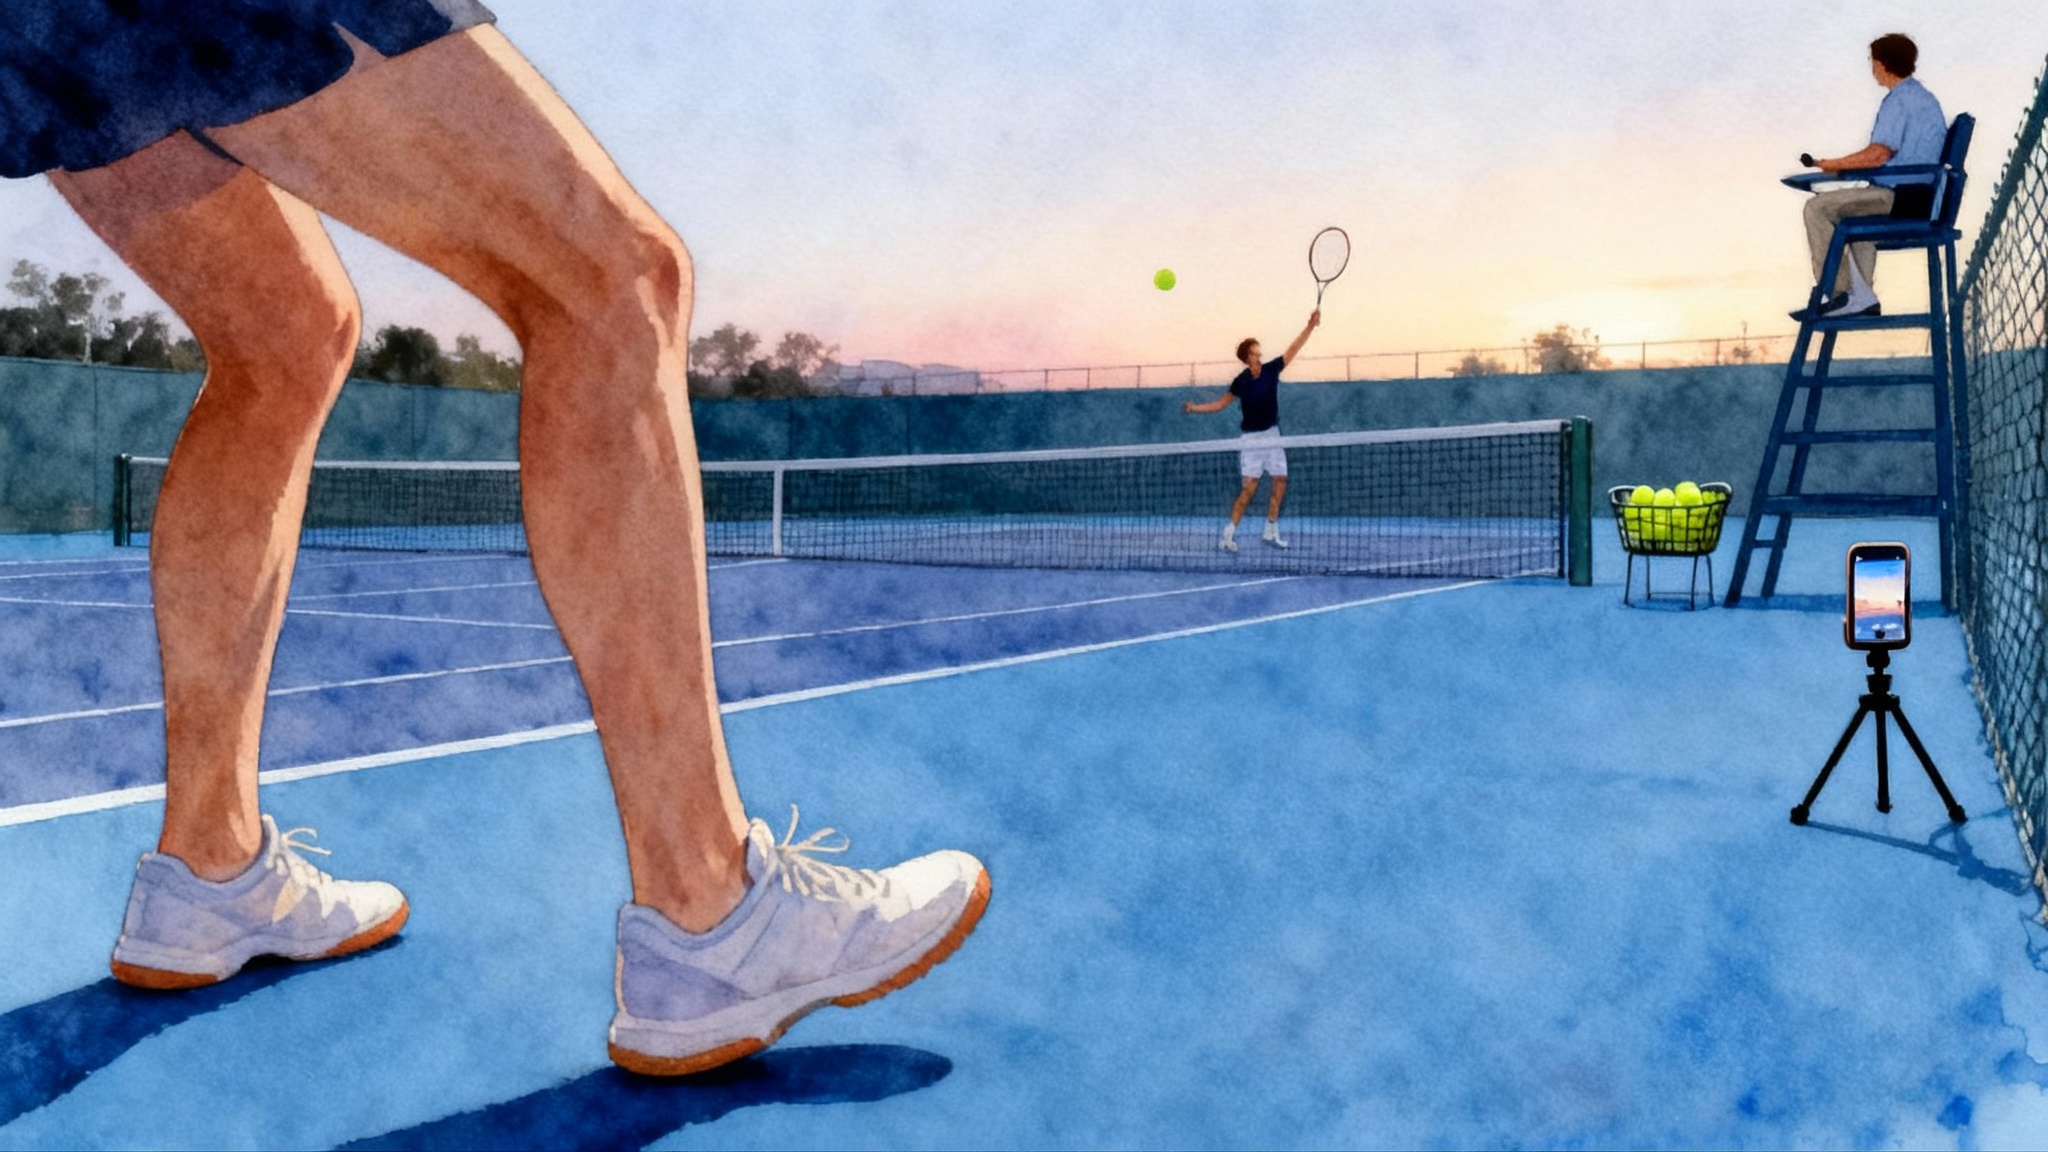
Set the phone on a tripod at net height, 3 to 4 meters behind the baseline, centered. Use the grid overlay if your camera has it.
- Split step timing. Scrub frame by frame. Check that your feet make contact at the moment your opponent’s strings touch the ball. Count frames between your landing and your first step. Target 1 to 3 frames at 60 frames per second.
- First step shin angle. Pause on your first push step. The shin of the pushing leg should tilt toward your target around 40 to 60 degrees, not vertical.
- Recovery pattern. After contact, count steps back to your recovery spot. Aim to finish your follow‑through, load, then use either a crossover or a shuffle depending on ball height and distance.
- Slide quality on clay. Flag heel‑first landings. They are unsafe. You want midfoot to forefoot entry, knee tracking over second toe, and a quiet upper body.
Universal safety cues
- Land softly. Bend at the hips and knees, keep the chest tall, and avoid locked knees on split step landings.
- Knees track over toes. Do not let the knee collapse inward during cuts or slides.
- Shorter steps beat lunges. Short, frequent steps give more control on lower‑friction surfaces.
- Shoe check. Inspect tread before every session. Replace shoes when the pattern is smooth under the big toe and outer forefoot.
Hard courts: crisp timing and strong braking
Hard courts reward direct lines and quick stops. The surface does not give you much slip, so you rely on muscular braking and precise recovery angles.
Key adaptations
- Split step. Land a micro‑beat earlier so you can load and explode without sliding. Think land as the opponent hits, then push.
- First step. Drive off the inside edge of the foot that is opposite your direction. Create a strong shin angle by dropping your center of mass before you push.
- Recovery. Use a crisp crossover step out of the hit, then two to three short shuffles to center. Avoid wide, lazy arcs.
Safety cues
- Cushion your landings. Bend at the hips and knees to reduce impact.
- Do not plant and twist. Turn the hips and shoulders with the feet to avoid torque through the knee.
15‑minute hard‑court session
- Minute 0 to 3: Warm up. Skips, ankle rolls, two sets of five pogo jumps, and three lateral shuffles each way.
- Minute 3 to 7: Split‑step timing ladder. Set two cones two racket lengths apart. Toss a ball to yourself or have a partner feed. Land your split at toss release and adjust so that you land at contact. Film three reps forehand side, three backhand side.
- Minute 7 to 11: First‑step rockets. From a ready base, partner points left or right. Take one explosive push step and freeze. Check shin angle and torso lean. Do six each side.
- Minute 11 to 14: Recover and hit. Feed medium‑pace cross‑court to each corner. Hit one ball, then crossover and shuffle back to a recovery cone at the center. Ten balls per side.
- Minute 14 to 15: Phone review. Confirm split landing at opponent contact and that your first push step is not vertical.
Common errors and quick fixes
- Error: Late split step. Fix: Watch the opponent’s shoulder rotation. Start your hop as their shoulders open, land as the strings meet the ball.
- Error: Upright first step. Fix: Exhale and drop your hips an inch before push off to set the shin angle.
- Error: Drifting recovery. Fix: Place a bright cone at your recovery spot. Chase the cone with your belly button after each strike.
Shoe notes
- Durable outsoles and stable uppers help. Many brands make hard‑court models. Replace shoes when the outer edge of the forefoot is smooth.
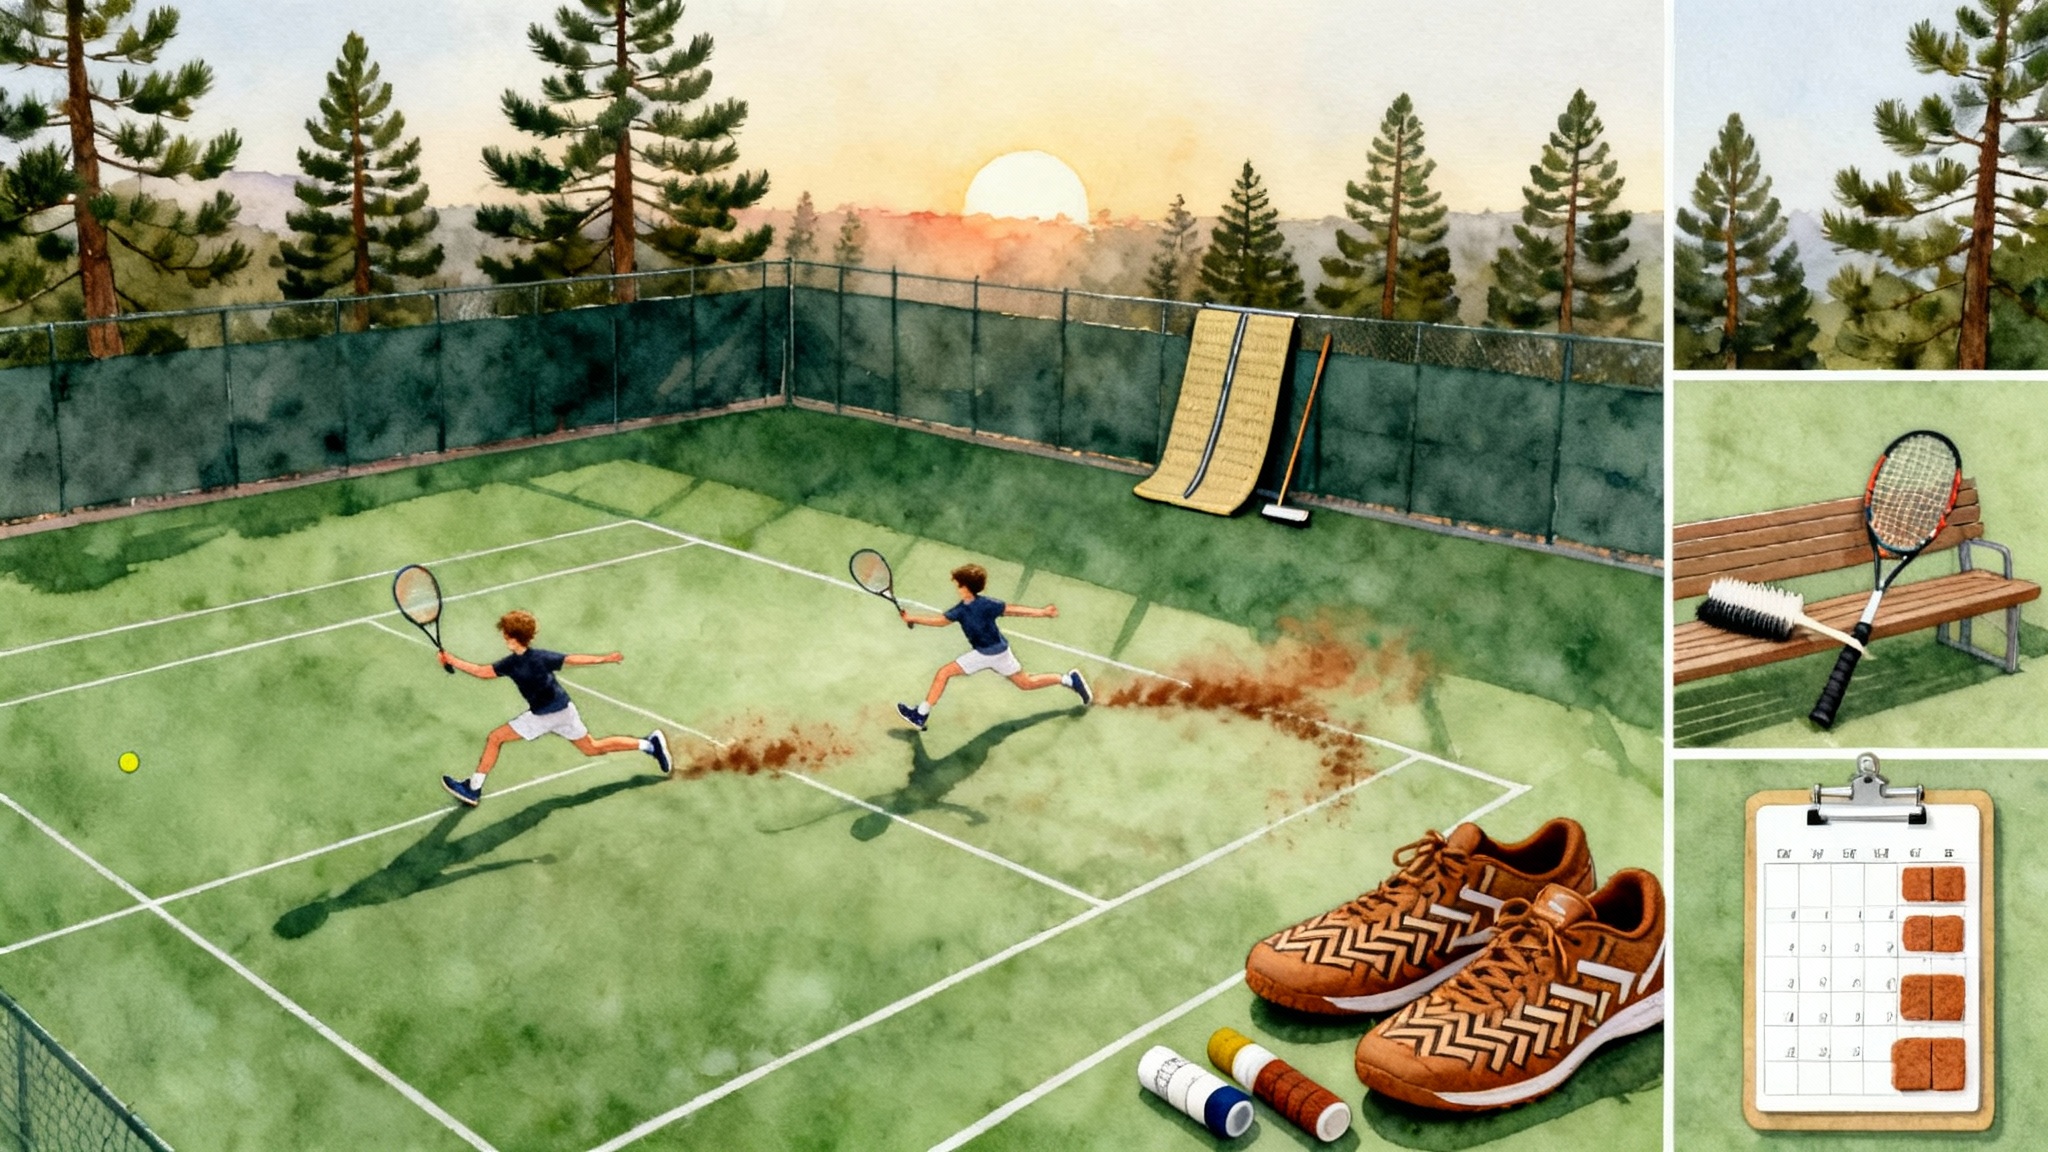
Clay courts: sliding as a tool, not a trick
Clay offers controlled slip that can make wide balls feel more reachable. The goal is a glide that begins just before contact or just after, not a reckless slide that pulls you off balance.
Key adaptations
- Split step. Clay points build slower. You can land closer to opponent contact or a hair after, because the ball sits up longer.
- First step. Use a lower center of mass and slightly longer initial stride to accept some slip before your edge bites.
- Recovery. Dissipate speed during the slide, then insert a micro‑step to regain traction before your crossover back to the middle.
Sliding mechanics checklist
- Entry. Aim the lead foot slightly across your line of travel, not straight ahead. Land midfoot to forefoot. Avoid heel‑first slides.
- Brake. Let the slide absorb speed. Keep the knee over the second toe and the torso quiet.
- Exit. Finish the hit, then add a regain step to re‑grip before you push back.
Safety cues
- Clean soles. Tap shoes with a racket between points to restore tread.
- Never chase a drop shot into a full slide. Decelerate to steps near the ball for control.
15‑minute clay‑court session
- Minute 0 to 3: Warm up. Side shuffles on the service line, two sets of eight skater hops, ankle mobility circles.
- Minute 3 to 6: Slide entries without rackets. Mark a lane with two chalk lines. Jog in, plant the lead foot midfoot, slide one to two meters, and stop in balance. Five reps each side.
- Minute 6 to 10: Slide and strike. Partner feeds a wide ball. Begin slide just before contact, hit cross‑court, then take a regain step and recover with a crossover. Six balls each side. Film two reps.
- Minute 10 to 14: Deep ball defense. Feed high heavy shots. Use a release step back, allow a small slide as you load, then hit heavy back. Focus on staying tall through contact.
- Minute 14 to 15: Phone review. Check midfoot entry, knee over toe, and one clean regain step before pushing out.
New to clay? Pair this with our Clay‑First Tennis plan to build sliding and balance progressively.
Common errors and quick fixes
- Error: Heel‑first entry. Fix: Think toes first, then heel kisses down as you glide.
- Error: Sliding past the ball. Fix: Start the slide a half step earlier and finish the racket path in front of your hip.
- Error: No regain step. Fix: After contact, insert one quick in‑place step to find grip before you push.
Shoe notes
- Full herringbone tread helps the clay bite and clear. Keep laces snug through the midfoot so the foot does not swim inside the shoe.
Synthetic grass: quick feet, shorter strides
Synthetic grass, often a sand‑filled artificial turf, behaves like a low‑friction top layer over a slightly softer base. You get speed on straight lines and less grip on sudden stops, which rewards compact steps and early shaping of the path to the ball.
Key adaptations
- Split step. Land slightly lighter and earlier so you do not sink and then skid.
- First step. Use two or three shorter accelerations rather than one big push. Keep steps under your hips.
- Recovery. Bias a gentle arc back to center with micro shuffles. Big cuts can wash out.
Safety cues
- Test the sand level. Walk a few lines and corners to feel grip before play.
- Keep hips tall when turning. Low, heavy hips plus sudden turns raise the risk of a slip.
15‑minute synthetic‑grass session
- Minute 0 to 3: Warm up. Quick feet in place for 10 seconds, rest 10 seconds, repeat three times. Add two sets of six controlled skater hops.
- Minute 3 to 6: Triple‑step accelerations. Partner points left or right. Take three small steps to the side and freeze. Hips stay between the feet.
- Minute 6 to 10: Arc and hit. Place two cones to form a shallow arc to the ball. Run the arc, shape early, hit on balance, and arc back to center.
- Minute 10 to 14: Stop‑test circuit. Sprint five meters, decelerate in four short steps, plant, and recover. Repeat to each corner.
- Minute 14 to 15: Phone review. Count steps in your deceleration. You want more, smaller steps rather than one desperate plant.
Common errors and quick fixes
- Error: Overstriding to the ball. Fix: Force three small steps before contact and keep your head level.
- Error: Sliding through recovery. Fix: Think soft feet and arc back rather than cutting on a dime.
Shoe notes
- Look for multi‑directional tread that sheds sand. Check traction after a few games and wipe soles with a towel if they cake.
Age‑specific progressions
The drills above are the framework. Here is how to scale them.
Juniors 7 to 10
- Use shorter targets. Cones two racket lengths apart.
- Count out loud. Say land, push, hit to build rhythm.
- Add a game. One point for landing the split on time, one point for finishing in balance.
Juniors 11 to 14
- Add asymmetry. Start drills with a split on one foot to train stability.
- Layer in choices. Partner points left, right, or short for a drop step, crossover, or sprint.
- Track progress. Use the phone to count frames from split landing to first step. Aim to reduce by one frame over two weeks.
Juniors 15 to 18
- Combine skills. Slide into a low ball on clay, then regain and attack the next ball.
- Add serve starts. Split on your opponent’s toss, then defend the return pattern.
- Measure. Use cones to set a 6 meter deceleration zone. Try to stop in three steps on hard and four on synthetic grass.
Adults returning to play
- Reduce volume, not quality. Do fewer reps but keep pristine form.
- Pre‑hab minutes. Add two sets of eight slow heel‑lower calf raises and eight tibialis raises before hard‑court sessions.
- Train the eyes. Watch the opponent’s shoulder and racket head to cue your split timing.
Parents as practice partners
- Safe feeding. On clay or synthetic grass, feed softer and a step shorter until the player finds traction.
- Use voice cues. Call land when the racket hits the ball to anchor split timing.
- Film, then ask one question. What did your first step look like on the forehand side when you were rushed?
A three‑surface weekly micro‑plan
If you have access to multiple surfaces in a week, use this simple rotation to improve match transfer.
- Day 1 hard court. Emphasize crisp split timing and first‑step rockets. Finish with 10 controlled recoveries.
- Day 3 clay court. Emphasize slide entries and regain steps. Finish with a heavy ball defense set.
- Day 5 synthetic grass. Emphasize short accelerations and stop‑test circuits. Finish with arc and hit patterns.
Repeat for three weeks. On week four, test your checkpoints on match‑speed rallies and compare video from week one to week three.
For players toggling between indoor and outdoor courts during the year, revisit the indoor transition guide to keep timing sharp.
Spotlight: how Nice Tennis Academy integrates surfaces
Nice Tennis Academy in the south of France runs junior and adult squads that rotate hard, red clay, and synthetic grass across the week to speed up transfer from practice to matches. Coaches set the same tactical theme on all three surfaces, then change the footwork constraint.
Example block: Neutral ball to attack ball
- Theme across surfaces. Recognize a neutral ball, take ground, and finish forward.
- Hard court constraint. Land the split a micro‑beat earlier, then two explosive first steps to the ball. Finish with a firm brake and crossover out.
- Clay constraint. Begin a controlled slide on the final approach step if the ball is wide. Add a regain step before recovery.
- Synthetic grass constraint. Replace one big step with three small steps on every approach. Recover on an arc.
Phone‑video practice at the academy
- Cameras at baseline height record every player’s first two balls of each rally.
- Coaches tag one clip per surface and ask players to identify split timing, shin angle, and recovery step count.
- Players set a one‑line goal for the next session, such as land split on contact five times in a row on hard.
For programs and camps, check the Nice Tennis Academy training overview.
Troubleshooting by symptom
- You feel late on every ball on hard courts. Start your split by reading the opponent’s shoulder rotation, not the ball flight. Land as strings meet ball.
- You slide but cannot stop on clay. Start the slide earlier and shorter. Add a regain step to bite before pushing out.
- You slip when turning on synthetic grass. Lift the chest, keep steps under the hips, and arc the path rather than cutting.
- Your knees ache after hard sessions. Shorten decelerations to a crossover plus two shuffles, and add calf and shin strengthening three days per week.
A quick equipment checklist
- Shoes. Hard court needs durable outsoles and stability. Clay benefits from full herringbone tread that clears easily. Synthetic grass likes multi‑directional tread that sheds sand.
- Socks. Slightly thicker socks can ease fit on slippery surfaces. Change pairs if they get sandy.
- Inserts. If you use orthotics, ensure they sit firmly so they do not slide during cuts.
A final 15 minutes for match days
Before matches, run one round of your surface‑specific session. Keep intensity at eight out of ten and finish feeling springy, not spent.
- Two minutes of dynamic mobility. Ankles, hips, and a few pogo jumps.
- Six minutes on your two biggest cues for the day. For example, split timing and first step on hard, or slide entry and regain step on clay.
- Five minutes of serve plus first ball. Land split on the returner’s contact during practice returns, then attack your first offensive ball.
- Two minutes of phone check. Confirm the cue you are working on shows up on video.
Closing insight
Courts change how your feet talk to the ground. On hard you speak in sharp consonants. On clay you add a graceful glide. On synthetic grass you whisper in short syllables. By pairing 15‑minute sessions, simple phone‑video checkpoints, and age‑tuned progressions, you make those dialects part of your game. That is the real secret behind faster match transfer at places like Nice Tennis Academy. Do the right drill on the right surface, film one clear checkpoint, and you will take cleaner first steps, safer slides, and smarter recoveries into every match you play.