College-Ready Doubles: A Step-by-Step Winning Playbook
Why a doubles identity beats a bag of tricks
Doubles rewards clarity. Two players who know exactly where to serve, where to move, and what to say to each other will beat four bigger forehands more often than you think. This article gives juniors, parents, and adult players a step-by-step system to build a durable doubles identity without burnout. You will get concrete serve plus one patterns, return lanes, poach timing, I-formation and Australian formation usage, simple signals, fitness circuits, practice scripts, and printable cue sheets. We will also unpack what college coaches scout, how juniors can prioritize doubles in their tournament schedules, how adult league players can adapt, and a brief case study of No Quit Tennis Academy’s doubles communication framework.
Use this as a playbook. Print the cue sheets. Run the 60-minute scripts. Refine one piece per week. If you want a weekly structure, see the smart tennis week templates. You will start winning the points that matter most.
Identity first: choose your team’s blueprint
Pick one backbone identity for your pair. The identity informs your default serve targets, return lanes, and net movement. Choose one to start.
- Front-foot pressure: You create constant movement at the net and poach off first serves. You accept a few passed balls in exchange for many free points.
- Middle-lock: You shrink the court by aiming serves and returns toward the middle, then let your net player own the center with a strong first volley.
- Disrupt and lob: You chip and block returns, throw in short angles, and use topspin and defensive lobs to pull teams out of shape.
Your identity is not a prison. It is your default. Add variations only after the default feels automatic.
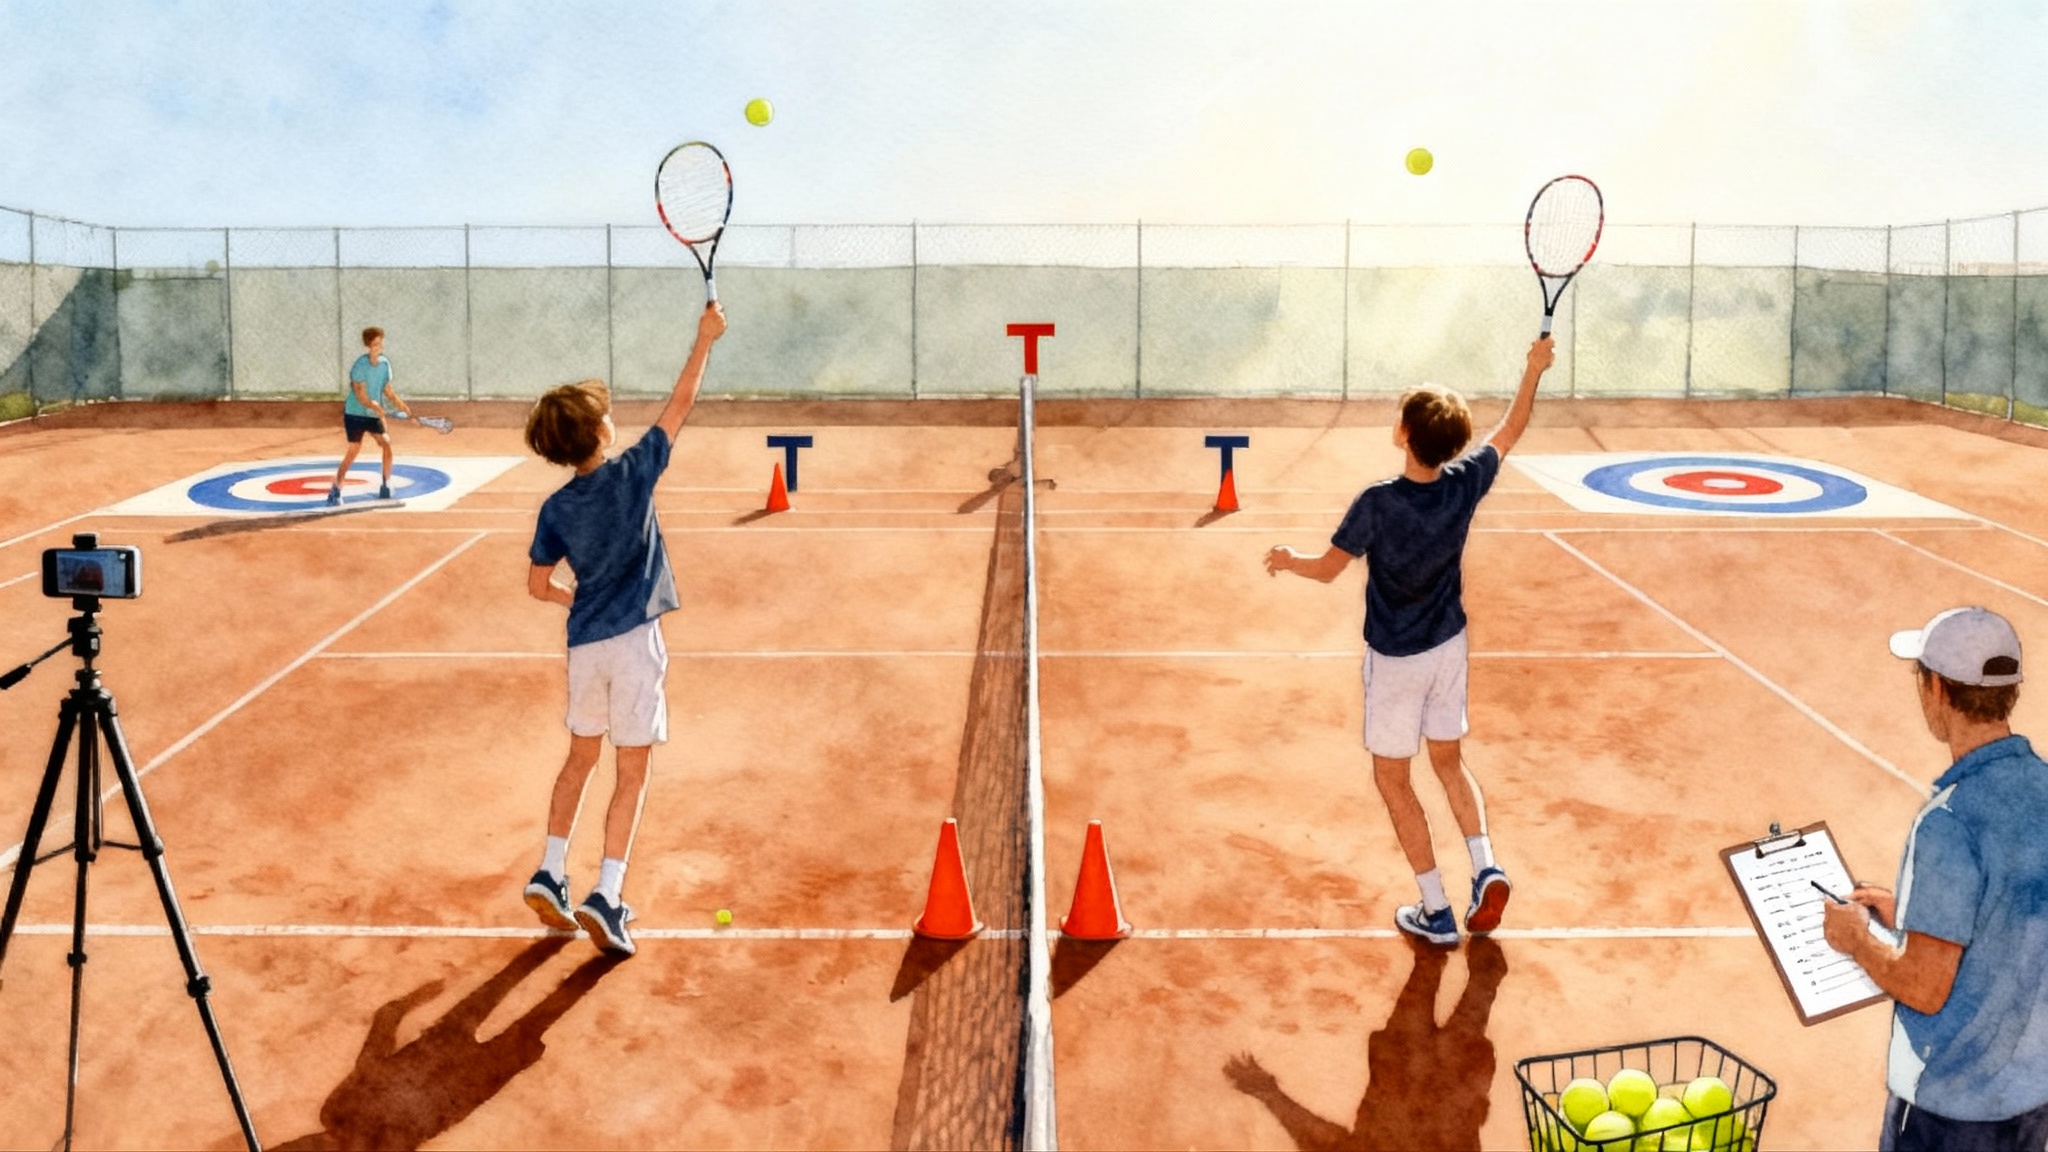
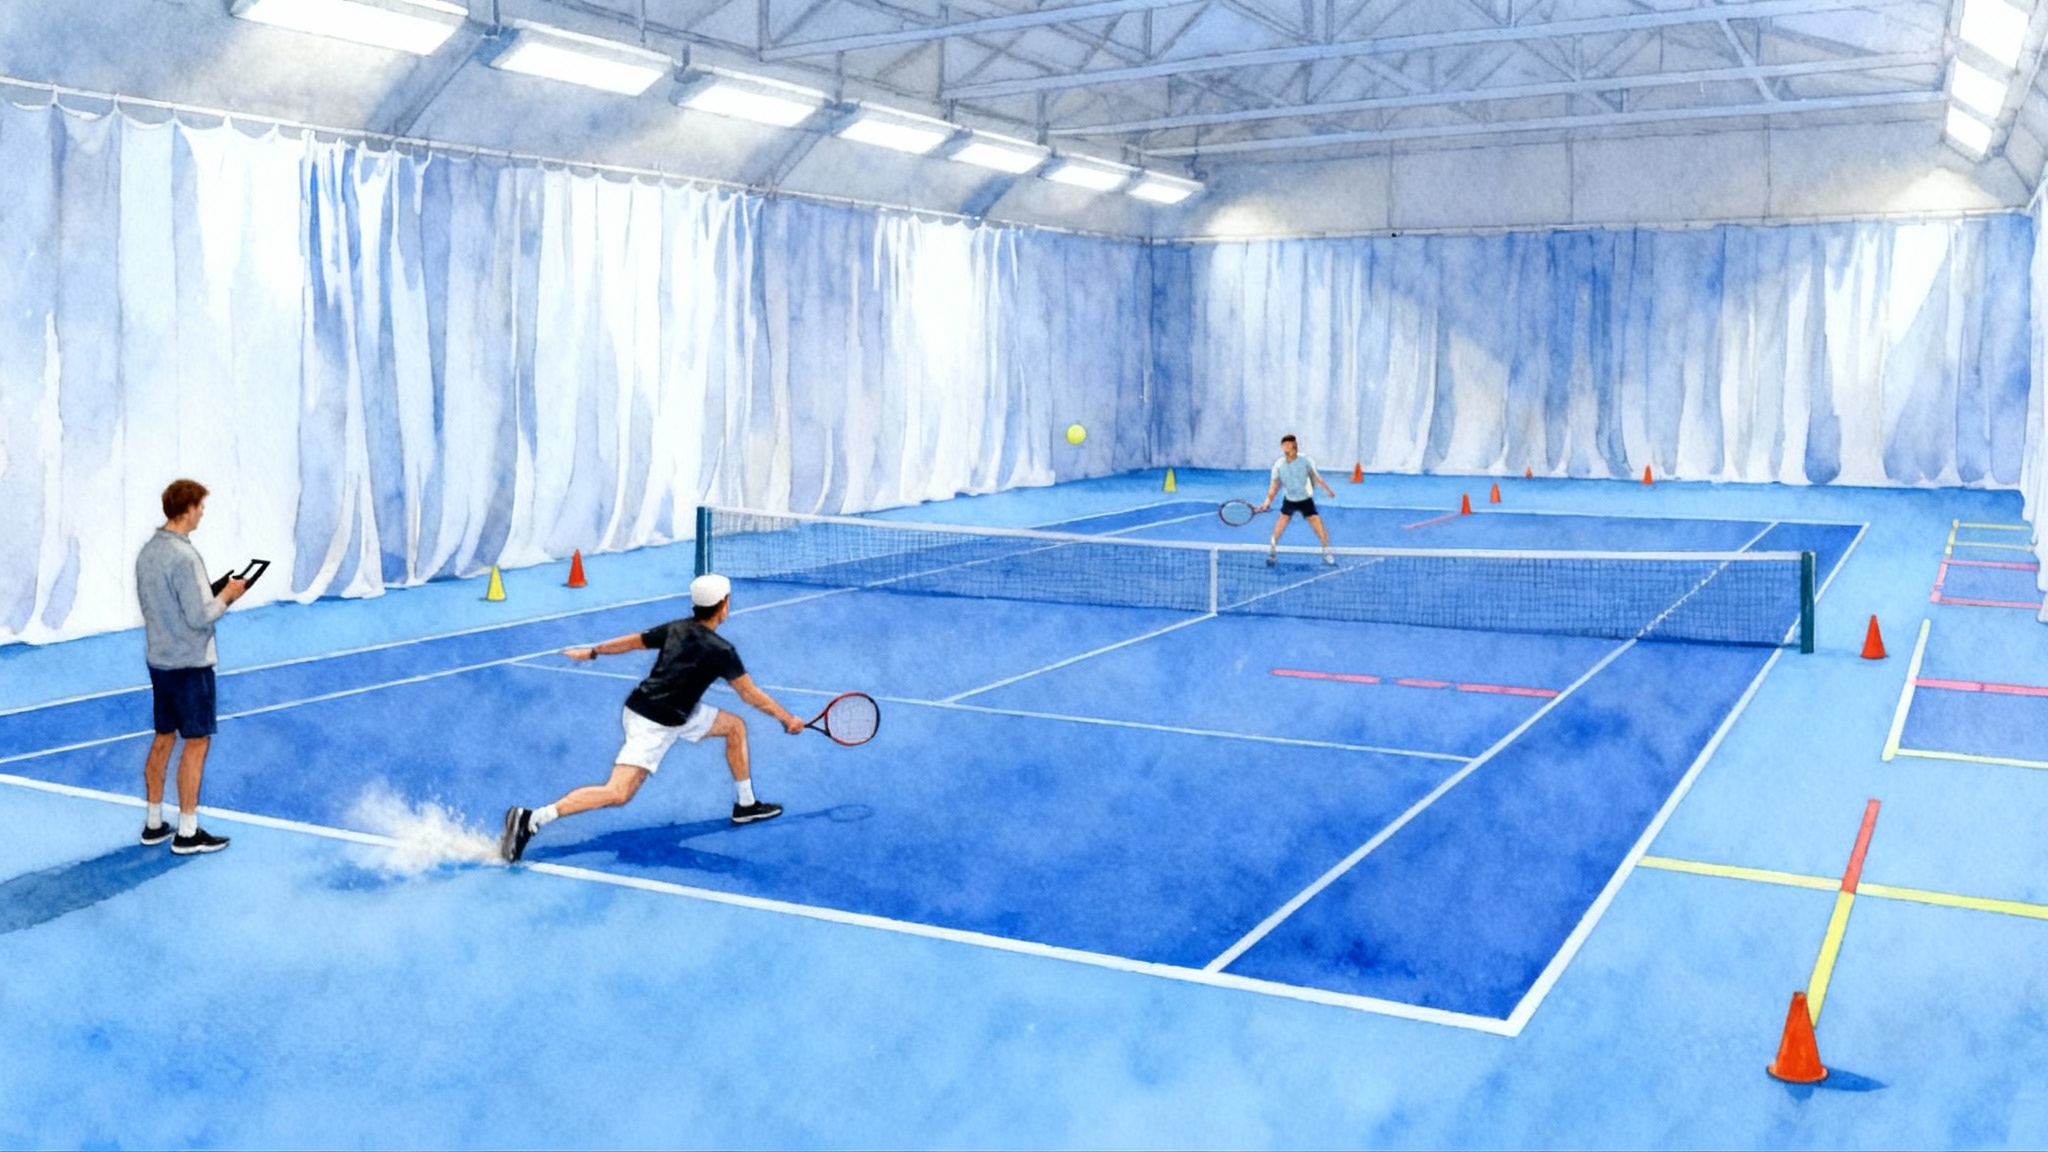
Technique system part 1: serve plus one patterns
The serve does not end when the ball leaves the racquet. You and your partner must both have a first-two-shots plan.
- First-serve patterns
- T serve, net player shades middle: Server covers down the line. Net player takes a strong first step to the middle on contact. Goal is a forehand volley for the net player.
- Body serve, net player fakes then holds: Server looks for a short ball to the forehand and plays heavy cross. Net player fakes across early in the toss, then holds position to pick off the blocker.
- Wide serve on deuce, net player hard poach: Server follows to the alley line. Net player commits across when the returner’s shoulders open. The poach lands deep to the opposite alley.
- Second-serve patterns
- Body backhand, server stays: Expect a blocked return. Server hits heavy middle, net player edges to center to take any float.
- Kick wide on ad, net player signals stay: Server recovers to middle and looks for the high first forehand. Net player guards line.
- I-formation and Australian formation
- I-formation: Both players start near the center line. The net player signals direction with a hidden hand. The server serves down the T or body, then both move based on the signal. Use this to protect a weaker backhand return or to erase early reads from the returner.
- Australian formation: The net player sets up on the same side as the server. Serve down the T to jam the returner. Server covers the open line, net player owns the middle. Use this to break the returner’s cross-court comfort.
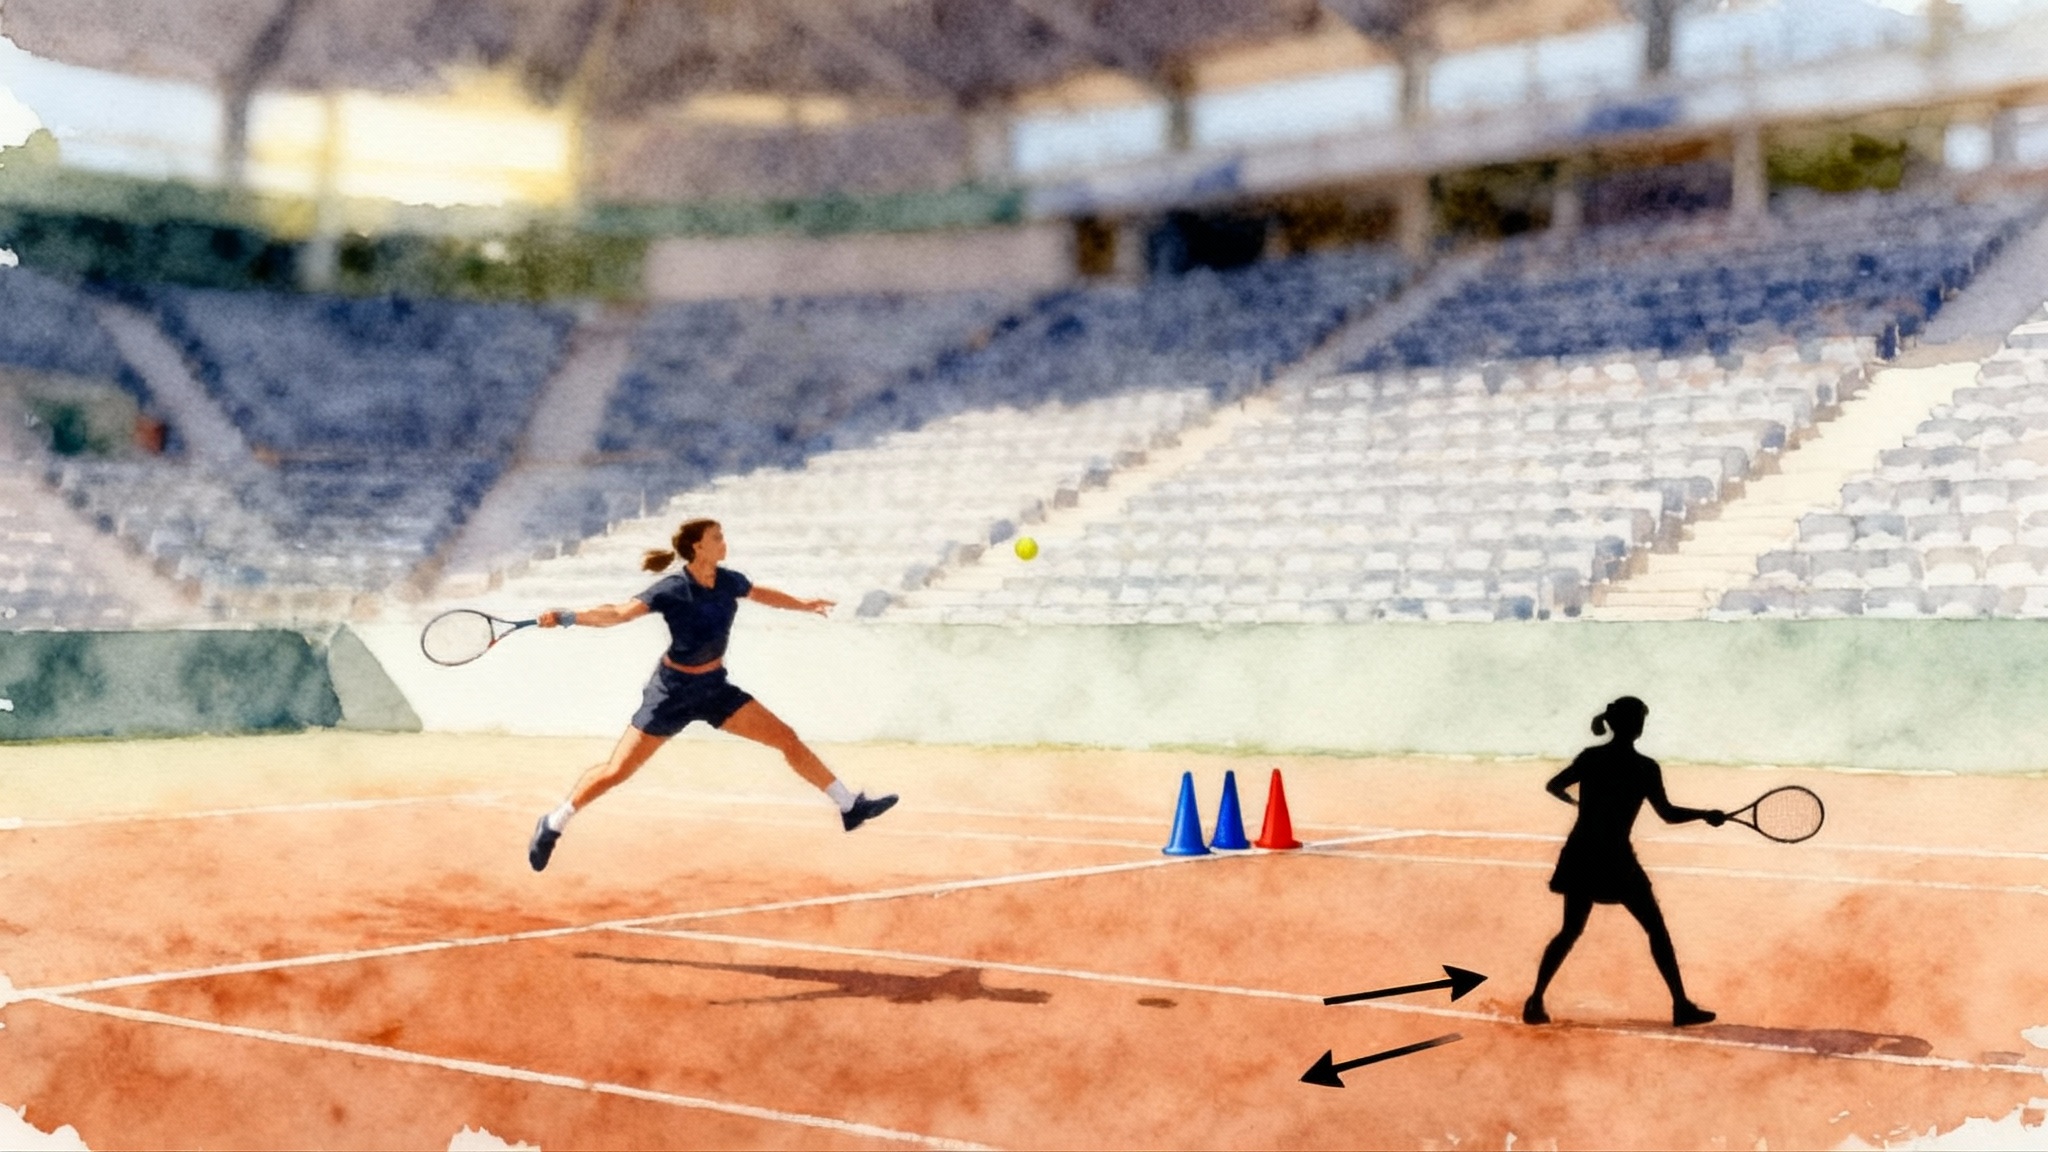
Signal simple. One finger means net player moves right. Two fingers means left. A closed fist means stay. If you prefer letters, R for right, L for left, S for stay. Confirm the plan with a quick nod.
Serve placement rules of thumb
- First serve favors your partner: Choose locations that give your net player a chance to intercept.
- Second serve favors your margin: Aim big targets and plan for the next ball.
- If you hit two first serves in a row, you waited too long to increase margin on the second.
Technique system part 2: return lanes and plus one after the return
Think in lanes. There are three options on most returns.
- Cross-court heavy middle
This is your default. Hit a solid cross-court that drifts to the center hash. It neutralizes the server’s follow and makes the net player reach forward, not sideways. For deeper progressions, see the 4-week return plan.
- Down-the-line surprise
Use this when the net player leans or when you recognize a repeated poach signal. Aim low over the singles sideline with topspin to dip. Announce to your partner before the point so they can slide to the middle.
- Topspin lob
If the net player camps and the server serves and volleys, the lob is the pressure release. Shape the ball high and cross-court to the server’s backhand overhead. This resets the point or wins it outright.
Plus one after the return: If you return cross-court, step inside and expect the next ball. Your partner should slide middle to protect you. If you go down the line, your partner must cross immediately to cover the center. If you lob, both of you advance to the service line and look for overheads and high volleys.
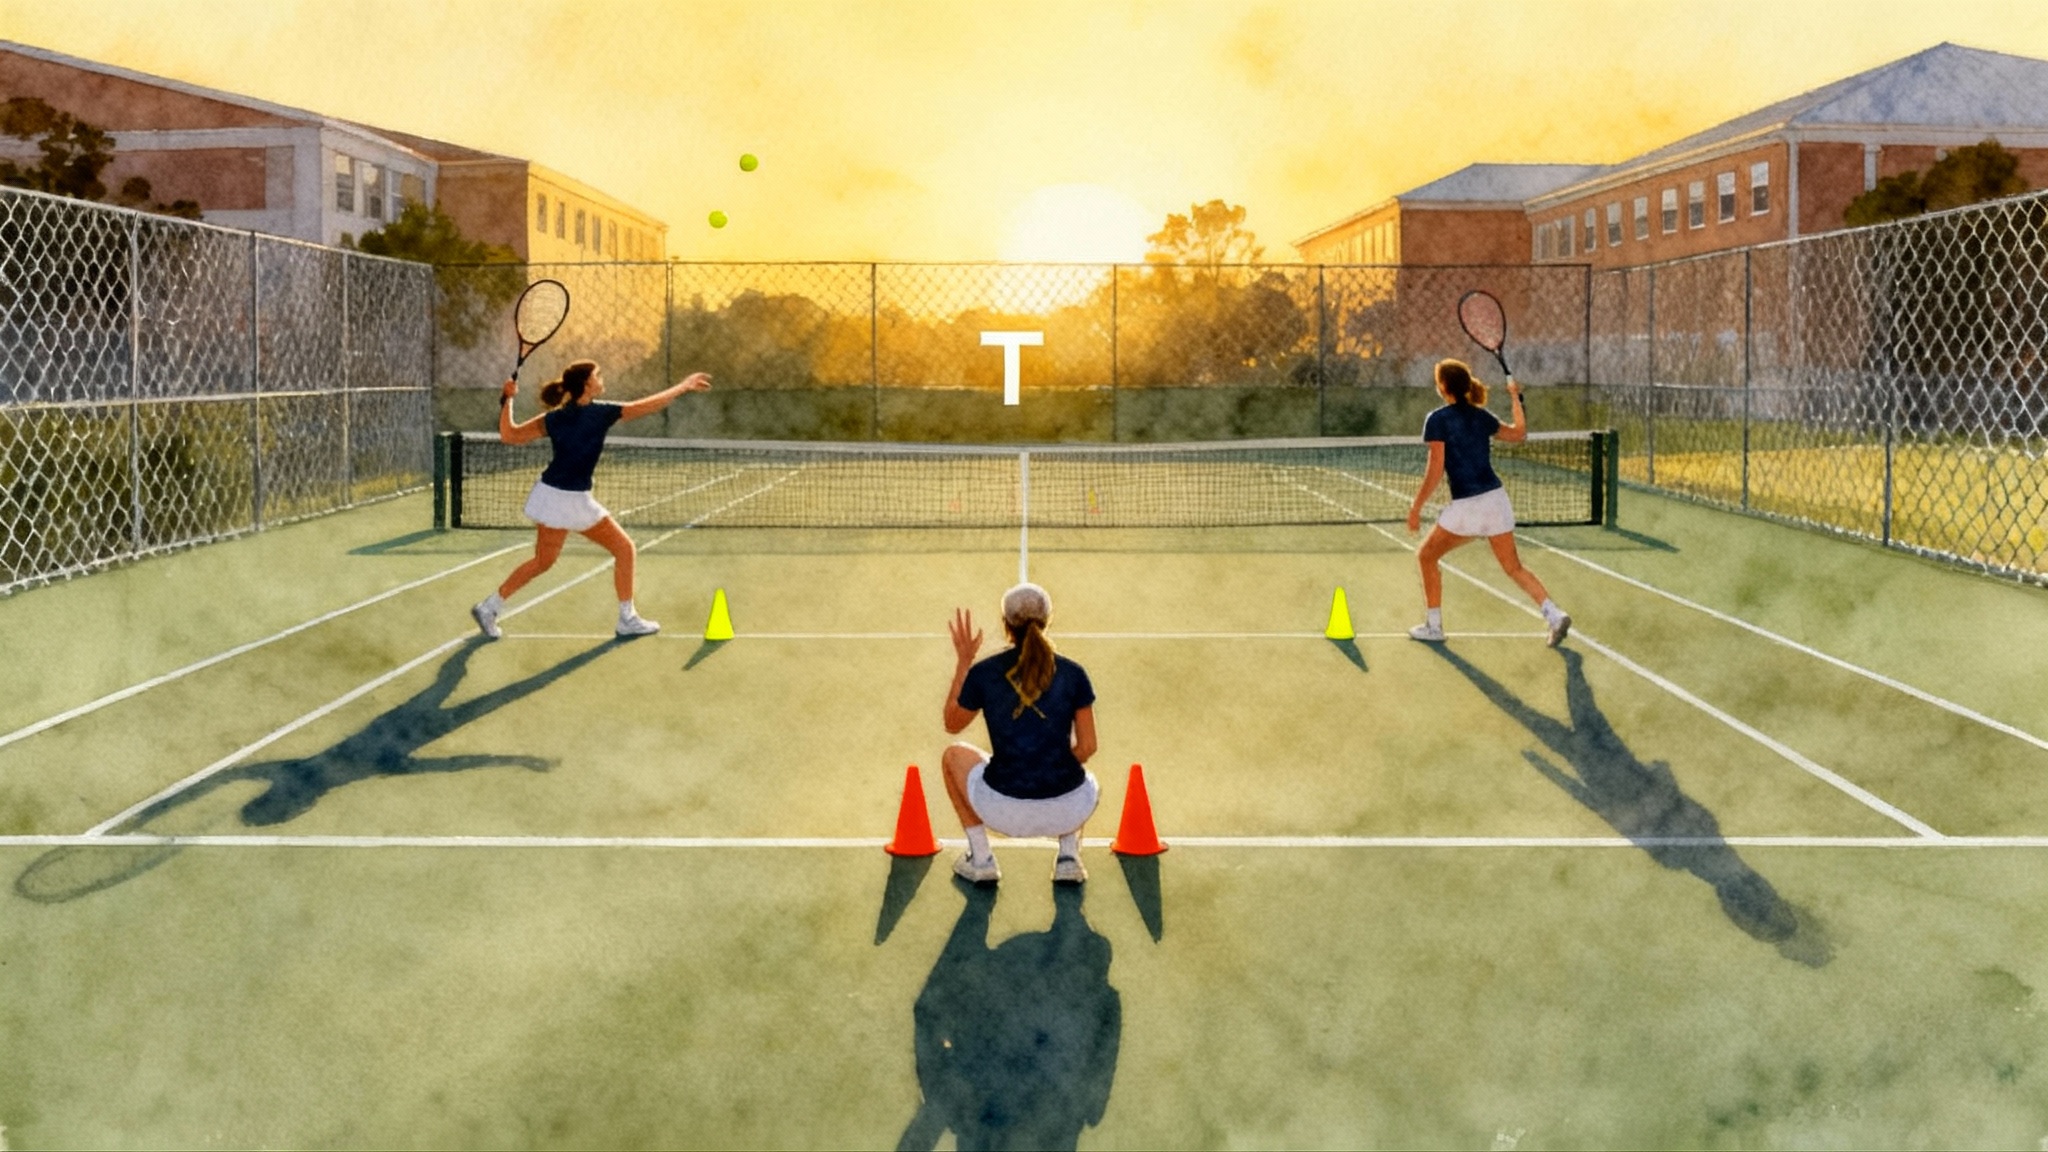
Technique system part 3: poach timing and triggers
Poaching is not guessing. It is reading shoulders, contact height, and toss location.
- Toss tells early: A toss toward the corner often means wide serve. If the returner is stretched, the ball must travel cross. You can move early.
- Shoulder rule: If the returner’s chest faces the alley, they are more likely to go cross. If it turns toward the middle, be ready for line.
- Contact height logic: Low and late returns rarely go down the line. High contact gives options. Adjust your aggression.
- Ball-line trigger: Move when the server’s toss peaks or when the returner’s racquet starts forward, not after the ball crosses the net. Your first step decides the poach, not your last.
Poach with a plan to finish in the middle. Do not jump and drift outward. Split step as you cross the center line so you can redirect a hard ball.
Technique system part 4: signals that scale from 10U to college
Keep signals minimal and repeatable.
- Location: One finger T, two fingers body, three fingers wide.
- Movement: Open hand means poach, closed fist means stay, thumb means fake.
- Depth plan: Tap wrist for first-volley short angle. Tap elbow for middle volley. Tap shoulder for deep counter.
Place the signal behind your back. Make eye contact. If either player is unsure, default to stay and middle targets. You only poach when both players are sure.
Fitness that pays off in doubles
You do not need a two-hour gym block. Doubles fitness is about timing, first step, and volley stability under fatigue.
- Split-step timing micro set
- 6 minutes total, three rounds of 90 seconds on, 30 seconds off.
- Face a partner who drop feeds from the service line. You shadow split when the ball leaves their racquet, land as the ball crosses the net strap, then explode one step to a cone. Reset. The partner should vary rhythm so you must watch, not count.
- First-step speed ladders
- 8 minutes. Place two ladders or chalk boxes five feet apart near the baseline. Do quick in-in-out-out patterns for five seconds, then take one powerful crossover step to touch a sideline cone. Walk back. Repeat. Focus on low hips and quiet upper body.
- Volley stability circuit
- 12 minutes. Two players at service line. Continuous feed to backhand volley, forehand volley, stick volley middle, then reset. 45 seconds on, 15 seconds off. Emphasize chin still, punchy contact, and recovering the racquet head above the wrist.
- Finish with lateral endurance
- 6 minutes. Figure eight shuffles around two cones placed just inside each service box corner. Keep the racquet ready. Every 20 seconds, partner calls shot and you simulate a volley or overhead swing.
Total: 32 minutes. Add it to the front of any team session twice per week. For weekly planning that fits school and travel, review the smart tennis week templates.
Two 60-minute practice scripts you can run today
Each script builds one theme and ends with score-based pressure.
Script A: College-Ready serve plus one
- Minutes 0–6: Target warmup. Serve from deuce only. Land 10 of 15 to T or body. Partner shadows net movement based on a simple signal.
- Minutes 6–18: Serve plus one live. Server chooses location signal. Net player calls movement. Returners aim heavy cross middle. Score to 15 total points, then switch roles.
- Minutes 18–30: I-formation block. Start both in I-formation. Net player chooses stay or poach, server hits T or body. Returners must call out their intention before the point: cross, line, or lob. No point unless the call matches the shot. Quality over volume.
- Minutes 30–42: Poach timing ladder. Coach hand-feeds returns from cross-court and alley. Net player poaches only on shoulder-open cues. Server covers line on any poach call. Keep a tally of clean intercepts.
- Minutes 42–54: Play tiebreak to seven with formation constraints. Server must run three I-formation points, three Australian formation points, and one standard. Track first-volley error rate.
- Minutes 54–60: Decompression. Two minutes of breath work, then 4 minutes of slow cooperative first-volley exchanges at the service line.
Grab a printable version of these scripts: 60-minute practice scripts PDF.
Script B: Return lanes and pressure management
- Minutes 0–8: Return ladder. Eight balls each side: four cross heavy middle, two down the line, two topspin lobs. Call the lane out loud before contact.
- Minutes 8–20: Plus one after return live. Play cross-court half court with a roaming net player. If the returner goes line, partner must cross instantly. Point ends on the first volley or pass.
- Minutes 20–32: Lob and squeeze. Standard formation. If a team lobs successfully, both players must move to the service line and finish the point within two shots.
- Minutes 32–50: Breaker under pressure. Return games only. Each pair gets two return games against live serves. Returners earn two points for a break and one point for a deuce. Track totals.
- Minutes 50–60: Constraint tie-breaker. Server cannot hit to the same location twice in a row. Returners must call lane. Net players must move on any ball struck above net height.
You can also download the printable doubles cue sheets.
Printable cue sheets
Print and tape these to your bag. Keep them simple.
Doubles Signals Quick Sheet

Serve Location: 1=T, 2=Body, 3=Wide
Net Movement: Open hand=Poach, Fist=Stay, Thumb=Fake
Depth Plan: Wrist=Short angle, Elbow=Middle, Shoulder=Deep

Defaults
- First serve: Middle-lock. Net leans center.
- Second serve: Big margin. Net protects line.
- Return: Cross heavy middle. Say lane before the point.
- After line return: Partner crosses.

Between-Point Huddle (under 8 seconds)
1) Location + movement in 3 words: \"Body plus poach\"
2) Opponent cue: \"Backhand block\"
3) Role reminder: \"You own middle\"
Poach Timing Checklist

- Read server’s toss location
- Read returner’s shoulders
- Split when racquet starts forward
- First step across the center
- Finish on the center hash
- If late, fake and hold middle
Return Lanes Guide

Cross heavy middle = default
Down the line = only on lean or signal
Topspin lob = when net camps or serve-volley
Say it before the point. Move your feet after you say it.
Pathway choices without burnout
Juniors: how to prioritize doubles in the schedule
- Two anchor events per month: Choose one singles-first tournament and one event where you emphasize doubles. This reduces stress while still building doubles reps under pressure.
- Pair with a stable partner: Six to eight events with the same partner teach timing and signals faster than random pairings. If travel is an issue, split the block into two partners across a season.
- Training match quota: Two full doubles sets per week with specific formations. Track holds and breaks, not just wins.
- Film only big points: Record deuces and set points. Review between-point huddles and first-two-shot execution rather than every rally. This shrinks review time and builds clarity.
For season planning and recruiting milestones, see the month-by-month college blueprint.
What college coaches actually scout in doubles
- First-volley quality: Compact racquet path, early split step, and a punch that keeps the ball above net height.
- Net movement on the first two balls: Static net play is a red flag. One decisive step on the returner’s swing shows court sense.
- Communication during pressure: Clear, short calls before and after points. No long conferences. Roles are obvious.
- Serve location discipline: More first serves to big targets, not more speed. Coaches value point building over radar numbers.
- Court ownership: Who takes the ball in the middle and who yields. Teams that hesitate in the middle lose college breakers.
Offer coaches a short highlight reel with two sequences: a serve plus one hold game and a pressure return game where your team breaks. Those clips demonstrate doubles readiness faster than a long montage.
Adult league adaptations
- Simplify signals: One location and one movement only. Too many codes lead to misreads under league pressure.
- Play your conditioning: If first-step speed is not a strength, lean on Australian formation to shrink the returner’s angle and force predictable balls.
- Manage energy: Two hard poaches per return game is plenty. Pick them early in the game to set a tone, then cash in later when returners hesitate.
- Use return lobs as resets: League doubles often rewards the team that resets chaos. A simple cross-court lob buys time and pulls both opponents out of position.
On-ramp to ITF, ATP, and WTA doubles
- Aim for futures-level events first: Build ranking points in events with qualifying draws. Doubles points accumulate faster with a stable partner and consistent patterns.
- Build a small partner pool: Two to three partners with similar formations and signals. Confirm teams three to four weeks out to secure entries.
- Sell your team’s identity in a player note: One paragraph for tournament directors. Mention hold percentage, preferred formations, and sportsmanship. Clarity helps secure opportunities.
- Practice match block before travel: Ten set tiebreakers to ten with college scoring in the ten days before departure. Focus on first two shots and net movement.
Case study: No Quit Tennis Academy’s doubles communication framework
This brief case study illustrates a simple, scalable framework used at high-performance junior sessions at the No Quit Tennis Academy. Exact naming can vary by coach, but the structure is consistent and easy to adopt.
- The 3-call huddle: Before each point, the server team states three items in under six seconds. 1) Location: T, body, or wide. 2) Movement: poach, fake, or stay. 3) Lane expectation: cross, line, or lob. The call sounds like this: "Body plus poach, expect cross." The brevity keeps the heartbeat down and roles clear.
- Color-coded signals: Newer teams use colors as a training wheel. Green means poach, yellow means fake, red means stay. Colors reduce confusion when noise or wind makes finger signals hard to see.
- The reset phrase: After a lost big point, the team uses one sentence to reset. Example: "Middle and make first volley." It turns emotion into a specific next action.
- Measurable outcomes on the whiteboard: Sessions track two numbers only. First-serve hold rate and poach contact rate. Players record them after each practice set. The whiteboard nudges players toward patterns that support those two outcomes.
Coaches report two common gains when players commit to the framework. First, fewer mid-rally collisions, because lane expectations are spoken before every point. Second, higher first-serve hold percentage over a training block, because location and movement are decided in advance.
Common mistakes and how to fix them
- Over-signaling: More codes do not equal better teamwork. If a match gets messy, return to one location and one movement. Make middle your default target.
- Static net player: A net player who never fakes or steps across gives the returner a free swing. Add one planned fake per game to plant doubt.
- No between-point routine: Wandering to the baseline without a plan invites nerves. Use the 3-call huddle. Then breathe, bounce twice, and split on time.
- Chasing aces and winners: Doubles is about first two shots. Prioritize serve percentage, return depth, and net movement. A clean first volley plus middle pressure wins the long run.
Put it all together in four weeks
- Week 1: Choose your identity and master one serve plus one pattern on each side. Run Script A twice.
- Week 2: Install the return lanes system and the reset phrase. Run Script B twice.
- Week 3: Add I-formation and one poach trigger. Keep a tally of clean intercepts.
- Week 4: Play two practice matches with score goals. Track first-serve hold rate and poach contact rate.
Tape the cue sheets to your bag. Keep notes on a simple index card with two numbers per match. When those two numbers climb, wins follow.
Closing: win the right points, over and over
A doubles identity is a promise you make to your partner. We will choose our targets before the point. We will move with purpose. We will talk in short, useful phrases. If you keep that promise for the first two shots, your team will feel calmer in tie-breaks, hold more serves, and turn half-chances into breaks. Start with one pattern, one lane, and one signal. Add complexity only after the defaults feel boring. Boring in practice becomes ruthless on match day.