Deceleration First: 2025 Tennis Guide to Faster Stops and Safer Knees
A practical, age-specific blueprint to train braking strength and lateral deceleration for safer knees and faster change of direction. Includes a 10-minute warm-up, at-home progressions, on-court drills, simple tests, weekly plans, and parent checklists.
Why deceleration first in tennis
You cannot play fast until you can stop fast. In tennis, points are decided in the two steps before and after contact. Those steps are often braking and redirection, not top speed running. Players chase acceleration plans and ladder drills, yet the knee and ankle are most vulnerable when the body is putting on the brakes and turning. If you build deceleration first, you earn two decisive advantages: you arrive balanced to the ball, and you leave the shot faster.
This is your 2025 blueprint. It is practical, age specific, and built for busy families and working adults. You will get a 10 minute warm up, simple strength you can do at home, on court drills that translate, two quick tests you can run with a phone, and weekly schedules that fit real life. Parents will get a clear checklist to keep juniors safe and progressing.
The biomechanics of a safe stop
Think of braking like landing a plane. You need the right angle of approach, a stable chassis, and smooth contact with the ground.
- Stance width: land with your feet about hip to shoulder width. Too narrow reduces stability when you plant.
- Foot strike: aim for a midfoot contact under your center of mass, not far in front. A hard heel strike out in front acts like a lever on the knee.
- Shin angle: your shin should tilt in the same direction you will go next. If you will cut left, the right shin should angle slightly left when you plant.
- Trunk lean: keep your chest slightly forward over the thigh of the braking leg. If the trunk collapses to the side, the knee often caves in.
- Knee tracking: think knee over second toe. The thigh follows the foot, not the other way around.
- Arm counterbalance: opposite arm forward to help control rotation and keep the torso centered.
- Sequencing: decelerate first, then rotate and hit. If you rotate while you are still sliding, your knee takes extra stress.
These cues take practice at low speed first, then speed up as control improves. Mastering the angles and timing is more important than pushing harder every session.
The 10 minute Stop Smart warm up
Use this before any session. It prepares the body to land, stop, and change direction.
-
Minutes 0 to 2: blood flow and ankles
- Easy court jog for 30 seconds, backward jog for 30 seconds, lateral shuffle each way for 30 seconds.
- 10 slow ankle rocks each side, 10 calf pumps each side.
-
Minutes 2 to 4: hips and hamstrings
- 8 per side walking lunge with a pause, reach arms forward for balance.
- 8 per side single leg hip hinge reaches to a cone, slow and controlled.
-
Minutes 4 to 6: elastic calves and feet
- 2 sets of 10 pogo jumps in place, small amplitude, quiet landings.
- 2 sets of 8 lateral pogos each direction.
-
Minutes 6 to 8: decel patterning
- 2 sets of 4 stick landings each leg: small hop forward, land on one leg, freeze for 2 seconds.
- 2 sets of 4 lateral stick landings each leg.
-
Minutes 8 to 10: cut and recover rehearsal
- 2 sets of 3 plant and cut to each side at 50 to 60 percent speed, focus on shin angle and knee over toe.
- 2 sets of 3 crossover recoveries each way, light and smooth.
If you feel pain in the knee or ankle during the warm up, reduce the range and speed. Pain that lingers means the session becomes technique only that day.
At home strength that builds better brakes
You do not need a gym to build strong, resilient stops. Three patterns do most of the work: split squats, calf eccentrics, and hip hinge. Use a slow lowering phase to build the tissues that absorb force.
Split squat progression
-
Level 1: bodyweight split squat
- Stance: long enough that your front shin stays vertical at the bottom.
- Tempo: 3 seconds down, brief pause, 1 second up.
- Volume: 3 sets of 6 to 8 each leg, 2 to 3 times per week.
-
Level 2: rear foot elevated split squat
- Back foot on a low step or couch edge. Keep the chest tall and knee tracking over the middle toes.
- Tempo: 3 seconds down, 1 second pause, drive up.
- Volume: 3 sets of 5 to 7 each leg.
-
Level 3: loaded split squat
- Hold two grocery bags or dumbbells. Same tempo and technique.
- Volume: 3 sets of 4 to 6 each leg.
Coaching cue: you should feel front hip and thigh work, not front knee pain. If you feel the knee, shorten the stance, lighten the load, or slow down.
Calf eccentric progression
-
Level 1: two up, one down straight knee calf raise
- Rise with both feet, shift weight to one, lower for 4 seconds.
- 3 sets of 6 lowers each leg.
-
Level 2: bent knee eccentrics for soleus
- Same as above, but perform with a slight knee bend. The soleus supports deceleration when the knee is bent.
- 3 sets of 6 lowers each leg.
-
Level 3: single leg tempo raises
- Rise and lower on one leg for a 3 second up, 3 second down tempo.
- 3 sets of 6 to 8 each leg.
Coaching cue: keep the big toe pressed to the floor so the arch supports the knee.
Hip hinge progression
-
Level 1: hip hinge to wall
- Stand a foot from a wall, push hips back to tap the wall without bending the spine.
- 2 sets of 8 to 10.
-
Level 2: suitcase deadlift with a backpack
- Hold a backpack at your side. Hinge from the hips, shin stays vertical, push the floor away to stand.
- 3 sets of 6 to 8.
-
Level 3: single leg Romanian deadlift
- Hold a light weight. Hinge on one leg, reach the other leg back, keep hips square.
- 3 sets of 5 to 7 each leg.
Coaching cue: imagine you are closing a car door with your hips. The hinge teaches your hamstrings and glutes to share braking with the knee.
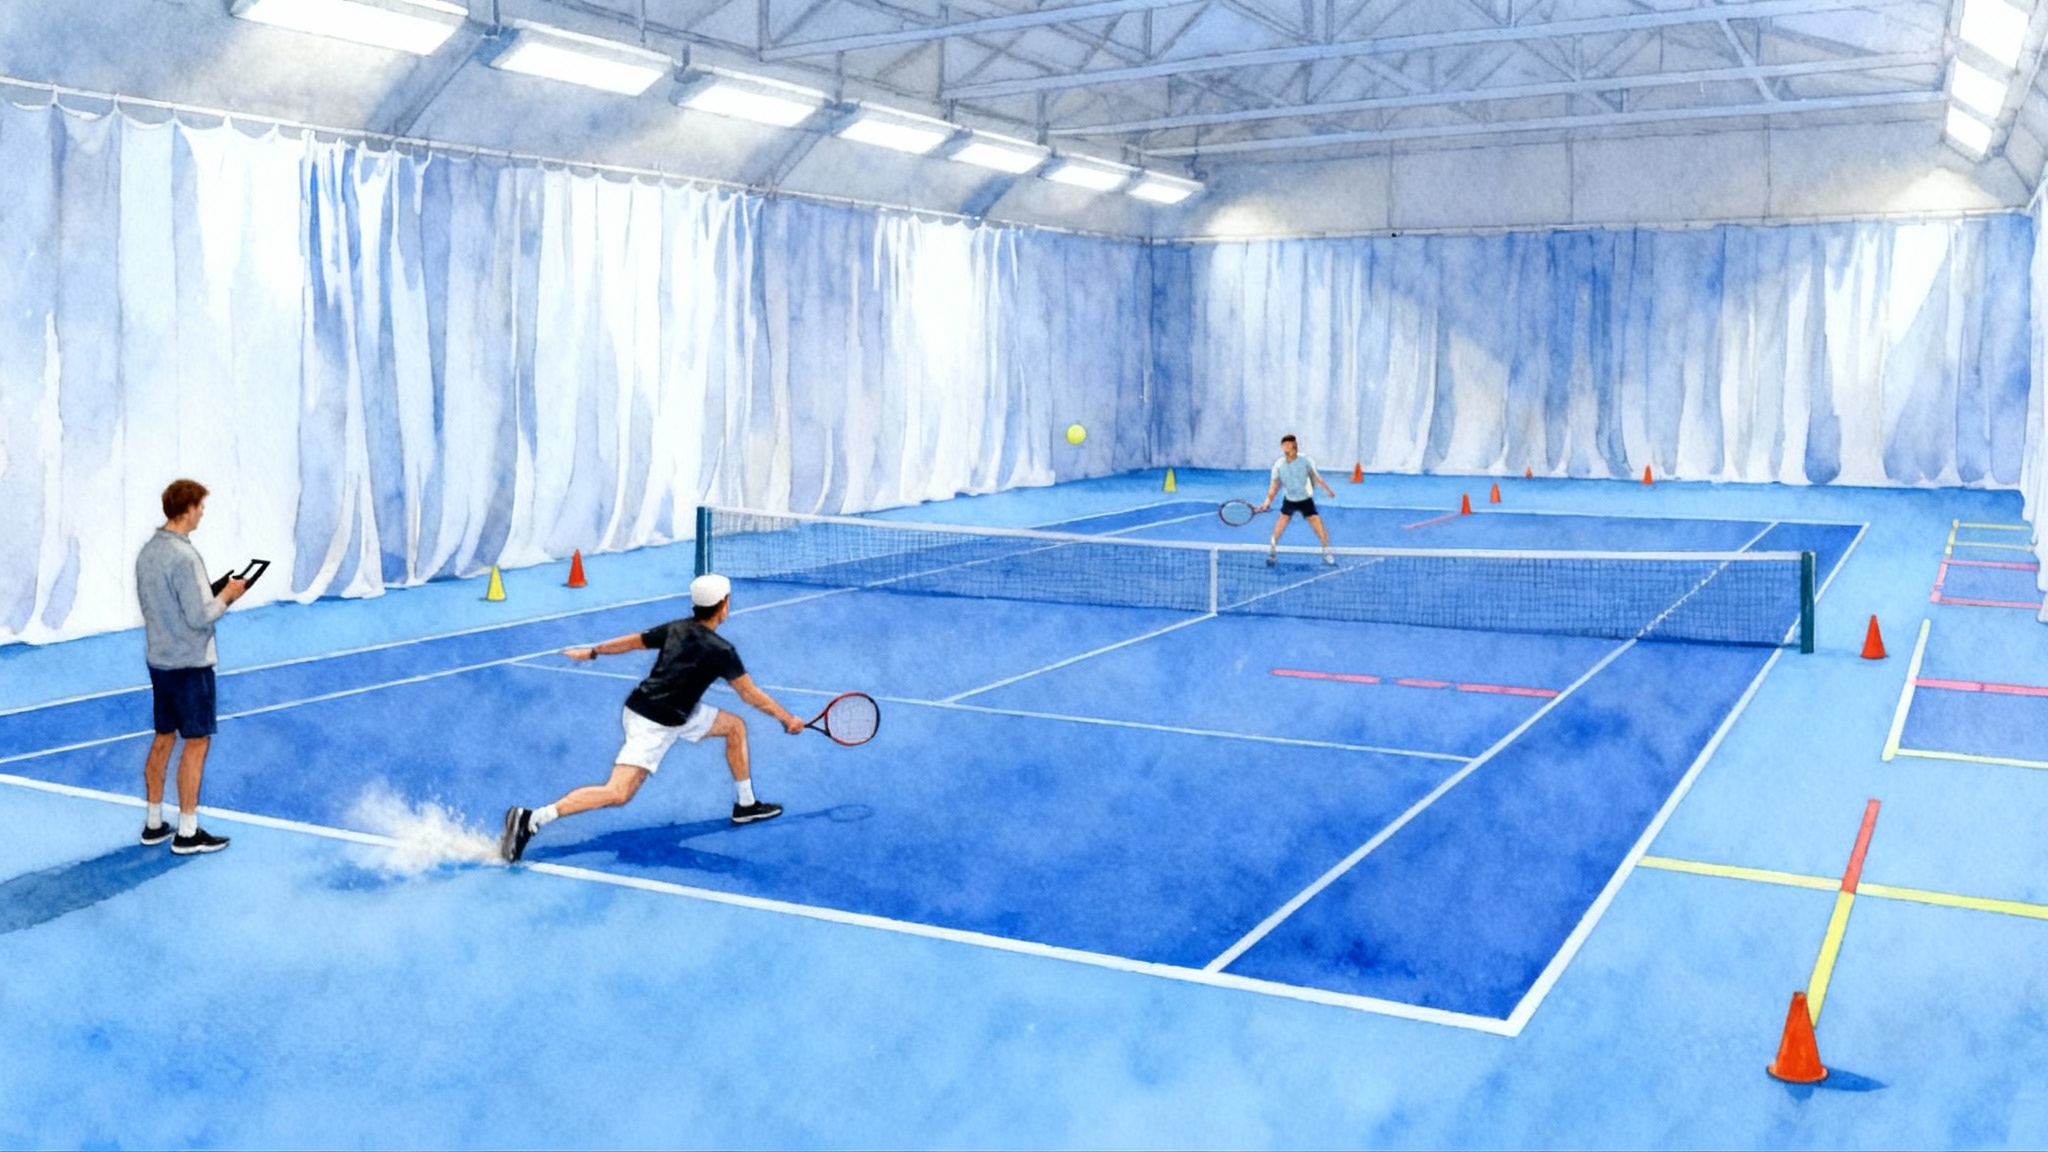
On court drills that transfer to matches
These three drills link your new strength with tennis footwork. Start at controlled speed. When you can repeat clean angles and quiet landings, add pace and randomness.
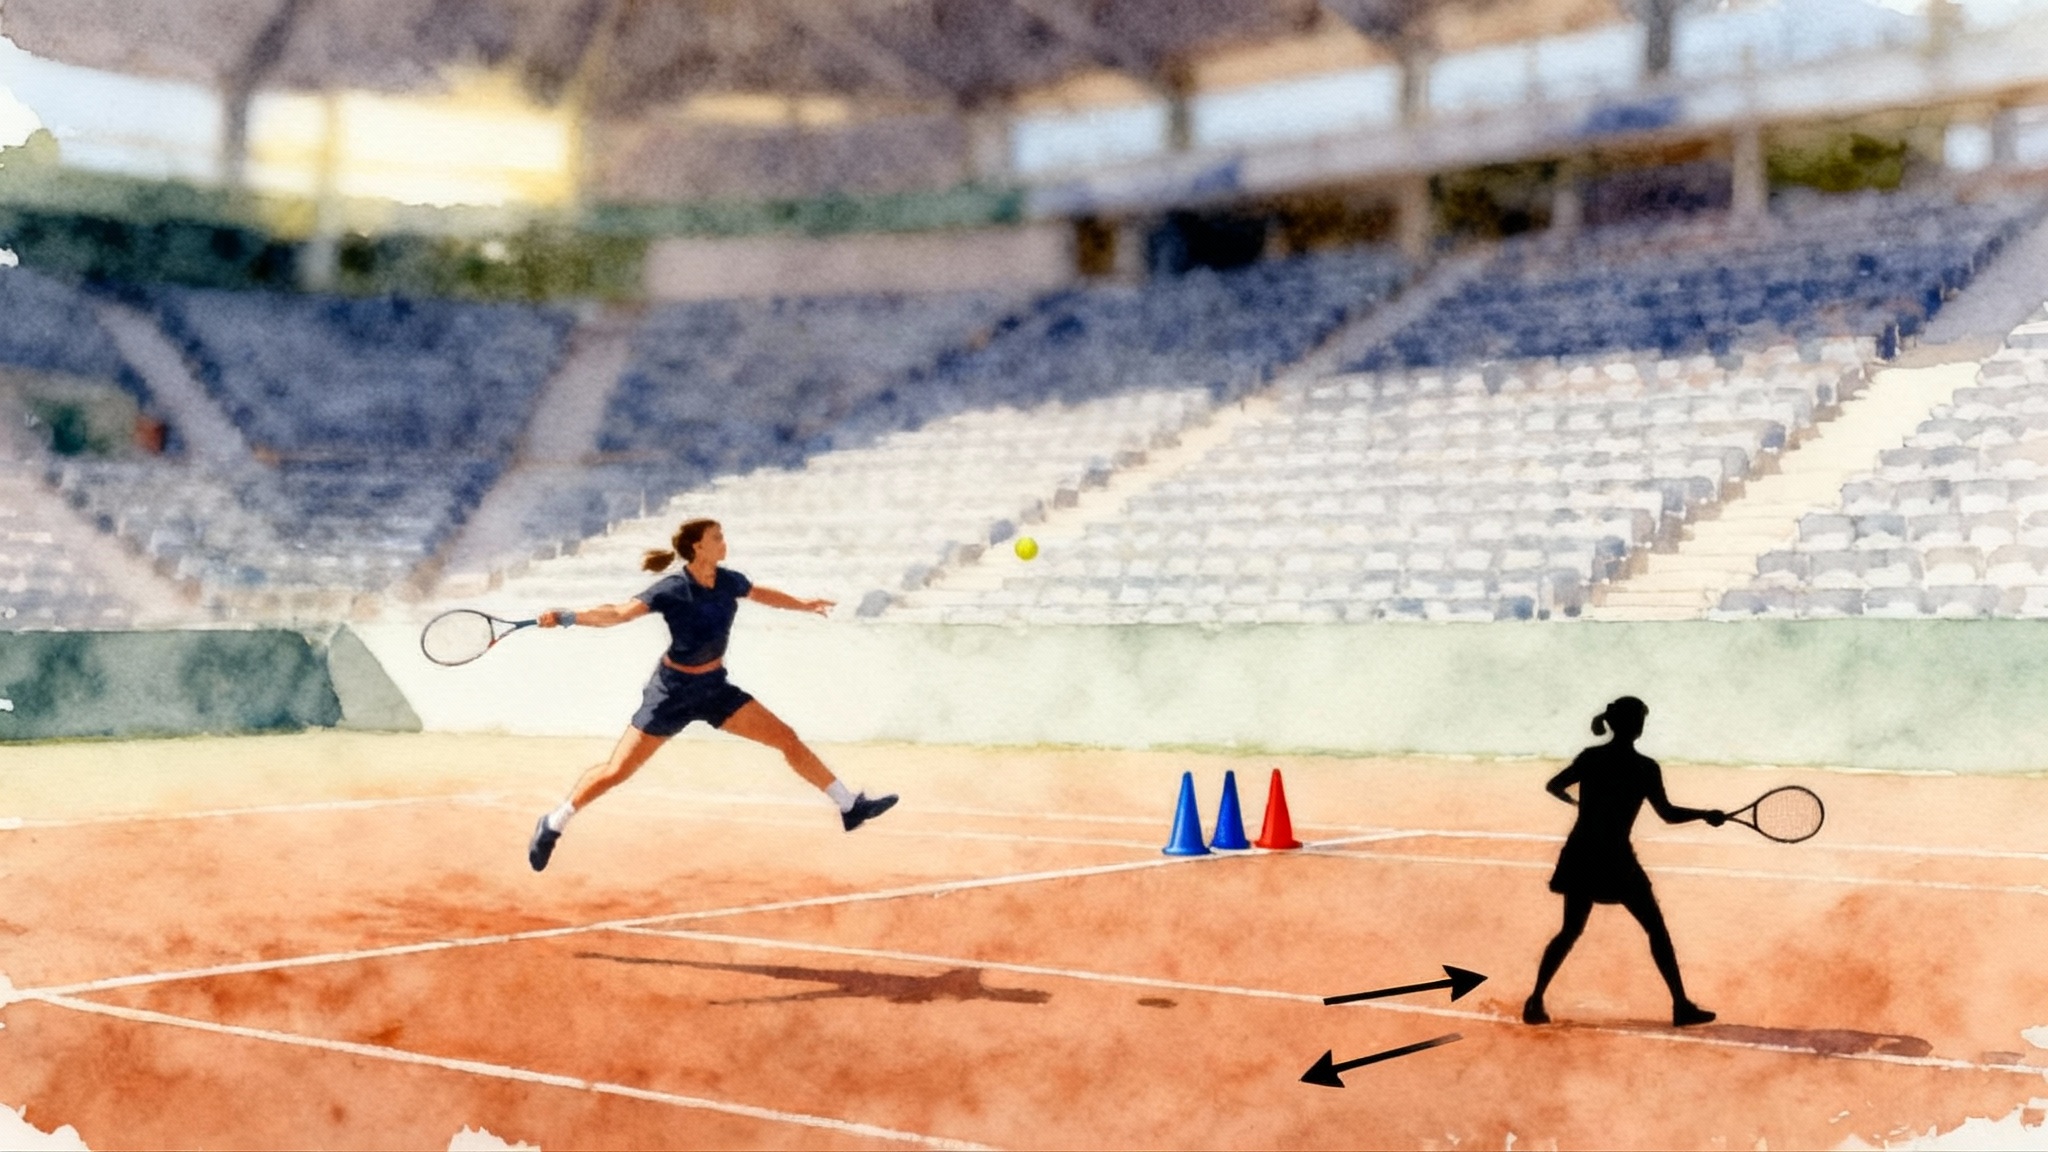
Plant and cut to ball
- Setup: place two cones six to eight feet wide near the baseline center. Coach or partner stands across the net with a basket.
- Action: start in the middle. Coach points left or right and tosses a ball. Shuffle, plant outside foot, cut to the ball, and hit a controlled neutral shot. Recover with crossover. Alternate sides.
- Volume: 3 sets of 6 balls per side.
- Coaching cues: outside foot under hips, knee over the second toe, chest slightly forward. Exit step matches the direction of the next move.
- Common mistake: planting the heel far in front of the body. Fix by shortening the approach and lowering the hips before contact.
Crossover recoveries on command
- Setup: one cone on the sideline at singles line depth, one in the middle.
- Action: start at the sideline cone in an athletic stance. On clap or call, perform a powerful crossover step toward center, then a quick shuffle to square up. Hold a balanced split step, then shuffle back to the sideline. The clap timing varies.
- Volume: 3 sets of 20 to 30 seconds each direction.
- Coaching cues: push the floor away with the outside leg. Do not scissor the feet. Land each split step softly.
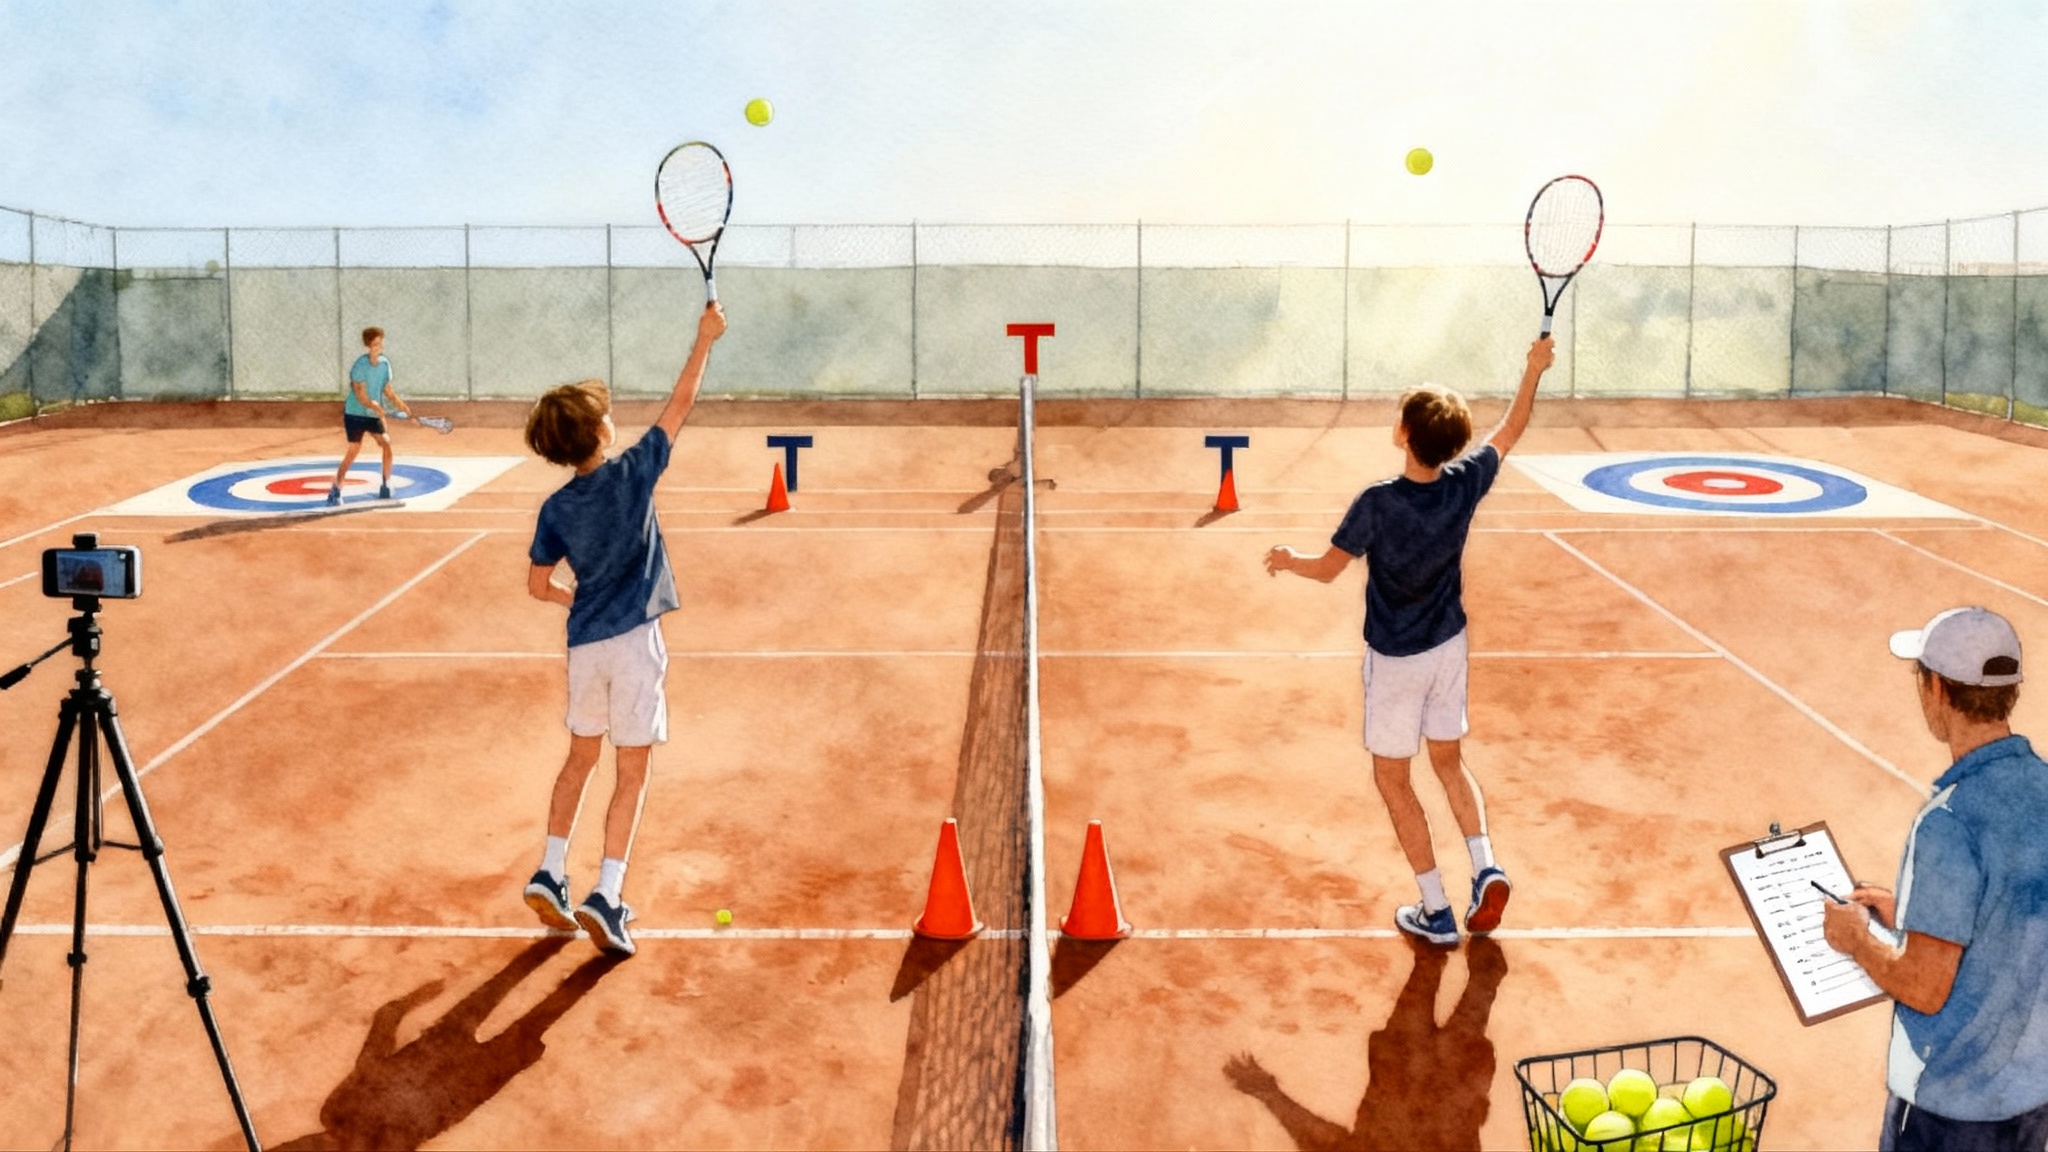
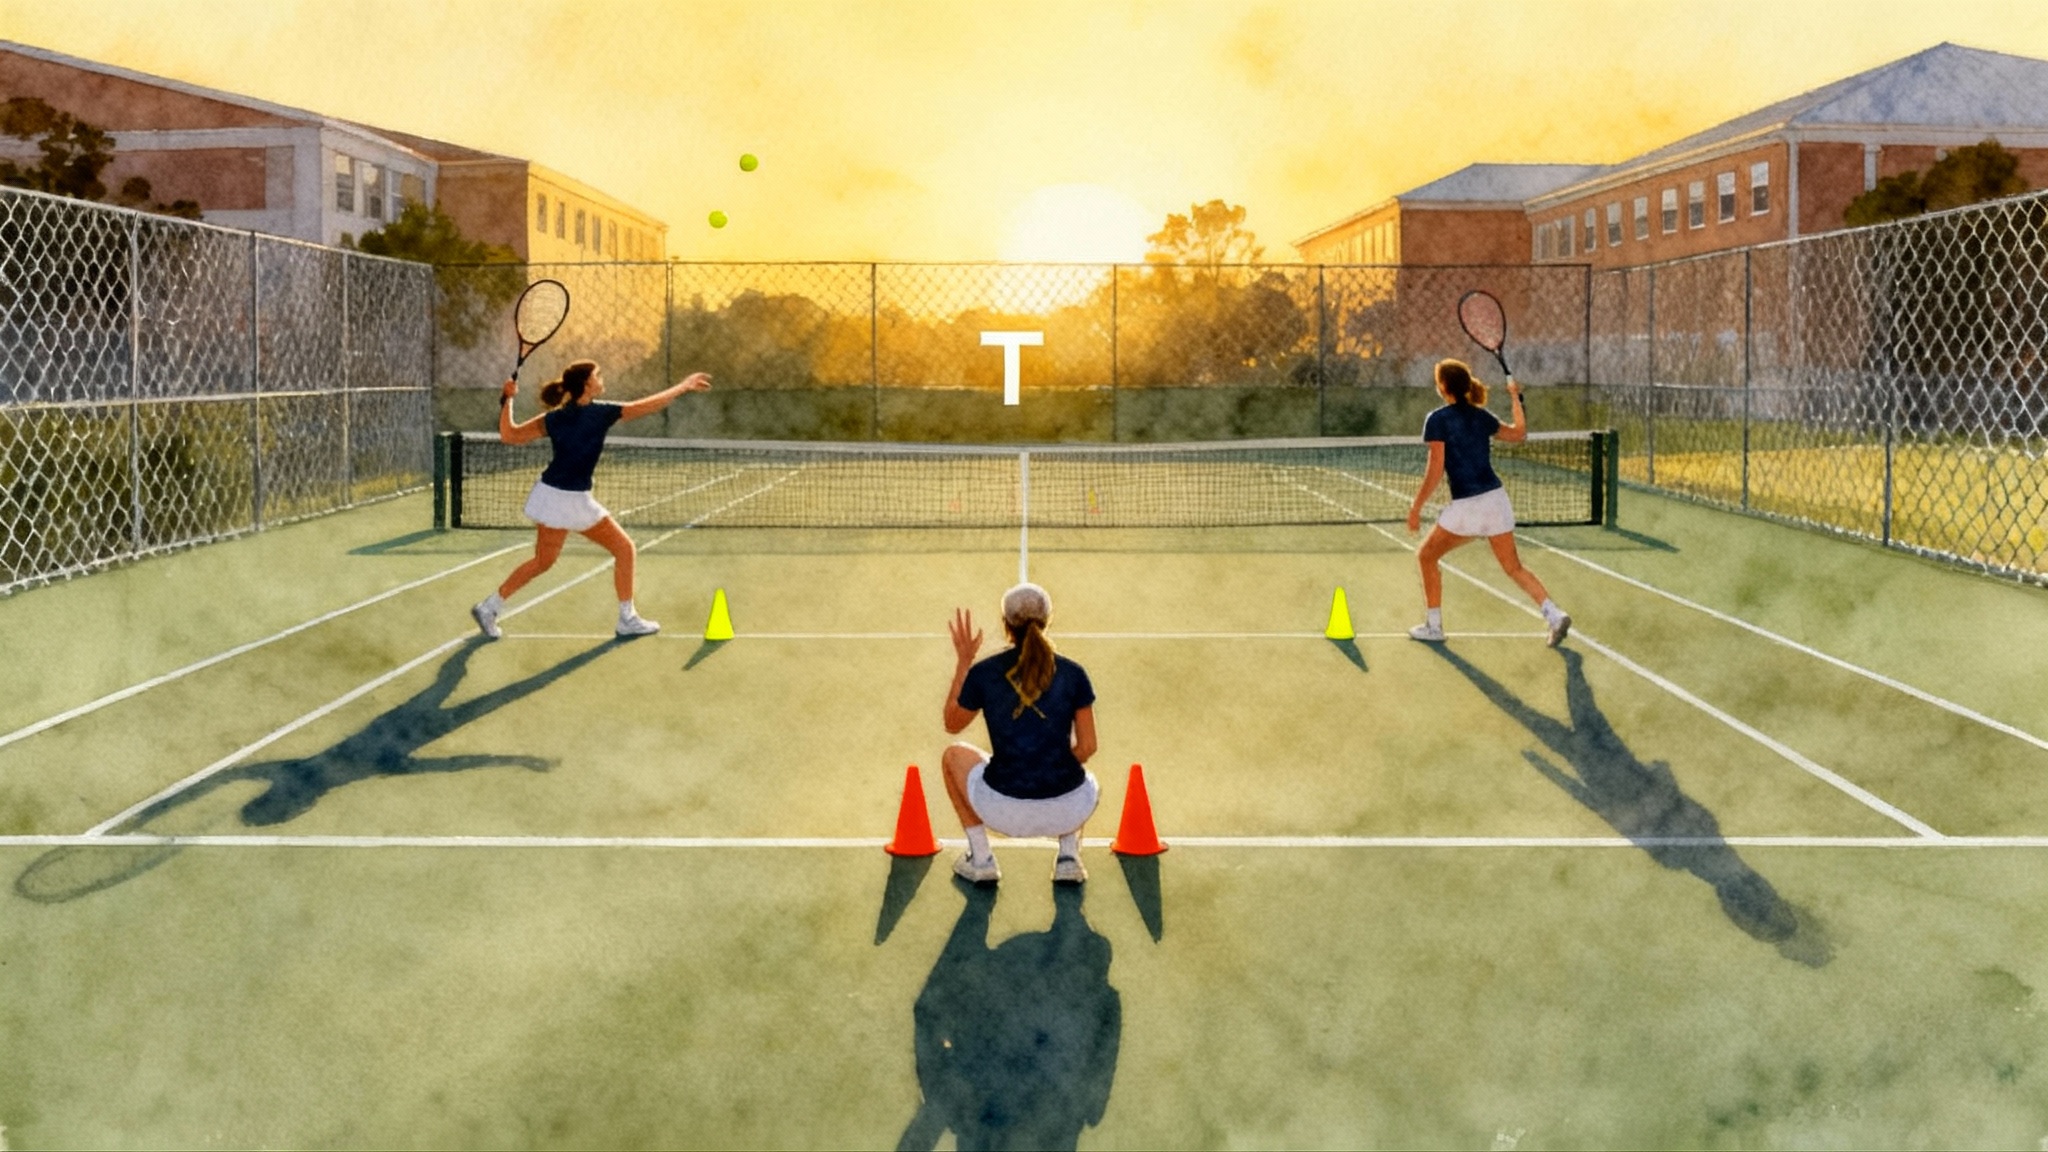
Reactive cone reads
- Setup: three cones in a T shape near the baseline. One center, one six feet left, one six feet right.
- Action: partner stands behind you and calls a color or number. React, plant, cut, and touch the called cone, then return to center and set your split step.
- Volume: 4 sets of 20 seconds. Rotate roles.
- Coaching cues: eyes forward, torso quiet, shin angle points where you cut.
- Progression: replace the call with a live toss. React to the toss instead of a voice cue.
Two simple tests you can run this week
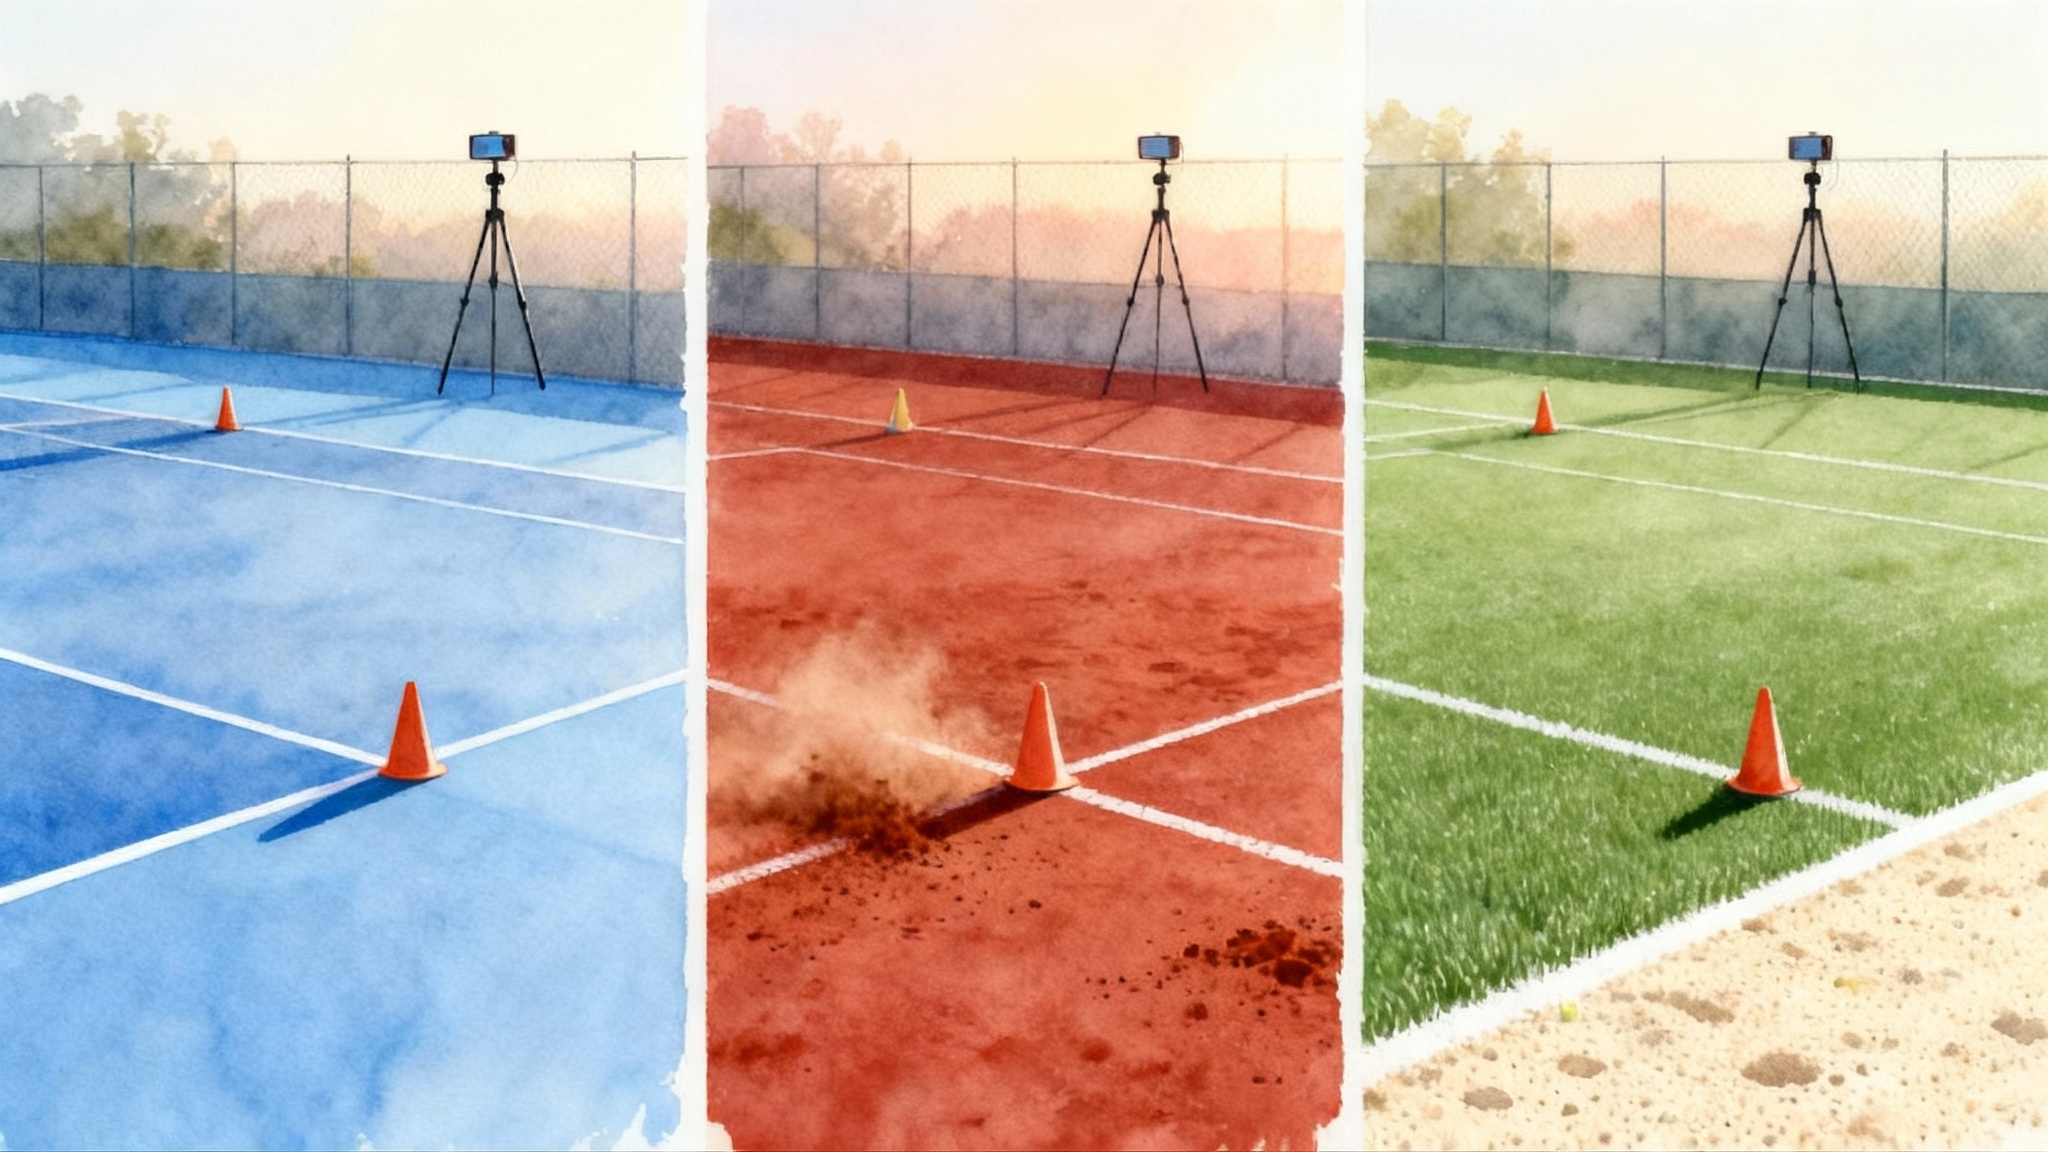
Testing keeps training honest. Use a phone timer and tape to mark distances. For consistent camera angles and timing, review the phone setups and checklists.
The 5-10-5 shuttle
- Setup: three lines five yards apart in a straight line. Start at the center line. Touch right line, then far left line, then return to center.
- How to run it: take an athletic start, lean into your first step, and stay low through each plant. Time two trials going right first and two trials going left first. Record your best from each direction.
- What to watch: symmetrical times. A difference larger than about 10 percent suggests you need extra work on the slower side. Retest every four weeks to track change.
Lateral bound symmetry
- Setup: mark a starting line with tape.
- How to run it: stand on one leg, load the hips, and bound sideways. Stick the landing for two seconds without the free foot touching down. Measure from the starting line to heel. Take three trials each direction per leg.
- What to watch: the landing should be quiet and stable. Compare left versus right for distance and control. Note any knee collapse or loss of balance.
If pain appears during testing, stop and address technique, volume, or rest. Tests should challenge control, not aggravate joints.
Age specific blueprints
Juniors age 8 to 12
Goal: learn shapes and rhythms. Keep it playful and low load.
- Warm up: the 10 minute Stop Smart warm up.
- Strength at home, 2 days per week
- Split squat level 1: 2 sets of 6 each leg.
- Calf eccentrics level 1: 2 sets of 6 each leg, straight knee only.
- Hip hinge to wall: 2 sets of 8.
- On court, 2 short blocks per week
- Plant and cut to ball at 50 percent speed: 2 sets of 6 each side.
- Reactive cone reads with color calls: 3 sets of 20 seconds.
- Parent notes: growing bodies need variety and soft landings. If a child reports persistent front knee pain, reduce jumping and increase split squat control work.
Teens age 13 to 18
Goal: deepen strength, then layer speed and randomness. Watch growth spurts and manage weekly load during school seasons.
- Warm up: the 10 minute Stop Smart warm up.
- Strength at home, 3 days per week
- Split squat level 2: 3 sets of 6 each leg.
- Calf eccentrics level 2 and 1 combined: 3 sets of 6 straight knee and 3 sets of 6 bent knee each leg.
- Hip hinge level 2: 3 sets of 6.
- On court, 3 short blocks per week
- Plant and cut to ball at 60 to 80 percent speed: 3 sets of 6 each side.
- Crossover recoveries on command: 3 sets of 25 seconds.
- Reactive cone reads with random calls or live toss: 3 sets of 20 seconds.
- Parent notes: set a cap on hard change of direction days. Two to three days per week is plenty during match weeks. Sleep and protein intake help tendons adapt.
Adults age 19 to 40
Goal: resilient tendons and efficient angles. Keep sessions efficient.
- Warm up: the 10 minute Stop Smart warm up.
- Strength at home, 2 to 3 days per week
- Split squat level 2 or 3 depending on control: 3 sets of 5 to 7 each leg.
- Calf eccentrics level 2 or 3: 3 sets of 6 to 8 each leg.
- Hip hinge level 3: 3 sets of 5 to 7 each leg.
- On court, 2 short blocks per week
- Plant and cut to ball with racquet in hand: 3 sets of 8 each side.
- Crossover recoveries in between live hitting: sprinkle 3 rounds of 20 seconds as micro sets.
- Work week integration: see sample schedules below.
Masters age 40 plus
Goal: protect tendons and knees, maintain speed reserve, and respect recovery.
- Warm up: extend the decel patterning segment to 4 minutes total. Add an extra set of stick landings.
- Strength at home, 2 days per week plus one mobility day
- Split squat level 1 or 2 with a longer pause at the bottom: 3 sets of 5 each leg.
- Calf eccentrics level 2: 3 sets of 6 each leg, both straight and bent knee.
- Hip hinge level 2: 3 sets of 6.
- On court, 2 short blocks per week
- Plant and cut to ball at 60 to 70 percent speed: 2 sets of 6 each side.
- Crossover recoveries with longer rest: 2 sets of 20 seconds each direction.
- Recovery rule: if tendons feel stiff in the morning, move but do not load heavy that day. Gentle mobility and technique win over intensity.
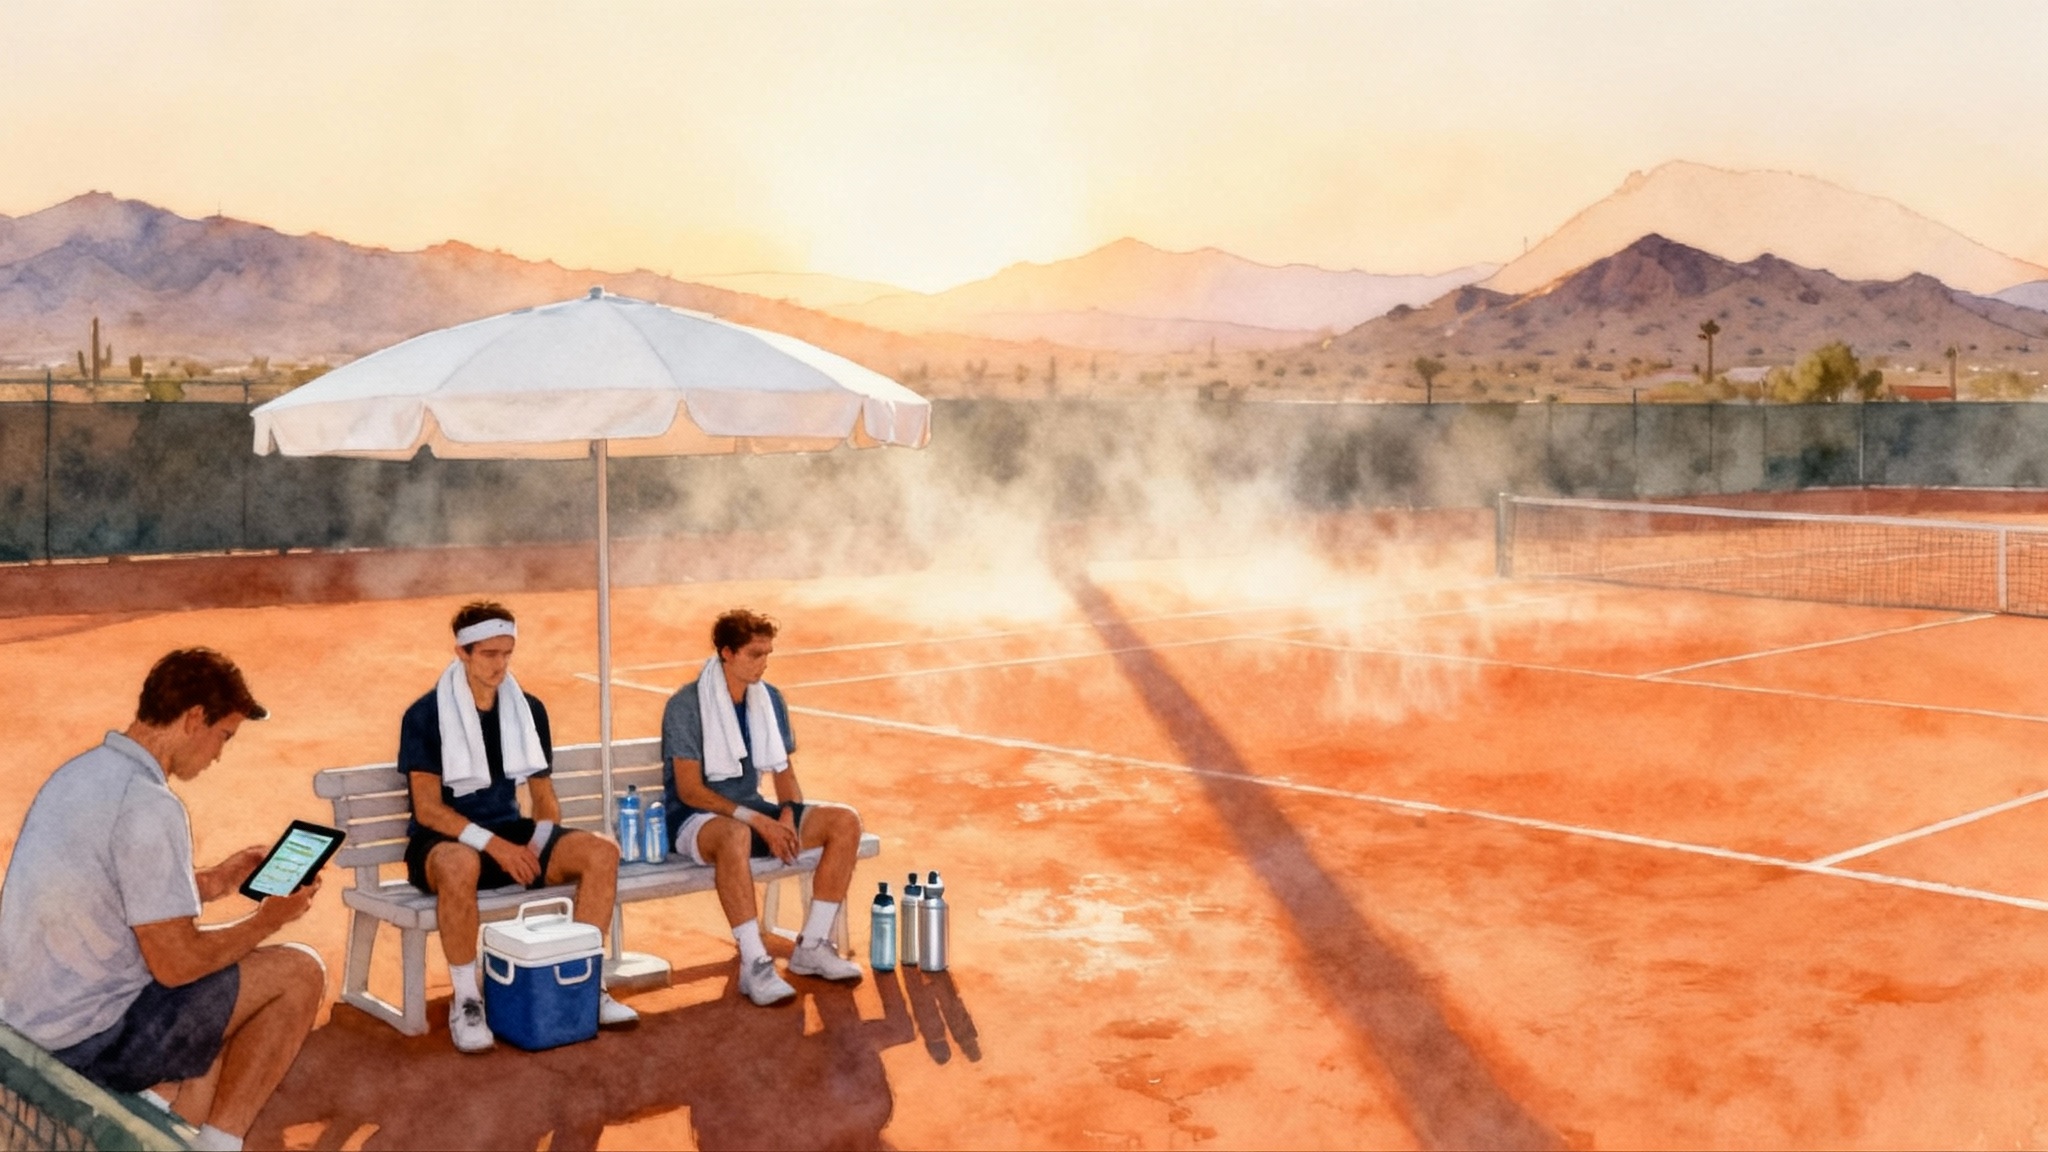
Weekly integrations for busy schedules
Here are three plug and play plans. Each includes warm up, strength, and court work in small doses. For additional options, borrow from our smart tennis week templates.
High school student during season
- Monday: practice day
- Warm up: 10 minutes.
- On court: plant and cut to ball as the first drill, 2 sets each side.
- Tuesday: home strength 20 minutes
- Split squats, calf eccentrics, hip hinge.
- Wednesday: practice day
- Reactive cone reads as a finisher, 3 sets of 20 seconds.
- Thursday: rest or light mobility.
- Friday: match day
- Warm up only. No extra decel work.
- Weekend: one home strength session and one short on court micro session.
Working adult who plays twice weekly
- Monday: 25 minute home strength
- Split squats, hip hinge, calf eccentrics.
- Wednesday: hit for 60 minutes
- Warm up 10 minutes, then 12 minute decel block between rally games.
- Saturday: league play
- Warm up 10 minutes, skip decel drills, focus on match.
Masters player managing knee history
- Tuesday: 20 minute technique session
- Warm up plus stick landings and slow plant and cuts.
- Thursday: 20 minute home strength
- Emphasize calf eccentrics and hip hinge.
- Sunday: doubles match
- Warm up, then only light crossover rehearsals during changeovers if desired.
Parent checklists for juniors
- Footwear: shoes with fresh lateral support. Replace if the outer edge is rolled or the heel feels loose.
- Surface choice: mix hard court with clay or a cushioned surface when possible during high volume weeks.
- Warm up: watch for the Stop Smart sequence. If it is skipped, cut early accelerations and add stick landings first.
- Technique cues: knee over second toe, soft landings, chest slightly forward over the thigh on plants.
- Volume guardrails: hard change of direction blocks two to three times per week in season. Keep one day fully off court.
- Soreness check: ask about morning stiffness and any sharp knee or Achilles pain. If yes, reduce load and emphasize technique for a week.
- Hydration and food: bring water and a simple carbohydrate plus protein snack for after practice, like yogurt and fruit.
How to progress safely
- Start predictable, then go reactive. Begin with planned cuts, graduate to calls and live tosses, then to ball reading in live rallies.
- Start bilateral, then go unilateral. First two legs, then single leg landings and hinges.
- Start slow, then add speed. Move from 50 percent to 70 percent to 90 percent only if technique stays clean.
- Add chaos last. When form holds under speed, add opponent pressure or scoring constraints.
Optional case study: a model for Palisades Tennis Center group clinics
This is a sample integration model suitable for a large public club such as Palisades Tennis Center. It shows how a busy group clinic can include deceleration without losing rally time.
- Clinic length: 90 minutes, 8 to 10 players per court, one coach.
- Minutes 0 to 10: Stop Smart warm up led by the coach. Players rotate stations every 30 seconds to keep the group moving.
- Minutes 10 to 25: rally build up with a decel focus
- Two rounds of plant and cut to ball at controlled speed before each feed. Coach gives one cue per player.
- Minutes 25 to 35: micro strength circuit at the back fence
- Split squat level 1 for 6 reps each leg, calf eccentrics for 6 lowers each leg, hip hinge to wall for 8 reps. Two rounds total. Players partner up to count and cue.
- Minutes 35 to 75: live ball games with decel inserts
- After each game to 7, run a 90 second crossover recovery block. Players alternate directions every 15 seconds.
- Coach watches for knee tracking and quiet landings and tags one player per round for feedback.
- Minutes 75 to 85: reactive cone reads
- Three sets of 20 seconds with color calls, then replace calls with live toss for the final set.
- Minutes 85 to 90: cool down and two quick retests
- Lateral bound symmetry check and one 5-10-5 trial per direction. Players log times on their phones to track progress week to week.
This format preserves the culture of a fun, social clinic while biasing movement quality. The group learns a common language for angles and landings, which makes coaching faster in future sessions.
Troubleshooting common issues
-
Knees cave in on plants
- Lower the hips before the plant and point the toe slightly outward. Use stick landings and lateral bounds to improve control.
-
Loud, slapping landings
- Shorten the last step and aim for a midfoot contact under your hips. Add pogo jumps and eccentric calf work to build elastic control.
-
Falling backward after the hit
- Delay rotation until you have finished braking. Practice plant and cut sequences where you stop, hold balance for one second, then swing.
-
Fatigue ruins form late in practice
- Split the decel block. Place half early, half late, and reduce reps by a third. Quality beats volume.
Putting it all together
Strong brakes make you faster everywhere. They put you in balance at contact, protect the knees and ankles under match stress, and turn defense into offense by shortening the time from stop to go. The plan here is simple on purpose. Ten minutes to warm up, three strength moves at home, three court drills that carry into play, two tests to measure what matters, and age specific blueprints to pace progress. Build your stops first and your game will feel different within a month.
Start this week. Choose the level that fits your body, keep the technique cues in front of you, and make small, steady upgrades. When you can stop cleanly, you get to choose the next shot. That is a winning kind of speed.