Smartphone Swing Lab 2025: DIY Tennis Video Analysis Guide
Turn your phone into a courtside lab. Learn exact camera angles, frame rates, and slow motion checklists for serve, forehand, backhand, and volley. Track simple metrics and follow a two week fix and retest plan.
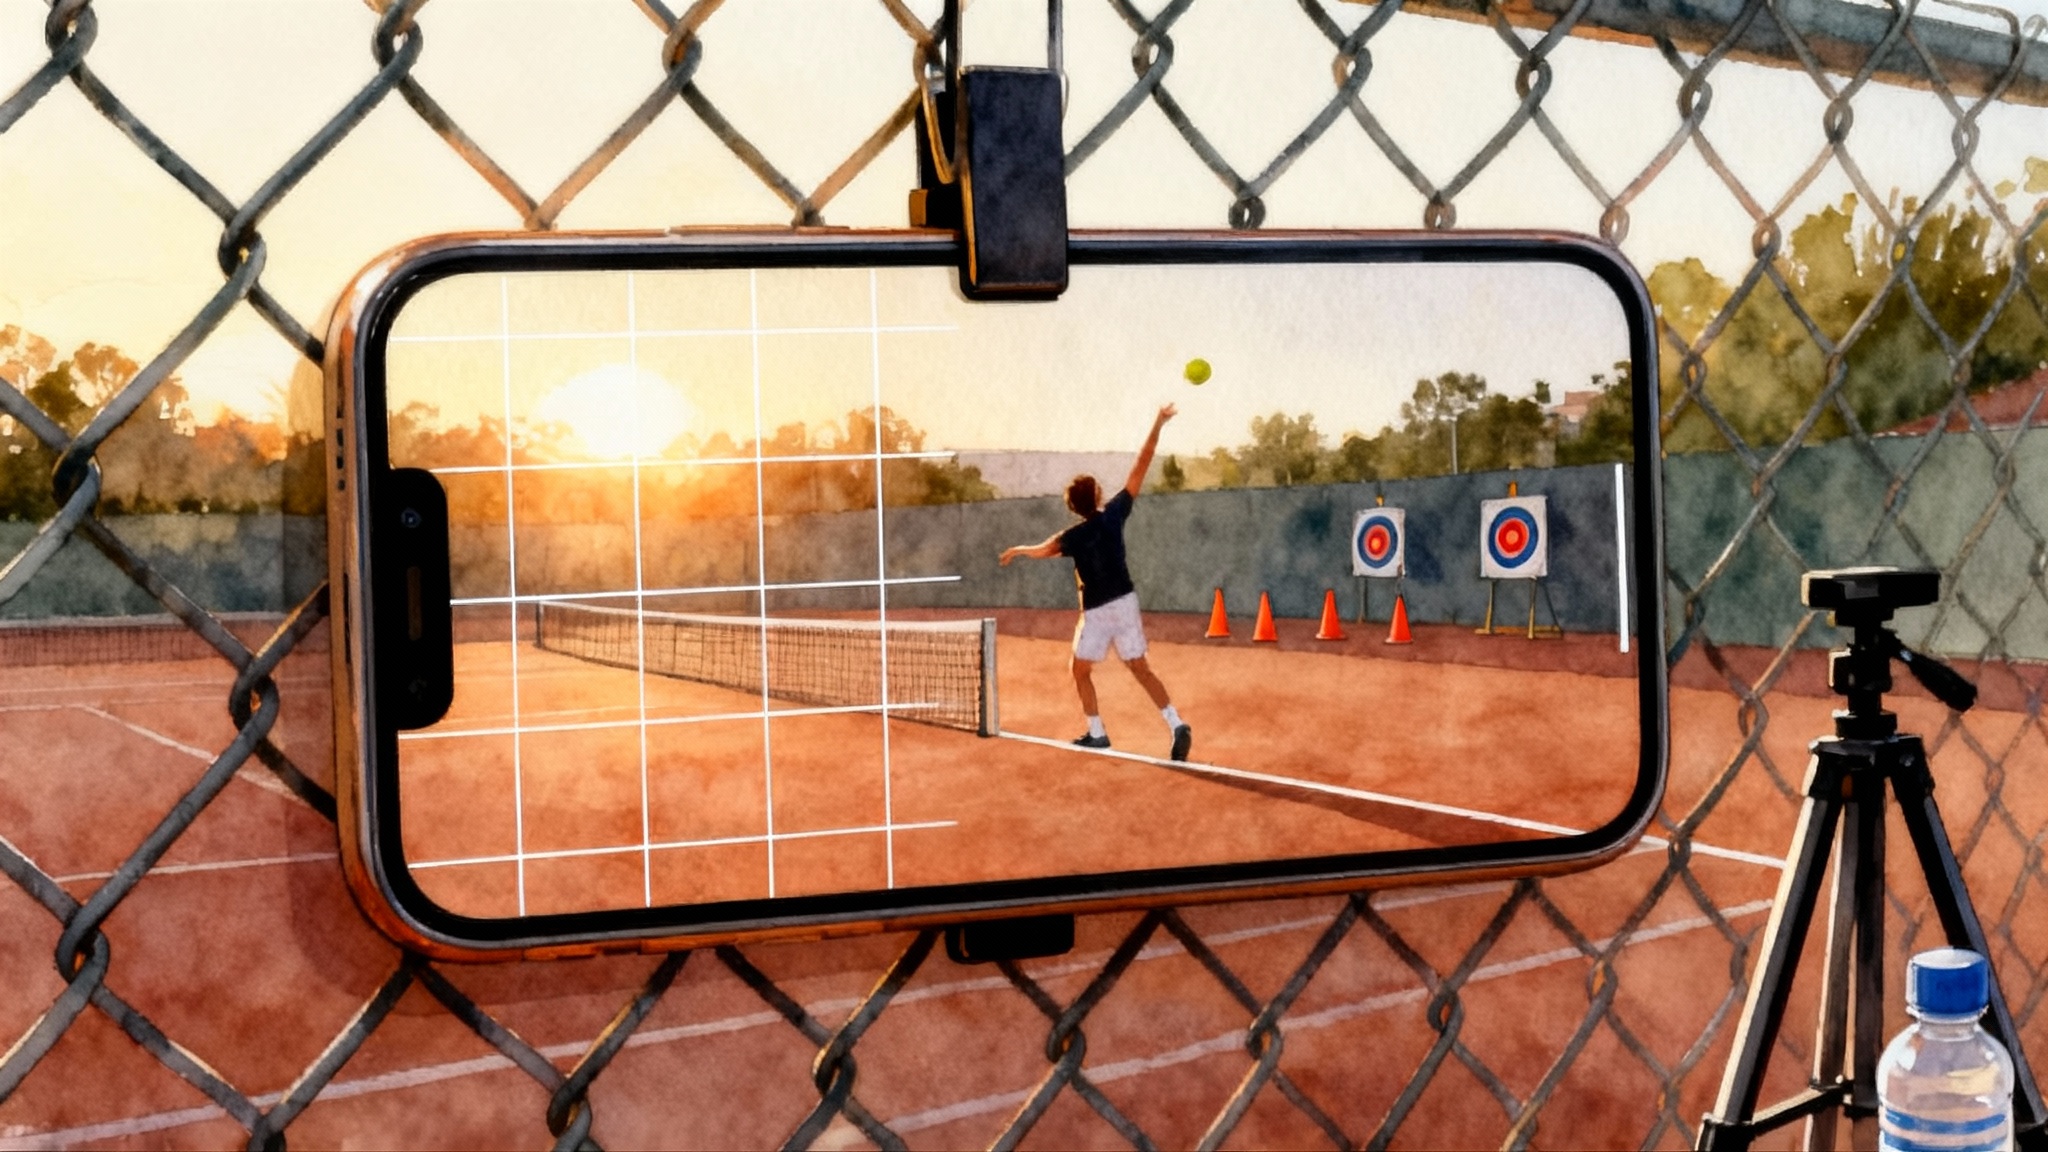
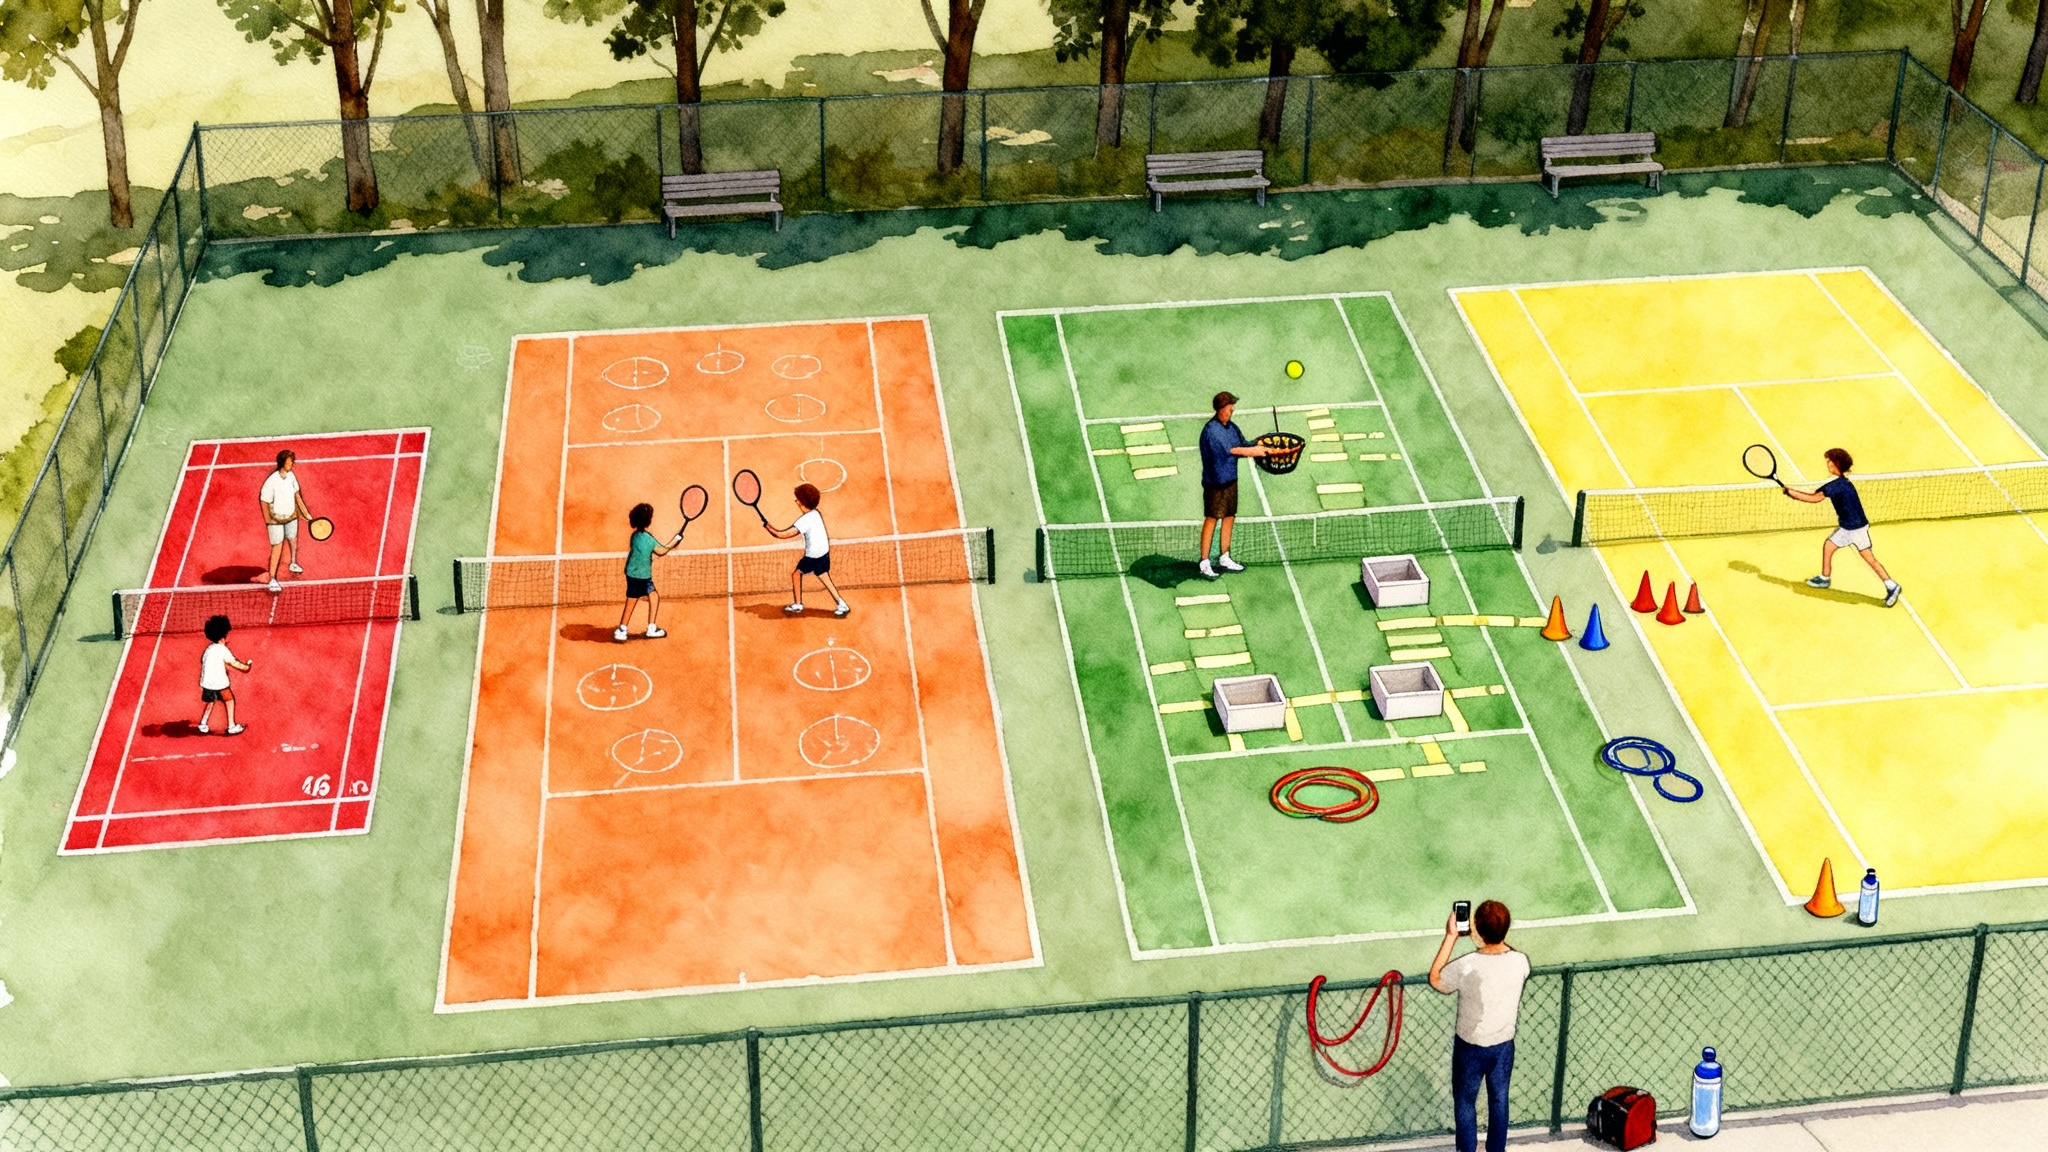
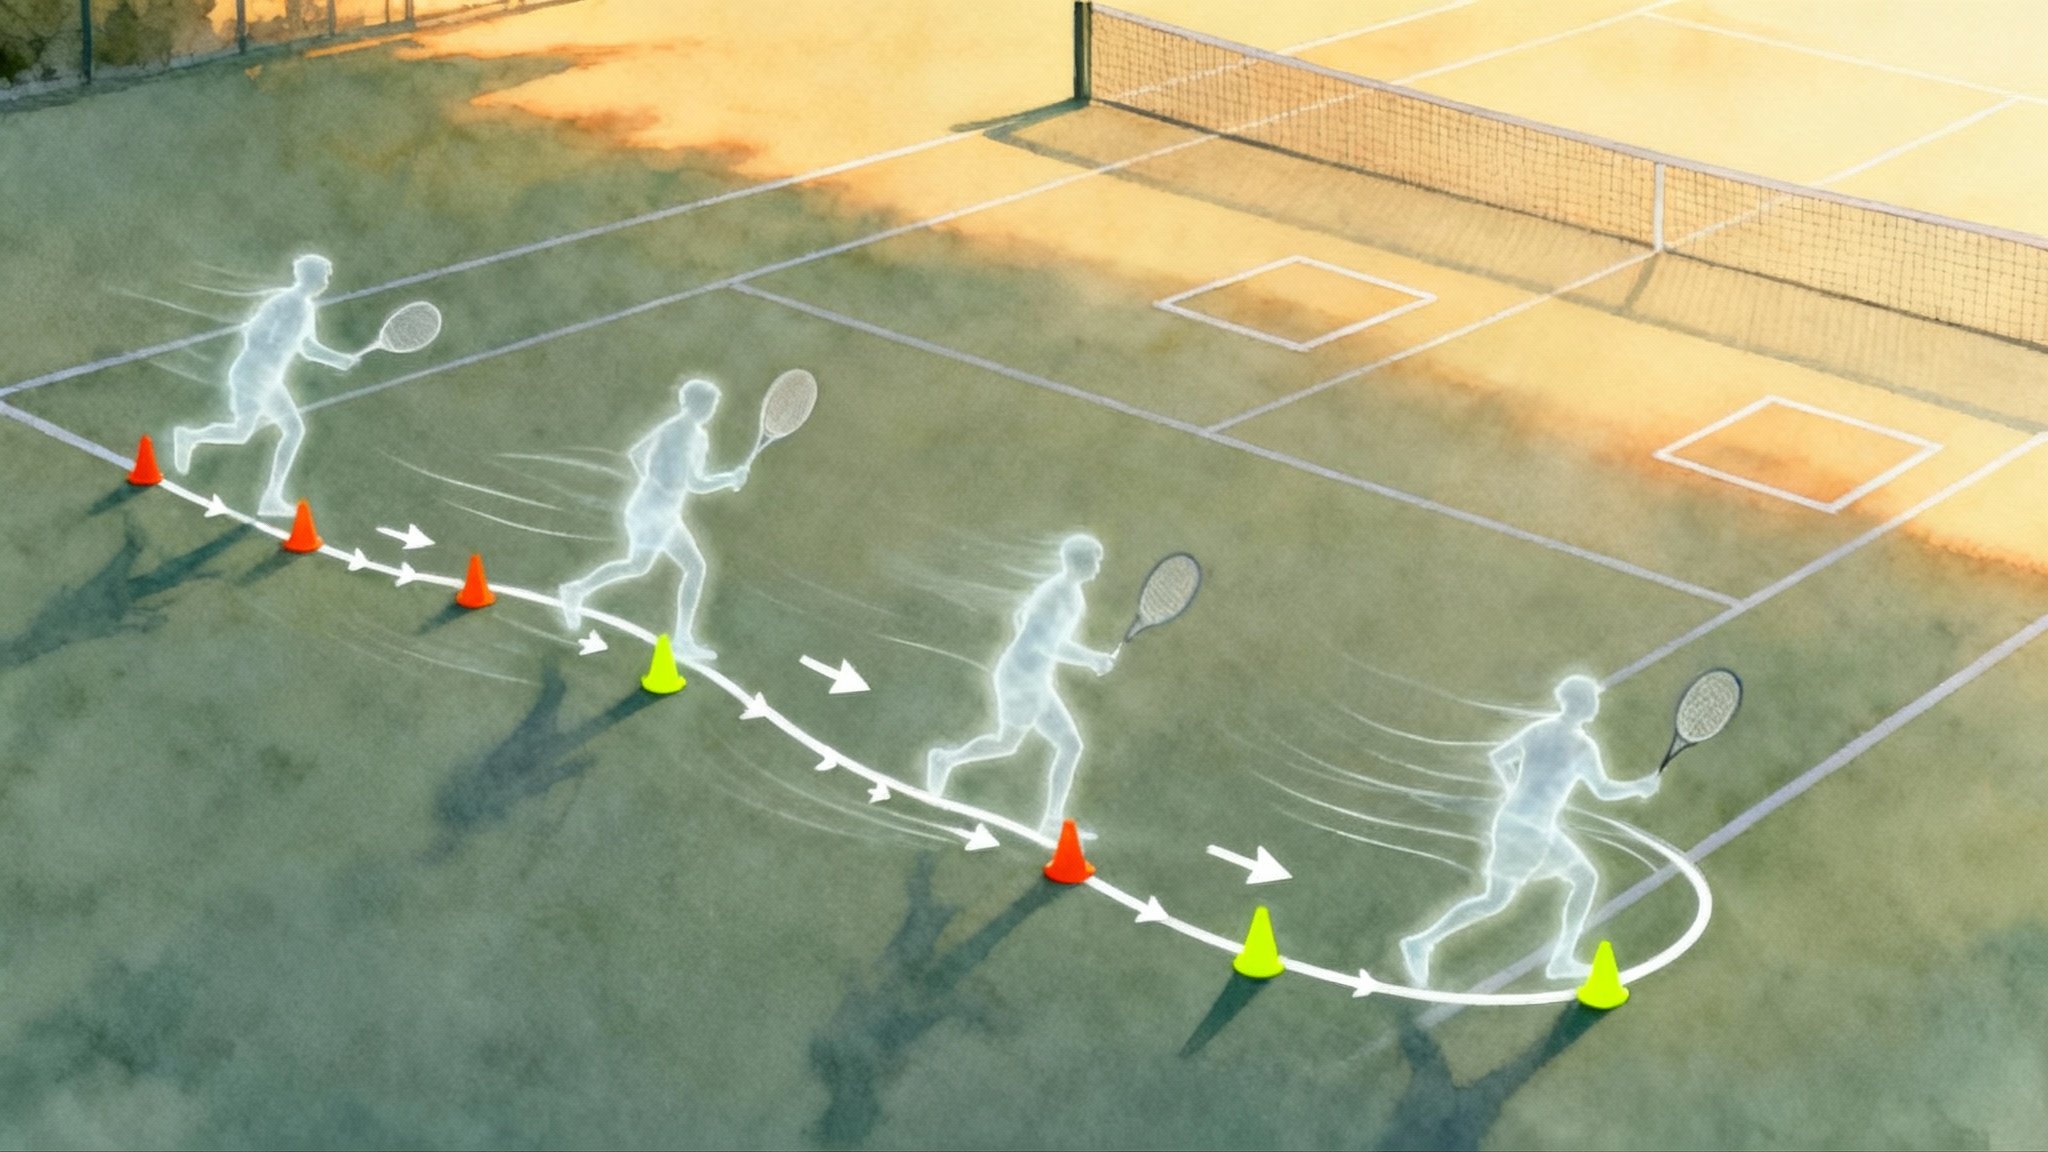
Build your Smartphone Swing Lab in 10 minutes
You do not need a biomechanics degree or a bag of sensors to analyze tennis with real precision. A phone, a clip or tripod, and a repeatable plan can reveal what the eye misses at full speed. This guide shows juniors, parents, and adult players exactly how to film, what to look for, and how to measure progress in two weeks.
The quick setup
- Use landscape orientation so you capture the full swing path and ball flight.
- Turn on the camera grid in settings. The grid helps you square the frame with the baseline and net.
- Record at 60 frames per second as a minimum for clarity. If your phone supports 120 fps or 240 fps, use it for slow motion clips of serves and groundstrokes.
- Use 1080p resolution for a balance of detail and file size. Higher resolution is fine if your device has the storage.
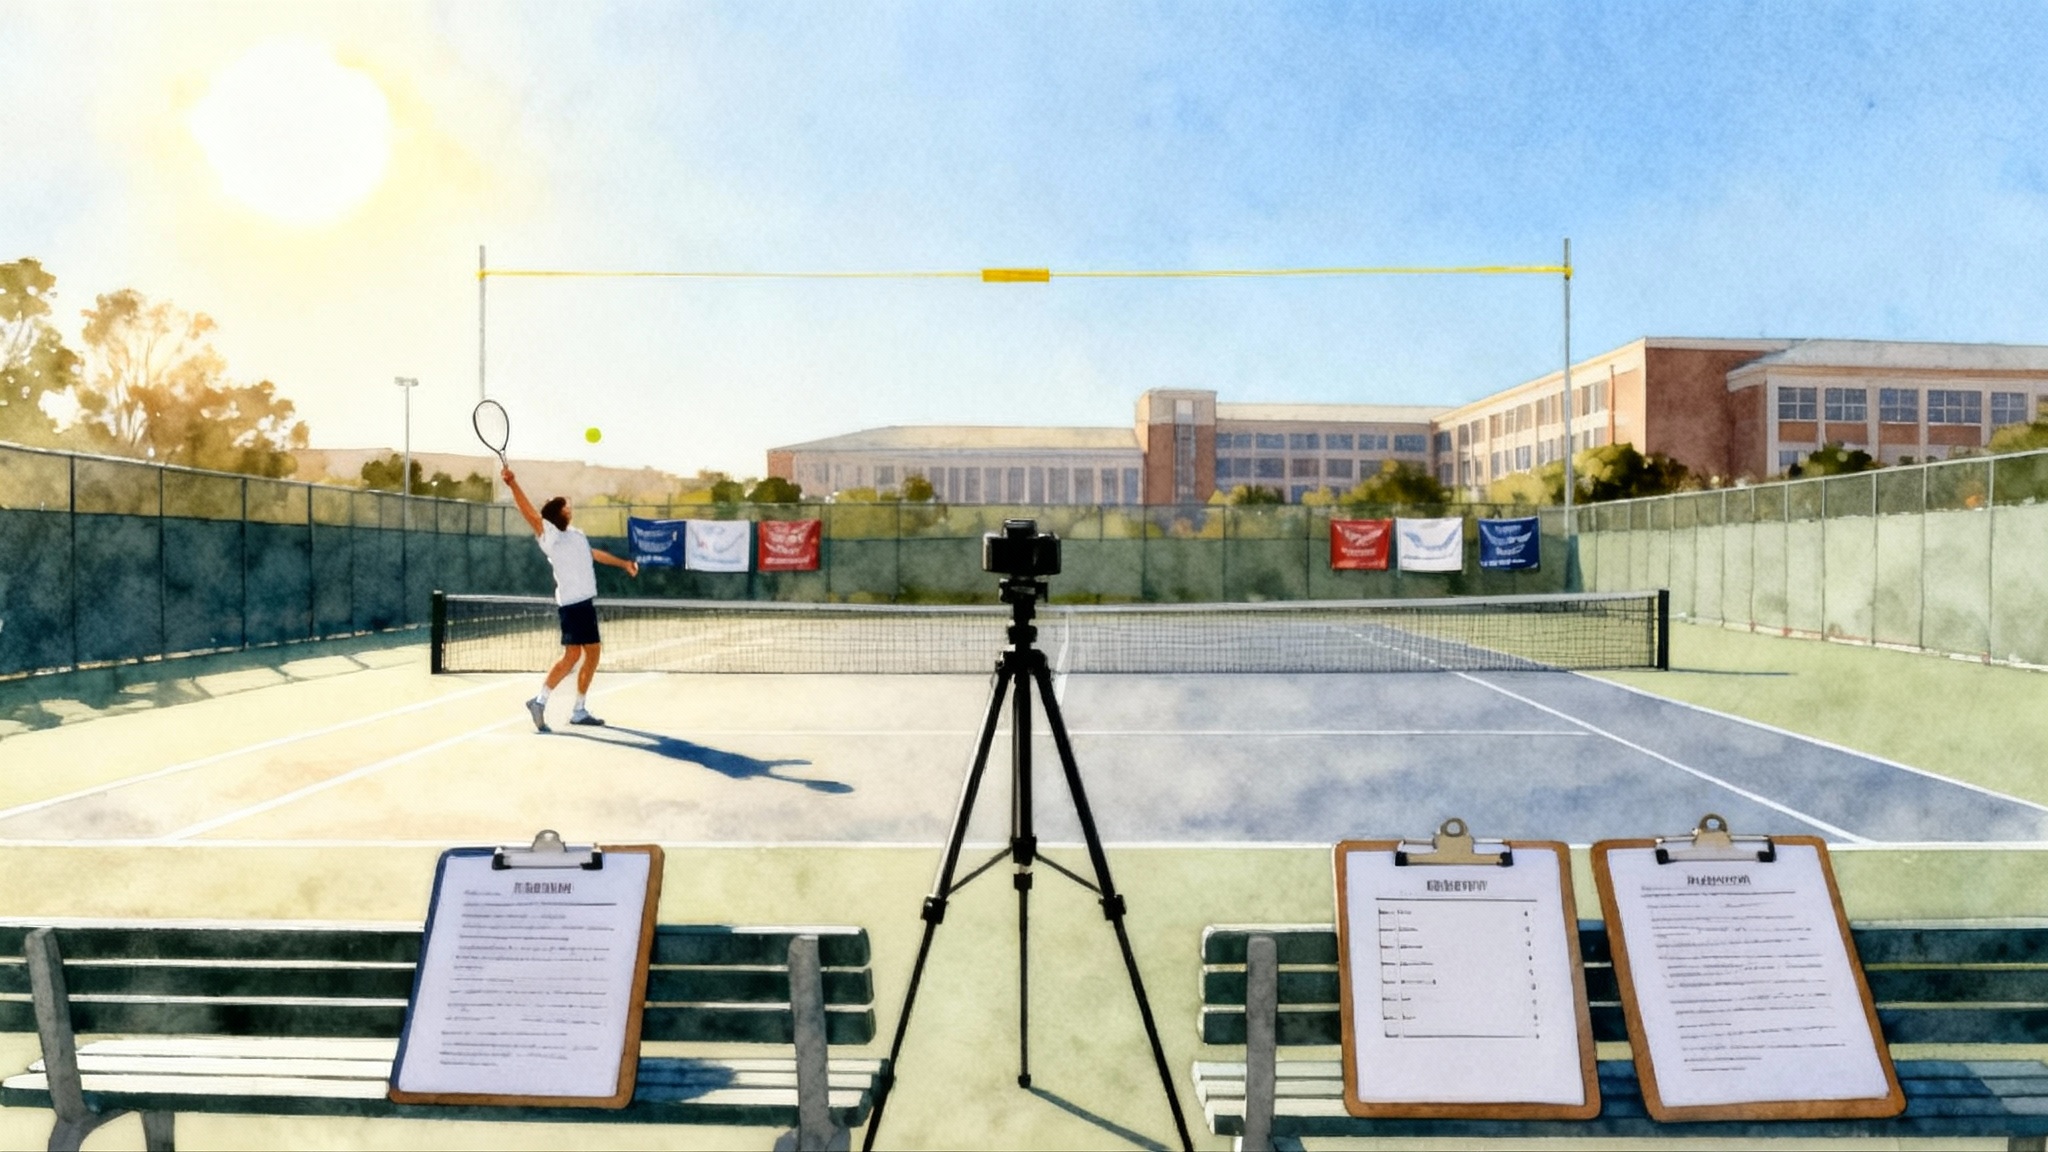
- Stabilize the phone. A cheap fence clip, mini tripod, or a backpack propped with a water bottle works. Stability beats fancy hardware.
The three core camera angles
- Rear baseline view: place the camera on the centerline 3 to 4 meters behind the baseline at chest height. This shows alignment, ball trajectory, and contact spacing.
- Side view: set up perpendicular to the baseline on the deuce side for righties and ad side for lefties, about 4 to 6 meters away at waist to chest height. This reveals swing shape, racquet drop, and contact point relative to the body.
- Front three quarter view: stand just off the center service line on the opposite side of the net, a bit toward the sideline. This gives a realistic opponent’s view for split step timing and preparation.
Film 4 to 6 balls per stroke from at least two angles. Keep each clip short, then label them on your phone immediately, for example “Serve Rear 120fps 12-10-2025.”
Camera settings that save coaching time
- Frame rate: use 60 fps for general practice and 120 fps for slow motion of serves and fast forehands. At 120 fps, one frame equals about 0.008 seconds. That lets you count the time from racquet drop to contact or from opponent impact to your split step landing with surprising accuracy.
- Shutter and exposure: if the court is bright, lower exposure slightly to avoid blur on the ball and strings. On most phones, tap to focus, then slide down a little.
- Zoom: digital zoom reduces clarity. Instead of zooming, move the camera closer.
- Audio on: keep sound. Footwork rhythm and contact timing are easier to judge with audio cues.
Stroke by stroke: how to film and what to check
Below are the filming angles and slow motion checklists for the main strokes. Treat each list like a preflight check. If you cannot see the item clearly in your footage, adjust the camera and try again.
Serve
Best angles:
- Rear baseline view: shows ball toss line, body alignment, and contact height over the net.
- Side view: shows knee bend, hip and shoulder tilt, racquet drop depth, and contact point relative to the head.
Slow motion checklist:
- Toss line: the ball should rise and fall on nearly the same vertical line, not drift a foot or more to the side.
- Trophy pause: both arms up together, front shoulder higher than back shoulder, strings facing the side fence.
- Racquet drop: the tip of the racquet should descend well below the shoulder line before the upward drive.
- Up and out: contact arm fully extended, contact slightly in front of the head, body moving into the court.
- Landing: finish inside the baseline with balanced recovery, not falling sideways.
Simple metrics to track:
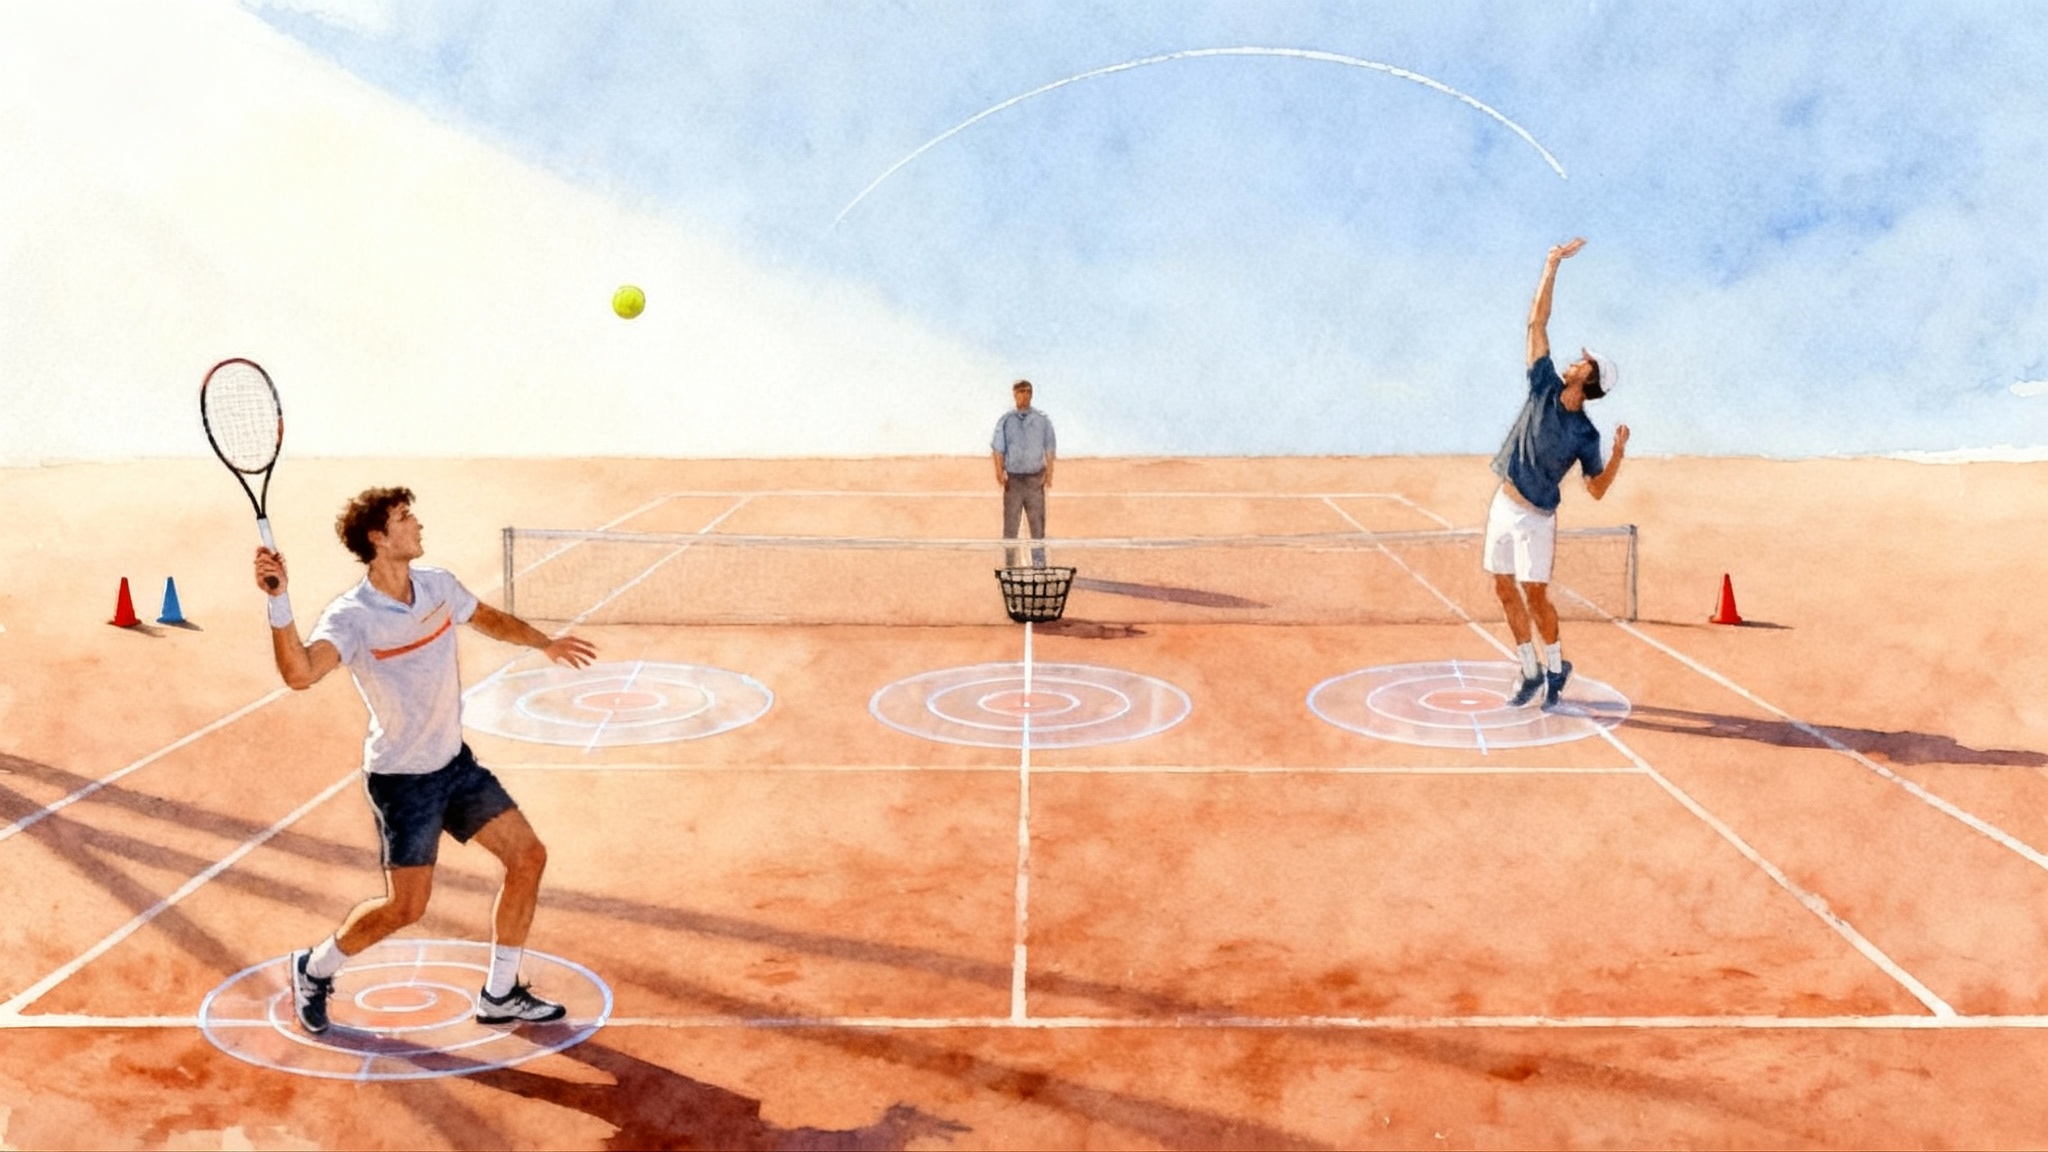
- Contact height: compare the ball at contact to the net tape. The net is about 91 cm at center and 107 cm at the posts. From the side view, pause at contact and note whether the ball crosses above the top third of the net.
- Racquet drop depth: from the side view, measure the vertical distance between the shoulder line and the lowest point of the racquet during the drop. Use the phone’s on screen grid as a ruler. A deeper drop usually shortens the frame count from drop to contact.
- Drop to contact frames: count frames from the lowest racquet position to ball contact. Aim to reduce that count across the two week period without losing balance. Faster upward speed is a common signature of better serves.
For deeper serve adjustments and age specific cues, see the Age-Smart Serve Blueprint 2025.
Forehand
Best angles:
- Rear baseline view: shows spacing from the ball, alignment, and ball direction.
- Side view: shows swing shape, contact point, and extension.
Slow motion checklist:
- Unit turn early: shoulders turn before the ball crosses the net on your side.
- Racquet below the ball: strings drop beneath the incoming ball height before the upward swing.
- Contact in front: the ball meets the sweet spot slightly ahead of the front hip.
- Stable head: minimal head movement through contact.
- High finish: racquet finishes over the opposite shoulder or over the hitting shoulder depending on the ball height and intention.
Simple metrics to track:
- Contact distance from body: from the side view, freeze at contact. Estimate the gap from front hip to ball using your shoe length as a reference. Many players improve by consistently contacting one shoe length in front of the hip.
- Contact height: compare ball height at contact to net tape height from the rear view. Record whether your rally forehands average below, at, or above net tape.
- Preparation time: count frames from opponent impact to your racquet head drop starting. Reducing this count while keeping clean contact often yields better timing in matches.
Backhand
Best angles:
- Rear baseline view: shows alignment, spacing, and shoulder turn.
- Side view: shows contact point and extension. For a one handed backhand, angle slightly more toward three quarters to capture arm extension.
Slow motion checklist:
- Early shoulder turn: hips and shoulders rotate together on the takeback.
- Set the hitting side: for two handed backhands, the non dominant hand loads on the handle with the racquet above the ball before the drop.
- Contact in front: slightly ahead of the front hip for two handed, a touch farther in front for one handed.
- Post contact extension: both hands extend toward the target for two handed. For one handed, the hitting arm extends long with a stable wrist.
Simple metrics to track:
- Contact height versus net: the backhand contact height tells you if you are getting under the ball early enough. Categorize as below tape, at tape, or above tape.
- Trunk rotation window: count frames from the start of your forward hip turn to contact. A stable count across sessions suggests repeatable sequencing.
Volley
Best angles:
- Front three quarter view: place the camera on the opposite side of the net, slightly off center so you see racquet face and split step.
- Side view at the service line: shows body weight transfer and minimal backswing.
Slow motion checklist:
- Split step: land just before the opponent’s contact so your feet are active on the hit.
- Compact move: no long backswing, racquet head stays in front.
- Down and forward touch: slight downward and forward movement through contact, with the racquet face stable.
- Recovery: small hop to the next spot, ready for the following ball.
Simple metrics to track:
- Split step timing: count frames between your split step landing and the opponent’s impact. At 60 fps, landing 1 to 2 frames before impact means about 0.017 to 0.033 seconds. At 120 fps, 2 to 4 frames means about 0.017 to 0.033 seconds. That is a helpful target.
- Contact distance: from the side view, freeze at contact and note if the contact is a forearm length in front of the sternum. Closer usually means jammed.
For faster first steps and cleaner recoveries, build a block from the Tennis Footwork Blueprint.
How to measure with a phone, no software required
- Frame counting: play the clip and tap to hold, then slide your finger to advance one frame at a time. Most phones support this in the gallery app. Log the start frame and the end frame, then subtract.
- On screen grid: turn on the camera grid to estimate straight lines and heights. Align the bottom grid line with the baseline. Use grid intersections as rough rulers session to session.
- Side by side: save your best swing from Week 1 and place it next to your best swing from Week 2 using your phone’s collage feature or any free editor. Visual comparisons will often show improvements faster than numbers do.
- Annotation: use the Photos app markup tool to draw a vertical line through your contact point or a circle around your racquet drop. Keep annotations simple so you can repeat them next time.
If you like dedicated tools, apps such as OnForm or SwingVision overlay courts and automate timing, but everything in this guide works with the default camera and gallery alone.
The three metrics that deliver the biggest gains
You can chase many angles and statistics. Start with these three across all strokes, since they connect directly to power and control.
-
Contact height: compare the ball at contact to net tape height. You can log a simple label for each rally ball: below, at, or above tape. More balls above tape on neutral rally balls usually correlate with better depth.
-
Racquet drop depth on the serve: count frames from drop to contact and note whether the elbow and racquet drop below the shoulder line. Your goal is to shorten the drop to contact frame count while keeping the toss stable and the contact balanced.
-
Split step timing: count frames from your landing to the opponent’s contact. Landing just before their hit turns reaction into action. If your count drifts late, film a few returns and refocus on the rhythm.
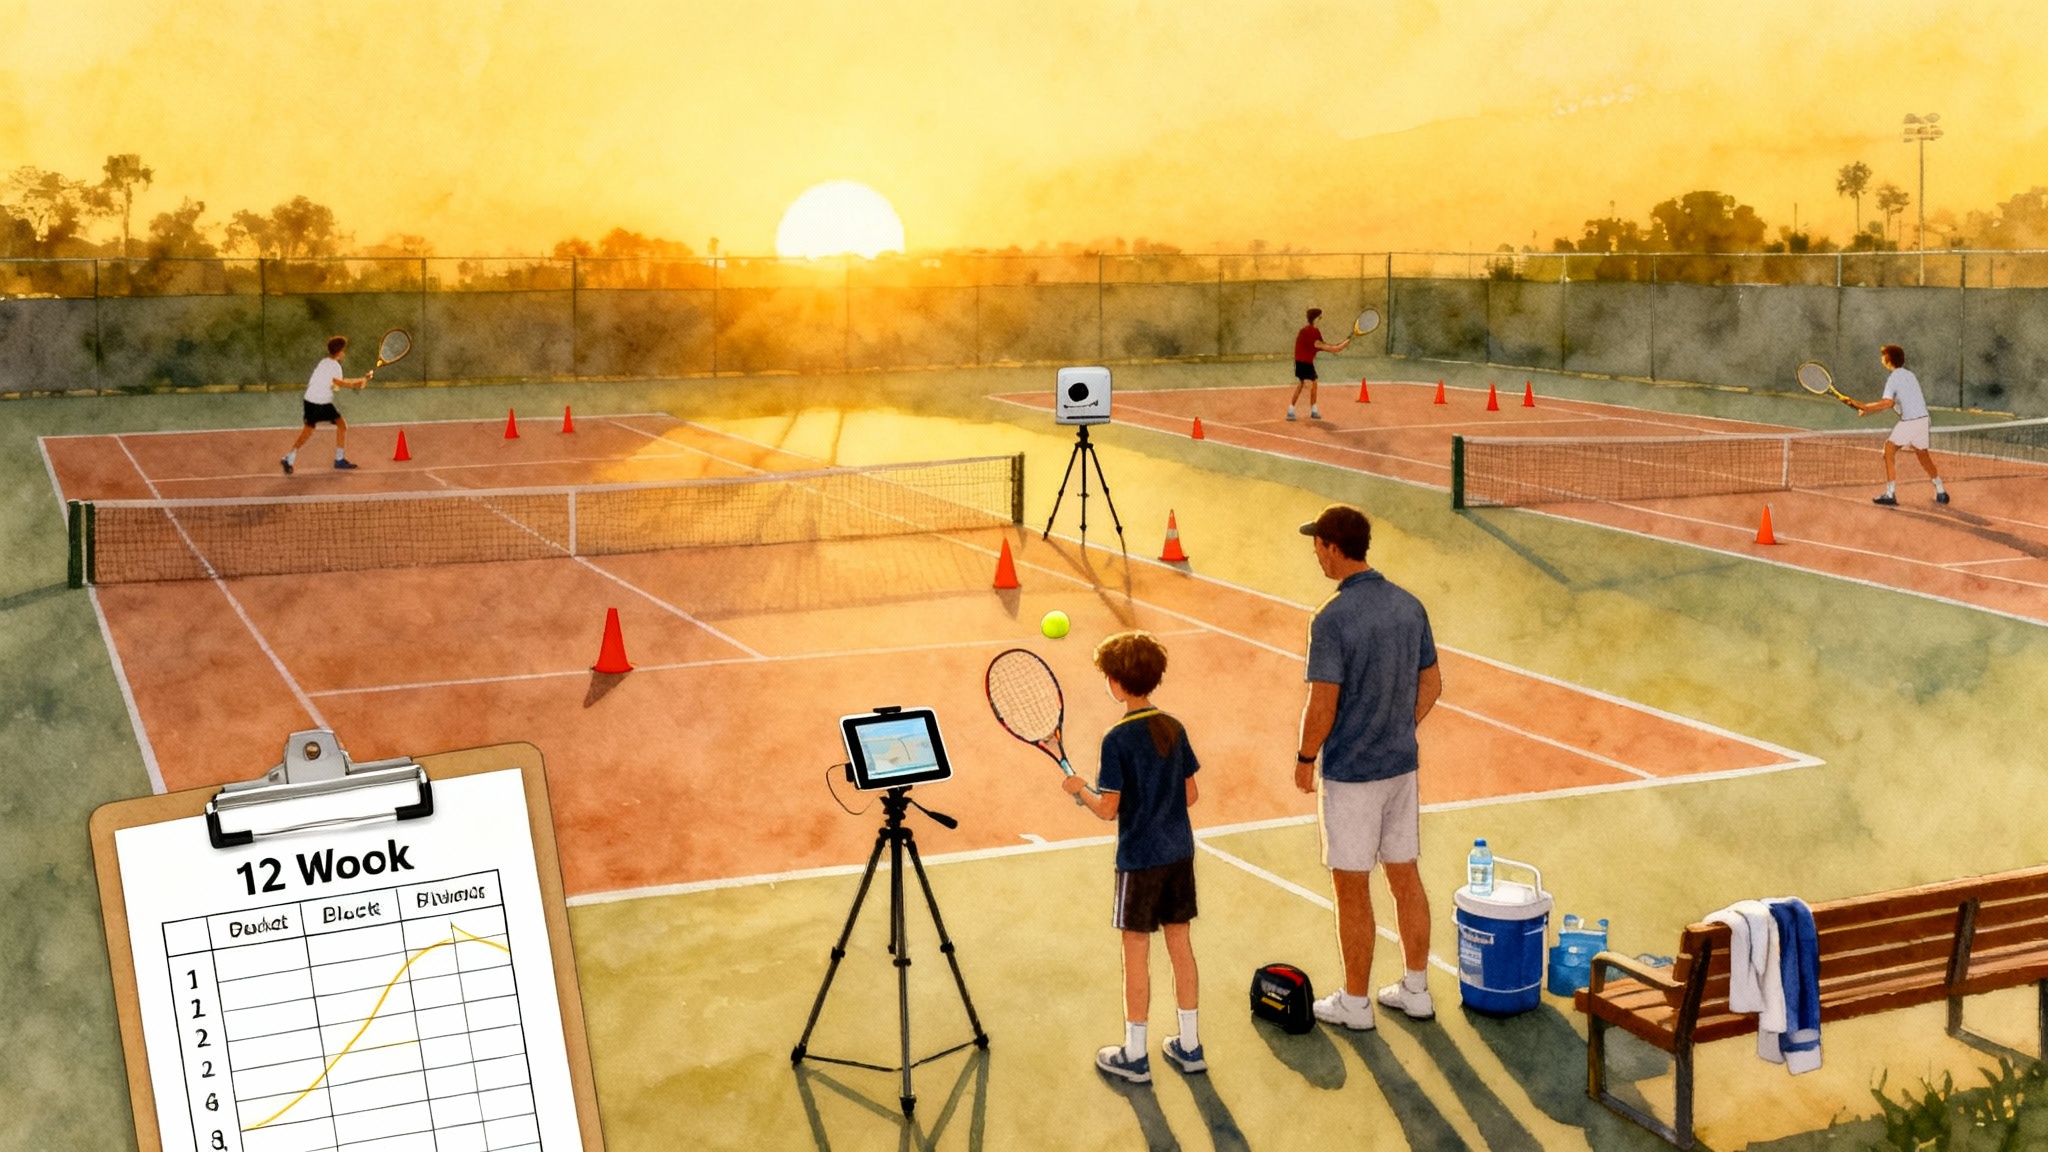
A two week fix and retest plan
This plan assumes two to three sessions per week. Adjust volume if you play more.
Week 1
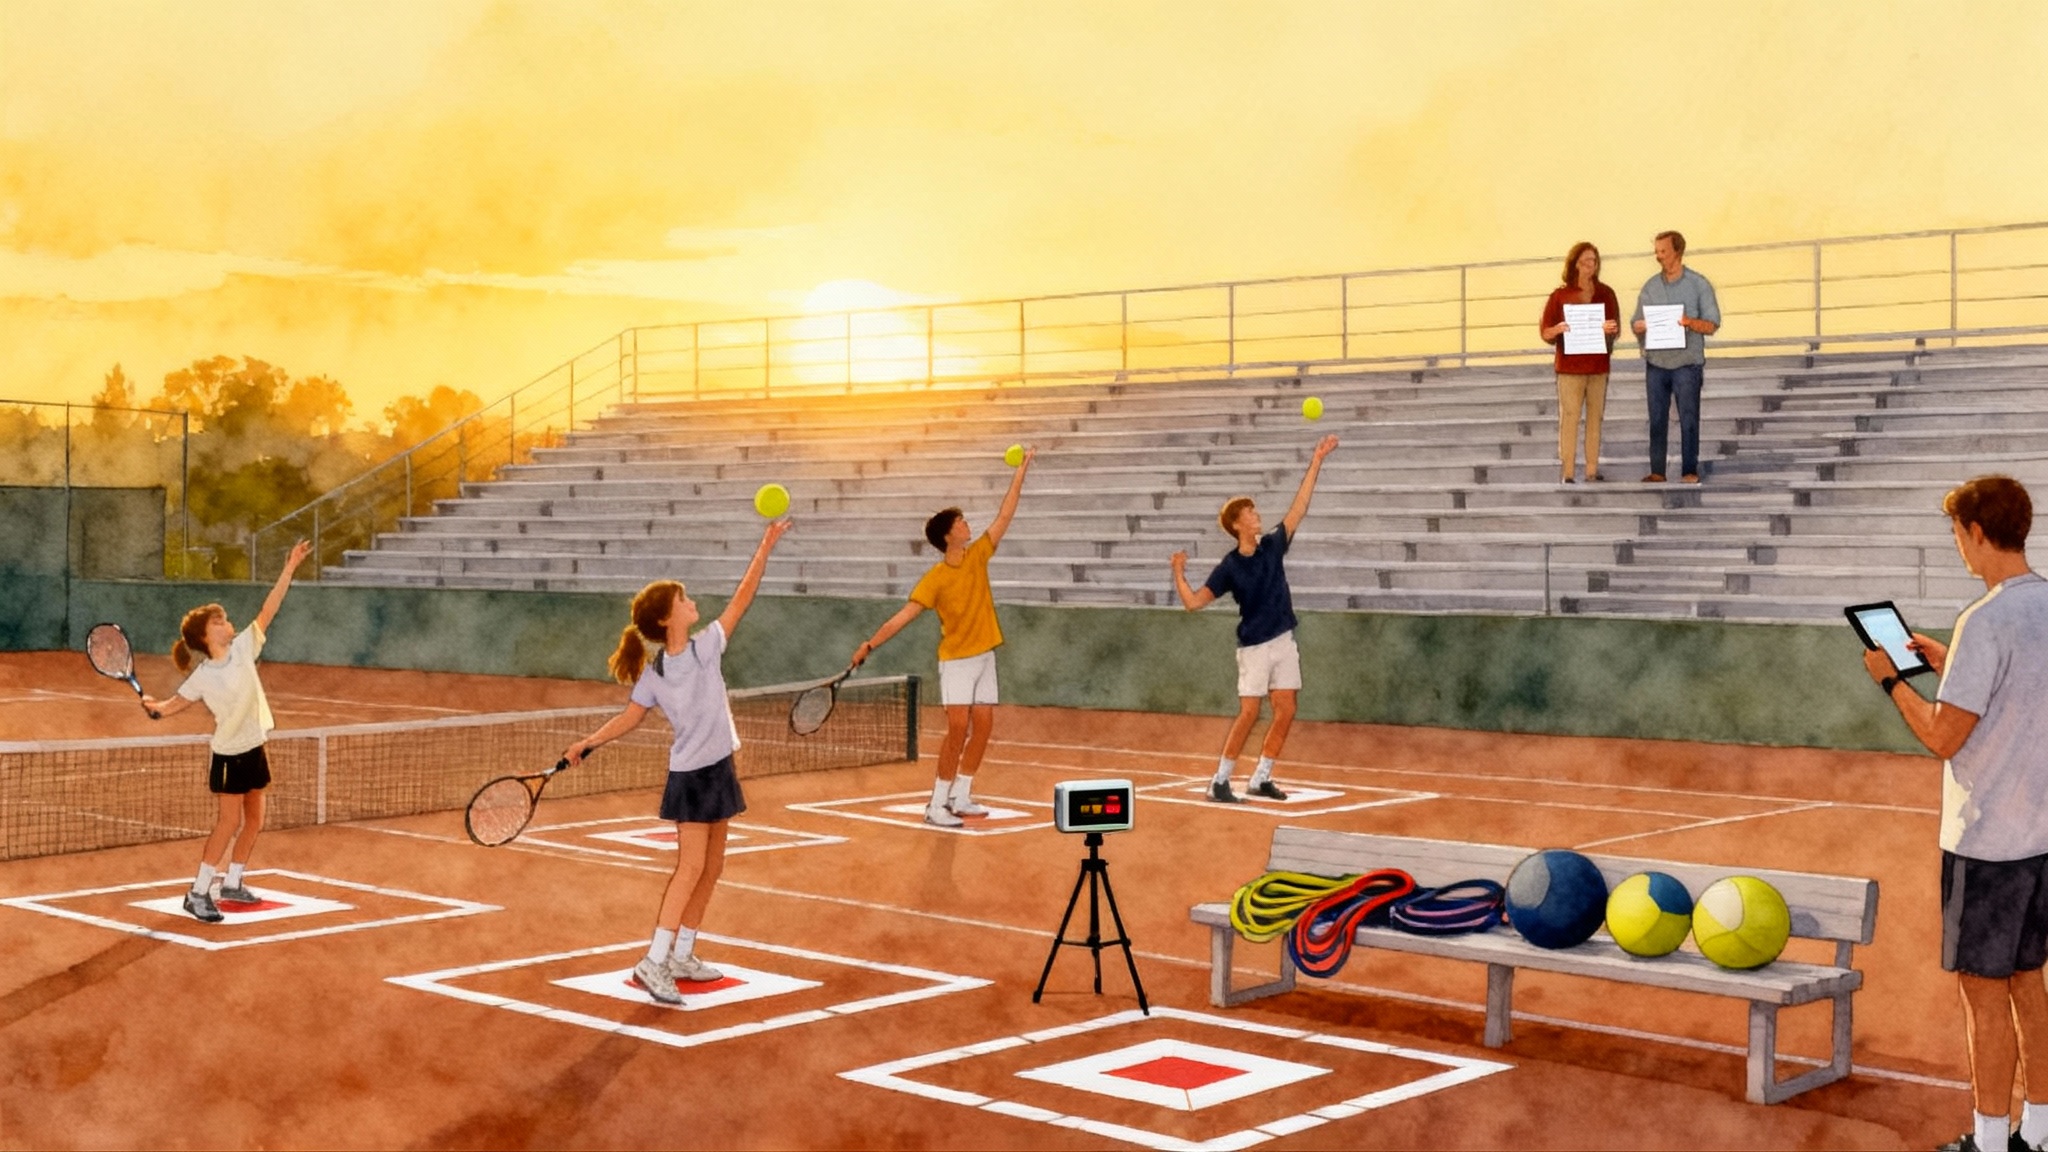
Day 1: Baseline filming
- Serve: 2 angles, 6 balls each at 120 fps if available.
- Forehand and backhand: 2 angles, 8 rally balls each at 60 fps or 120 fps.
- Volley: 2 angles, 6 balls per side from a partner feed.
- Log the three core metrics along with any obvious misses.
Days 2 to 4: One focus per day
- Serve day: rehearse the toss line against a fence, then hit 20 serves focusing on racquet drop. Record five serves after the adjustment.
- Forehand day: shadow swings to a target cone, then rally 10 minutes aiming for contact in front. Record one short slow motion set at the end.
- Backhand or volley day: choose the weaker of the two. Use the slow motion checklist, then record five to eight balls.
Day 5: Integration
- Play a short practice set or a cooperative rally with patterns. Record two minutes from the rear view. Log contact height labels on ten balls per wing. Note split step timing on four returns.
Day 6: Rest and review
- Spend 15 minutes comparing your Day 1 and Day 5 clips. Look for shorter drop to contact counts on serves, more balls above tape on neutral rallies, and earlier split step landings.
Day 7: Retest
- Repeat Day 1 filming with the same camera spots and settings. Update your three metrics. If you improved in at least two, keep going. If not, adjust the focus for Week 2.
Week 2
Day 8: Serve speed without a radar
- Film from the side. Count frames from drop to contact on ten balls. Try three different cues: deeper knee bend, faster toss to contact, and more upward reach. Keep the one that shortens the count without losing balance.
Day 9: Forehand spacing
- Place a cone one shoe length in front of your front hip position. Shadow swing to the cone, then rally. Record and freeze at contact to check that the ball is at or just beyond the cone line.
Day 10: Volley first move
- From the front three quarter angle, film a sequence of quick exchanges. Focus on split step rhythm and keeping the racquet in front. Measure split timing on six balls.
Day 12: Match play sample
- Play four games and record from the rear baseline. Log ten contacts per wing and a handful of split timings on the return. Put your best forehand from Day 1 next to your best from Day 12 and compare.
Day 14: Full retest
- Repeat Day 1 filming exactly. Update the three metrics. Summarize in one sentence per stroke, for example: “Serve drop to contact down two frames, toss tighter, contact higher.”
Troubleshooting your footage
- The ball is a blur: increase frame rate to 120 fps and reduce exposure. Move the camera closer instead of zooming.
- You cannot see the racquet drop: raise the camera to chest height, step back one meter, and angle slightly toward three quarters.
- The player exits the frame: place a small cone at the edge of the frame and tell the player to start behind it each time. Consistent starting points help.
- Wind shakes the phone: clip the phone to the fence at a crossbar and wedge it with a wristband or dampener to reduce vibration.
When to escalate to a professional assessment
A phone driven plan moves you a long way, but expert eyes can save months. Consider a professional evaluation when one or more of these apply:
- Pain or strain: any shoulder, elbow, or back pain that shows up on serve or after heavy forehands.
- Plateau: your three metrics do not improve after two full weeks or they improve in practice but not in match play.
- Pattern blind spots: the video shows the same miss pattern four sessions in a row, for example, forehands contacted behind the body on rally balls.
- Time pressure: a tournament is approaching and you need the fastest path to safe and lasting change.
How Legend Tennis Academy runs a baseline video evaluation
If you decide to get a guided start, our baseline evaluation is designed to be fast, practical, and specific. We focus on the same simple metrics you have been tracking so the handoff is smooth. You can start with our team at Legend Tennis Academy.
- Intake checklist: we ask for two short clips per stroke from the angles above. For serves, we prefer one rear baseline clip and one side clip at 120 fps if possible.
- Context notes: you add brief notes about current goals, recent pain, and what you feel during the stroke.
- Coach review: a certified coach tags your clip with drawings and time stamps that highlight contact height, racquet drop depth, and split step timing. We include a plain language explanation for each tag.
- Side by side: we place your best swing next to a reference model that fits your body type and goals. The goal is clarity, not imitation.
- Three action plan: we finish with exactly three actions for two weeks. Each action is measurable, such as “land your split step two frames earlier on the return” or “move contact one shoe length in front of the hip on neutral forehands.”
- Follow up window: you retest on Day 14 and send the same angles. We annotate changes and either advance the plan or reset with a simpler cue.
Bringing it all together
You just built a workable tennis lab out of a phone and a plan. Set the same angles every time. Count the same frames every time. Compare side by side every week. These habits are what let junior parents, league players, and coaches spot the one lever that changes an entire stroke. Use the checklists to aim your effort, then trust the numbers to confirm progress. When you hit a wall, pull in a professional set of eyes to fast track the next step.