Return of Serve Mastery: Timing, Footwork, and Match Plans
A technique-first guide to the most neglected shot in tennis. Learn split-step timing, compact swings, footwork patterns, specific plans vs first and second serves, doubles formations, surface tweaks, and trackable KPIs.

The shot that secretly decides your match
Most players spend hours grooving forehands and serves, then lose the big points on the very first ball they hit: the return. The tennis return of serve is the ultimate test of reading, timing, and footwork under pressure. You cannot choose when it arrives, only how ready you are when it does. This guide is a technique-first blueprint that you can train this week. It covers stance, split-step timing windows, compact swing shapes, three reliable footwork patterns, match plans against different serves, doubles formations and targets, surface adaptations, and measurable metrics you can track.
Terminology note for clarity: U12 means under 12 years old, U18 means under 18 years old, and the 3.0 to 5.0 scale refers to the United States Tennis Association player rating system. KPI means key performance indicator.
Stance and split-step timing windows
The return rewards simplicity. Your stance and your timing decide how simple the swing can be.
- Stance: Set up with feet just wider than shoulder width, weight on the balls of your feet, and your hips slightly open to the server. If you stand too square, your first move is late. If you stand too open, your shoulders over-rotate and the swing gets long.
- Grip: Start in your forehand grip with the non-dominant hand on the throat of the racquet. This makes the unit turn faster and steadies the racquet head.
Split-step timing windows are your ready-made clock. Think in landing moments rather than takeoff.
- Versus a fast first serve: Land your split step right as the ball leaves the server’s strings. Cues that help: start your hop when the toss reaches its peak and aim to land at contact. If you land late, your feet glue to the court and the return turns into a lunge.
- Versus an average first serve: Land just after contact. The fraction of extra time buys you a cleaner read and a shorter reaction move, which helps you block cleanly.
- Versus a second serve or a kicker: Land as the ball peaks on your side of the net. This later landing lets you attack forward or adjust to a high kick without drifting backward.
Two checks to know your timing is right:
- Your first step is instant and small, not a reach. If you are reaching, your split step is late or your stance is too wide.
- Your head stays still through contact. If it bobs, you are landing during the swing, not before it.
Unit turn and compact swing shapes
The return swing must be compact. Think turn, set, and send.
- The unit turn: As soon as you read forehand or backhand, turn shoulders and hips together. The non-dominant hand carries the racquet to the set position. The elbow stays in front of the rib cage to keep the backswing short.
- The set: Shape the racquet to a half loop or simple take-back. On the backhand, show the back of your front shoulder to the server. On the forehand, create a small C rather than a full loop. If your racquet head drops below your hands too early, your swing gets long.
- The send: Contact slightly in front of your front hip, strings square through the middle of the ball. Imagine quiet wrists, loud legs. The racquet path is short through, not around, the ball.
Visual checkpoints:
- Forehand: Racquet face neutral at set, palm down feel to avoid flipping open. Finish no higher than your shoulder on blocks and drives. Higher finishes are fine on second-serve attacks.
- Backhand: For two hands, keep the front elbow soft and the back elbow close to the ribs. For one hand, shorten the backswing to less than a forehand drive and use more shoulder turn than arm swing.
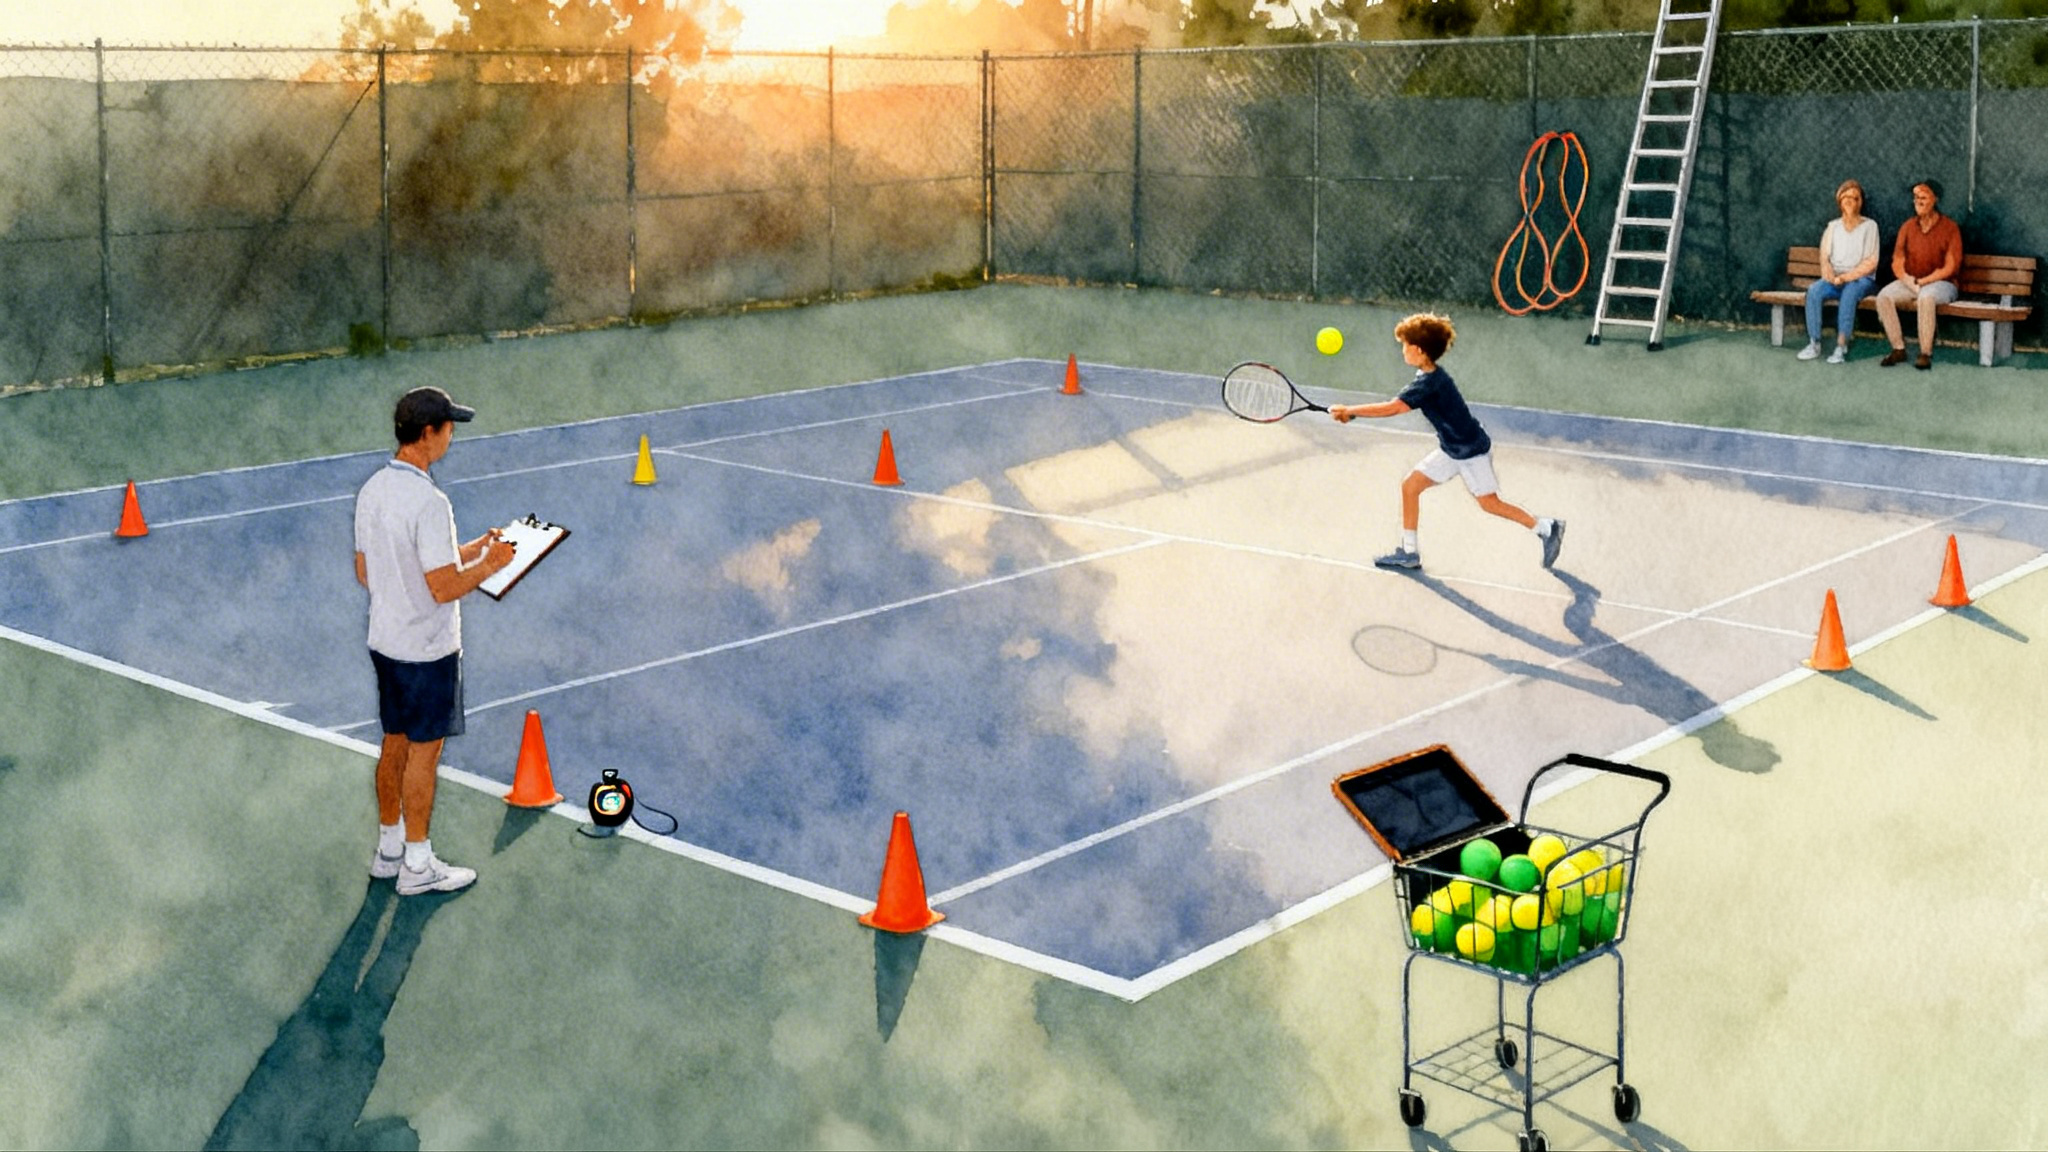
Footwork patterns that work under pressure
Return footwork is a sequence of small moves, not a single big step. Here are three patterns that solve most balls.
- Jab step: After landing the split step, take a quick jab with the outside foot toward the ball. That jab creates the line of attack and keeps your hips closed long enough to drive through contact. Use it on body serves and most first serves.
- Hop set: Short hop off both feet into contact when the ball jams your body. This creates space without retreating and helps you block solidly. Think of it as a mini reset right before contact.
- Crossover: When the serve pulls you wide, cross the outside leg over the inside leg after your jab. This is a fast lateral move that preserves your downhill angle into the ball. After contact, use a shuffle or crossover recovery back to the middle.
Rule of thumb: one small step to the ball, strike, then two small steps to recover. If your recovery is a sprint, you over-committed or let the ball travel too deep.
Match plans vs first and second serves
You need preloaded plans. Decide before the toss so you can commit without hesitation.
First serves
- Block middle: Aim to the middle third of the baseline, waist-high trajectory. This steals the net player’s angles in doubles and pushes singles servers into a neutral start. Use a compact swing and firm wrist.
- Body beat: If the server loves serves into the hip, shift your starting position half a step to that side and plan to punch crosscourt. Take the ball early so it does not climb.
- Slice skid: When the ball stays low or slides, lighten your grip and keep the racquet face stable. Your contact is out in front with a small through-path. Target deep crosscourt to give yourself more court and time.
Second serves
- Step-in drive: Move inside the baseline on the toss. Land the split step later and drive through contact with a longer through-path. Targets: deep middle for safety or heavy crosscourt to pull the server wide.
- Roll up on kickers: Start half a step back, turn early, and lift with legs and chest to contact above your waist. Use more spin and a taller finish. Target deep crosscourt or behind the server.
- Chip and charge: Especially on the backhand, chip low and deep down the line or middle, then take three quick steps forward. This flips pressure and forces a rushed first ball.
Lefty, righty, and kicker adjustments
- Lefty slider wide on the ad court to a right-hander’s backhand: Shift your starting position one full shoe length toward the alley and face your chest slightly more toward the sideline. Plan to cut off the angle with a jab plus crossover, then drive line or heavy cross.
- Righty kicker to the backhand on the ad court: Start a half step back and laterally inside. Turn early, set the racquet high, and time your split step to land just before the bounce. Commit to a higher contact and roll deep crosscourt.
- Body serves: Keep elbows in, soften grip, and use a hop set to create space. Your target is deep middle more often than the line.
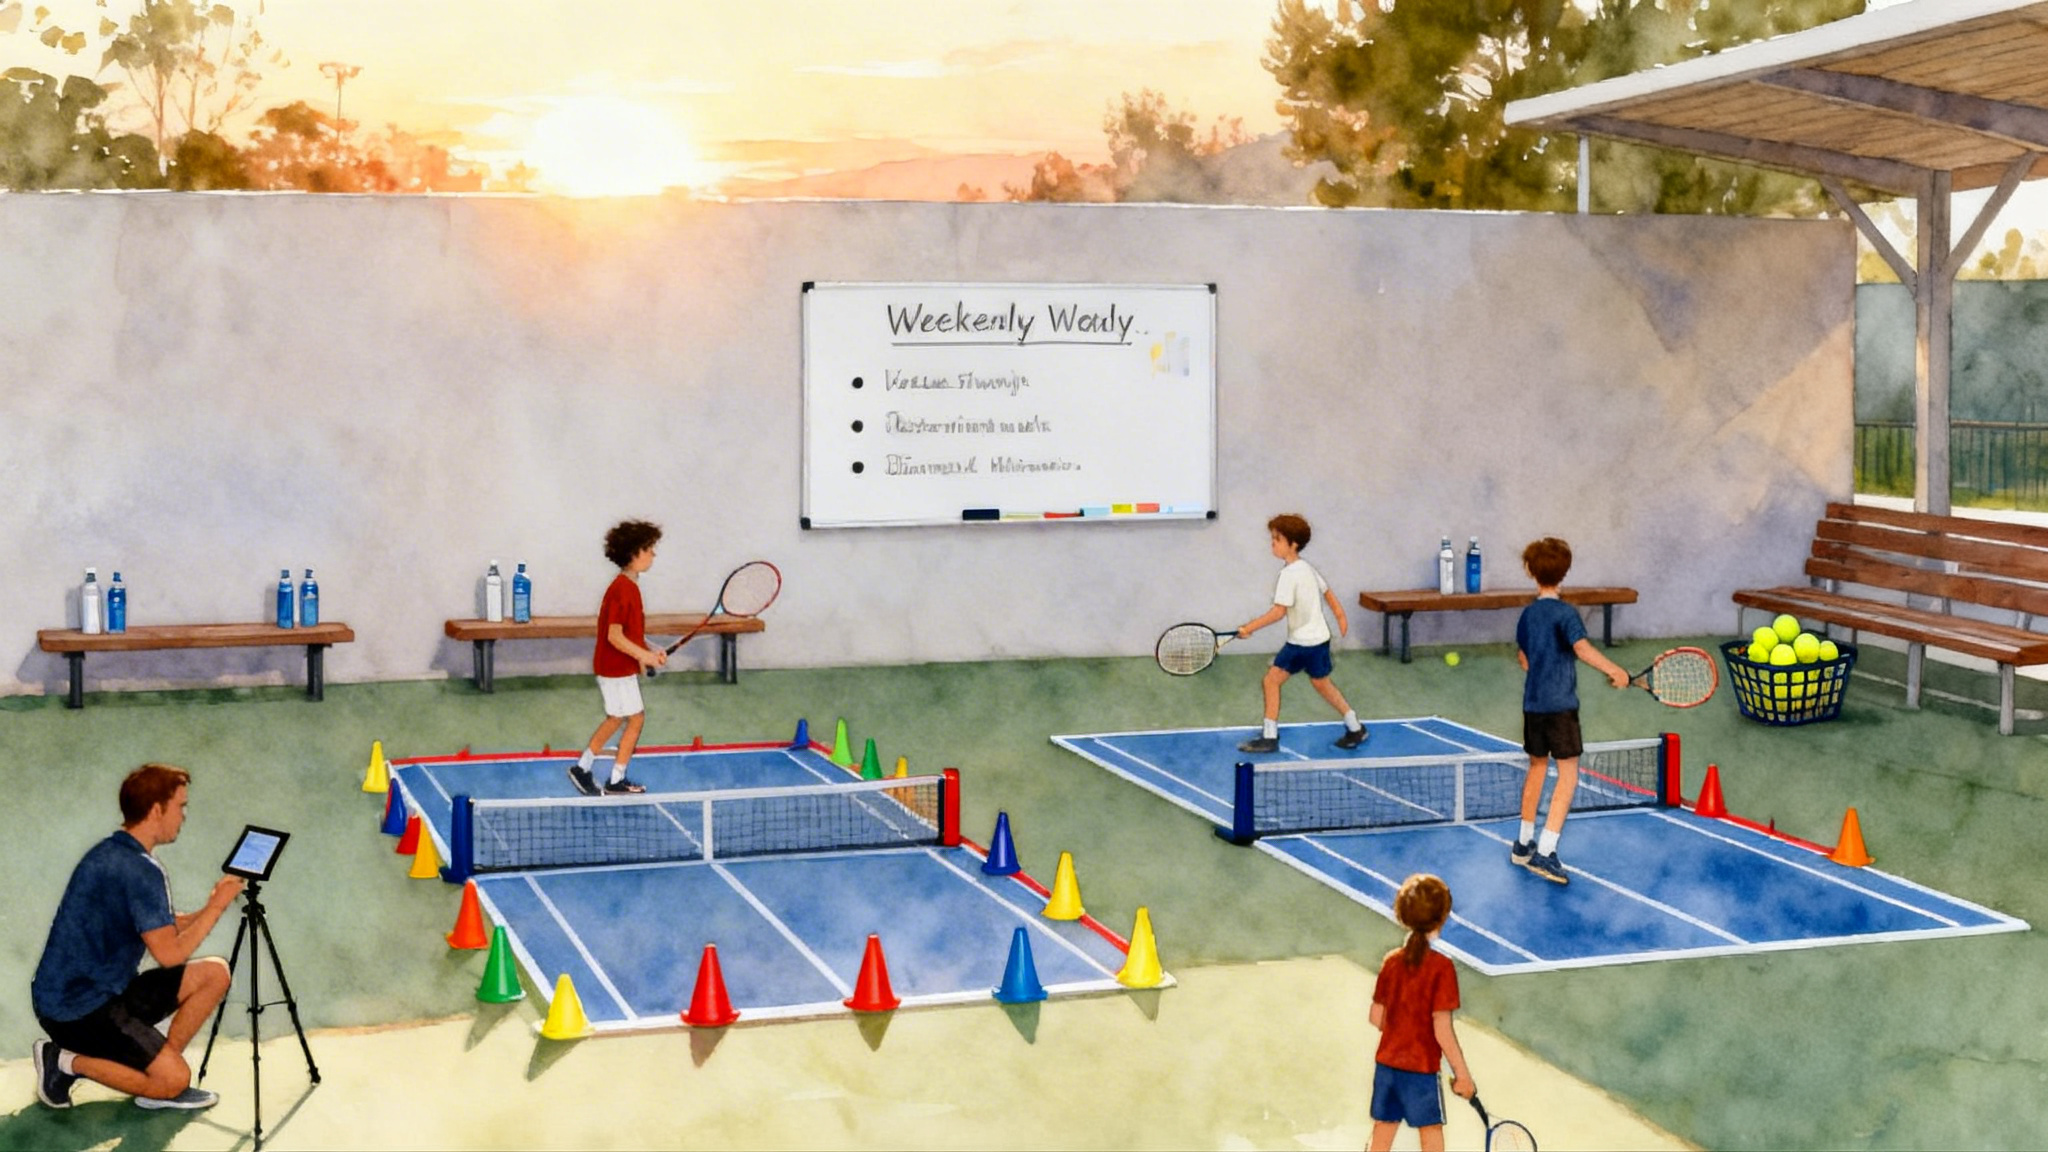
Doubles return formations and target zones
Formations change traffic patterns. Know your answers.
- Standard formation: Net player is near the middle. Your best targets are heavy crosscourt at the server’s feet, low middle to jam the server and net player, and the lob over an aggressive net player if they lean.
- Australian formation: Server and net player stack on the same side. If you see it early, aim down the line behind the net player or lift a topspin lob crosscourt. Prepare for the alley to be bait.
- I-formation: Net player crouches near the T and pops up to a side. Read their first move. If they move early, fire the ball behind them. If they hold, roll heavy crosscourt at the server’s feet. Communicate with your partner to cover the middle if you aim line.
Returner’s checklist in doubles:
- Pre-call your first two targets based on the formation.
- If you miss long, lower net clearance and aim middle next time. If you miss in the net, raise net clearance and aim higher crosscourt.
- When in doubt, hit hard and deep crosscourt to the server’s feet.
Surface and ball-speed adaptations
The same mechanics, tuned for the court in front of you.
- Hard court: Neutral stance and average split-step timing windows work well. Focus on early contact and firm blocks against pace.
- Clay: The ball jumps and slows. Start one step back, allow for a later landing, and exaggerate lift on kickers. Chipping deep line to flip court position is valuable.
- Grass: The ball skids and stays low. Bend early, keep a quieter backswing, and favor slice or flat blocks. Aim deeper through the middle to reduce angle exposure.
- Indoors or altitude: Everything arrives faster. Shorten the backswing further, land earlier on first serves, and simplify targets to middle and deep crosscourt. On second serves, step in only if you can keep the swing compact.
Two weekly microcycles you can start Monday
These plans are short, repeatable, and built for measurable progress within a week.
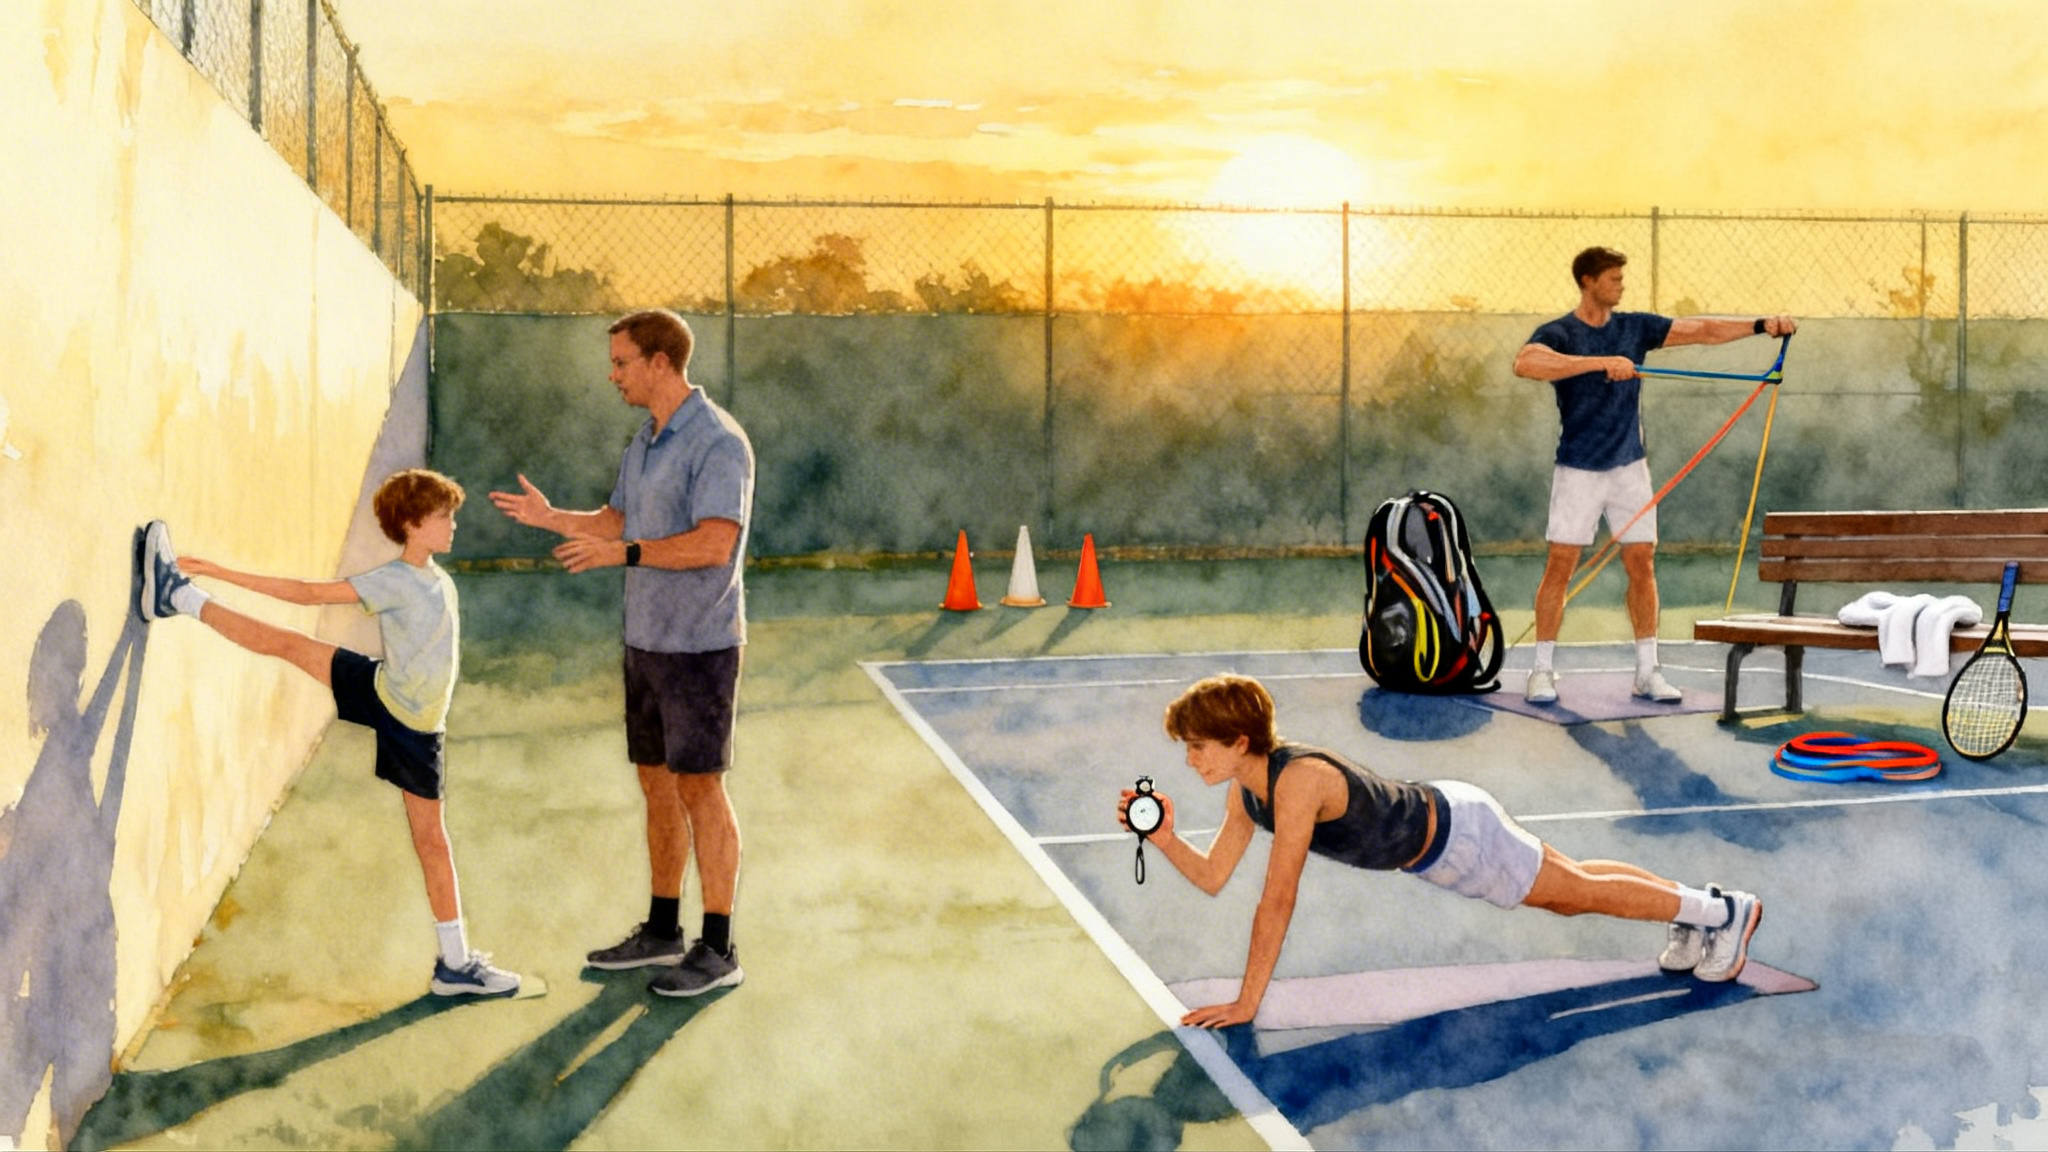
Microcycle A: U12 to U18 juniors
Assumptions: two to four court sessions, two short at-home blocks.
-
Monday 60 minutes: Split-step and read
- Warm up: 8 minutes skipping rope or line hops. 4 sets of 30 seconds on, 30 seconds off.
- Drill: Coach serves from inside the service line to reduce pace. Player lands split step at contact, then jabs to the ball. 30 balls per side, 2 rounds.
- Target game: Deep middle band only. Score 1 point for a deep ball, 0 for neutral, minus 1 for short. First to 15.
-
Wednesday 75 minutes: Footwork patterns
- Wide sliders: Server aims wide. Returner practices jab plus crossover, then two-step recovery. 20 balls per side, 3 rounds.
- Body serves: Hop set on jammed balls, aim deep middle. 30 balls, 2 rounds.
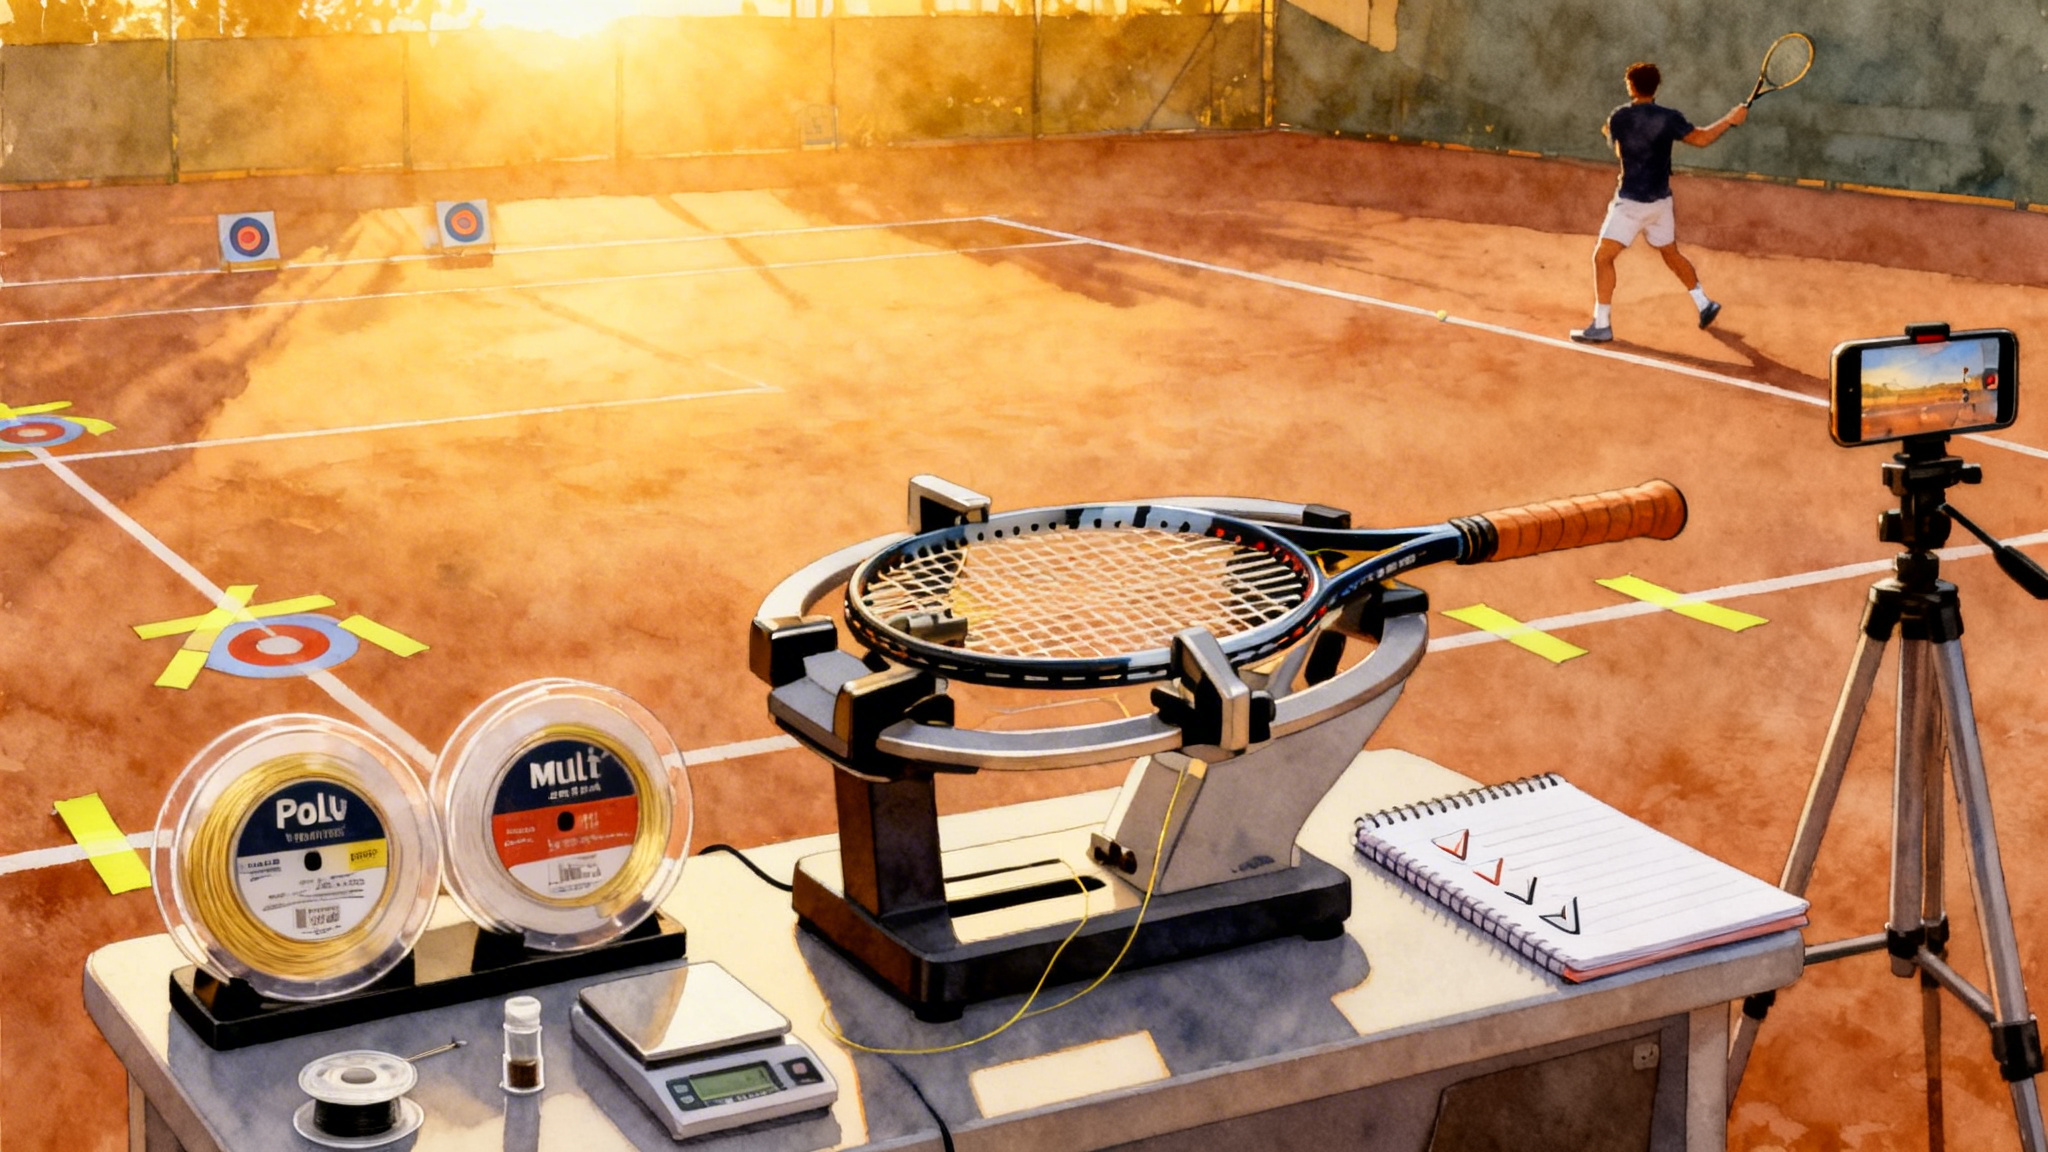
- Video check on a phone at 120 frames per second if available. For an easy setup, see our smartphone tennis video guide.
-
Friday 75 minutes: Second serve attacks
- Step-in drives crosscourt and middle. 40 balls per side.
- Chip and charge ladder: Chip line, take three steps, volley deep. 20 reps each side.
- Scoring: Make 8 of 10 into deep or neutral bands before moving up a pace level.
-
Weekend match play 90 minutes
- Constraint sets: On second serves, must step in. On first serves, must target middle first two games.
- Post-match routine: Use the match-day tennis blueprint to manage warm-up, fueling, and recovery.
- KPI sheet filled afterward.
-
At-home two blocks of 12 minutes each week
- Reaction drills listed later. Focus on coin call and wall toss.
Microcycle B: Adults 3.0 to 5.0
Assumptions: two to three court sessions, two at-home blocks.
-
Tuesday 60 minutes: Compact swing and block
- Warm up: 6 minutes mobility and shadow swings with a pause at set.
- First serve block: Server hits at 70 to 80 percent. You land early, jab, and block to deep middle. 50 balls total, record percentage in.
- Body serve rescue: Hop set plus punch crosscourt. 30 balls.
-
Thursday 75 minutes: Second serve pressure
- Step-in drives: 3 sets of 10 per side to deep middle. Record make percentage and average depth.
- Roll on kicker: Start one step back, high contact, finish tall. 3 sets of 8 per side.
- Chip and charge: 15 reps per side, focus on a low, skidding chip and three quick forward steps.
-
Saturday 90 minutes: Patterns and doubles
- Wide serve funnels: Server goes wide only. You practice crossover and down the line counter or heavy cross. 30 balls per side.
- Doubles formations: 20 returns each against Standard, Australian, and I-formation. Write down your highest percentage target for each formation.
- Short set to four games with constraints: First-serve returns must go middle. Second-serve returns must be step-in drives.
-
At-home two blocks of 10 minutes each week
- Focus on metronome split steps and ball drop drill.
At-home reaction and reading drills
You can build return instincts in your living room. No video required.
-
Metronome split steps
Set a metronome between 70 and 90 beats per minute. On each click, do a mini split step and soft landing. Every sixth click, freeze and hold the ready stance for three seconds. This builds rhythmic readiness and quiet landings. -
Coin call
A partner flips a coin high. You must call heads or tails at peak height. If solo, toss a coin yourself and try to call the side as early as possible. This sharpens ball tracking and early read. -
Wall toss snapshot
Toss a tennis ball against a wall from 12 to 15 feet. As it rebounds, perform a split step timed to the bounce and catch or pat the ball with your strings. Aim for 50 clean catches without footwork drifting. -
Number flash
Write digits 1 to 6 on sticky notes and place them randomly on a wall. A partner calls a number during your split step and you must touch it with your racquet tip before the next clap. Builds first step speed. -
Ball drop burst
Hold a ball at shoulder height. Drop it and try to catch it at waist height after a mini jab step. Progress by dropping from different lateral positions so the jab and crossover become automatic. -
Shadow return series
Without a ball, rehearse the sequence: split, jab, set, send, two-step recover. Ten reps forehand and ten reps backhand. Film a side view once per week to confirm a short backswing.
KPIs you can measure without a coach
Measure to improve. Here is a simple scorecard you can track with a friend and a phone.
Depth bands in the opponent’s court
- Deep: Landing within 0 to 3 feet of the baseline. Paint a chalk line three feet inside the baseline to mark it.
- Neutral: Landing 3 to 6 feet inside the baseline.
- Short: Landing more than 6 feet inside the baseline or inside the service boxes.
Targets by level for a practice basket of 50 returns
- Juniors U12 to U18: 30 or more into the neutral or deep bands, with at least 12 in the deep band.
- Adults 3.0 to 3.5: 28 or more into neutral or deep, with at least 10 deep.
- Adults 4.0 to 5.0: 35 or more into neutral or deep, with at least 15 deep.
Contact timing
Use a phone in slow motion. Record a serve and your return. Count frames from serve contact to your split-step landing. Count frames from landing to your contact. Aim to land before you swing, not during. Over weeks, your frames from landing to contact should shrink as your read improves. For video setup tips, revisit the smartphone tennis video guide.
Error types and fixes
- Net miss: Raise net clearance, move contact farther in front, and relax the wrist.
- Long miss: Shorten the backswing and aim middle. Reduce racquet head speed slightly on first serves.
- Late contact: Land split step earlier or start one step farther back. Simplify to a block.
- Framed ball: Keep eyes still through contact and stabilize the racquet face with the non-dominant hand during set.
- Decision error: Wrong target for the formation. Pre-call your target, then commit.
Serve-type plan success
- First serves: Track the percentage of successful returns when you aim middle. If this rises, you will start more points neutral or better.
- Second serves: Track make percentage when stepping in versus holding position. Choose the higher percentage on match day.
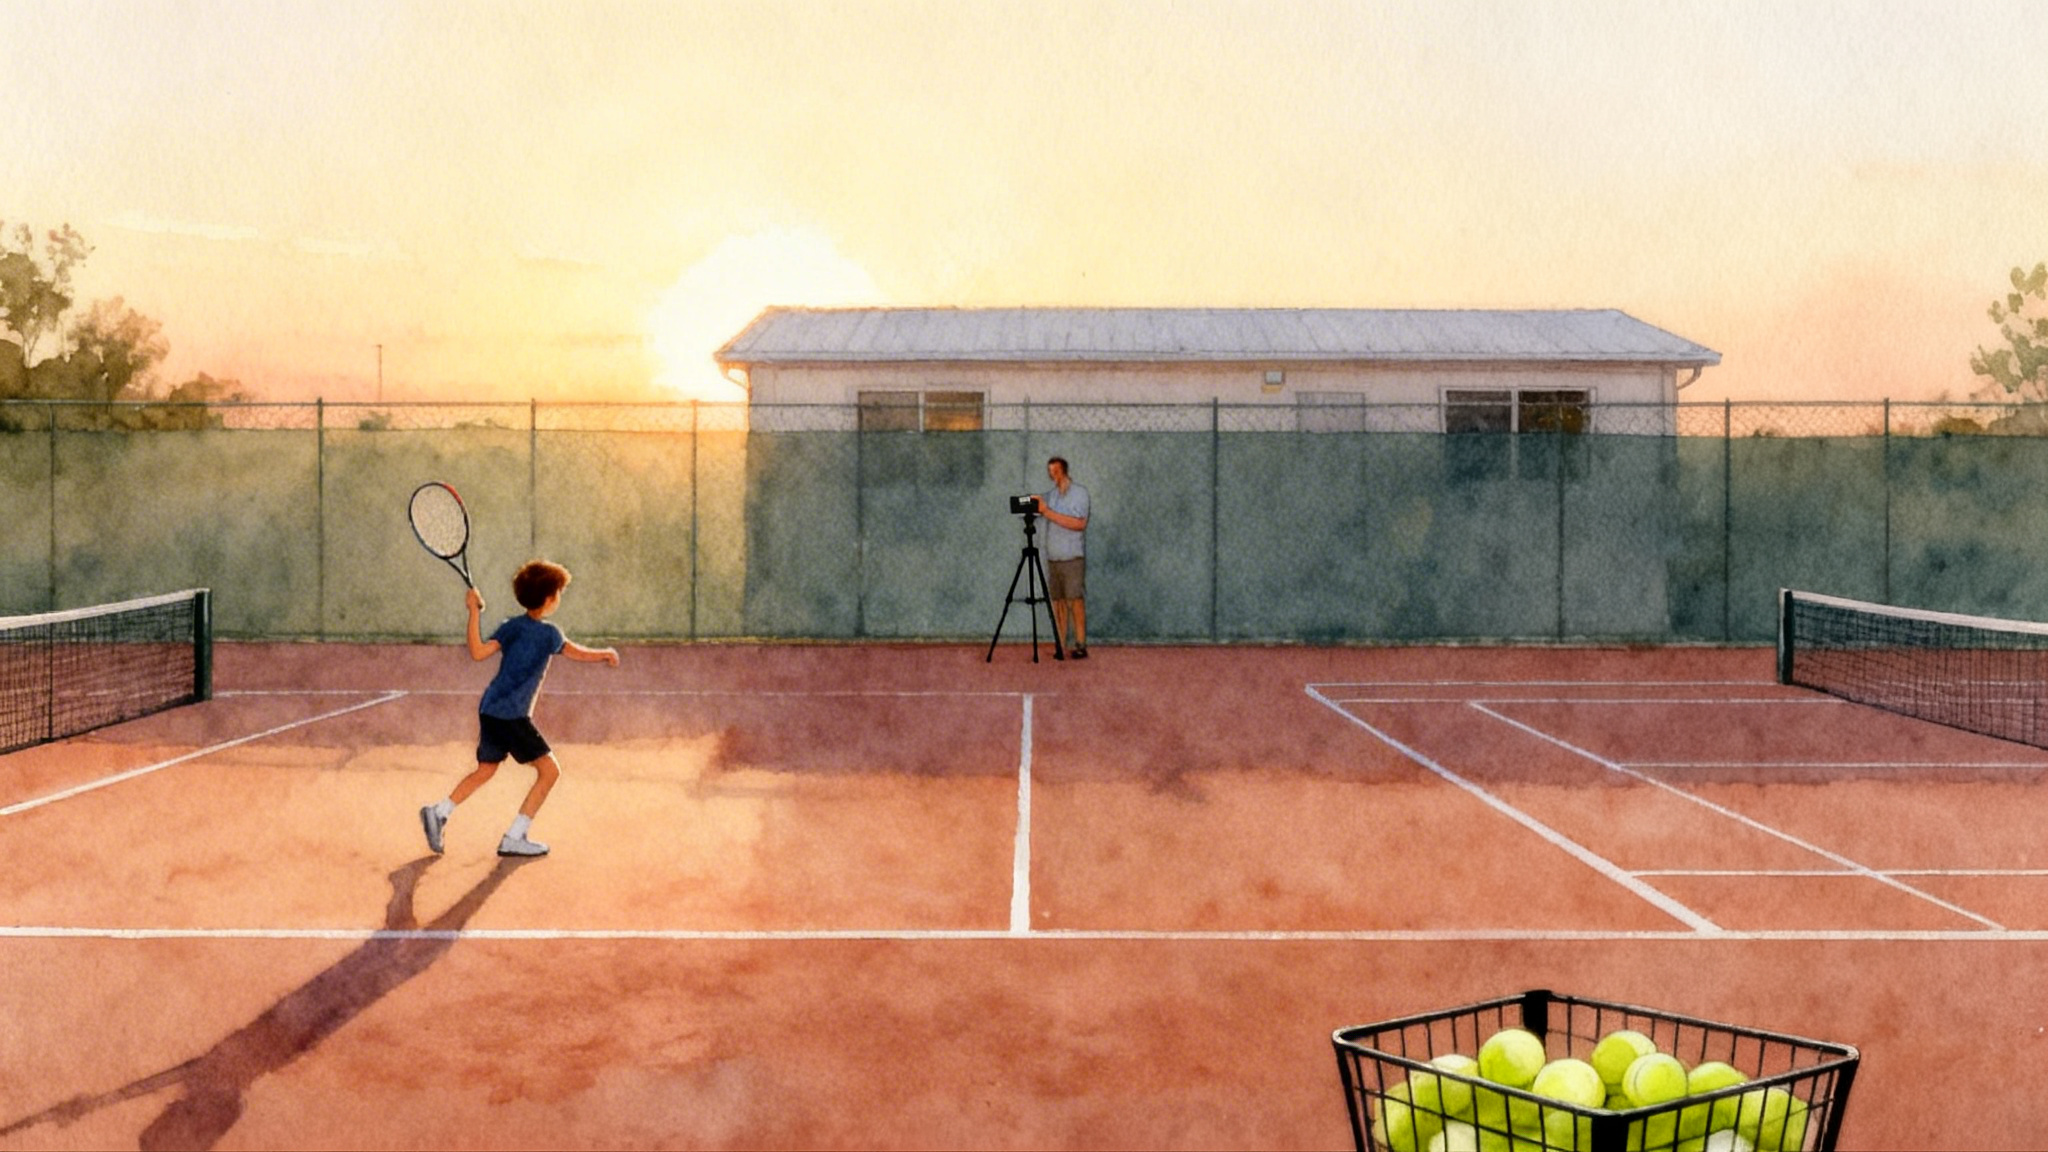
Practice clinic example: Legend Tennis Academy, Spicewood
If you want guided reps, Legend Tennis Academy in Spicewood runs return-focused clinics that blend technique and decision practice in a compact format. A typical 75 minute clinic might look like this:
- Phase 1, 15 minutes: Split-step timing windows. Coaches call live serves and clap at serve contact while players land. Quiet landing standard is set before pace increases.
- Phase 2, 25 minutes: Footwork patterns. Stations rotate through jab, hop set, and crossover returns. Each station includes two recovery steps after contact.
- Phase 3, 20 minutes: First and second serve plans. Players pre-call targets and execute block middle on first serves, step-in drive on second serves, and roll on kickers. Scored games track depth band hits.
- Phase 4, 15 minutes: Doubles formations. Live points against Standard, Australian, and I-formation. Returners log their highest percentage target in each formation.
To check schedule details and programs, open the Legend Tennis Academy profile.
Put it together
Your return does not need to be pretty. It needs to be on time, on balance, and on target. Build a stance you can repeat, land your split step in the correct window, keep the swing compact, and let your feet drive the racquet through the ball. Preload simple plans against first and second serves and adapt them for lefty sliders and kickers. On different surfaces, keep the same core mechanics and shift your contact height, landing moment, and targets. Track depth, timing, and errors each week. If you do that, your return stops being a hope and becomes a lever that tilts every point in your favor. Start with one microcycle on Monday and a single at-home drill tonight. Small, precise habits compound into a return that opponents quietly fear.