Stop Faster, Play Faster: Tennis Deceleration Training
A practical, safety-first speed guide that shows juniors, college-bound players, and adults how to brake cleanly and re-accelerate. Learn simple tests, level-specific drills, at-home options, and a 4 to 6 week plan.
Why stopping speed wins points
We talk a lot about first-step speed, but the point usually turns on the last three steps before you hit. The player who can put the brakes on cleanly, land softly, and change direction without wobble is the player who sets the feet early, hits on balance, and leaves faster for the next ball. Good deceleration is control. Control becomes time. Time becomes better contact and smarter choices.
In tennis, most errors come from poor positions. Those poor positions often trace back to rushed or sloppy stopping. Build braking first and acceleration gets easier because you start from a stable base. Think of a race car that corners well. Top speed matters, but the car that slows precisely and exits the turn with grip pulls ahead down the next straight.
The physics of braking in plain language
Deceleration is how your body absorbs momentum. Picture a spring. If you collapse like a loose spring, you leak force and stress your joints. If you compress like a strong spring, you store and release energy. Good braking spreads load through the ankle, knee, and hip while the trunk stays quiet. Good change of direction then uses that stored energy to push back out.
Key ideas:
- Lower your center of mass before contact with the ground, not after.
- Land with the foot under your hips, not far in front, so the shin angle points slightly forward instead of vertical or backward.
- Let the ankle, knee, and hip all share the work. Triple flexion in, triple extension out.
- Keep the chest tall and the eyes level so the trunk does not whip.
Safety first: warm-up, surface, and shoe check
Before any speed work, earn your readiness.
- Warm-up template, 10 minutes: easy jog or jump rope 90 seconds. Dynamic series of marching knee hugs, high knees, butt kicks, lateral shuffles, and carioca. Two sets of five low forward lunges with reach. Two sets of five single-leg pogo hops per side at submaximal height. Finish with two 10 meter build-ups at 60 percent effort. For a complete ramp-up, see our match-day warm-up blueprint.
- Surface choice: grippy but not sticky. Clean hard courts or a gym floor with court shoes. Avoid loose clay or dusty spots. On asphalt, limit high-impact jumps and keep volumes lower.
- Shoe check: court shoes with lateral support and adequate tread. If the heel counter is loose or the outsole is bald, replace them before you practice hard braking.
Two simple baseline tests you can run today
Use these to benchmark agility and change-of-direction skill. They are quick to set up, safe when volumes are low, and easy to repeat later. If you track performance for recruiting, review college tennis combine tests.
The 5-10-5 shuttle (also called Pro Agility)
- Setup: place three cones in a straight line, each five yards apart. Start at the middle cone.
- Execution: sprint to the right cone and touch the line with your right hand, sprint to the far left cone and touch with your left hand, then finish through the middle cone. Always face forward while you turn.
- Timing: use a partner or a phone timer. Run two trials each direction and record the best time.
- What to notice: do your hips drop just before each plant, do your feet stay under you, and do you keep the torso stable while the legs change direction.
The T-test
- Setup: place one cone at the base and three cones across the top to form a T. The base to the middle top cone is ten yards. The left and right top cones are five yards from the middle top cone.
- Execution: sprint forward from the base to the middle top cone, shuffle left to the left cone, shuffle right to the far right cone, shuffle back to the middle top cone, then backpedal to the start.
- Timing: two trials, record the best.
- What to notice: are your shuffle steps light and quiet, do your hips sit back under control during each stop, and does your backpedal stay balanced with short steps.
Best practice: test when fresh, after the warm-up. Write results down with a short note on feel, like “felt smooth planting left.” Retest every four weeks.
Coaching cues that protect joints and sharpen technique
Simple words stick during fast movement. Use these cues to keep form safe and efficient.
- Hips back, chest tall: drop the hips a little before each plant while keeping the torso proud. This loads the hips and spares the knee.
- Quiet feet, soft land: aim for light, quick contacts that do not slap the ground. Loud landings signal overstriding or poor control.
- Shin points where you go: on the plant, the shin should angle slightly toward the direction you plan to push. If the shin is vertical or angled backward, you brake too hard and lose time.
- Eyes level: the head stays steady so the body knows where it is in space.
- Two-step exit: after a plant, think push then go. Do not spin in place. Step to create angle, then drive out.
Level-specific drills that build braking and re-acceleration
Training blocks should match the athlete. Below are progressions for juniors, college-bound players, and adults.
Juniors
Goal: learn positions and rhythm before speed. Keep volume low and rest generous.
- Snap downs to split stance
- Stand tall on toes, arms up. Snap to an athletic stance, feet shoulder width, then step to a slight open or closed stance like a ready split. Hold two seconds. 3 sets of 5 reps.
- Lateral stick and go
- Shuffle two quick steps right, plant the outside foot, freeze one second, then push back to the start. 3 sets of 3 reps each side.
- Short stride decel to two-cone turn
- Place two cones five yards apart. Sprint three steps from cone A toward cone B, plant with the inside foot, and turn back to A. 3 sets of 3 reps each way.
Coaching tips: cap total hard plants at 20 per session. If landings get noisy or knees cave inward, stop and reset.
College-bound players
Goal: link braking mechanics to realistic tennis patterns and introduce reactive elements.
- Three-step drop and plant series
- From a ready stance, take three aggressive steps into a plant on the right, stick one second, then two-step exit left. Repeat opposite side. 4 sets of 3 plants each side.
- 45 degree cut with chaser
- Partner points left or right at the last second. You sprint three steps, plant, and cut at roughly 45 degrees to a short target. 4 sets of 2 reps each side.
- Figure-8 change-of-direction
- Set two cones ten yards apart. Run a figure-8 pattern around them, keeping the hips low at each curve. 3 sets of 20 seconds, rest 60 seconds.
- Serve plus first-step burst
- Hit a serve, land, then accelerate two steps toward a random cone called by a partner. 3 sets of 4 serves.
Adults
Goal: respect joints, raise control, and keep quality high. Use longer deceleration zones and fewer maximal cuts.
- Walking snap downs
- March forward, then step into a controlled snap down to athletic stance every third step. 3 sets of 6 total snaps.
- Controlled shuffle-stop-shuffle
- Shuffle four steps right, soft plant, shuffle back to start. 3 sets of 3 reps each side.
- Arc deceleration to stable hit
- Lay out a gentle arc of five to seven yards. Jog along the arc, slow to a stop over three to four steps, shadow a forehand or backhand, then walk back. 3 sets of 4 reps.
- Resisted first step with band
- Anchor a light resistance band at waist height. Step out one or two steps, then walk back under control. 2 sets of 5 reps each side. Stop if you feel your lower back.
At-home options when you do not have a court
You can still train deceleration in a hallway, driveway, or yard.
- Line stick series: use a painted line or tape. Hop over and back, stick the landing one second, then hop again. 3 sets of 6 hops.
- Couch-to-plant drill: start near a couch or wall for fingertip support. Step out, lower into a soft single-leg mini squat, hold, push back. 3 sets of 5 each side.
- Towel slides: on a wood floor, put a towel under one foot. Slide it out to a lunge, pause, pull it back. 2 sets of 6 each side.
- Driveway shuttle: chalk three marks five yards apart. Walk the 5-10-5 pattern first to learn it, then jog it. Keep contacts light.
A 4 to 6 week microcycle you can plug in now
This template balances skill, power, and recovery. Use it alone or as a layer on top of normal hitting.
-
Weekly structure
- Day 1: Technique deceleration block plus low-intensity change of direction
- Day 3: Power and short acceleration with safe braking
- Day 6: Reactive change of direction with low total volume
-
Session length: 20 to 35 minutes, not including the warm-up.
-
Total hard plants per session: juniors 20 to 30, college-bound 30 to 50, adults 15 to 25.
Week 1
- Emphasis: learn shapes and cues.
- Drills: snap downs, lateral stick and go, controlled shuffle-stop-shuffle.
- Finish with two 10 meter accelerations at 70 percent.
Week 2
- Emphasis: link braking to two-step exits.
- Drills: three-step drop and plant series, 45 degree cut at half speed, figure-8 pattern at smooth pace.
- Finish with three 10 meter accelerations at 75 percent.
Week 3
- Emphasis: add mild reactivity.
- Drills: partner point cuts, serve plus first-step burst, short shuttle with a random call.
- Finish with three 10 meter accelerations at 80 percent.
Week 4
- Emphasis: consolidation and retest.
- Drills: choose the best two from prior weeks. Keep volumes slightly lower.
- Retest the 5-10-5 and T-test at the start or after a light day.
If going six weeks, repeat Weeks 2 and 3 as Weeks 5 and 6 with a small intensity bump. Keep the deload feel in Week 4.
Progression rules
- Only add speed if landings stay quiet and knee alignment stays clean.
- Leave one or two quality reps in the tank. Stop a set if technique fades.
- Keep at least 48 hours between high-intensity deceleration sessions.
Parent checklist for juniors
Parents can make deceleration training effective and safe with a short checklist.
- Warm-up observed: did your player complete the full warm-up before fast drills.
- Volume count: track the number of hard plants on a note. Cap at the target for age.
- Surface scan: remove sand, balls, or wet spots from the area.
- Shoe sanity: snug laces, lateral support, no worn heels.
- Quality over speed: if landings get loud or knees drift inward, call a rest or end the set.
- Build recovery: encourage a protein-rich snack and water after sessions. Sleep matters more than any drill.
- Watch for warning signs: joint pain that does not fade in 24 to 48 hours, heel pain, shin soreness, or back stiffness. When in doubt, pause training and consult a professional.
Adult modifications for knees and backs
Deceleration done right can help knees and backs feel better by teaching the hips to share the load. Respect a few adjustments.
- Use longer braking distances. Instead of a hard plant after a sprint, glide into the stop over three or four steps, then stick.
- Keep cutting angles shallower. Favor 30 to 45 degree changes over 90 degree pivots.
- Lower depth on lunges. Choose a pain-free range and pause briefly to maintain control.
- Add anti-rotation core work after speed. Dead bug, side plank, and half-kneeling cable press. Two sets of 20 to 30 seconds per movement.
- Replace jumps with pogo micro hops or calf raises when tendons feel cranky.
How to avoid overuse while getting faster
Speed improves with high-quality rehearsal, not with punishment. Simple rules keep tendons and joints happy.
- Quality first minutes: place braking work early in the session when you are fresh.
- Count contacts: set a firm ceiling for hard plants and stops.
- Alternate days: no back-to-back high-intensity speed days.
- Mix planes: forward, lateral, and diagonal patterns share load and build complete control.
- Stop loud landings: audible slaps mean fatigue or sloppy shapes. End the set.
- Separate skill and volume: do short, crisp sets for mechanics. Get your conditioning from rallies, circuits, or low-impact cardio.
On-court progressions that map to real patterns
Tie the movement to shots so the brain and body learn together.
- Wide ball forehand: shuffle out, load on the outside foot, stick, plant the inside foot, shadow the stroke, then two-step exit back to center.
- Approach and recover: sprint three steps in, soft split, shadow a volley, then two-step retreat to a balanced stop.
- Return and react: start in return position, take a small split, step and stick on a predicted side, then push out as if chasing a short ball.
Keep reps short. Two to four good patterns per side, two or three sets, plenty of rest.
What to record in your training log
Speed work pays off when you track small details.
- Test times for the 5-10-5 and T-test.
- Notes on technique quality, for example knees tracked well or landings quiet.
- Shoe and surface details, in case soreness appears later.
- Total number of hard plants per session.
A simple log can live in a notebook or in the notes section of your phone. If you like structure, save a personal template in TennisAcademy.
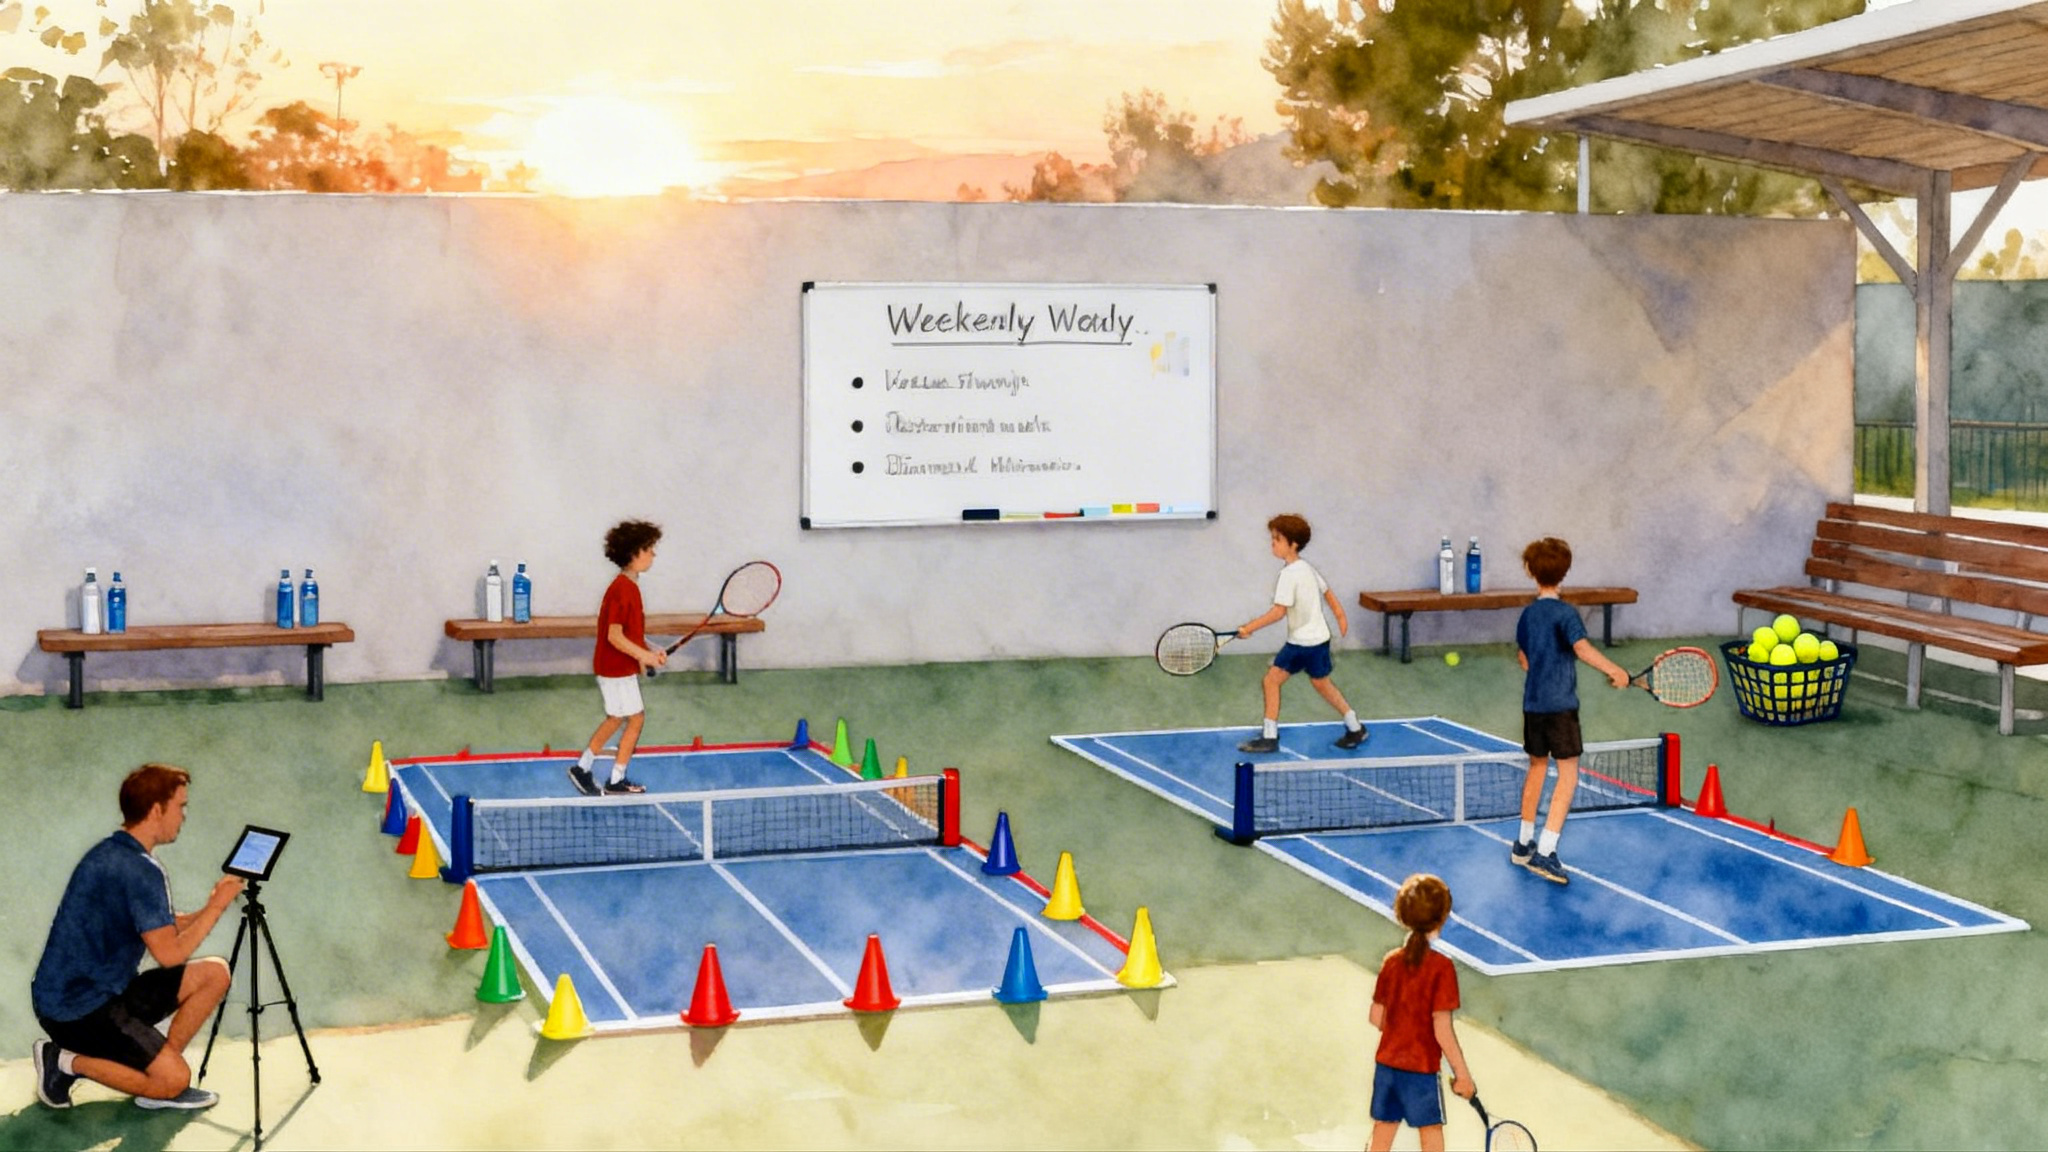
Case study: how Legend Tennis Academy uses weekly deceleration blocks
Legend Tennis Academy set out to improve first-step speed across its junior and adult groups without driving up overuse injuries. The coaching team wrote a simple rule set. Every week includes one technique deceleration block of 15 to 20 minutes placed early in practice. Hard plants per player are counted and capped. Surfaces are inspected before speed work begins. Coaches use the same four cues every session so athletes hear consistent language. Explore the Legend Tennis Academy profile for context.
For the twelve-and-under group, the block starts with snap downs and lateral stick and go, then a mini two-cone turn. The group does no more than 20 hard plants. On busy days the coaches run stations to keep rest long and attention high. Parents get a copy of the weekly plan and a reminder of the warning signs checklist.
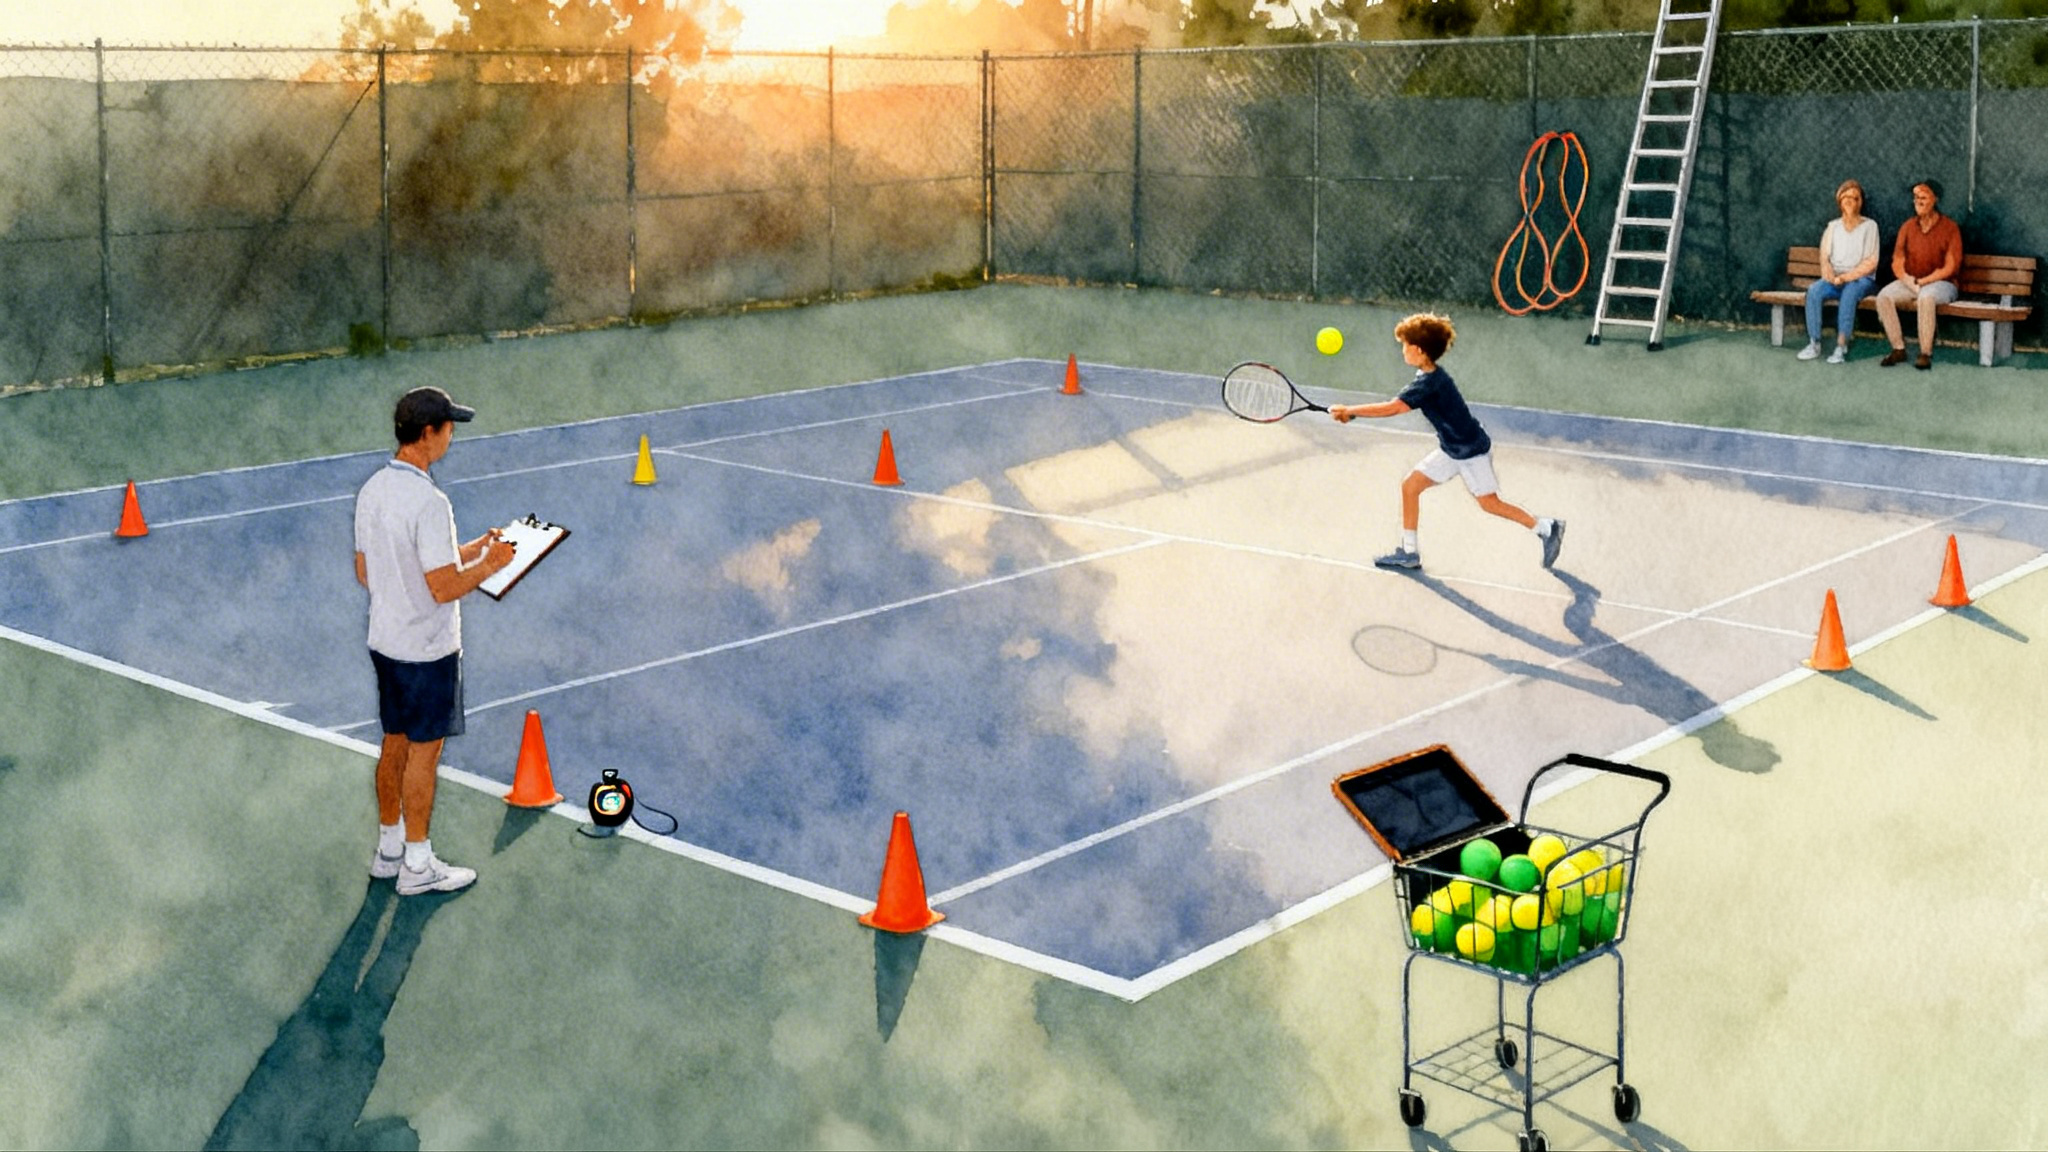
For college-bound players, the block pairs three-step drop and plant work with 45 degree cuts on coach point. Players record their best weekly time on the 5-10-5 shuttle after a deload week. The staff keeps volumes reasonable by cycling high, medium, and low total contacts across three weeks.
For adults, the block uses controlled shuffle-stop-shuffle and arc decelerations with longer braking distances. The coaches ask for quiet landings and shin angles that point the way out. If a player reports knee grumpiness, the next set switches to towel slides or resisted first steps with bands instead of sharp cuts.
After six weeks, the program reviews logs. The most common note across all groups reads the same: landings got quieter and hips felt stronger. Match play shows more balanced hitting on the run and faster exits out of the corners. The academy makes one change for the next cycle. They add a quick retest on a light day every fourth week to catch progress early and adjust volumes for each player.
Final take
Fast players are not just quick. They are skilled at slowing down. Build your braking like you build your serve, with careful reps and a smart plan. Keep the warm-up honest, track contacts, and pick drills that match your level. If you count quality plants each week, your first step will feel lighter, your shots will feel earlier, and your body will thank you. The ball does not care how fast you are between shots. It cares how cleanly you arrive at each one. Stop better, then play faster.