Smartphone Tennis Analysis: 6 Angles, 10 Checks, 4-Week Plan
Turn your phone into a tennis coach with six proven camera angles, ten technique checkpoints, and a four-week feedback loop. Film, tag, and review every stroke with simple checklists and a routine that sticks.
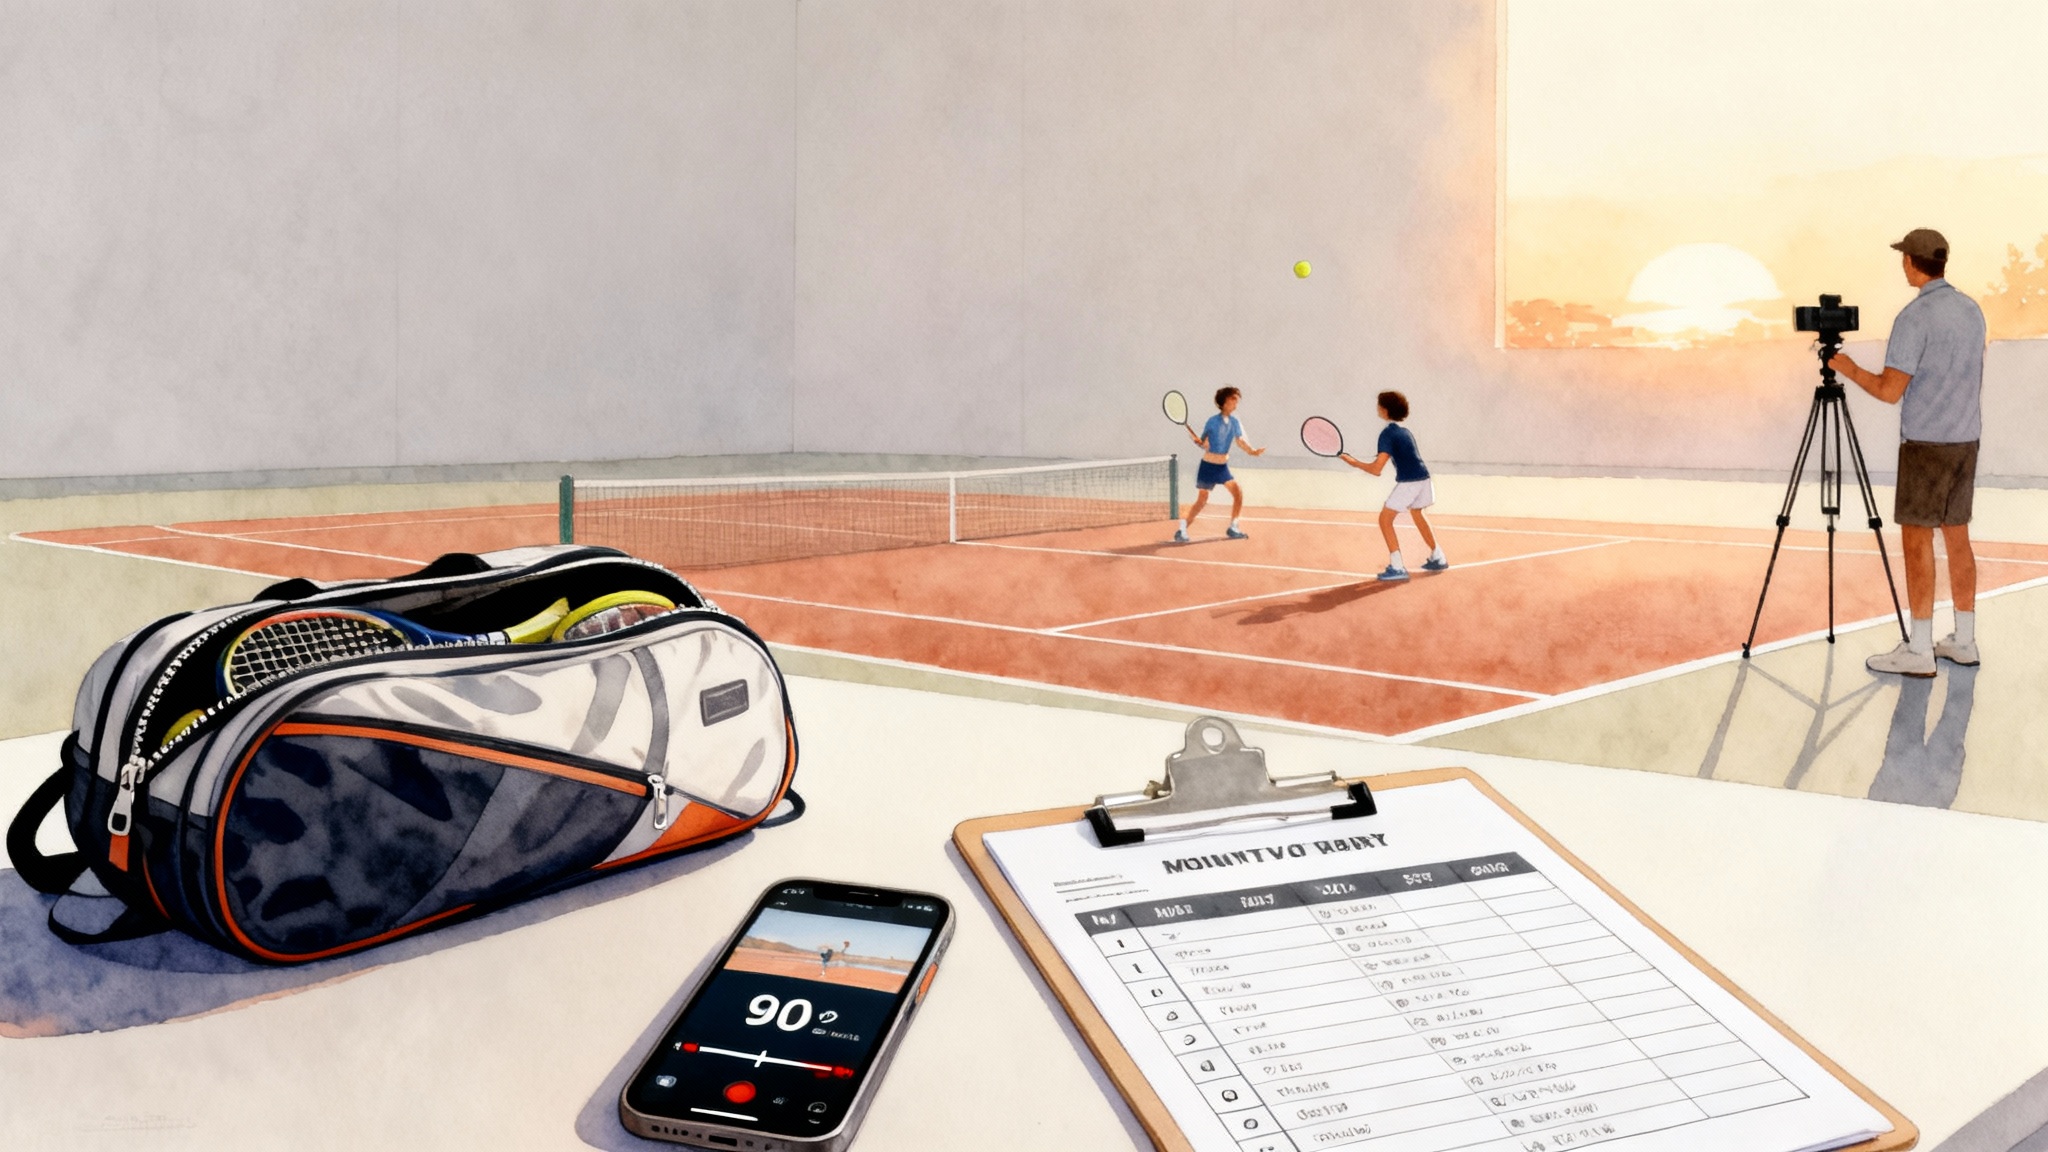
Why your phone is already a great coach
You do not need a high-speed sports camera or a biomechanics lab to improve fast. A modern smartphone plus a repeatable filming routine will show you where the ball meets the strings, how your body loads and unloads, and when your footwork helps or hurts. Video turns fuzzy feelings into visible facts. When you can see it, you can score it. When you can score it, you can fix it.
This guide gives you a complete system that juniors, parents, and adult players can run on any court. You will learn six camera angles that reveal different parts of each stroke, ten clear technique checkpoints, and a four-week feedback loop that builds measurable gains. You will also get shot-specific checklists, sample clip recipes, and simple tagging ideas that work with any phone and free tools.
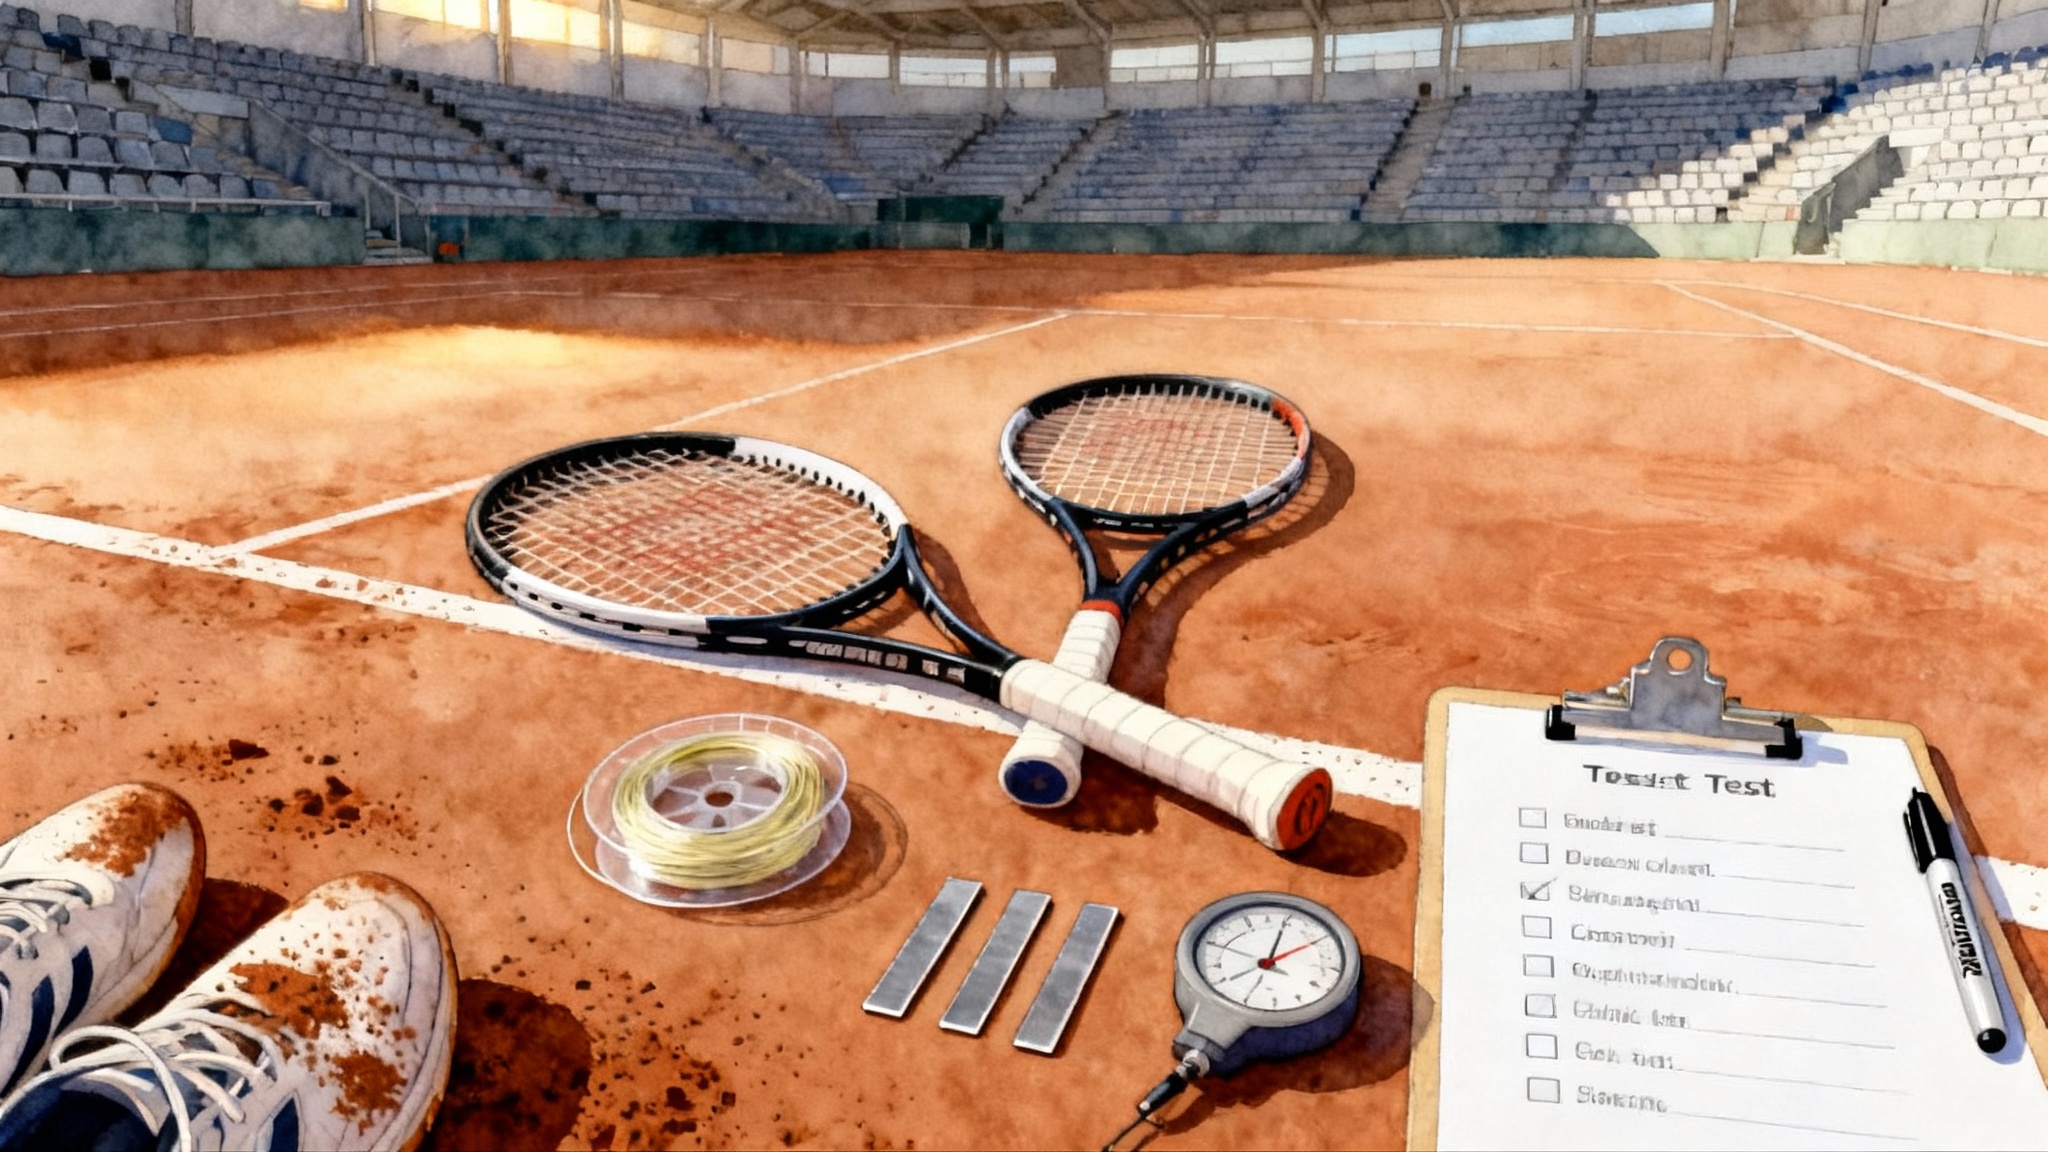
Gear and setup that just works
- Phone with at least 60 frames per second video. If 120 frames per second is available, use it for serves and fast exchanges.
- Stable support: a cheap tripod or a fence-mount phone clip. If you have neither, place the phone on a ball hopper or a folded towel on a bench.
- A small microfiber cloth to clean the lens before each session.
- A power bank if you will film longer than 30 minutes.
- Painter’s tape or cones to mark camera spots and your target zones.
Simple habits that prevent headaches
- Turn on airplane mode so notifications do not interrupt recording.
- Wipe the lens. A smudge hides ball contact and makes slow motion useless.
- Avoid digital zoom. Move the phone closer instead so the pixels are real.
- Keep the horizon level. A tilted court hides balance and depth cues.
Camera settings that matter
- Resolution: 1080p is enough for analysis and saves storage. Use 4K only if you have space and your phone stays cool.
- Frame rate: 60 frames per second for rallies and footwork. 120 frames per second for serves, overheads, and net play. If your phone only offers 30 frames per second, film from closer angles so contact is visible and use shorter clips.
- Shutter behavior: most phones auto-manage exposure. If your video looks blurry in bright sun, shade the lens slightly with a hat brim or move the phone to the fence shade.
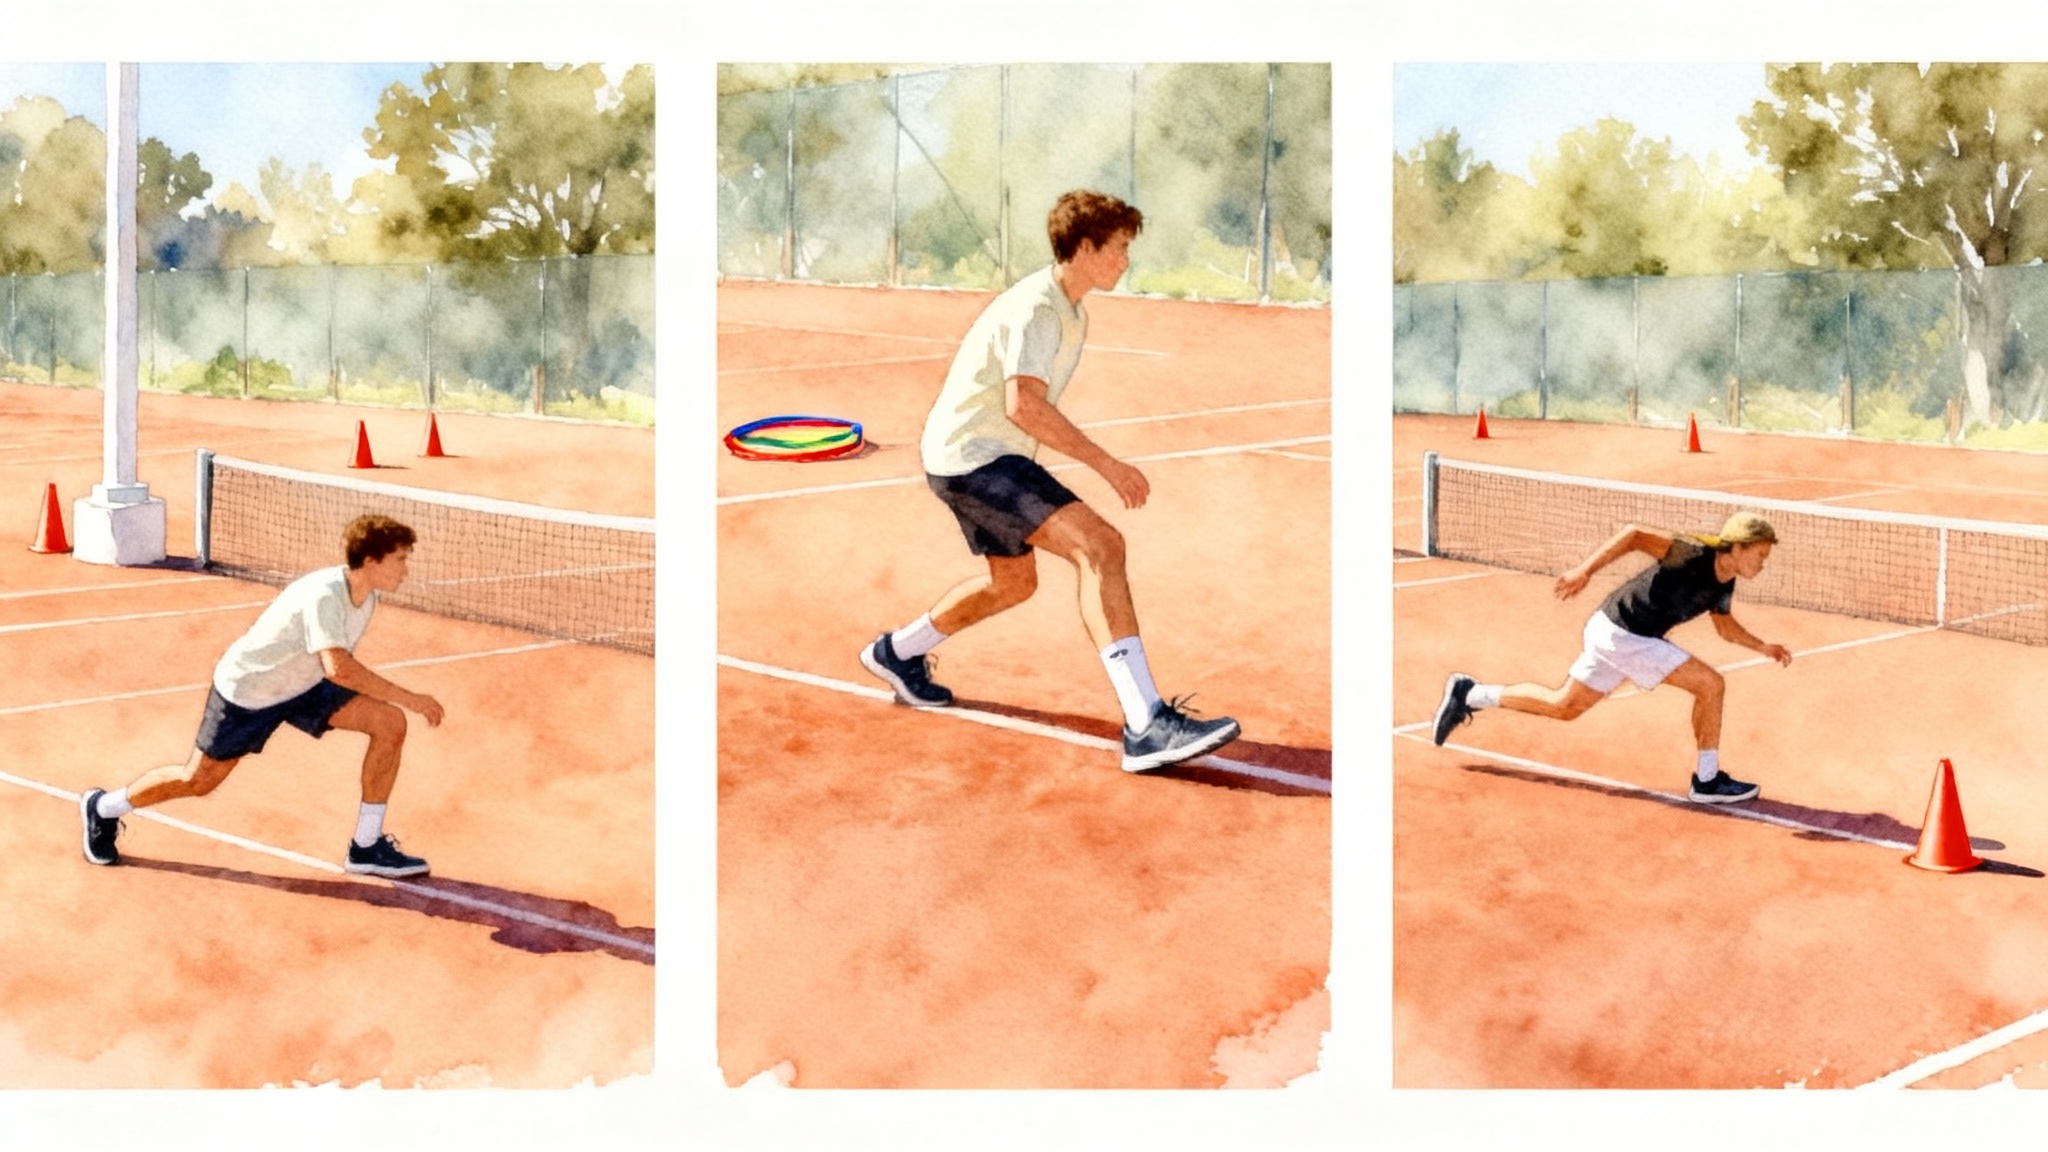
The 6 angles that make the invisible obvious
Mark these locations with a small piece of tape on the court or fence so you can reproduce them each session. Heights assume a typical chain-link fence. Adjust as needed for your court.
1) Baseline back view
- Placement: behind the player on the center line, phone 1.3 to 1.6 meters high, 2 to 3 meters behind the baseline. Use the fence if available.
- What it shows: spacing, swing path, recovery, ball trajectory over the net, and whether contact is truly in front.
- Use it for: forehand, backhand, and return of serve.
2) Baseline side view
- Placement: on the sideline at the player’s forehand side, camera pointed parallel to the baseline, 1.2 to 1.5 meters high.
- What it shows: unit turn timing, racquet drop, contact height, and finish height.
- Use it for: groundstrokes and approach shots.
3) Deuce-court diagonal
- Placement: in the deuce back corner aimed toward the opposite service box, 1.5 meters high.
- What it shows: movement patterns into the ball, stance choice, and depth control on forehand crosscourts.
- Use it for: crosscourt forehands, inside-out forehands, and approach patterns.
4) Ad-court diagonal
- Placement: mirror of the deuce diagonal on the ad side.
- What it shows: backhand patterns, spacing when pulled wide, and whether you recover on time.
- Use it for: crosscourt backhands, backhand lines, and defensive scrambles.
5) Serve from behind
- Placement: two steps behind the server on the center line, camera 1.7 to 2.0 meters high if possible. If the fence is too low, move back slightly to capture the full toss and follow-through.
- What it shows: toss placement, alignment, leg drive, contact height, and landing spot.
- Use it for: all serves and overheads.
6) Net-front view
- Placement: just behind the net strap on your side, low height, camera protected by a ball hopper or a cone fortress so you do not hit it.
- What it shows: volley contact in front, split-step timing, and first step through the ball.
- Use it for: volleys, half volleys, and quick exchanges.
The 10 technique checkpoints
Score each checkpoint for a clip on a simple three-point scale: 0 not present, 1 inconsistent, 2 consistent. These ten guide almost every stroke.
-
Split step on time: tiny hop finishes as the opponent starts the forward swing. No hop equals late first step. For deeper footwork help, see our first-step speed training.
-
Early unit turn: shoulders and hips begin to coil before the ball crosses the net on your side. Two hands stay on the racquet to organize the turn.
-
Base width and load: outside foot plants under your center, knee flexed, weight ready to drive. Narrow base leads to reaching.
-
Spacing: the hitting elbow clears the ribcage at contact. Too close and the elbow tucks. Too far and the arm straightens early.
-
Contact in front: contact point slightly ahead of the lead hip with square strings to the target. Behind contact robs pace and control.
-
Head still at contact: nose and chin quiet for two frames around impact. Head lift shows up as mishits and topspin that falls short.
-
Long hitting zone: after contact, the racquet travels toward the target before wrapping. A short zone makes direction volatile.
-
Rotation and finish: hips lead, shoulders follow, and the finish lands balanced. Over-rotation pulls balls wide.
-
Recovery steps: first step out of the shot is small and fast, then recover toward the ideal court position.
-
Height and depth control: ball clears the net with a predictable arc and lands beyond the service line on neutral balls.
Add a simple rule: choose two checkpoints to train each week and keep the rest in maintenance mode. Few things change when you chase ten at once.
Shot-specific mini checklists
Use these when you film the angles above.
Forehand
- Grip and set: grip consistent, racquet head above the hand at the start of the loop.
- Load and lag: outside leg loads, strings face the side fence in the drop, wrist relaxed.
- Contact and extension: contact in front, palm faces target longer through the hitting zone.
Two-handed backhand
- Turn and set: shoulders turn early, hands work together, racquet tip up.
- Drive and contact: back hip pushes through, lead arm straightens into contact, head still.
- Finish and reset: hands finish high, back toe releases, recover with crossover steps.
One-handed backhand
- Shoulder turn and left hand support early.
- Contact with a slightly closed racquet face for topspin.
- High one-handed finish without leaning back.
Serve
- Stance choice: platform or pinpoint is fine, but be consistent.
- Trophy shape: front shoulder higher than back, elbow up, wrist neutral.
- Leg drive and contact: push from the ground, contact at full reach, land inside the court on first serves. For workload planning, use our safe serve volume guide.
Return of serve
- Ready height and split step set by opponent’s toss peak.
- Small turn and short backswing.
- First step forward through contact on second serve returns.
Volleys
- Split step and stick the first step forward.
- Racquet set early with the stringbed stable.
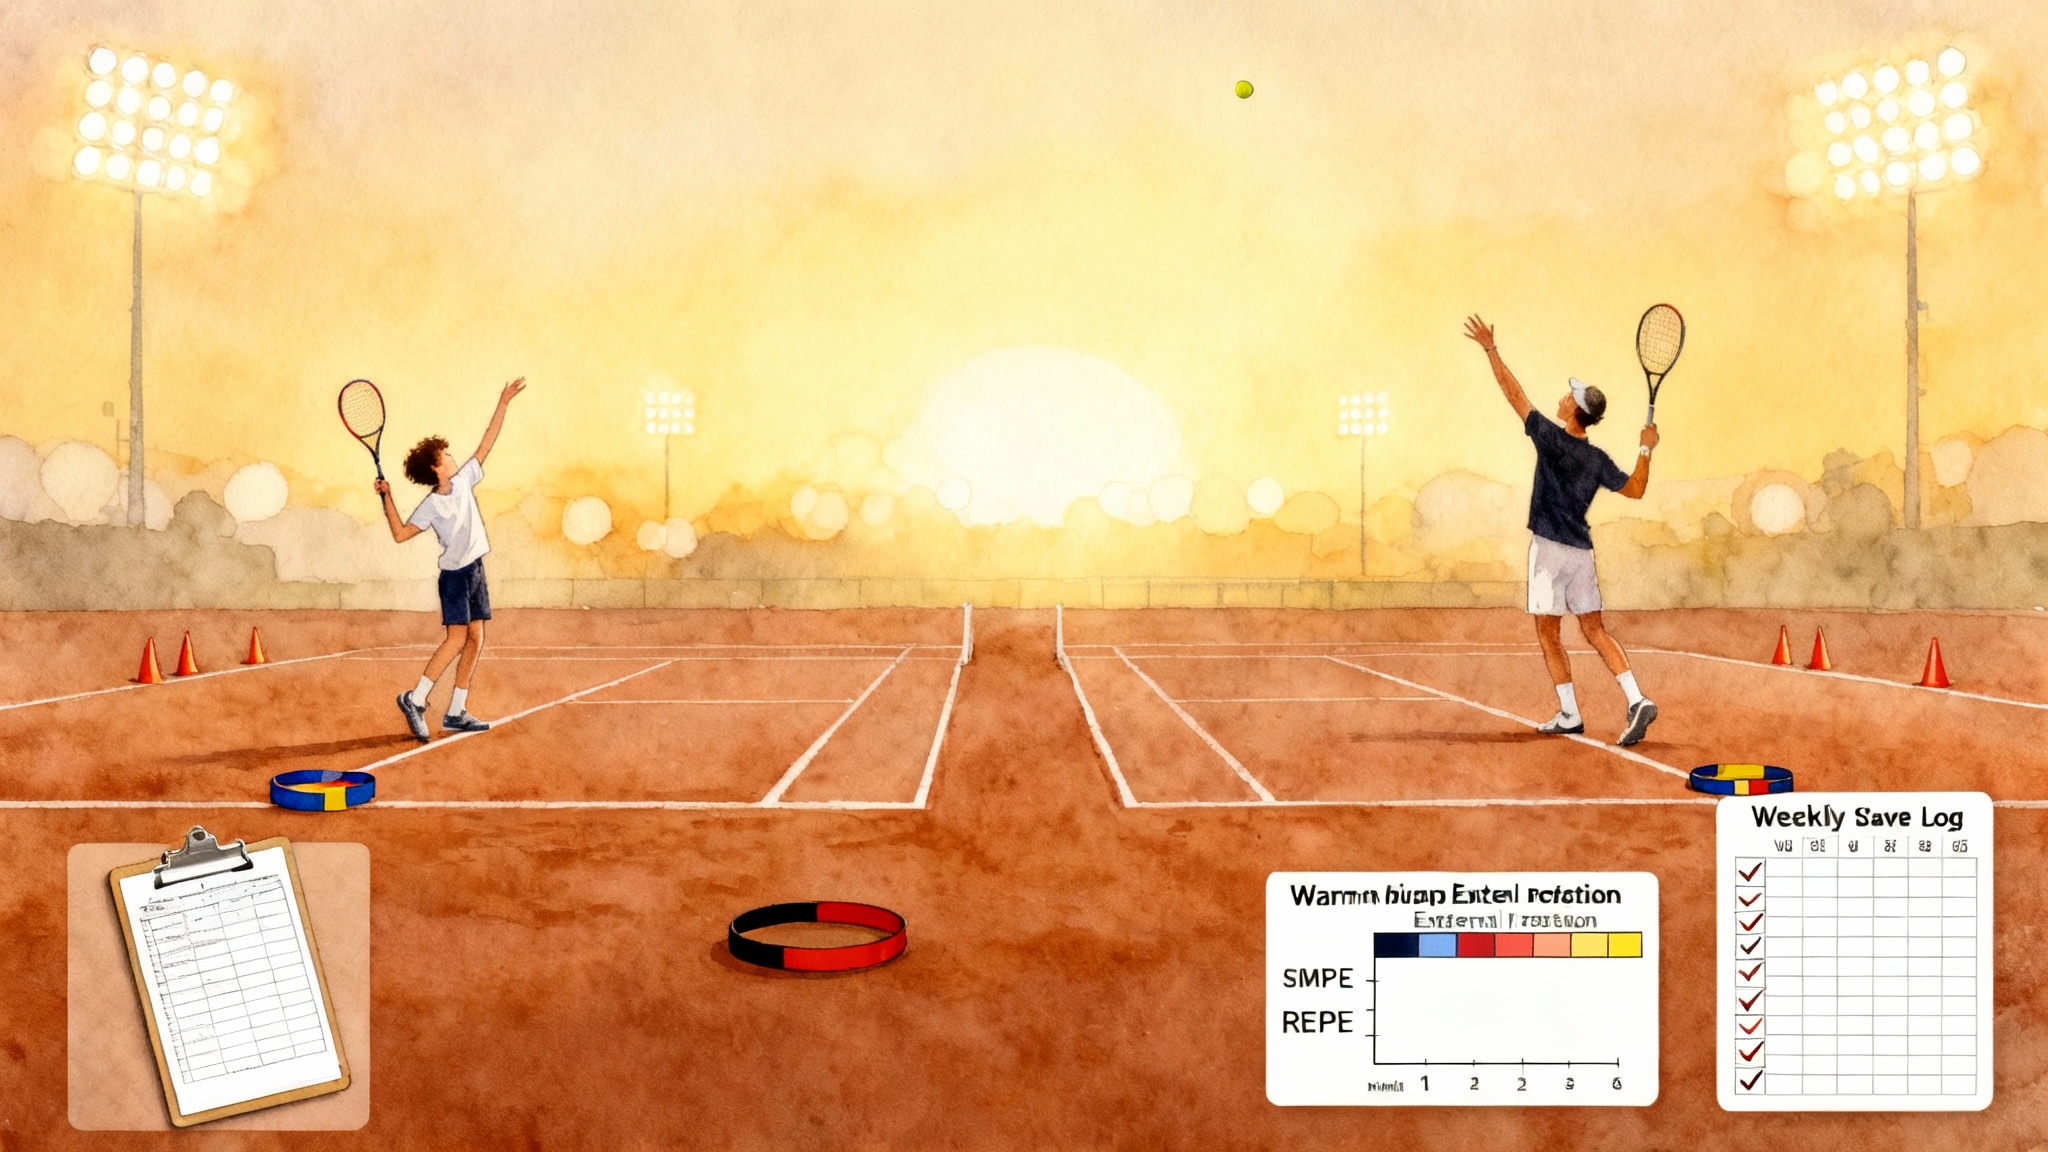
Filming plan and sample clips you can copy today
Keep sessions simple and repeatable. Here is a baseline template that fits in 25 to 35 minutes of court time.
- Warmup: 4 minutes of dynamic movement and shadow swings. Visualize the two checkpoints you will train.
- Forehand, baseline back view: 2 clips of 8 to 10 balls rally speed crosscourt. 60 frames per second. Name them: 2025-01-10_FH_backview_60fps_A and _B.
- Backhand, baseline back view: 2 clips of 8 to 10 balls crosscourt. Same naming idea.
- Deuce diagonal forehands: 1 clip of 6 to 8 crosscourts, then 1 clip of 6 to 8 inside-out.
- Ad diagonal backhands: 2 clips of 6 to 8 balls.
- Serve from behind: 2 clips of 6 balls each at 120 frames per second if possible. One basket first serves, one basket second serves.
- Net-front volleys: 2 clips of 10 feeds, forehand and backhand alternating.
Each clip should be 15 to 30 seconds. Stop recording between blocks. Short clips save time in review and keep the phone cool.
File naming that helps you later: YYYY-MM-DD_Stroke_Angle_FPS_Version. Example: 2025-01-10_Serve_Back_120_A.MOV
Tagging and review with free and familiar tools
You can get fancy with specialty apps, but a lightweight system wins because you will actually use it.
- Create a shared album called Tennis Lab in your Photos or Google Photos app.
- After each session, star two or three best and two or three worst clips.
- Create a Notes or Google Sheets template with columns: Date, Clip name, Angle, Stroke, Checkpoints 1 to 10 scores, Key comment, Action for next practice.
- While reviewing, scrub to 0.25 speed. Count frames from first move to contact if tempo is a focus.
- Use screenshots to capture key positions. Add a circle or arrow markup to highlight contact or foot placement.
Parents with juniors: think of yourself as the camera crew, not the commentator. Ask your player to score their own checkpoints first, then compare with your notes. Adults training solo: record voice memos for quick reflections right after a clip. Hearing your own coaching can keep you honest.
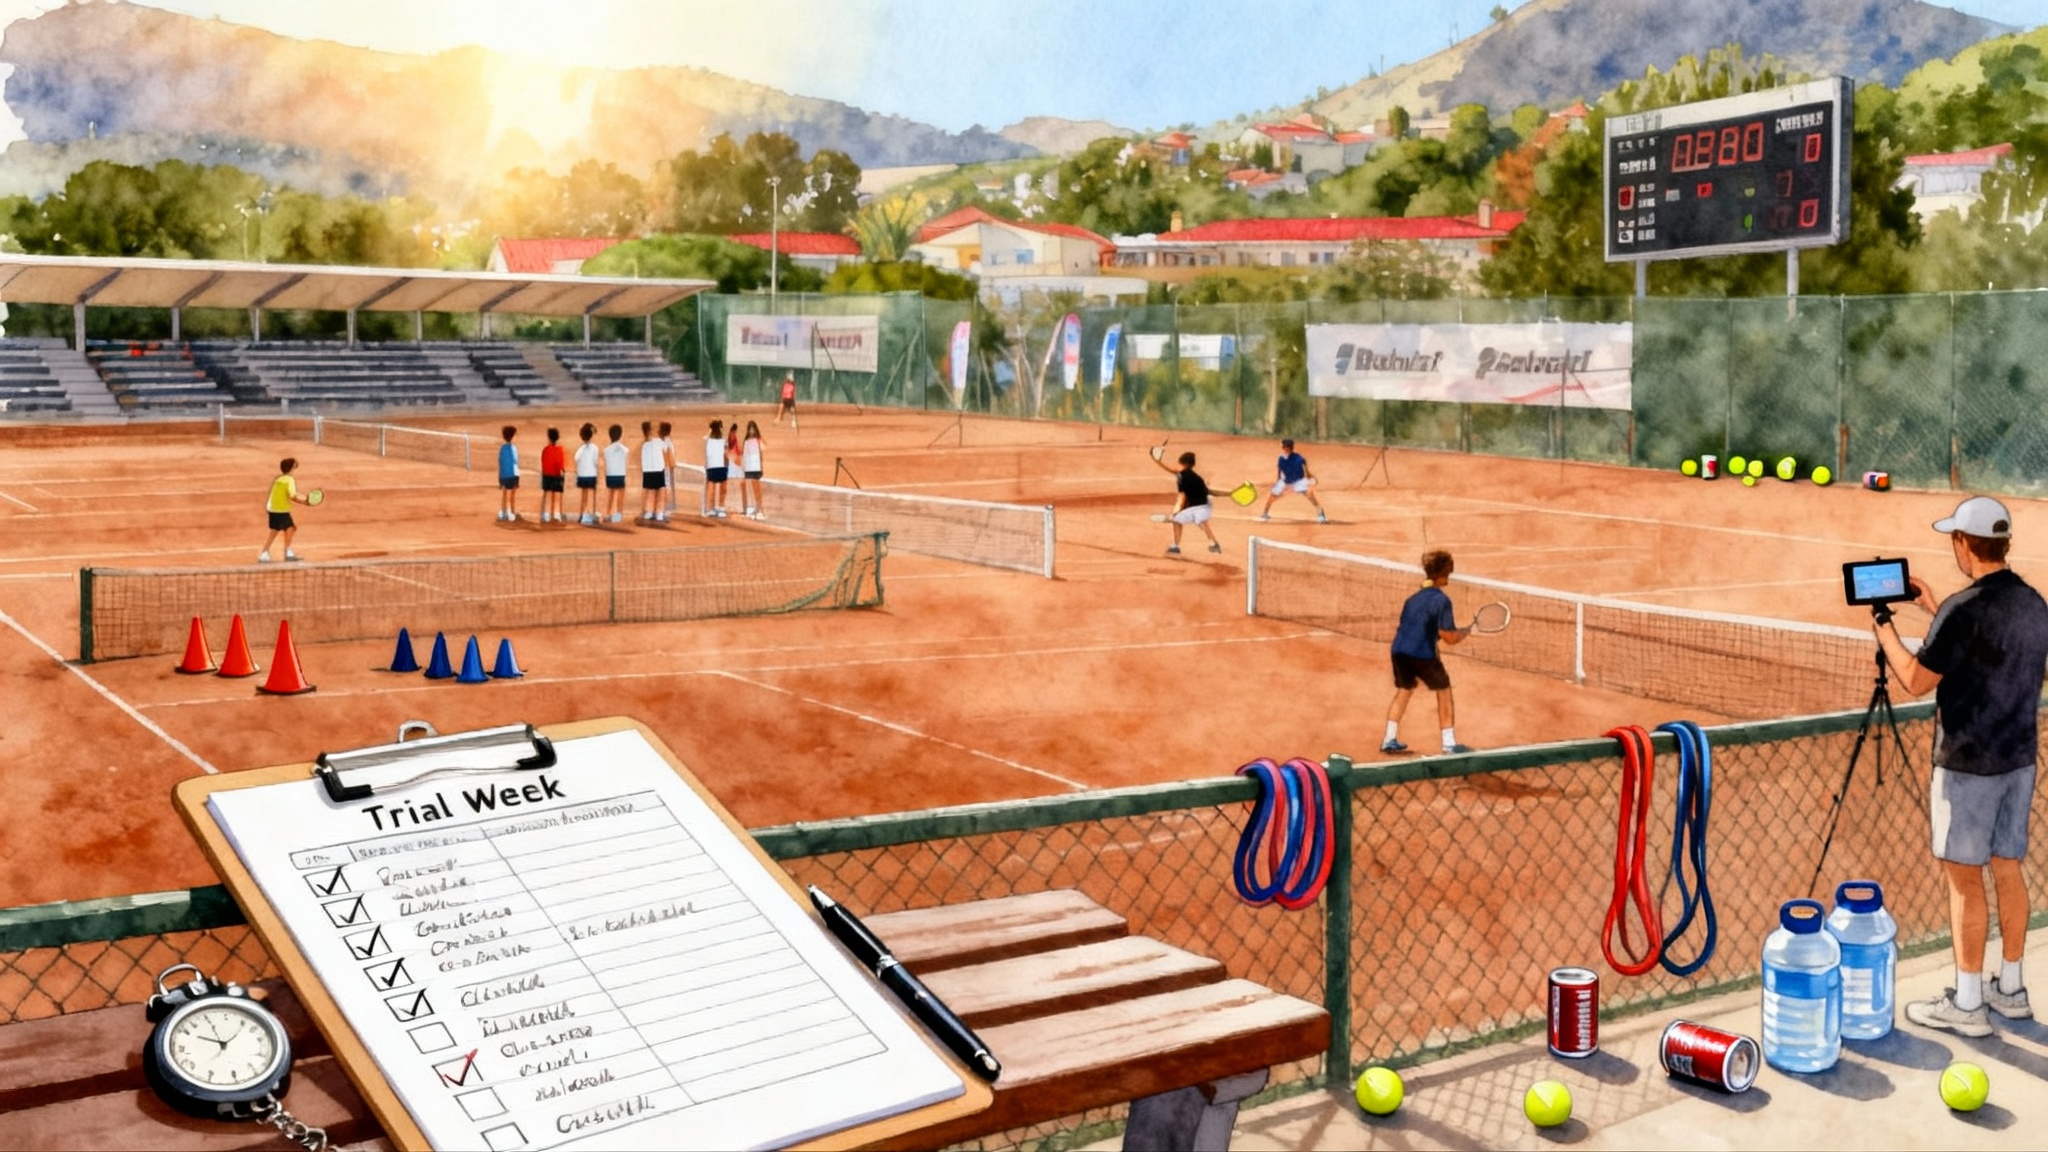
The 4-week feedback loop
This loop is designed for real life. It fits busy families and adult schedules, and it works whether you play once or three times a week.
Week 1: Baseline and choose two
- Film the full set of six angles using the plan above.
- Score all ten checkpoints for forehand, backhand, and serve using 0 to 2. Do not fix anything yet.
- Choose two checkpoints that will unlock the most improvement. Good bets are early unit turn and contact in front.
- Set targets that are specific and visible, for example: forehand contact in front improves from 5 of 10 balls to 8 of 10 in the back view clip.
Week 2: Narrow focus and drills
- Start each hit with 8 minutes of constraint drills that force your two checkpoints. Examples:
- Contact in front: place a cone 30 centimeters ahead of your lead foot and aim to meet the ball before the cone.
- Early unit turn: partner or parent calls “turn” as the ball crosses the net, then you freeze at the set position for a split second before swinging.
- Film only two angles that best show the checkpoints. Usually baseline back view and the relevant diagonal.
- Review the same day and score just your two checkpoints. Note one action for the next hit.
Week 3: Add pressure and patterns
- Keep the two checkpoints, but now add situational pressure so you have to move:
- Two-ball patterns: one deep crosscourt, one down the line on a short feed.
- Serve plus one: land the serve, then hit to a cone target.
- Film the diagonal angle and the serve from behind. Score the two checkpoints and track simple outcomes like depth beyond the service line or number of targets hit out of ten.
Week 4: Test and decide
- Repeat the full Week 1 filming plan with all six angles.
- Score all ten checkpoints again to see what moved and what stayed stuck.
- Compile three numbers to guide your next month: average checkpoint score for forehand, average for backhand, average for serve. Also note any outcome metric you care about, such as depth percentage or first serve in percentage.
- Decide whether to keep your two checkpoints, swap one out, or escalate to a professional tune-up.
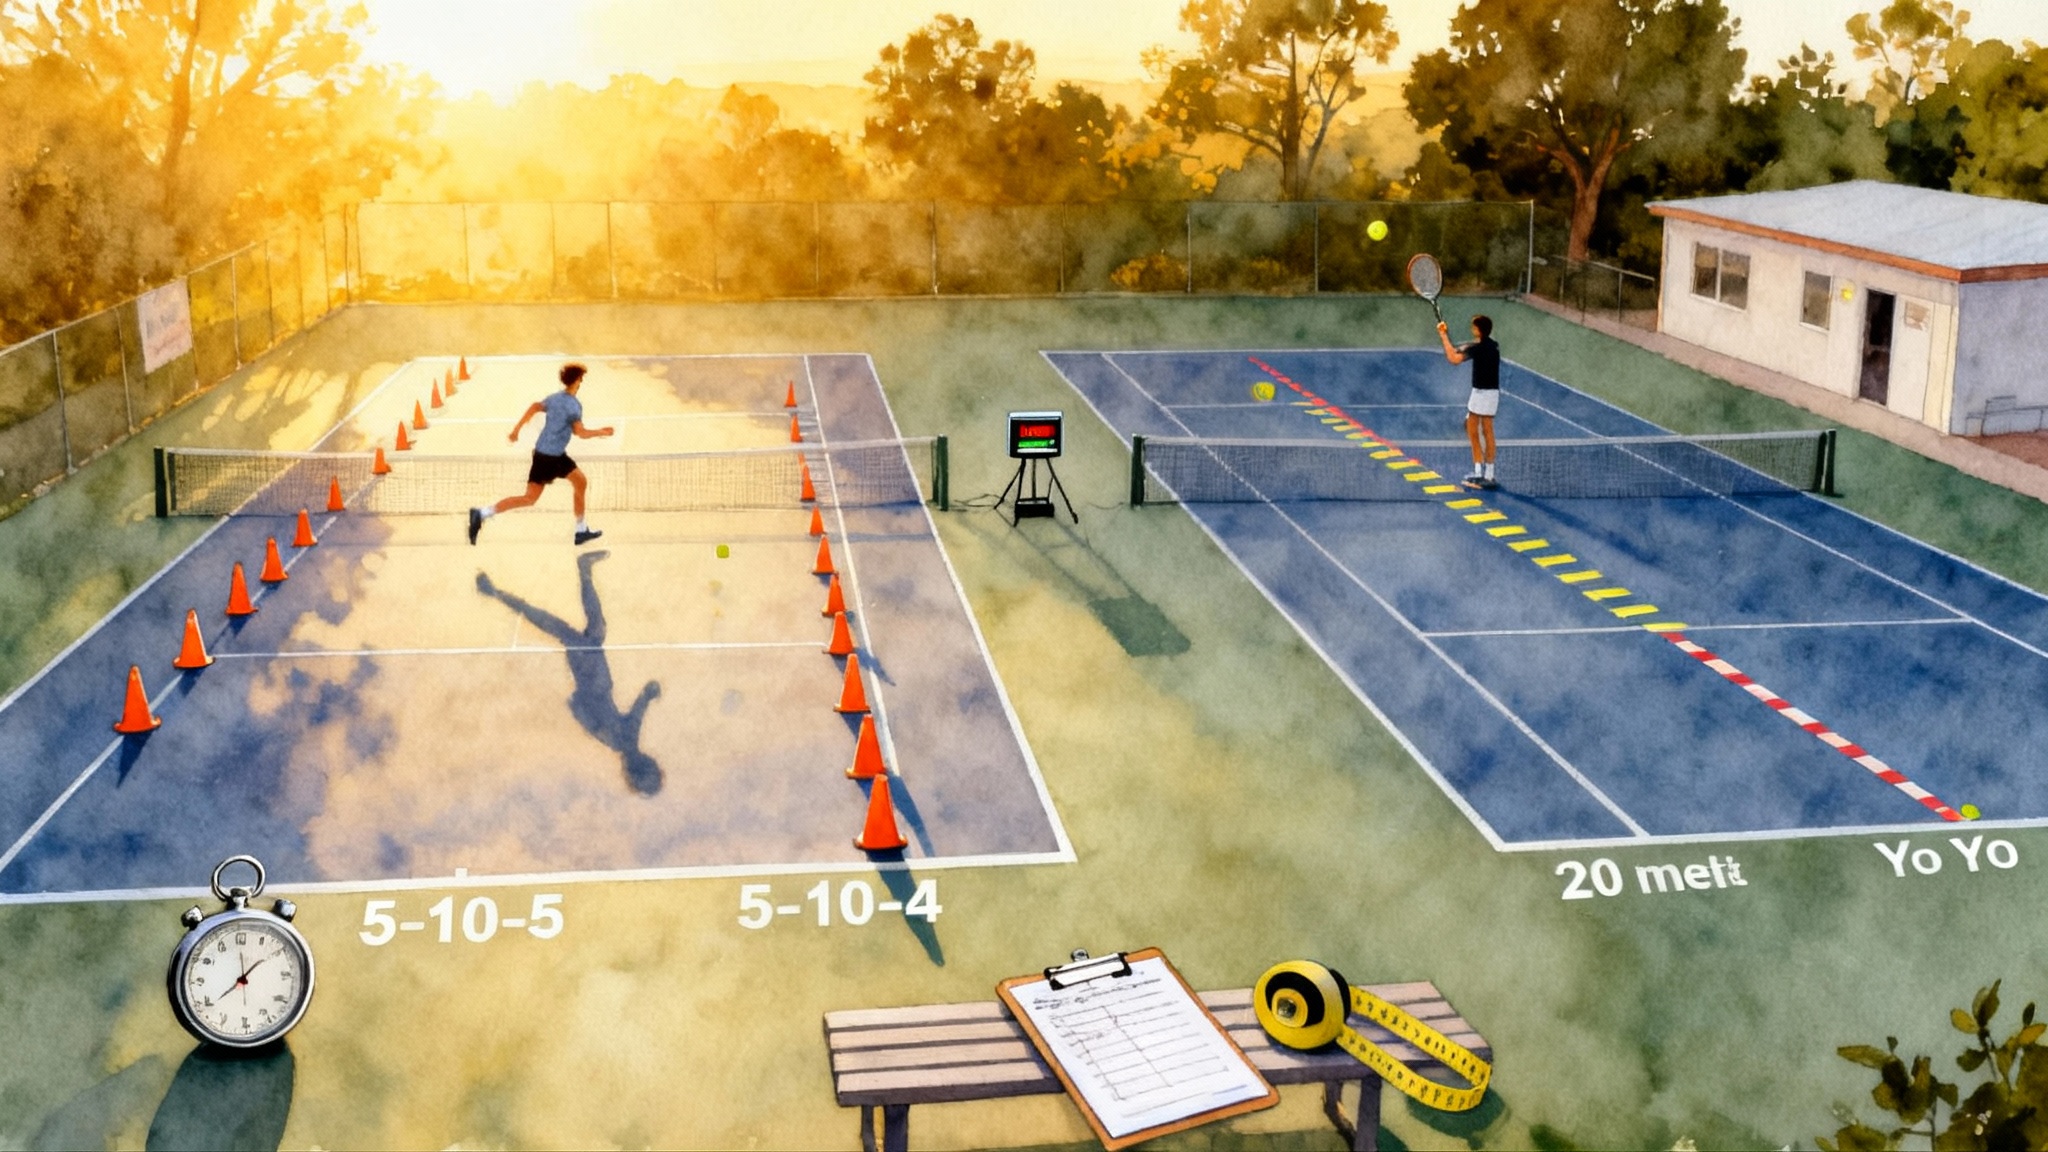
What measurable improvement looks like
Here are benchmarks many players see within four weeks when they film and review consistently:
- Contact in front: up by 2 to 4 out of 10 balls in baseline back view.
- Early unit turn: up by 1 to 2 points on the 0 to 2 scale, visible even under light movement.
- Depth control: from 4 of 10 balls beyond the service line to 7 of 10 in controlled rallies.
- Serve toss dispersion: from a two-ball circle to a one-ball circle relative to the ideal contact point.
If your numbers do not budge across two straight weeks despite focused drills, that is not failure. It is the signal you wanted, because now you know exactly what to work on with a coach.
When to book a pro session
Use video to decide with your head, not your heart. Consider a lesson if any of these are true:
- A checkpoint stays at 0 or 1 after Weeks 2 and 3 with focused work.
- Pain appears or grows during serves or high backhands.
- You cannot create the position even in slow shadow swings at home.
- The fix involves grip change, toss change, or body alignment you cannot self-assess safely.
Bring your Week 1 and Week 4 clips to your coach. Ask for one priority change and one home drill. If you train with us, you can schedule a session at Legend Tennis Academy and share your album ahead of time so the pro builds a plan before you arrive.
Common pitfalls and quick fixes
- Filming too far: move the phone closer instead of zooming. Contact and strings should be visible.
- Ten-minute clips: keep it short. Thirty seconds is enough to see patterns without slogging through video.
- Chasing five fixes at once: pick two checkpoints. Keep a parking lot list for future weeks.
- No slow practice: add shadow swings or two-bounce feeds that let you feel the new position.
- Ignoring footwork: score split step and recovery every time. Clean feet unlock clean strokes.
A weekly routine you can keep
Here is a simple schedule for different players.
- Juniors with two practices per week: Day 1 film two angles and drill one checkpoint. Day 2 film serves and a diagonal. Review on the ride home with a parent and score in the shared note.
- Parents as camera crew: set up the phone and count reps, not misses. Ask questions like “Where was contact relative to your hip?” rather than giving form commands.
- Busy adults: one focused hit plus one home session. The home session can be 12 minutes of mirror work and shadow swings recorded at slow motion to check positions.
Bringing it all together
Your phone is a neutral witness that never gets tired. Six smart angles put your mechanics in full view. Ten checkpoints turn that footage into a scoring system. A four-week loop creates a habit that builds real numbers. Start small: one court, one phone, two checkpoints. In a month, you will not guess whether you improved. You will know. And if a roadblock pops up, your clips will tell you exactly when it is time to get a coach’s eye.
The secret is not fancy tech. The secret is a routine you repeat. Film. Score. Adjust. Repeat. Do that for four weeks and you will see the ball, and your game, more clearly than ever.