The Split Step: Unlock Faster Reactions In Every Rally
Make every ball feel slower. Learn the science and technique of the split step, get precise timing cues, and use step-by-step drills that turn hesitation into instinctive movement from the baseline, return, and net.

Why the split step is the hidden engine of quickness
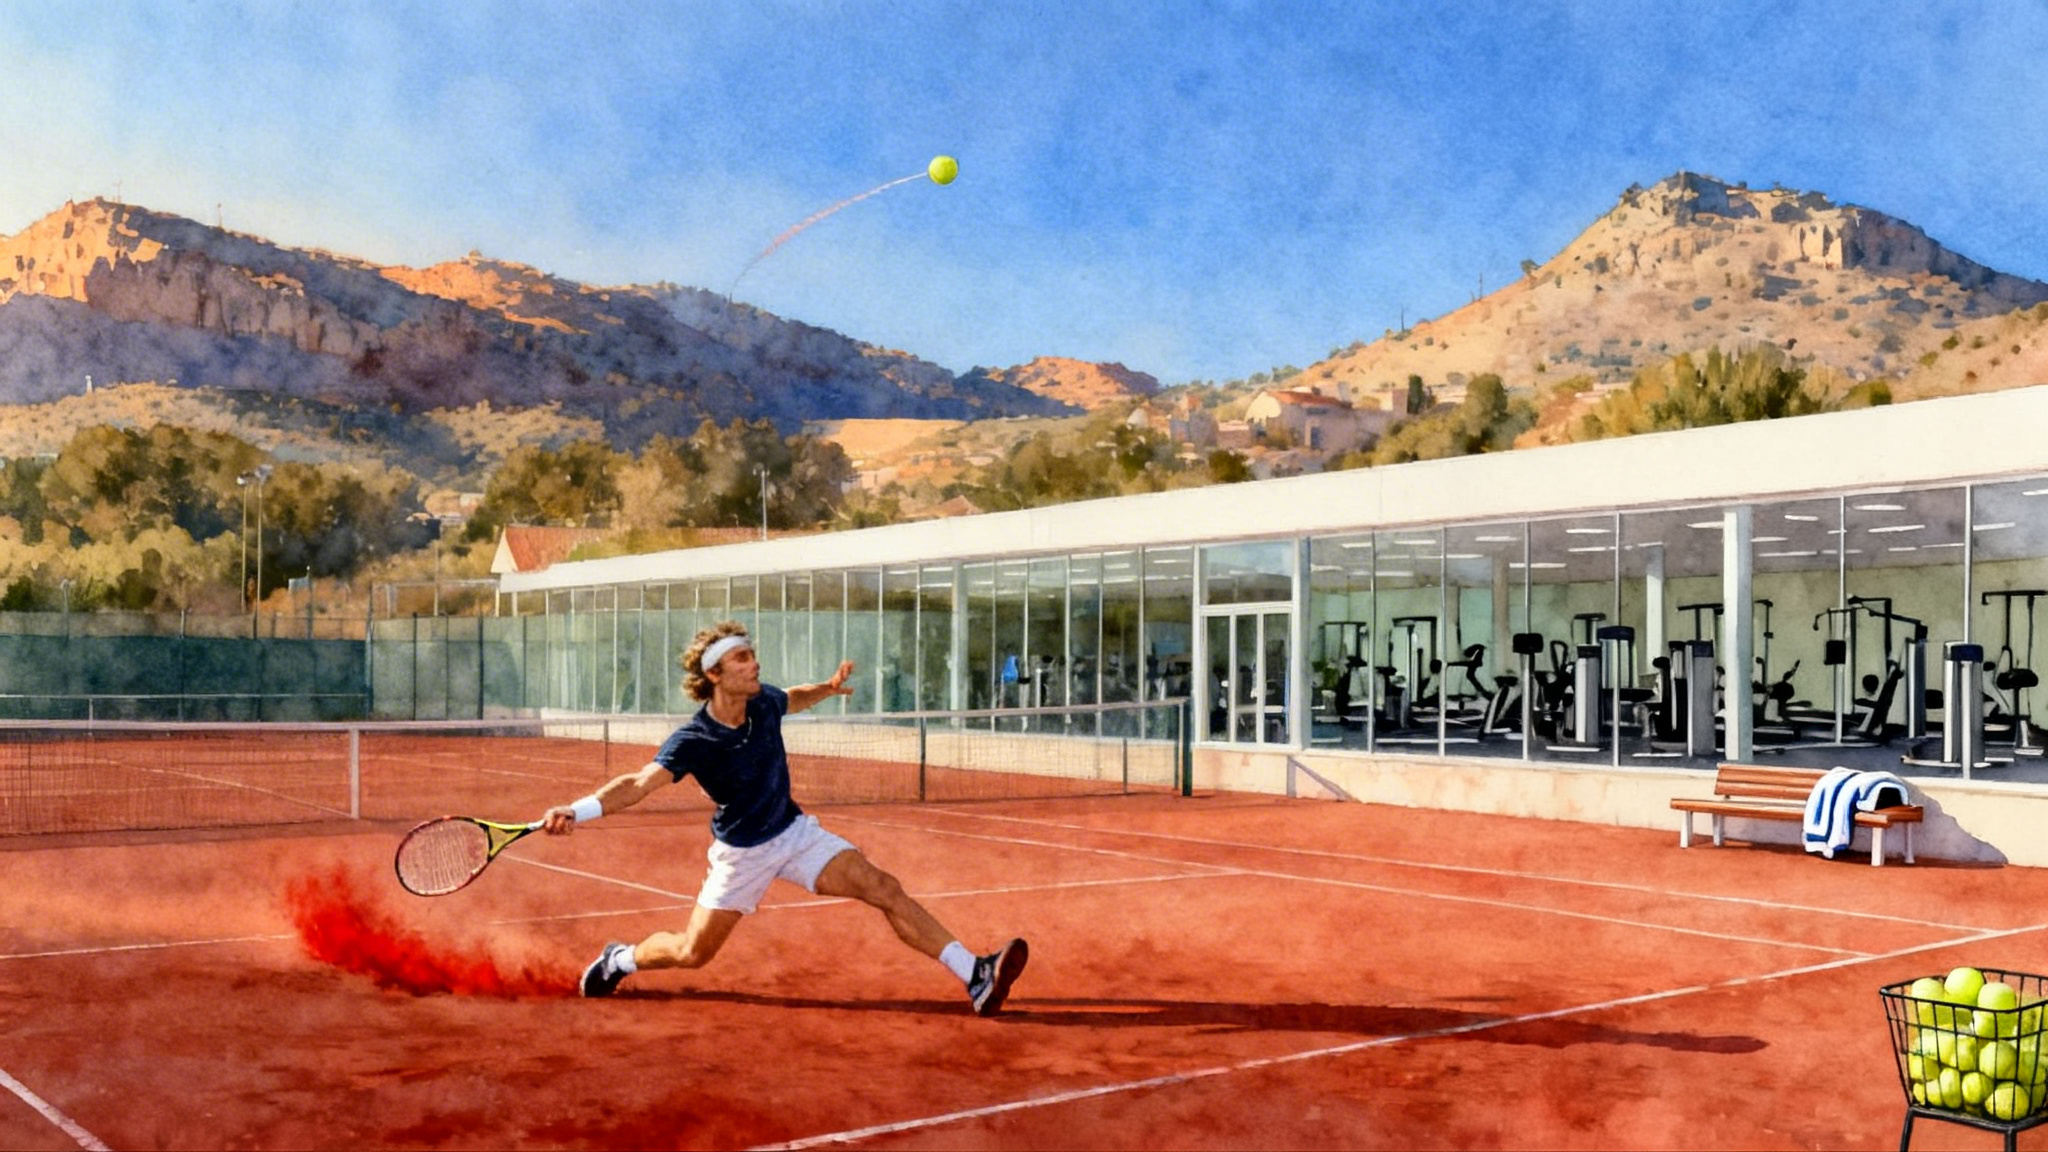
If tennis had a secret button that slows the ball down, it would be the split step. This small hop taken just before your opponent strikes the ball primes your body like a loaded spring. With it, your first step is crisp and early. Without it, you feel stuck, guessing late and reaching. Players often invest hours in forehands and serves, yet the split step quietly decides whether those strokes show up on time. Think of it as your game’s ignition key. No ignition, no drive.
The simple physics behind a fast first step
A good split step does two things:
-
It lowers and centers your mass. By landing with knees soft and hips centered, you can push equally to either side. This is the difference between a sprinter crouched in the blocks and a runner standing upright at a bus stop.
-
It preloads your muscles. As your feet contact the court, the muscles and tendons in your lower legs store elastic energy. This is called the stretch-shortening cycle. A tighter, quicker landing lets you release that stored energy into a powerful first push. Imagine compressing a small trampoline. The quicker you compress, the faster the rebound.
When players say a split step helps them “feel light,” they are noticing this rebound. Your job is to time the landing to match your opponent’s contact so that your legs are recharged exactly when you need to move.
Timing: land at opponent contact
The most reliable cue is this: be on the way down and land right as your opponent makes contact. If you land too early, you lose the stored energy before you push. If you land too late, the ball is already traveling while you are still settling.
Use this easy rhythm on groundstroke rallies:
- Watch the opponent’s racquet.
- Begin your tiny hop as their racquet starts its forward acceleration.
- Land as you hear or see the moment of contact.
A helpful verbal count is “rise on swing, land on hit.” Say it silently for the first ten minutes of any practice. The rhythm hardwires itself more quickly than you think.
On the return of serve, everything happens faster. Start the hop as the server begins the toss, and land as the server contacts the ball. On second serves with more spin and slower pace, you can delay the takeoff slightly so that your landing still matches contact.
Stance, shape, and where your eyes go
- Stance width: land with feet roughly shoulder width to one and a half shoulder widths apart. Too narrow and you tip. Too wide and you cannot push explosively.
- Posture: keep your chest tall, hips back a touch, and eyes forward. This is a ready squat, not a deep sit.
- Foot strike: land on the balls of the feet with heels close to the ground but not slammed down. Think quiet and springy.
- Hand position: keep hands alive at chest height. Loose hands help loose feet.
- Eye focus: soften your gaze between ball and strings as the opponent hits. Hard staring can freeze your head movement and delay your reaction. Soft focus keeps the whole picture available.
Common mistakes and quick fixes
- Landing late: If your feet hit after the opponent’s contact, you are reacting to a moving target from a dead start. Fix it by starting your hop a beat earlier. Use a metronome app at 60 to 75 beats per minute in early practice to anchor your rise and land rhythm.
- Jumping too high: You only need a few centimeters. Big air is slow air. Imagine jumping over a credit card, not a curb.
- Landing flat-footed: A thud equals lost spring. Think of kissing the court with your forefeet, then letting the heels hover.
- Freezing after landing: Your split step is a bridge to a first step, not a destination. The instant your feet touch, push into your chosen direction.
- Stance too wide: If your knees cave inward or you feel stuck, bring your feet in by half a shoe length.
Drills that build automatic timing
The best drills reward landing at the right instant. Use small sets, clear targets, and measurable cues.
- Clap contact timing
- Setup: Stand on the service line facing a partner who simulates a forehand or backhand without a ball.
- Action: Your partner claps at their imaginary contact. You perform a tiny hop and must land exactly on the clap.
- Sets: 4 sets of 20 reps. Switch to random intervals on sets 3 and 4. Aim for at least 16 perfect landings per set.
- Coach tap and point
- Setup: Coach stands at the net facing you on the baseline. The coach taps the racquet frame with a ball to simulate contact and immediately points left or right.
- Action: You split and land on the tap, then push one explosive step in the direction of the point. Recover to ready and repeat.
- Sets: 3 sets of 12. Emphasize a quiet landing and a loud first step.
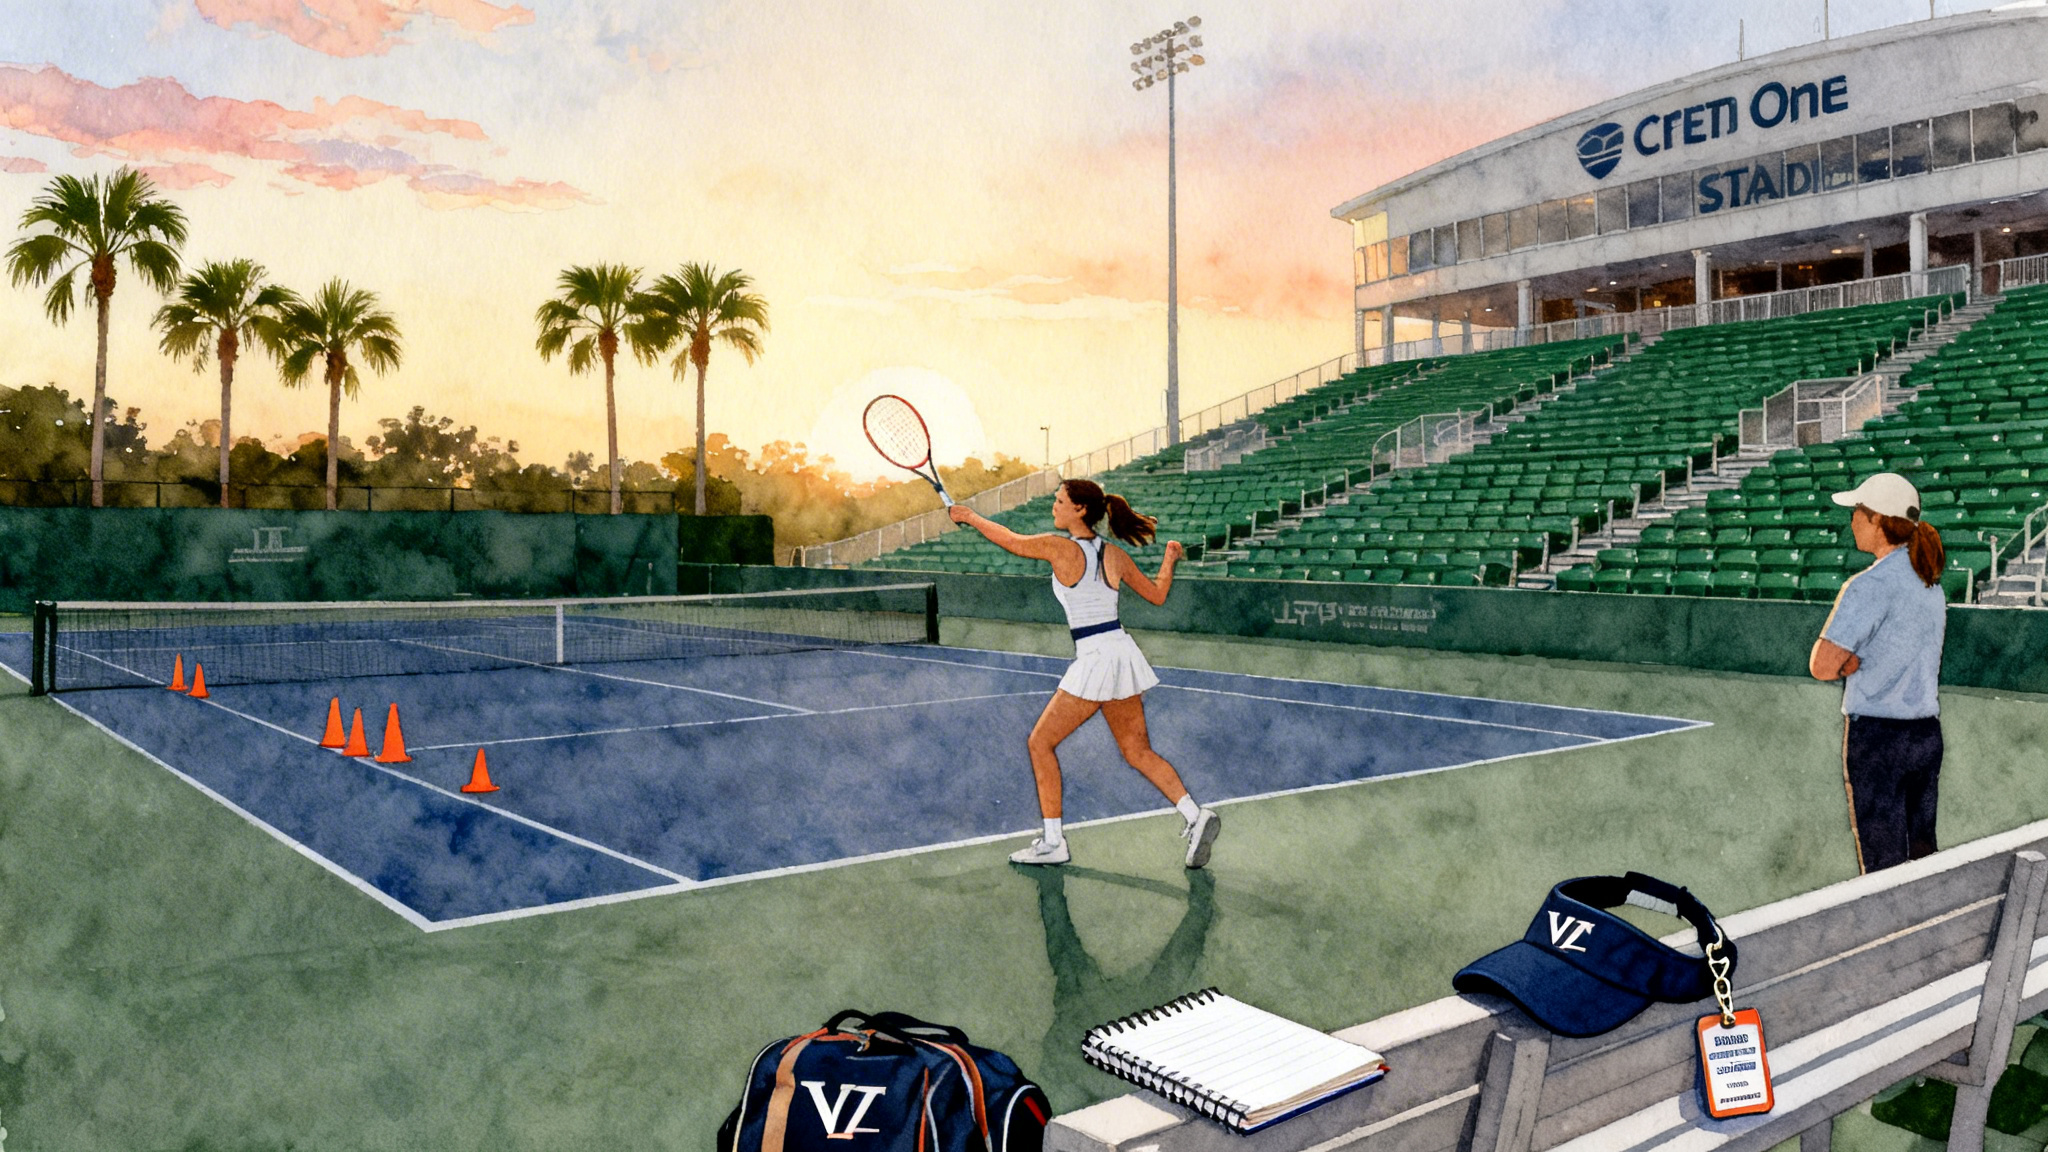
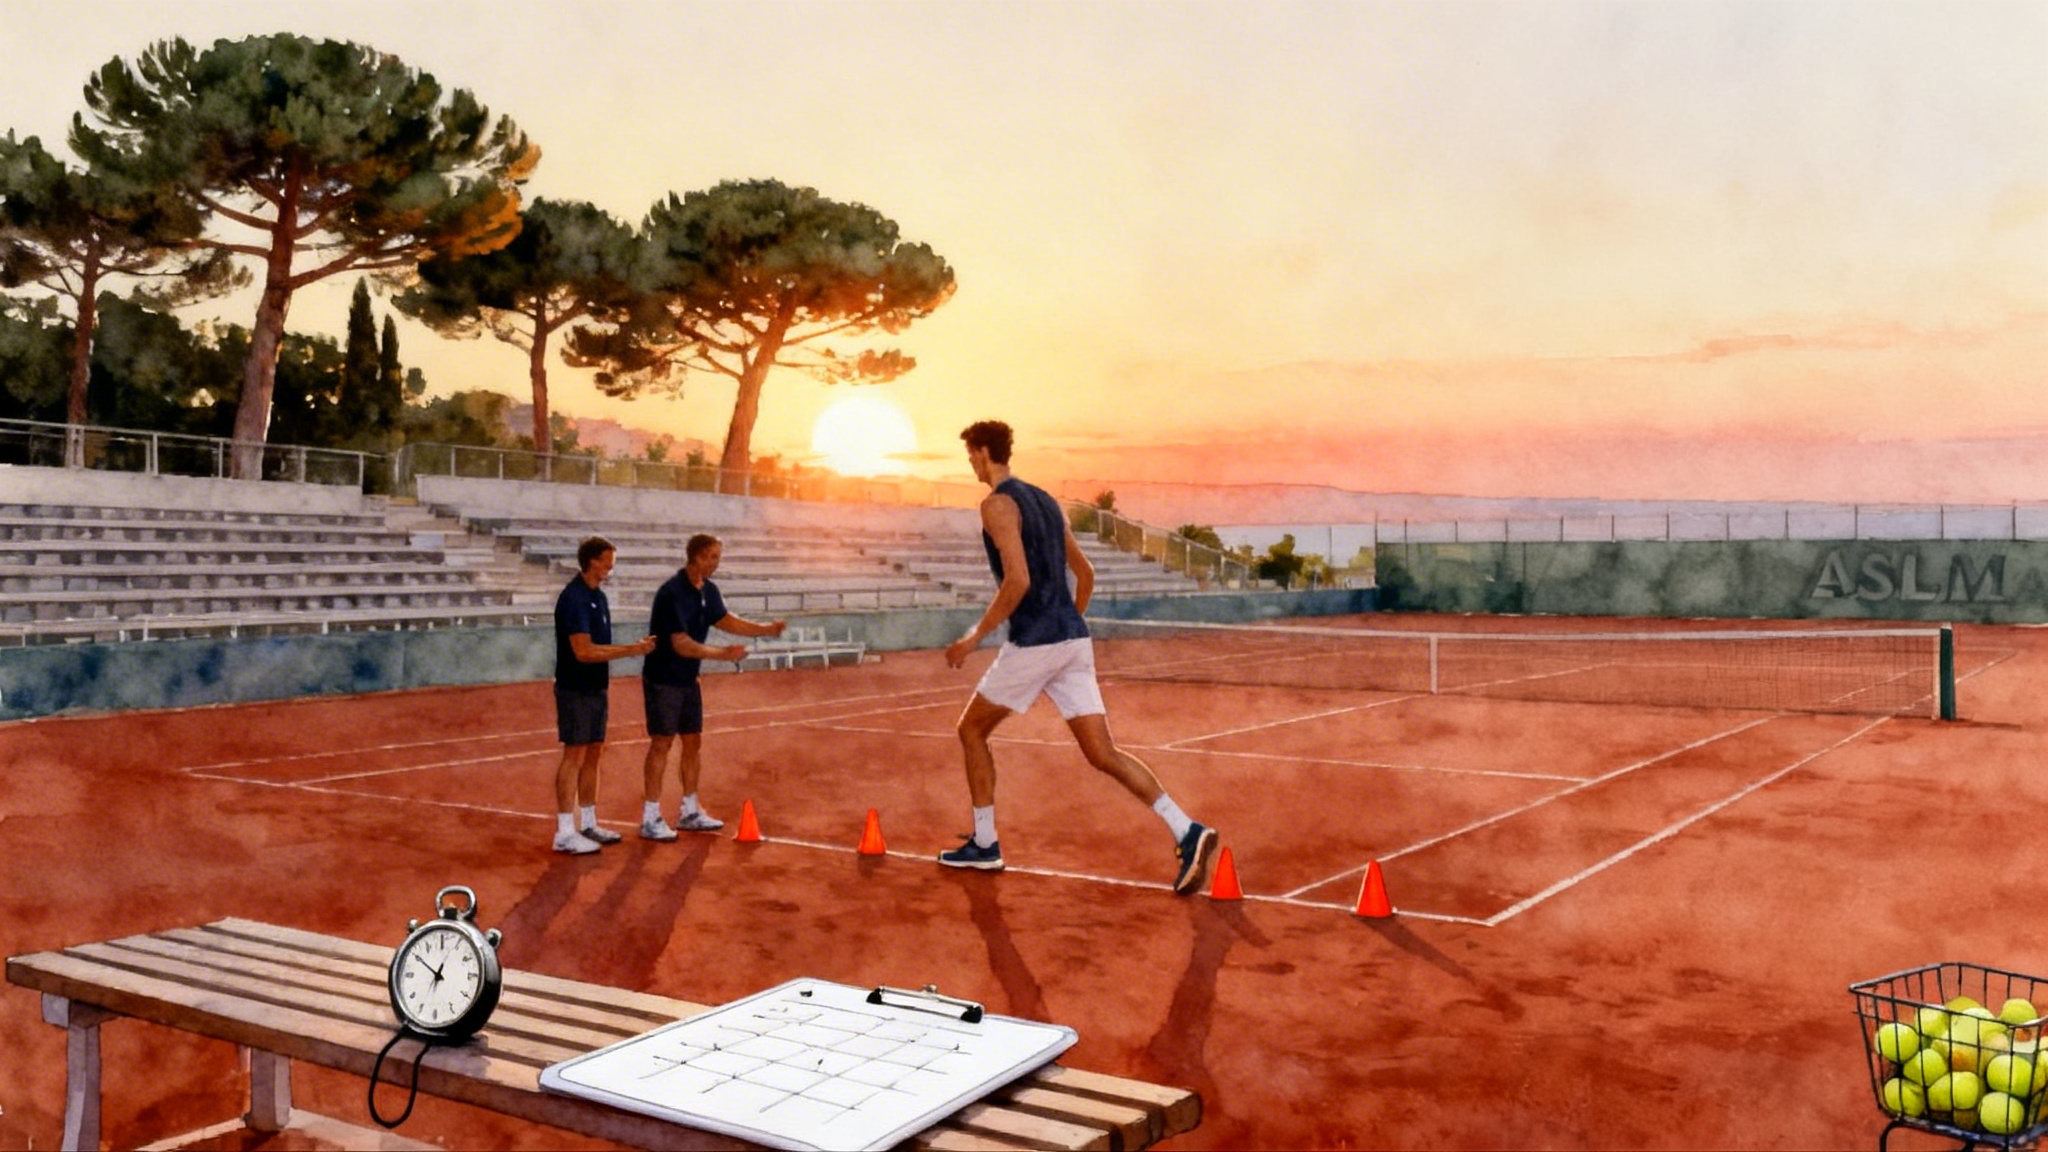
- Cone check and go
- Setup: Place three cones on the baseline: one centered, one two steps to the forehand, one two steps to the backhand.
- Action: Partner feeds a slow ball. You split on their contact, call out “on time,” and drive your first step to the called cone. Hit a controlled rally ball, then recover.
- Sets: 3 sets of 10 balls. Measure success by whether your first step starts within 0.2 seconds of landing. Film to confirm.
- Return-of-serve shadow
- Setup: Use the deuce side service box. A partner goes through a full service motion without a ball.
- Action: You begin your hop as their toss rises, land on their contact, and take your first step into a compact return swing path. No ball is required for the first 20 reps. Add slow serves once timing is clean.
- Sets: 5 sets of 10 reps. On sets 4 and 5, the server varies toss timing to force you to watch the racquet, not the clock.
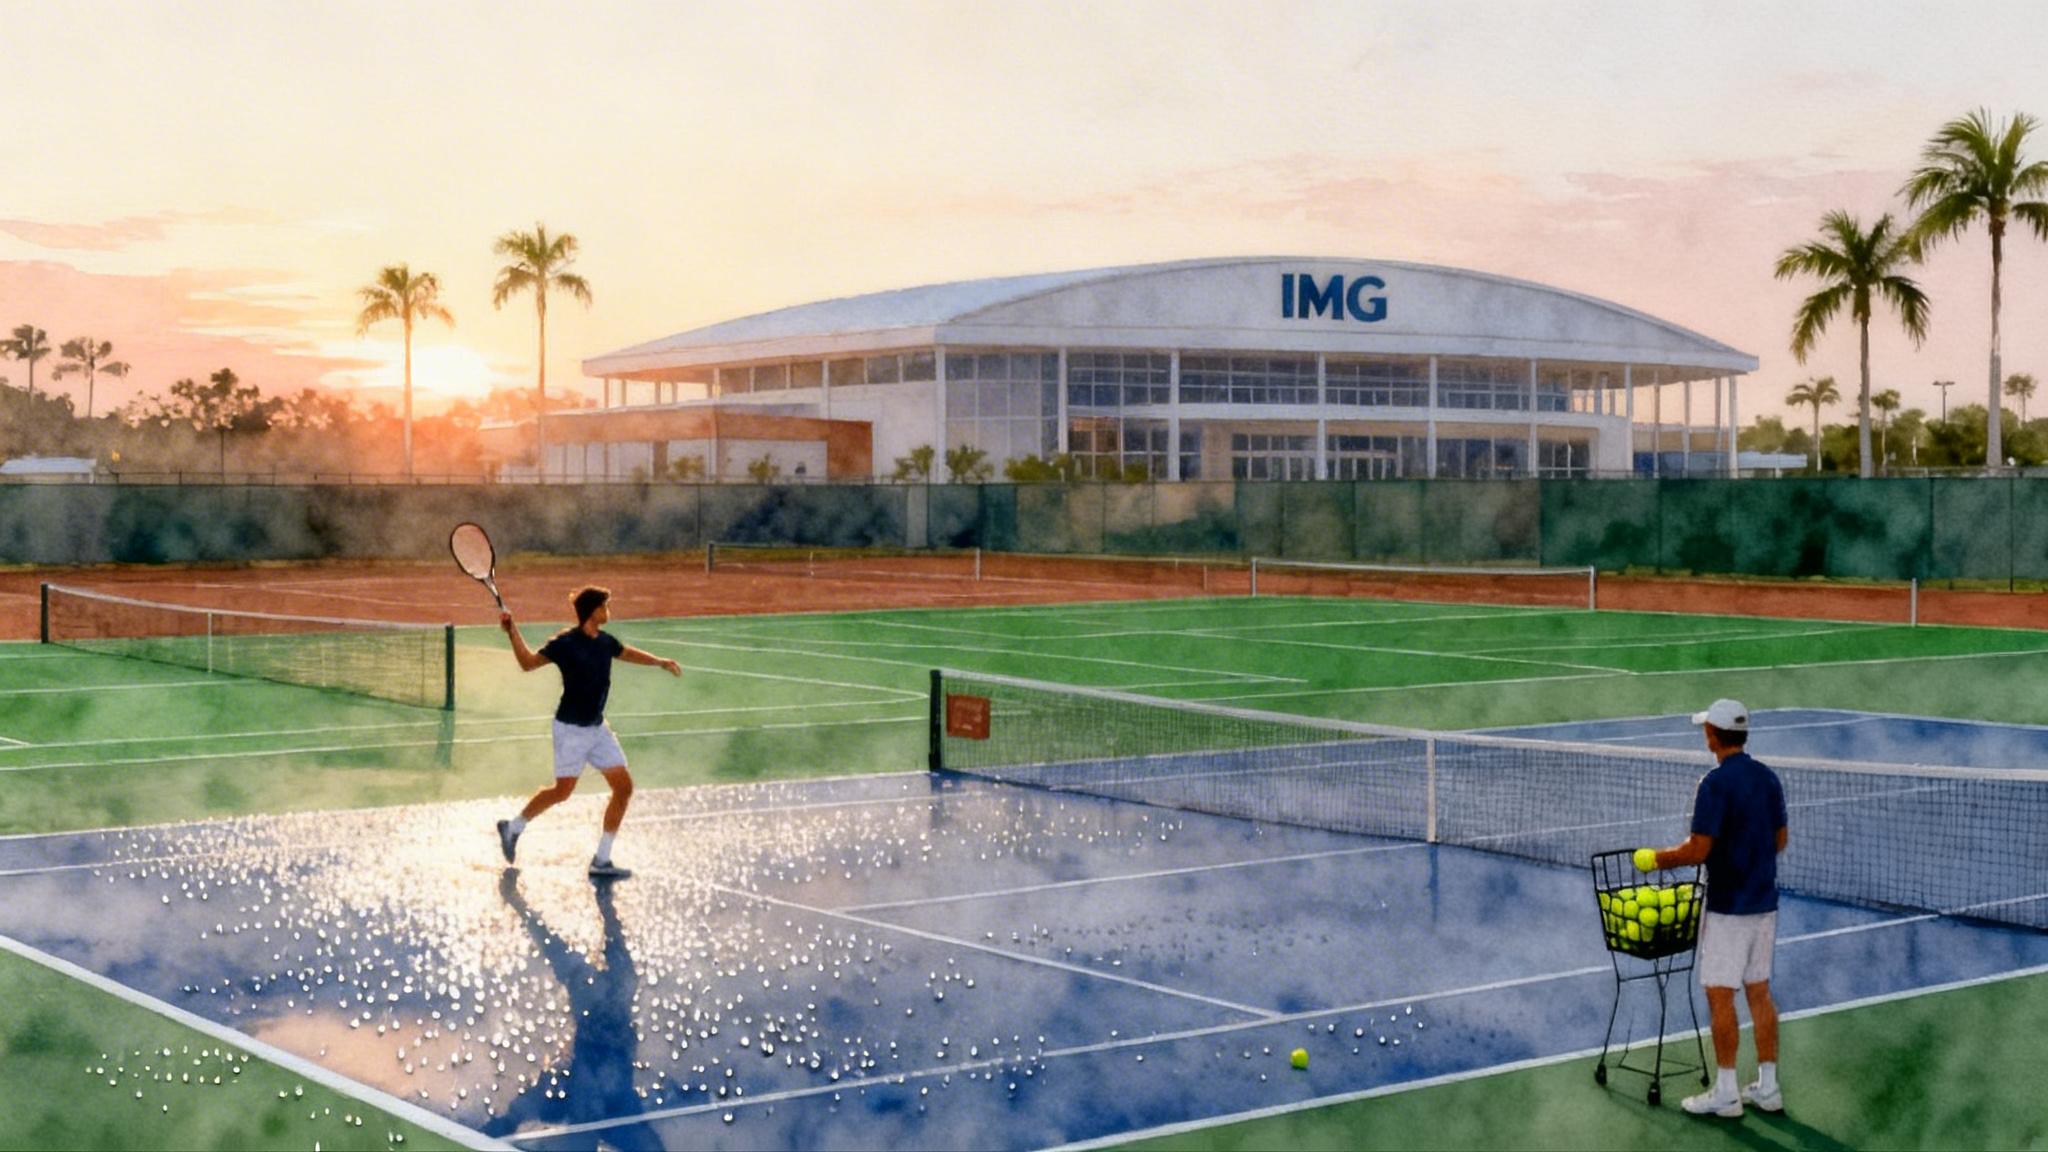
- Volley approach cadence
- Setup: Start just inside the baseline. A feeder at the opposite service line tosses easy balls.
- Action: Split on feeder contact, take two quick steps forward, and volley. Recover with a small hop backwards to rebalance, then repeat.
- Sets: 3 sets of 12 balls. The goal is to feel the same split-step rhythm as you close the net.
Coaches who emphasize timing-first movement, like those highlighted in Ferrero Academy built Alcaraz, often integrate these constraints into daily footwork blocks.
Solo work that pays off on court
You can build a better split step at home or on a quiet court in ten minutes a day.
- Pogo hops: Hands on hips, feet hip width, perform 3 sets of 20 quick ground contacts. Think of the floor as hot. Keep the torso tall.
- Quarter-squat hops: From a quarter squat, hop up an inch and land quietly. 3 sets of 12. Pause two seconds between reps to keep each landing crisp.
- Metronome splits: Use a metronome at 70 beats per minute. On beat one, rise. On beat two, land. 2 minutes on, 1 minute off, repeat 3 times. This trains smooth rhythm that you can later sync to a racquet.
- Wall reaction step: Face a wall at three meters. Toss a tennis ball gently at the wall. As the ball hits, perform a small split and catch it off the bounce. 4 sets of 15 catches.
If you train at a place that tracks movement quality, such as Legend Tennis Academy in Austin, ask coaches to score your on-time landings during live rallies.
Special cases: return, defense, and net
- Return of first serve: Begin your hop as the server starts the toss. Land as you hear impact. Pre-set a compact unit turn so that you can convert the landing into a short first step into the ball, not a back foot rock.
- Return of second serve: The ball is slower. Either start the hop later or hold the top of the hop briefly so you still land on contact. This prevents you from landing early and getting flat-footed under a kicker.
- Defensive scramble: When stretched wide, sneak in a micro split before the opponent’s next ball instead of constantly running. Even a two centimeter hop recenters your weight and opens both directions.
- Closing the net: Use a split just as the opponent is about to pass or lob. This sets your reaction for the first explosive step to the volley or overhead.
You can see how great programs bake this into patterns in Nadal Academy lifted Ruud, where timing and court positioning are taught together.
Integrate the split step into patterns you already use
Your footwork should match your tactics. Here is how the split step fits into three common patterns.
- Pattern 1: Crosscourt rally to pull a short ball. Rally neutral balls crosscourt. Each time the opponent strikes, split and land, then push the first step to load on the outside leg. When the short ball appears, your timing is already grooved for a quick forward first step into the approach.
- Pattern 2: Serve plus first ball. After your serve, many players drift and watch. Replace that drift with a small split as the returner contacts. You will start your first step earlier toward the anticipated zone, whether that is a forehand inside-out or a backhand up the line.
- Pattern 3: Chip and charge. After a low slice chip, take two quick steps forward and insert a small split as the opponent begins to swing at the pass. This guards both the lob and the hard drive without guessing.
A one-week plan to make it stick
Use this template across seven days. Adjust volume up or down by about twenty percent based on how your legs feel.
- Day 1: Technique baseline. Ten minutes of metronome splits, ten minutes of clap contact timing, ten minutes of coach tap and point. Film from the side for slow motion review.
- Day 2: Rally integration. Fifteen minutes of cone check and go, then twenty minutes of crosscourt rallies focusing on landing at contact. Finish with five minutes of pogo hops.
- Day 3: Return focus. Fifteen minutes of return-of-serve shadow, then twenty returns against live serves with varied pace. Keep a tally of on-time landings out of twenty.
- Day 4: Recovery and skill polish. Light session. Ten minutes of metronome splits and light shadow strokes inserting a split before every pretend ball.
- Day 5: Net day. Fifteen minutes of volley approach cadence and fifteen minutes of live approach-and-volley patterns. Emphasize a soft, quick landing on each closing step.
- Day 6: Pressure set. Alternate five-ball live points starting with a serve or return. Goal is simple: call out “on time” at every opponent contact out loud. The voice cue reinforces the habit.
- Day 7: Test and taper. Film ten minutes of baseline rallies and ten minutes of returns. Score on-time landings and compare to Day 1. Aim for sixty to eighty percent on-time landings in rallies and fifty to seventy percent on the return.
How to measure improvement without fancy tools
- Slow motion on your phone: Most modern phones shoot one hundred twenty to two hundred forty frames per second. Set up at the side. Count the frames between the opponent’s contact and your landing. Your goal is zero to one frame either side of contact. If you consistently land two or more frames late, start your hop earlier.
- Sound cues: The human ear is excellent at noticing small timing errors. Record a rally and listen only to the tap of the ball on the opponent’s strings and the sound of your feet landing. The ideal is a near overlap of the two sounds.
- First step quality: Place a line of tape one big step to your forehand and backhand from ready position. After the split, your first push should clear the tape quickly and cleanly. If you are chopping with tiny steps, your landing is probably too soft or too wide.
Coaching cues and constraints that instantly help
For coaches and practice partners, small changes in setup create better movement without complex lectures.
- Reduce decision time: Shrink the opponent’s backswing window by feeding late or pointing later. This forces the athlete to watch tighter and time the landing precisely.
- Reward the first step: Score a point in drills only if the player’s first step crosses a visual marker within half a second after landing. The brain learns what you reward.
- Constraint of space: Use a mini box two meters wide by one meter deep with tape. The athlete must land inside the box on every split. This cleans up width and balance quickly.
- Foot sound rule: Make a game where a quiet landing earns a point, a loud thud loses one. This trains soft, springy landings.
Troubleshooting tricky scenarios
- Heavy topspin opponents: The ball jumps and the contact point may be farther forward. Watch the racquet path, not only the ball. Start the hop as they begin to accelerate the racquet head upward. Land on contact even if the ball trajectory is deceptive.
- Very flat hitters: The ball leaves earlier and faster. Begin your hop slightly sooner, even as their racquet enters the slot phase of the swing, so your landing does not trail their quick contact.
- Windy days: Visual cues can be noisy, and tosses drift. On the return, cue off the server’s shoulder rotation rather than the toss height. The shoulder turn is more reliable than a windblown ball.
Make it a habit, not a thought
Habits live where thinking is quiet. The split step should become as automatic as blinking. You will know you have it when two things happen: your first step begins before your mind has words for the direction, and you finish points feeling less spent because you did not chase late balls with emergency steps.
To get there, thread the split step through everything you do. Warmups, shadow swings, basket drills, live points, and even footwork between points. If a practice does not include a timing cue and a landing, it is a missed chance to wire the pattern deeper.
The small move that changes the whole match
A clean split step does not just make you faster. It makes you earlier, calmer, and more dangerous. Earlier means you meet balls higher and more in front, which unlocks depth and angles. Calmer means you will see the court with time to choose instead of scramble. More dangerous means your opponent senses pressure that is hard to describe but easy to feel. They try for more and miss more because you are always there.
Build the rhythm. Land on contact. Let the court push you where you want to go. The small hop turns into big margins, and big margins decide tight matches.