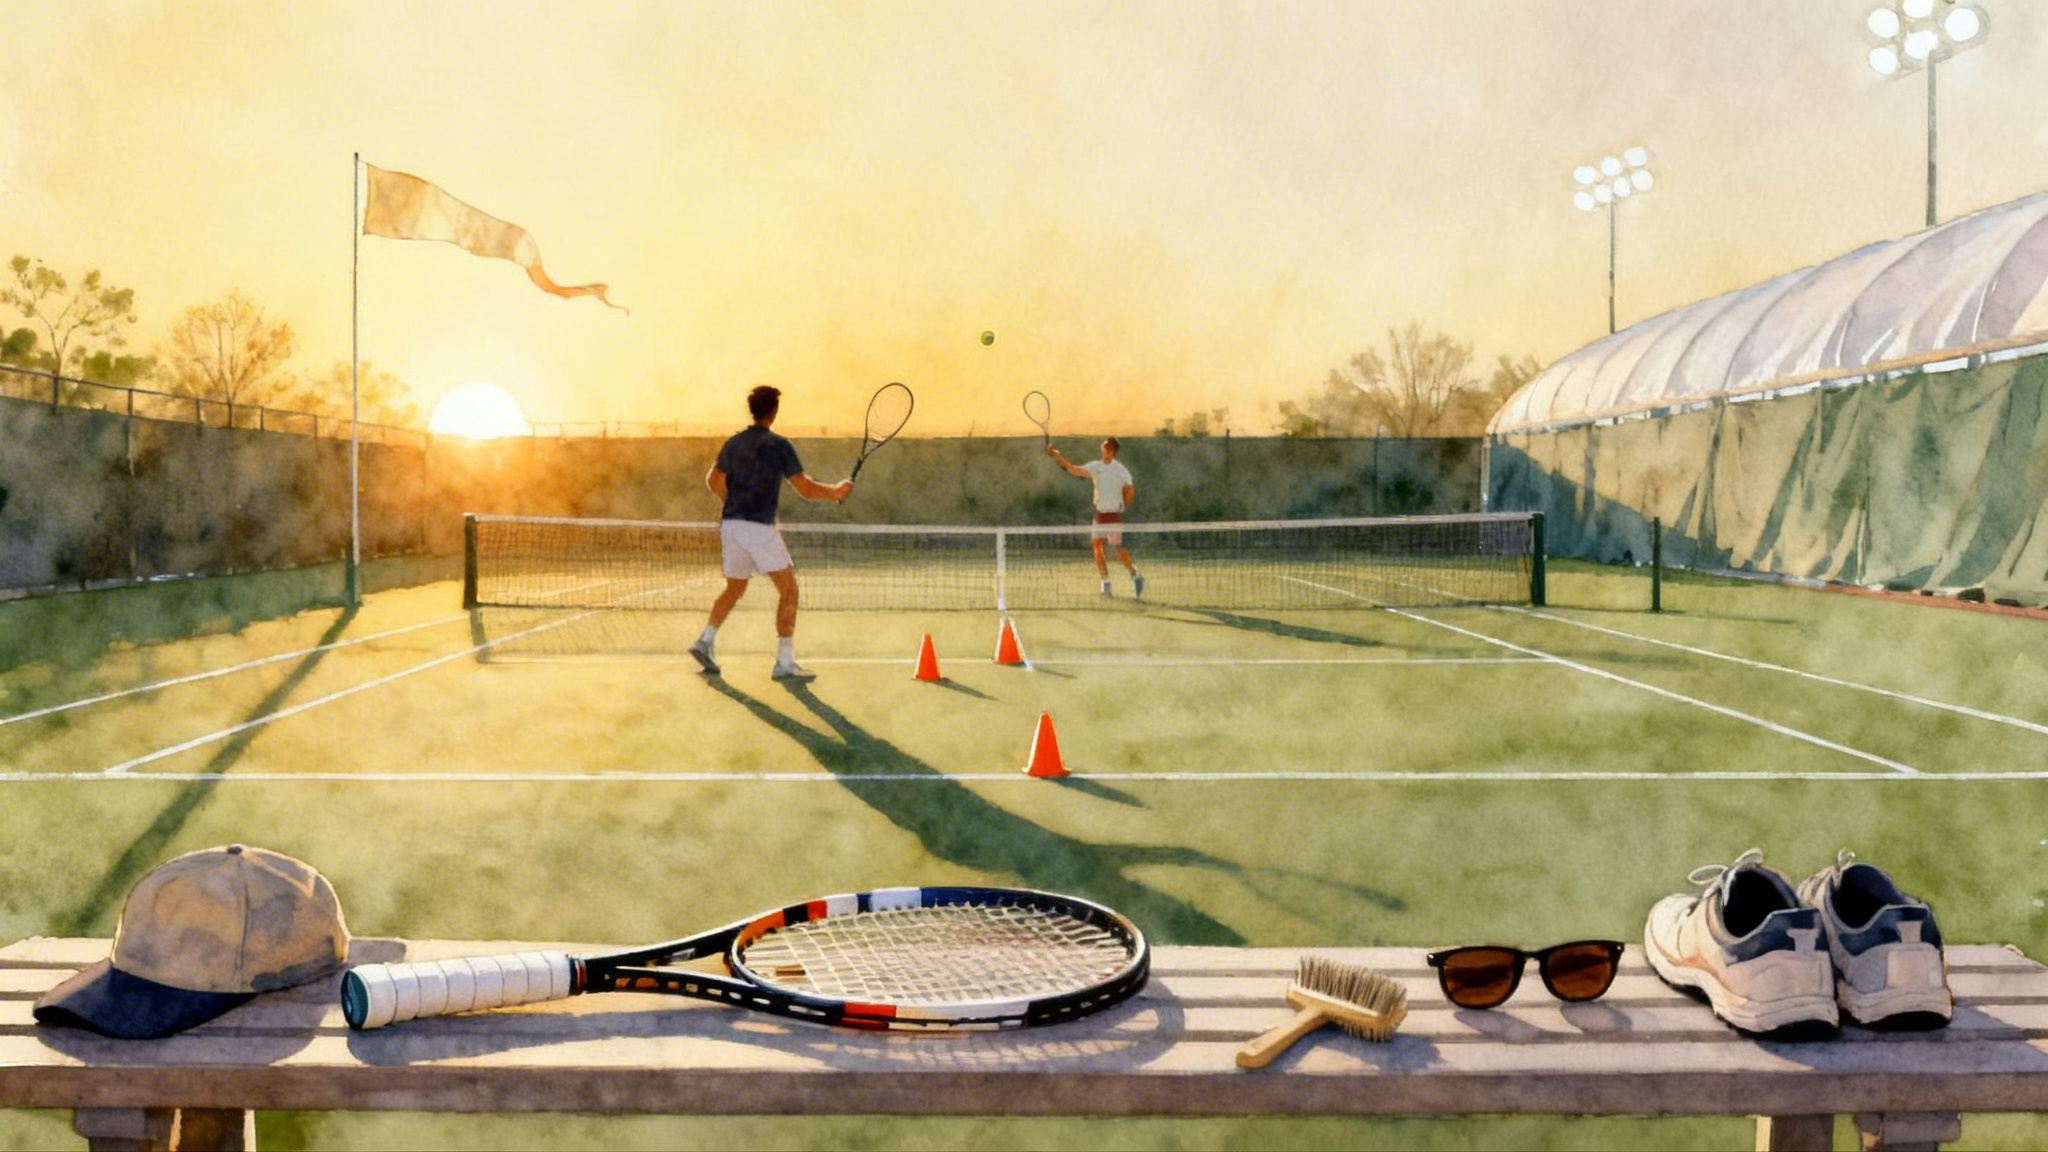
Doubles Playbook: Net Positioning, Poach Timing, I-Formation
A practical, age-specific system to build an attacking doubles team. Learn net spacing, poach timing cues, serve plus partner movement, and simple signals for Australian and I-Formation. Includes printable court maps and checklists.
Why an attacking doubles system beats winging it
Doubles rewards teams that claim the net, shrink angles, and agree on a plan before the serve. You do not need perfect strokes to win a lot of doubles points. You do need a repeatable system that tells each partner where to stand, when to move, and how to communicate.
In this playbook you will learn a simple, age-tuned framework for juniors, parents of young players, teens and high school teams, and adult league players. You will also get at-home walk-throughs, on-court progressions, printable court maps, and checklists you can bring to practice.
Use this as your team’s language. When pressure rises, simple beats complicated.
Core concepts at a glance
- Own the middle: Most returns travel crosscourt, so the net player should shade the center and make the middle look small.
- Two up is the goal: Start one up and one back if you must, but try to get both players forward as soon as you can control height and pace.
- Decide the play before the serve: One five-second huddle prevents 20 seconds of confusion.
- Keep spacing tight, not cramped: Partners should imagine a rope between their hips. When one shifts, the other mirrors to keep the rope parallel to the net.
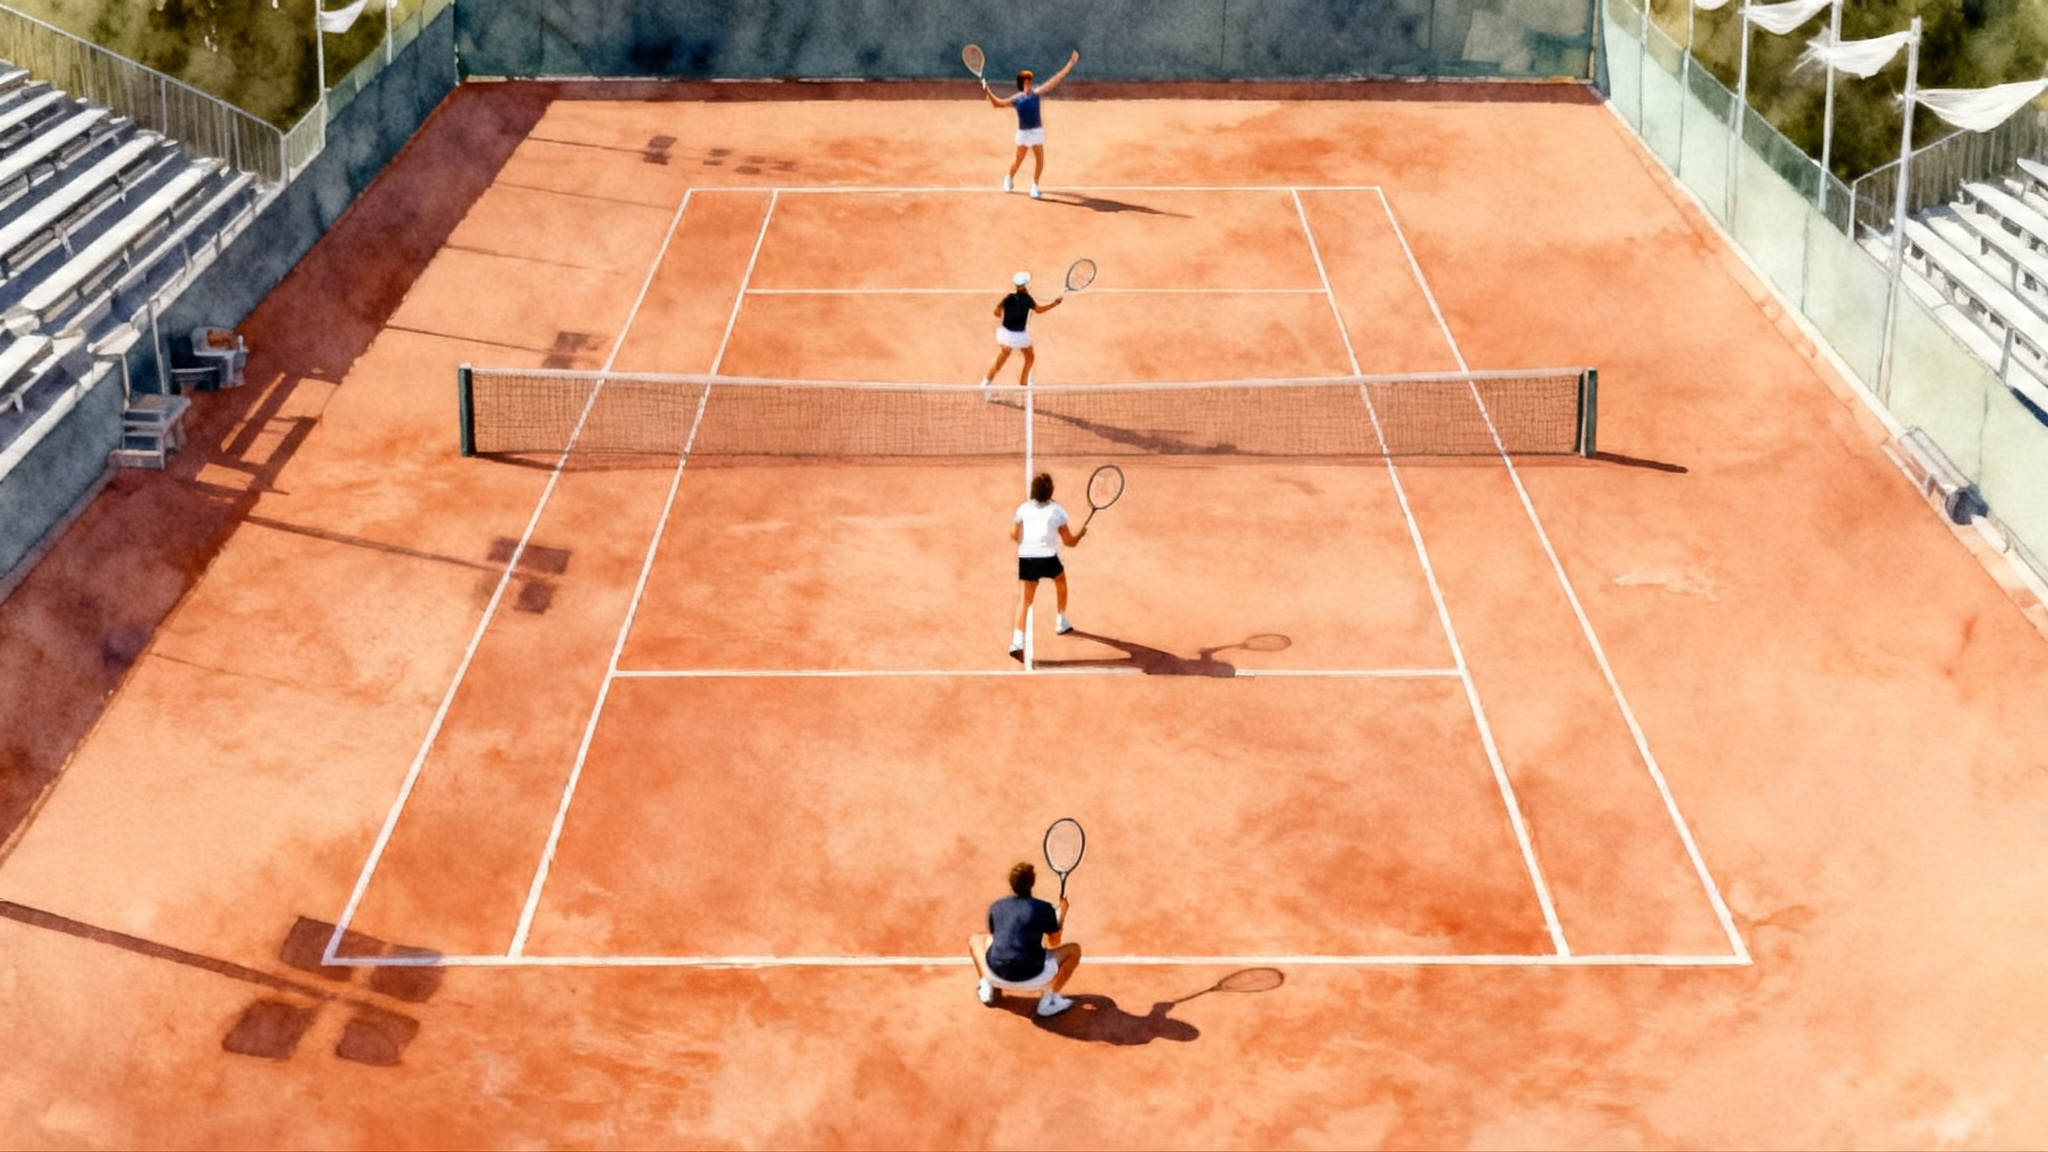
Net positioning that works under pressure
Think in zones. Print the court map and mark these spots for quick reference.
- Starting spot for the server’s partner: Two big steps inside the service line, one big step toward the center from the alley. Knees athletic, racquet head high.
- Starting spot for the returner’s partner: On the service line, even with the center of their partner’s contact point, ready to move up on any weak ball.
- Transition lane: The strip between the service line and the net is where you split step and close. Do not camp here. Hunt through it.
- Distance cue: If you can touch the net with your racquet while standing in your ready position, you are too close. If half-volleys feel impossible, you may be too far.
Micro-movements:
- Pre-serve: Take one small hop as your server begins the toss. This locks your timing to the ball.
- On contact: Split step at the moment the returner strikes. If you are poaching, your first step crosses over toward the new middle.
- After volley: Recover diagonally back to the center seam of your team’s coverage, not straight backward.
Poach timing cues you can actually see
Teach your eyes what to look for. Three reliable green lights for the net player:
- Serve location creates the lane: A serve down the T on the deuce side narrows the return angle. This is the best time to poach across the middle.
- Backhand under stress: If the returner backs up or chokes the grip, expect a slower ball. That is your go signal.
- Upward contact: When the returner hits from below net height, the ball must travel up, which gives you time to cross.
Red lights:
- Wide serve that pulls the returner off the court on their forehand side, especially against a strong forehand returner. Stay or fake, then reset.
- Second serves that sit up high against an aggressive returner. Consider a fake first to slow them down.
Simple timing rules:
- First serves: Go on the toss. Start your crossover as the ball rises. Your movement sells the play.
- Second serves: Go on the bounce. Let the returner commit before you flash across.
- If you are late: Fake hard, then seal the middle on the next ball. A clean fake wins many free errors.
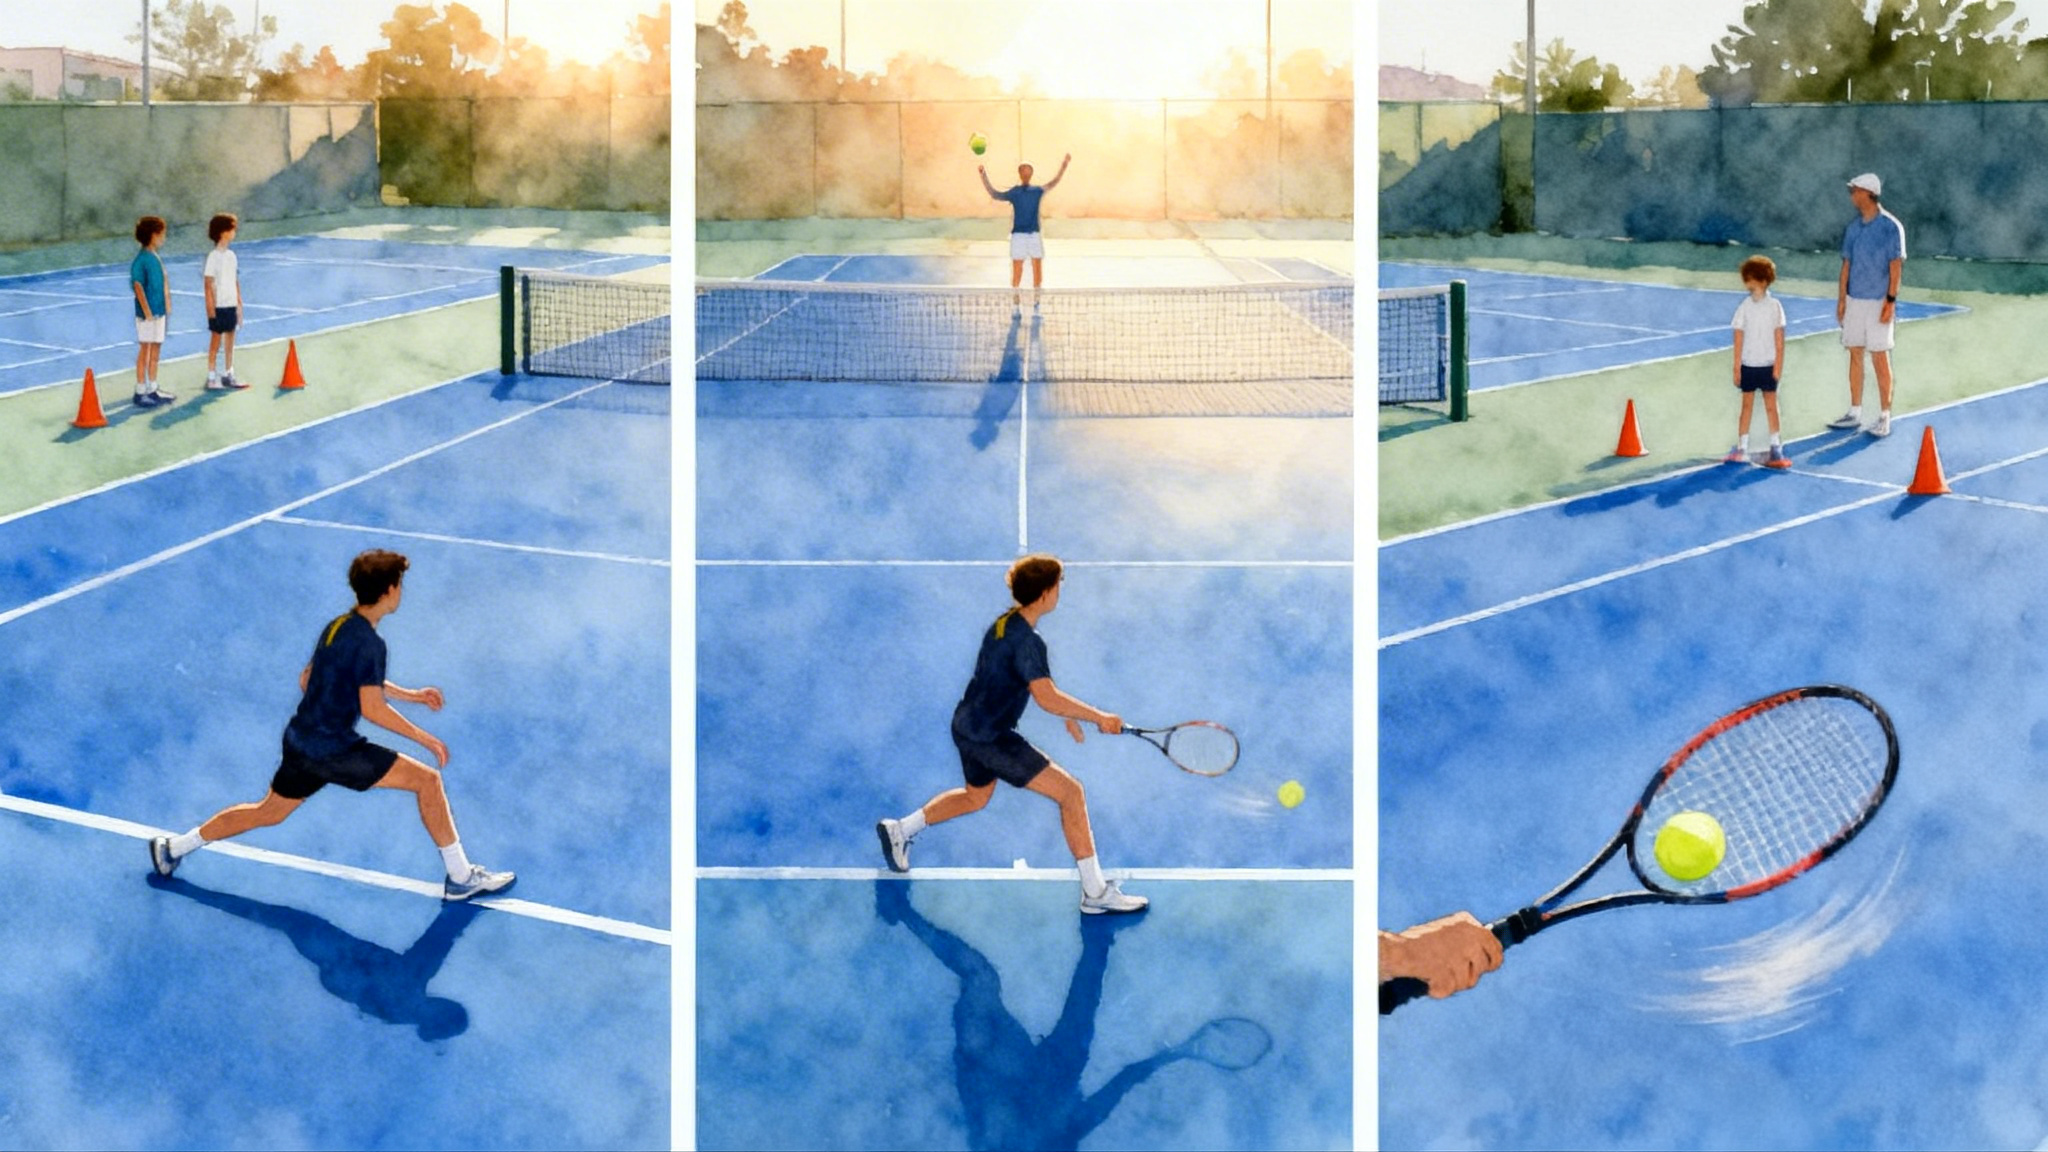
Serve plus partner movement: three bread-and-butter plays
Name each play so anyone on your team can call it in two words.
- T + Poach: Server aims T, net player poaches across the middle. Automatic switch after contact.
- Body + Fake: Server aims body, net player takes a loud first step across, then returns to cover the line. No switch.
- Wide + Seal: Server aims wide, net player shifts one step toward the alley before contact, then seals the seam to take away the inside-out return.
Progression tip: Run these three plays for six straight points each in practice. Record how many returns you force long or into the net. That feedback is your strategy scoreboard.
Simple signals that actually work
Explain the system once, then keep it the same across age groups.
- Where to show: Server looks to the net player’s non-racquet hand behind the back.
- When to show: As the server bounces the ball before the serve.
- How many signals: Two for most teams, three for teens and adults.
Signals for everyone:
-
First signal, net player movement before the volley:
- Closed fist = Stay
- One finger = Poach
- Two fingers = Fake then recover
-
Second signal, serve target from the server:
- One finger = T
- Two fingers = Body
- Three fingers = Wide
Advanced third signal for teens and adults, what we do after the poach:
- Thumb swept across lower back = Switch after contact
- Pinky tapped on the leg = No switch, recover to starting sides
Verbal backup script, very short:
- Server: “T, poach, switch.”
- Net player: “Copy.”
This five-word huddle ends last-second doubts.
Australian and I-Formation without fear
Australian formation places both server and net player on the same side of the court before the serve. It closes the sharp crosscourt lane and baits returns down the line. For a concise primer with examples, see the USTA Australian formation tip.
I-Formation stacks the net player near the center service line, crouched, while the server stands near the middle of the baseline. The net player breaks left or right on a prearranged signal. For an illustrated walkthrough, read the Tennis.com I-Formation guide.
When to call Aussie:
- Returner is crushing crosscourt returns.
- Your server likes the T serve and can hit it under pressure.
- You want to feed the weaker down-the-line return.
When to call I-Formation:
- You want to hide which side the net player will cover.
- You face a returner who guesses early.
- You need a momentum change without altering your serve.
Coverage rules that prevent chaos:
- In Aussie, the server covers the open half immediately after landing. The net player owns the short line ball if it comes.
- In I-Formation, poach means switch, fake means recover. Keep this rule universal so there is never confusion.
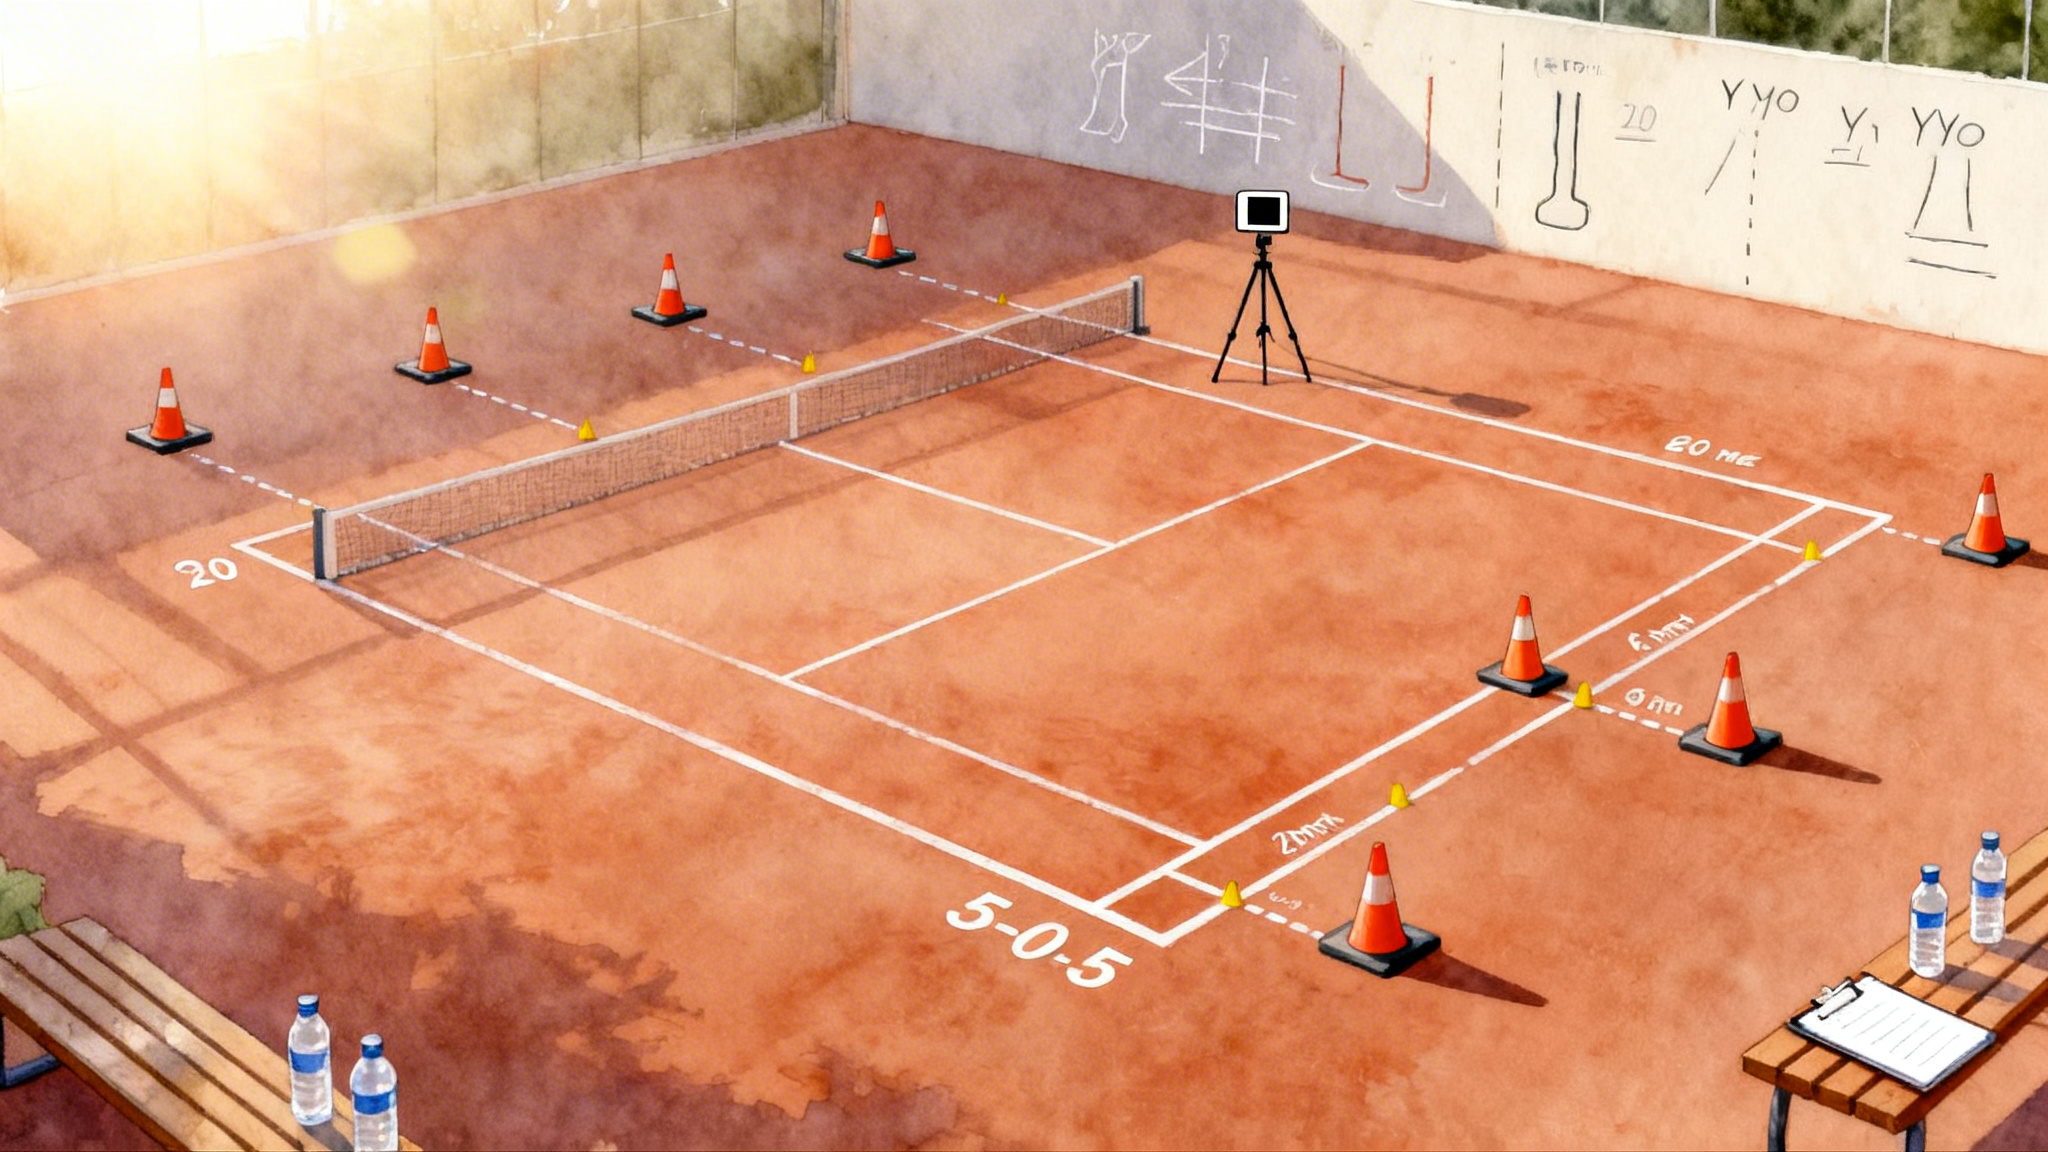
Printable court maps you can mark up
Use these simple diagrams during team talks. Print them from our resource library.
- Court map pack: Download printable doubles maps
- Signals quick card: Print the two-signal checklist
Mini map, server side example:
    Ad Alley   |    Center   |   Deuce Alley
------------------------------------------------
|             |             |               |
|   Net Zone  |   Net Zone  |    Net Zone   |
|   (NP)      |   (Seam)    |    (NP)       |
|-------------+-------------+---------------|
| Transition  | Transition  |  Transition   |
|-------------+-------------+---------------|
|  Service    |  Service    |   Service     |
|   Box       |   Line      |     Box       |
|    (T)      |             |    (Wide)     |
------------------------------------------------
Legend: NP is net player starting areas, T and Wide are common serve targets, Seam is the middle lane you must protect.
Age-specific blueprints
10 and under players, plus parents
Ball: Red, orange, or green ball depending on level. Court size may be reduced. Keep the system even simpler.
- Spacing rule: Net player starts one big step inside the service line and one big step toward the middle. Returner’s partner starts on the service line and follows the ball.
- Movement rule: If you see the ball travel up, move forward. If the ball travels down at your feet, take one back step and block.
- Signals: Use only the first signal. Closed fist means stay, one finger means poach. All poaches switch.
- Serve target: Use verbal calls only, T or body. No second-hand signals needed.
At-home walk-through, 6 minutes:
- Kitchen tiles: Put two sticky notes on the floor to mark net player starting spots. Practice split step on a parent’s “toss” count, then a crossover step for the poach.
- Soft toss game: Parent underhands a foam ball. Child practices reach and recover after the poach.
On-court progression, 15 minutes:
- Cooperative returns: Server aims T only. Net player poaches every second ball. Score 1 point for each clean volley or forced error. Goal 8 points.
Checklist for 10U:
- Poach only on T serves
- Say the plan out loud
- Split step as the returner hits
- High racquet head on all volleys
Teens and high school players
Ball is faster, returns are stronger, and lobs appear more often. Add a second signal and fake pressure.
- Spacing rule: Server’s partner shades the seam. If the returner crowds the baseline, creep forward. If they stand deep, hold a touch farther back and jump the floaters.
- Signals: Two-signal system plus the advanced third signal for switch or no switch.
- Poach timing: First serves go on the toss, second serves go on the bounce.
- Formations: Use Aussie to shut down a hot crosscourt returner on their forehand side. Use I-Formation when you want to disrupt patterns on key points.
At-home walk-through, 8 minutes:
- Mirror drill: Stand two racquet lengths from a wall. Shadow the first three steps of a poach, then recover on an imaginary angle. Film one round on your phone and check posture.
- Hand signal rehearsal: With partner seated back-to-back, call 10 random combinations and have the server repeat them correctly. Speed builds clarity.
On-court progression, 20 minutes:
- 6-ball ladder: Each side serves six balls. Sequence is T + Poach, Body + Fake, Wide + Seal, Aussie with T, I-Formation with poach right, I-Formation with fake left. Tally first-strike wins and forced errors. Switch roles and repeat.
Checklist for teens:
- Two-signal clarity, plus a default switch rule
- One decisive fake every return game
- Track opponent return tendencies for three games
- Formations used on big points, not just early games
Adult league players
You will face experienced returners, smart lobbers, and teams that thrive on rhythm. Your advantage is structure.
- Spacing rule: Start a half step deeper than you think, then close hard. Many adult errors come from camping too close and getting lobbed.
- Signals: Keep it to two signals 90 percent of the time. Add the third only on key points.
- Poach timing: Read contact sound. Heavy spin that sounds brushy buys you time to cross. Flat hits demand an early jump or a committed fake.
- Formations: Aussie is great when your partner’s backhand return dominates crosscourt. I-Formation is a momentum breaker if you are losing the middle.
At-home walk-through, 10 minutes:
- Balance and first step: Stand in socks on a hardwood floor. Practice a split and crossover without sliding. Feel your weight on the inside edge of the push foot.
- Serve aim rehearsal: Put three towel targets on the ground, T, body, and wide. Without a ball, rehearse your toss and hit motion while calling the target aloud.
On-court progression, 25 minutes:
- Serve plus first volley sets: Play first to 15 points serving. You must call a two-signal plan every point. Count only points where your team executed the planned movement, win or lose. The goal is 12 of 15 executed plans.
Checklist for adult league:
- Start deeper, close harder
- Make line calls early to free the net player
- Track lob frequency and adjust depth by one step
- One play called every point, even at 0–40
On-court progressions for any team
Use this three-stage build each practice.
- Cooperative phase, 10 minutes: Feed easy serves to groove the movement. Net player must move on every ball, either real or fake. Goal is smooth timing.
- Competitive phase, 15 minutes: Server plays first ball in. If the plan was followed, the point counts double. The team that executes the most plans wins the set, even if they lost more points.
- Live scoring, 15 minutes: Play short sets to four games with no ad. Must call a play before each point. Losers run a quick line touch to keep intensity up.
Quick-reference checklists you can print
- Two-signal card: Stay, poach, fake. T, body, wide. Default rule, poach means switch.
- Poach cues: Serve T, backhand under stress, ball hit from below net height.
- Formations menu: Aussie to close crosscourt, I-Formation to hide coverage and reset patterns.
Grab the printables: Doubles checklists and maps
Serve and return pattern menu
Deuce side patterns:
- T + Poach, switch always
- Body + Fake, no switch
- Wide + Seal, server recovers to middle
Ad side patterns:
- T serve into backhand, net player poaches left
- Aussie on big points to reduce crosscourt angle
- I-Formation, net breaks to returner’s weaker wing
Return team counters:
- Chip and charge down the middle to test the poacher’s hands
- Lob over the net player who camps too close
- Stand deeper on Aussie, aim heavy topspin crosscourt to re-open angles
Need a deeper return plan? Install this three-week return plan to raise your read and react speed.
A clinic-style session plan you can run this weekend
Length: 75 minutes. Four players per court, one coach floats.
- Warm-up, 10 minutes: Mini tennis crosscourt with both players stepping forward after every two hits. Emphasize split step timing.
- System install, 10 minutes: Walk through signals. Practice without balls first, then add shadow serves.
- Core drills, 25 minutes:
- T + Poach round, 8 minutes. Count forced errors.
- Body + Fake round, 8 minutes. Count missed returns.
- Aussie and I-Formation install, 9 minutes. Two points per team per call.
- Live play, 20 minutes: No-ad games to four. Must call a plan each point. One bonus point for a clean fake that forces an error.
- Review and assign homework, 10 minutes: Each team selects one default deuce play and one default ad play for their next match.
Print the court maps and checklists, then debrief with a pen and the score of your executed plans, not just games won.
Book a doubles strategy clinic
Ready to install this system with a coach who runs it every week? Book a small-group doubles strategy clinic through our partner network. Many locations host specialized sessions that focus on Australian and I-Formation calls, signal clarity, and poach timing.
- Check dates and locations: Book a doubles strategy clinic
- Participating academies may include Life Time Tennis Academy and Legend Tennis Academy. Ask for the “Serve plus Partner Movement” session and bring your printed maps and checklists.
When both players share one clear plan, doubles becomes simple. You will feel it the first time your net player moves on time, your serve hits the planned target, and the returner swings into a shrinking middle that you already own. That feeling is the system doing its work. Use it, refine it, and enjoy winning smarter.