Film and Analyze Your Tennis in 2026: Parent and Player Guide
A clear, step by step guide to filming with a phone on any court, what to record, and six simple at home metrics juniors, parents, and adults can track weekly. Includes a two week review routine, coach friendly clips, and an optional session in Spicewood.
 Tommy
Tommy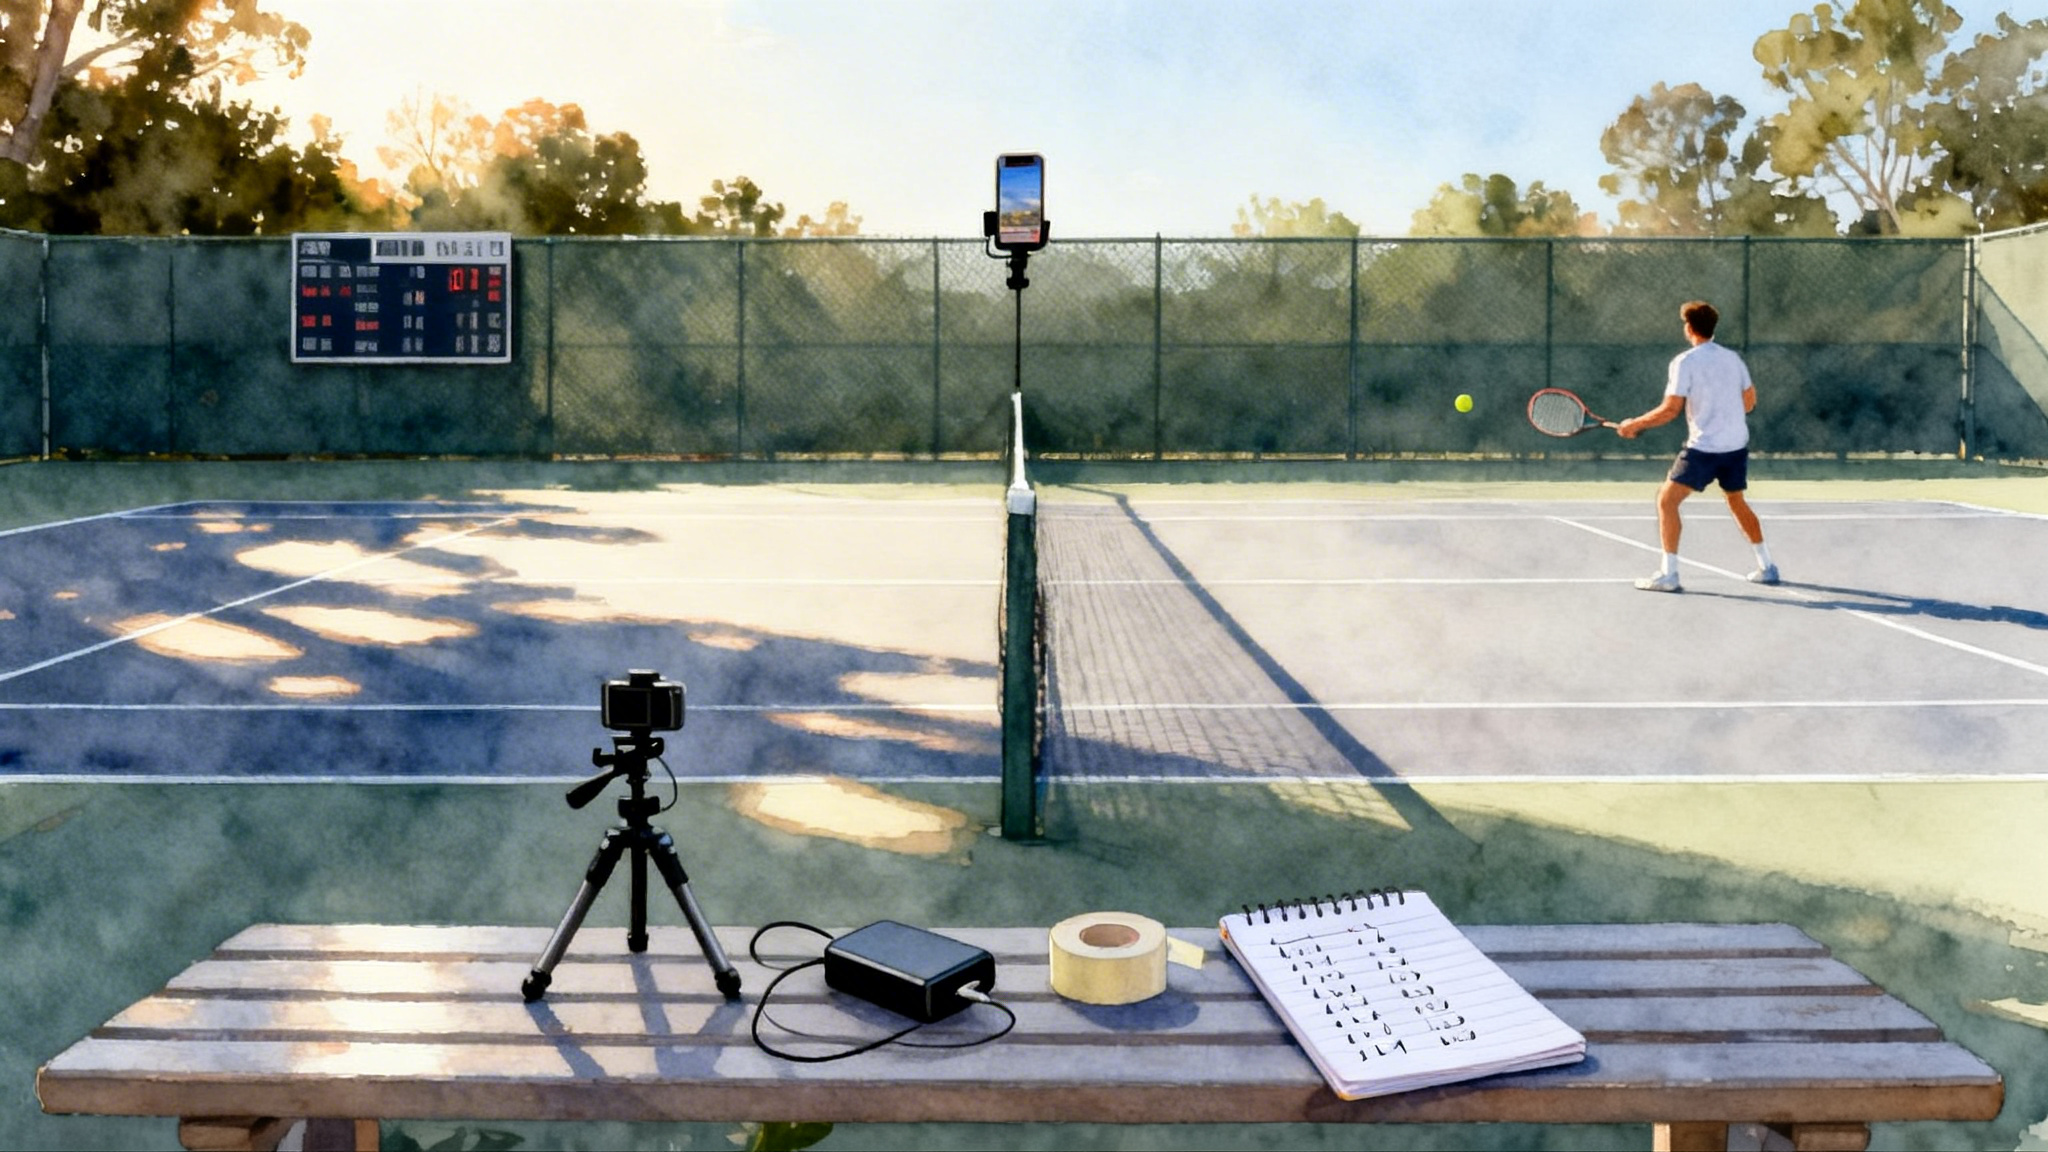
Why video is the fastest way to improve in 2026
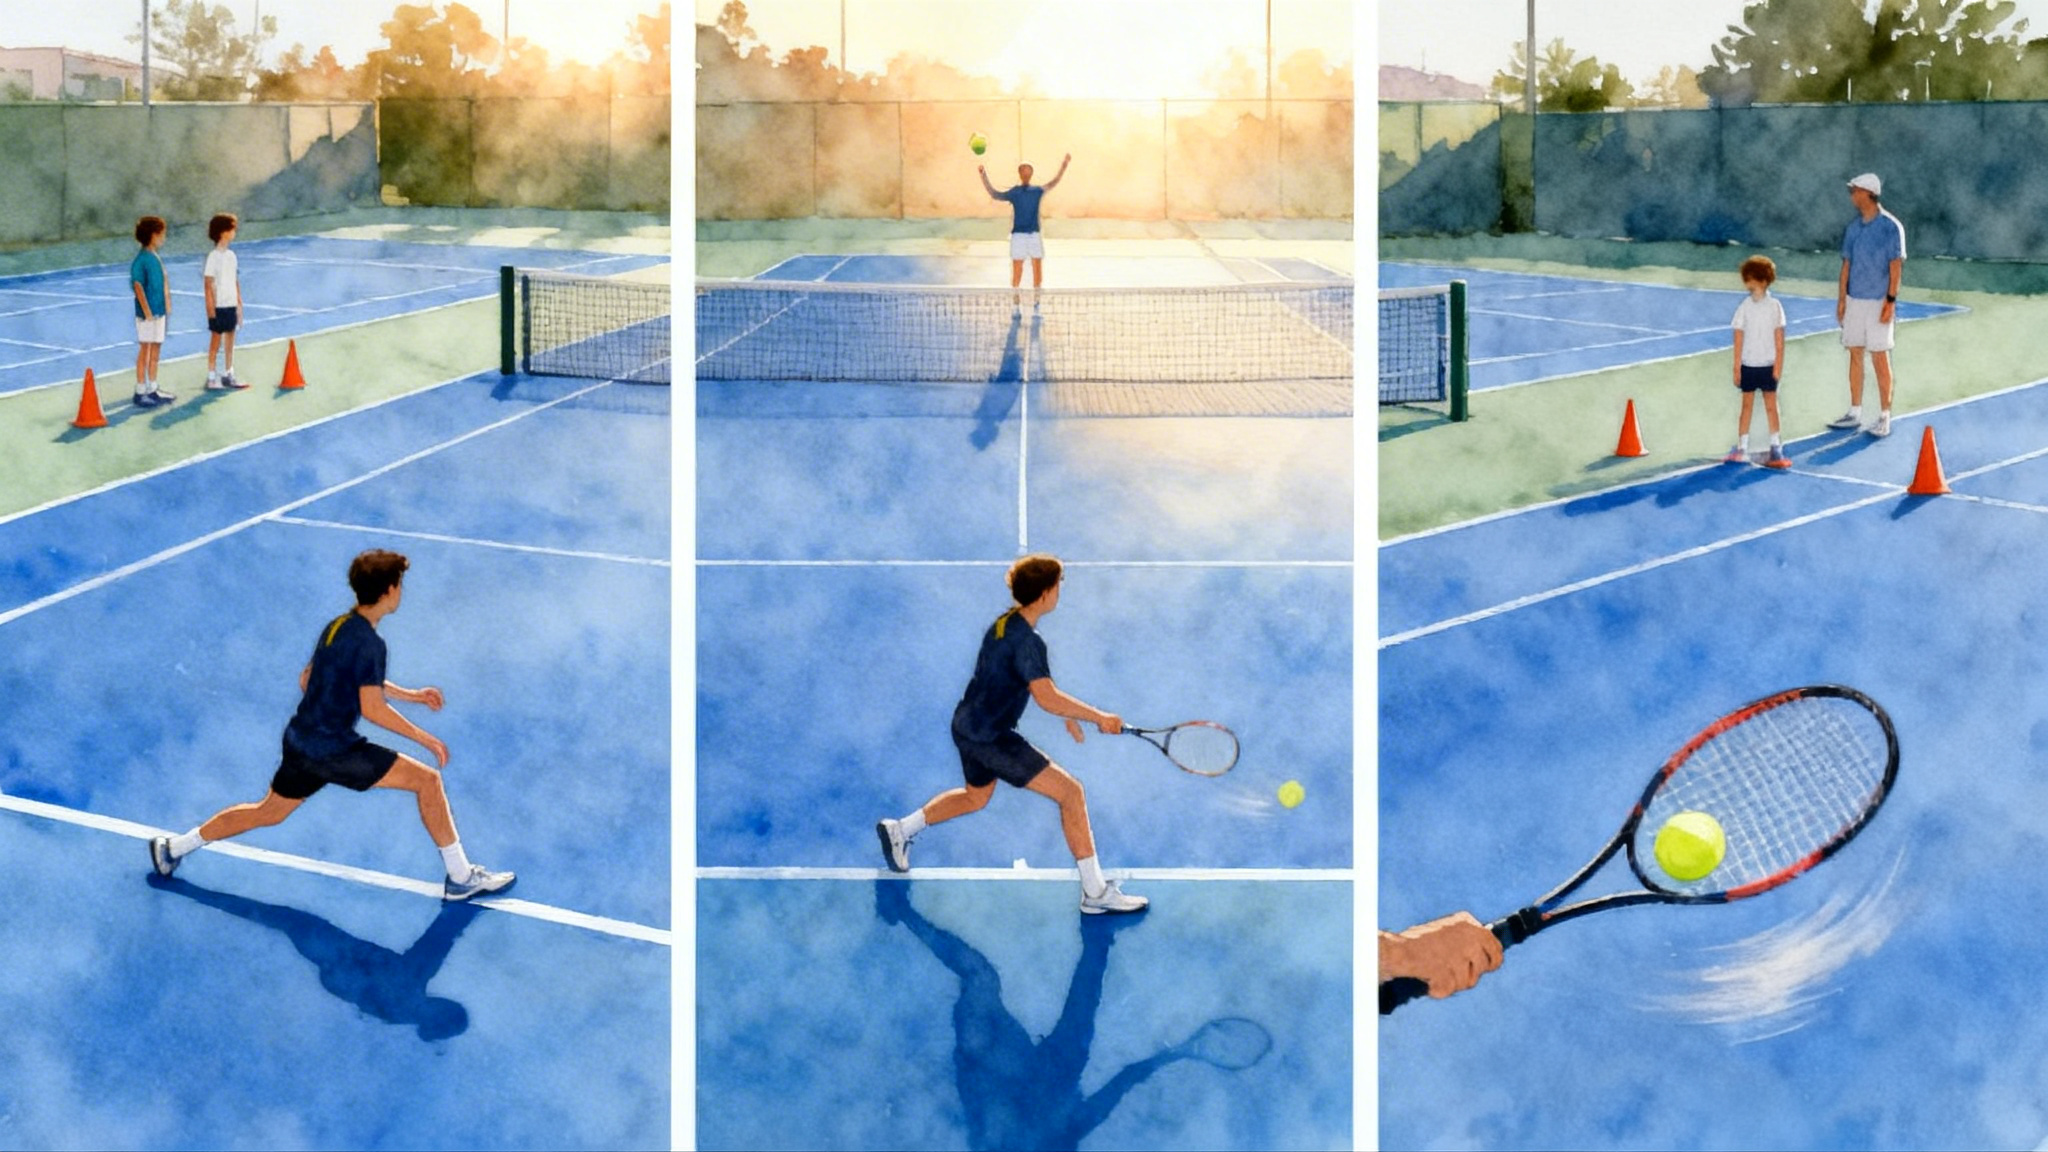
There is a reason pros still watch their own points. Video turns guesswork into a clear picture. A parent and a junior can see the same frame at the same time and agree on what actually happened. You do not need a tower camera or a staff of analysts. A modern phone, a safe mount, and a short checklist will give you footage that is clear enough to guide real practice.
In this guide you will get:
- Step by step phone setups that work on any court, indoors or outdoors.
- Exactly what to record: serve, return, the first four balls, and point patterns.
- Six simple at home metrics you can track weekly without special software.
- A two week review routine that fits busy school and work schedules.
- What college coaches actually want to see in clips.
- An optional next step to turn raw footage into a plan in Spicewood, Texas.
Keep the goal simple. Each week, record one practice or match, track the six metrics, and act on one or two specific changes. That rhythm beats a once a month marathon.
The three phone setups that work on any court
You can film almost any session with one of these views. Use the one that is easiest on the day, then rotate across the week so you capture different angles.
1) Behind the baseline, centered, slightly elevated
This is the gold standard for tactics. It shows court geometry, direction choices, and depth.
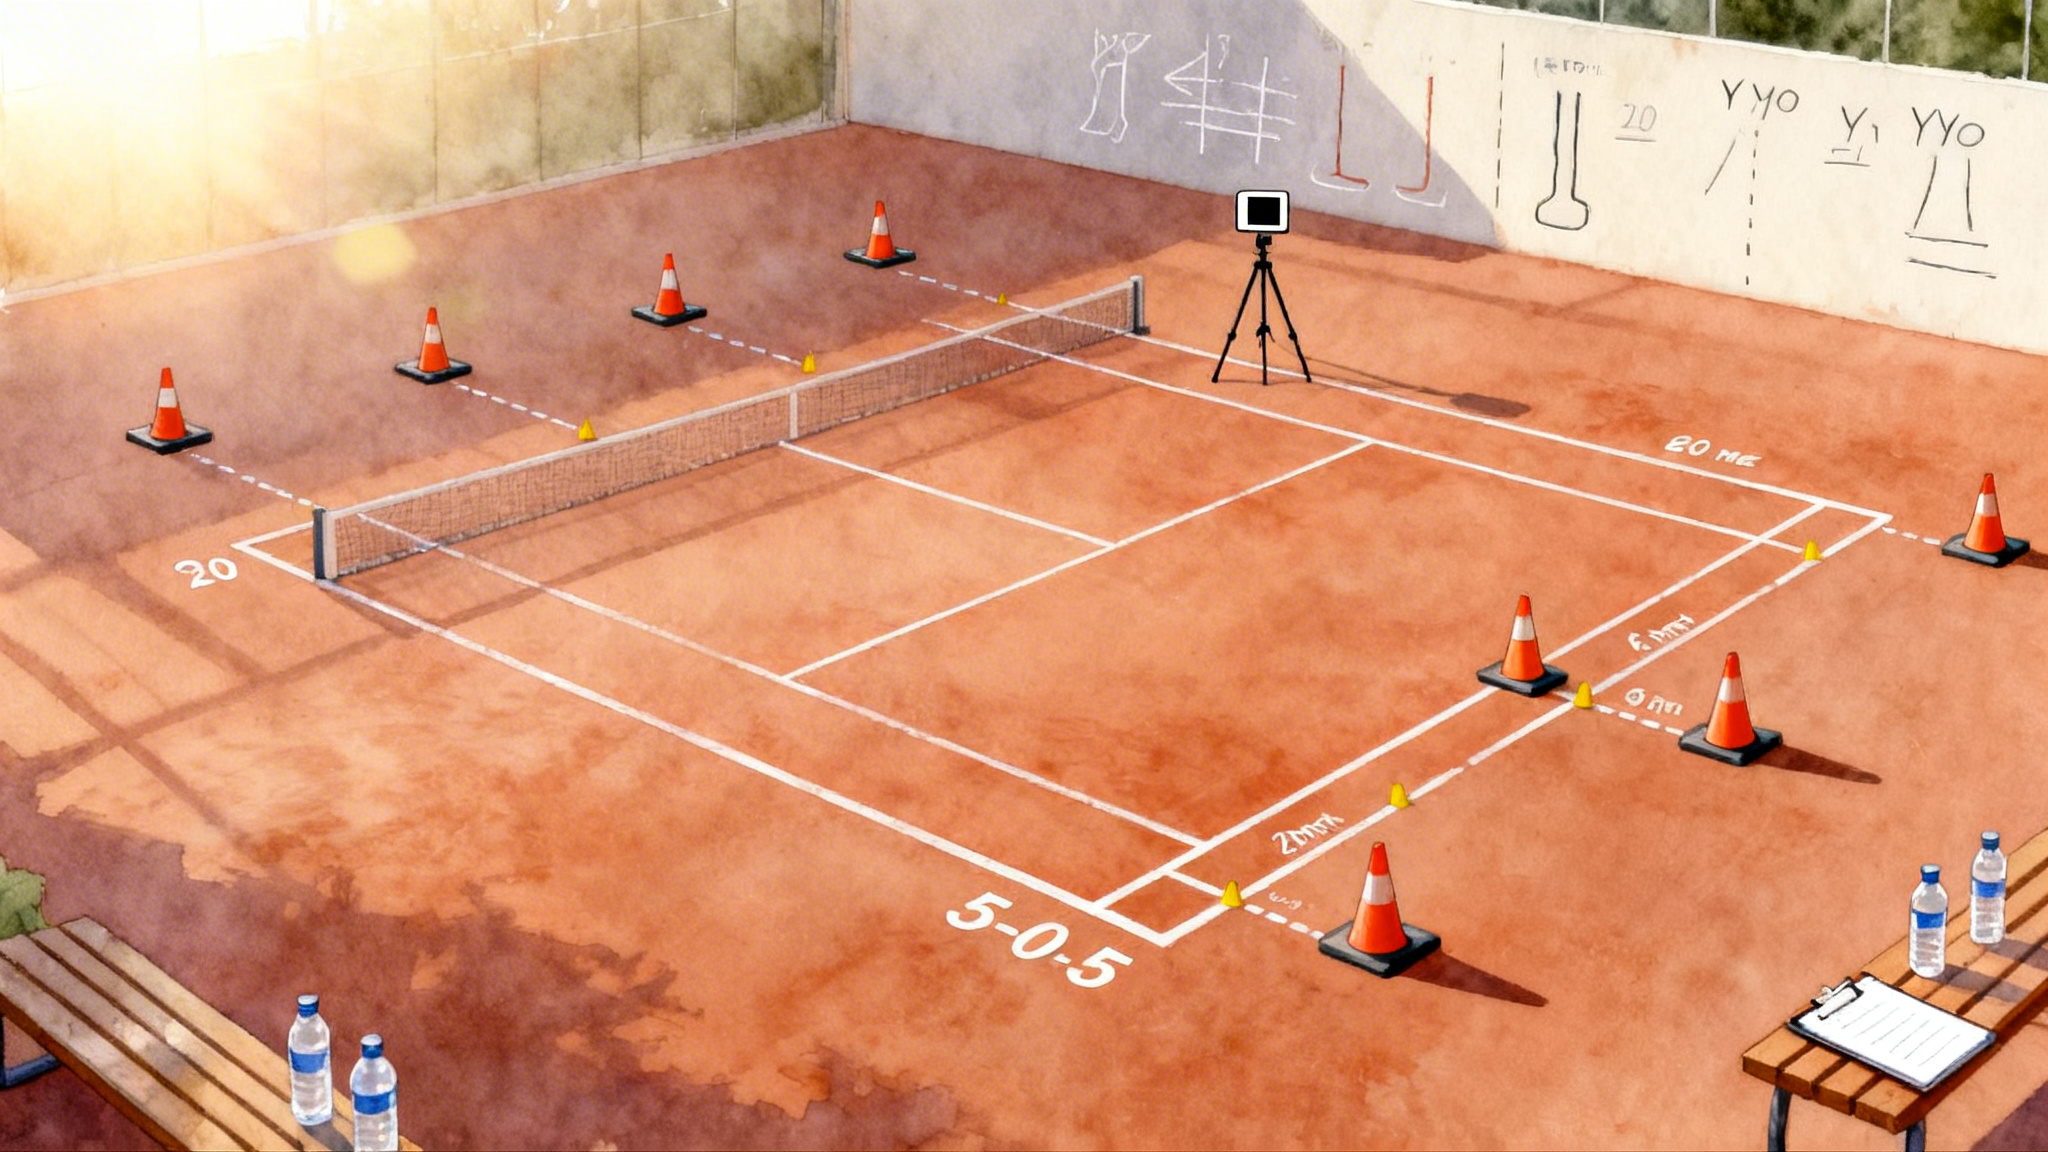
- Where to place: center the lens on the baseline hash mark and raise it above the fence if possible. If there is a fence, clip the phone at about 2.5 to 3 meters high. If there is no fence, set a tripod 1 meter behind the fence line or curtain.
- Framing: include both sidelines, the opposite baseline, and a slice of sky or wall above the far fence. If you can see the service boxes and the full opposite baseline, you have enough.
- Settings: set resolution to high definition or 4K if storage allows, and 60 frames per second for serves and fast rallies. On most phones you can long press to lock focus and exposure. If your phone offers high dynamic range, try it once indoors, then keep whatever gives a steady look without glare.
- Stability: use a clamp on the fence, a monopod, or a small tripod. Joby and Manfrotto make sturdy, affordable options. Add a cheap power bank for long matches.
2) Sideline view near the net post
This shows contact height, spacing to the ball, and footwork rhythm.
- Where to place: just behind the net post, about 1.5 meters above ground, angled slightly toward the far baseline so both players stay in frame.
- Framing: include the near service line and the far baseline. Keep your player centered horizontally.
- Settings: 60 frames per second helps for forehand and backhand analysis. If flicker shows under indoor lights, try 30 frames per second.
3) Server’s back right corner for the serve and the first four balls
This angle captures serve toss, contact, and the first three shots after the serve or return.
- Where to place: one to two steps behind the deuce corner, angled in so you see the full service box and the returner.
- Framing: include your player from toes to at least one meter above their contact height. Make sure the far service box is in frame.
- Settings: 60 frames per second, then slow down the clip during review.
Quick safety notes: ask the facility before clipping to fences or glass, keep tripods clear of walkways, and use a simple \"Recording, please do not move\" note on the mount if the court is busy.
What to record: serve, return, first four balls, and patterns
Think of each point as three phases: neutral, build, and finish. Neutral balls establish control. Build balls stretch or expose the opponent. Finish balls close the point.
Record short, focused segments instead of full hours of play:
- Serves: 20 serves from the deuce side and 20 from the ad side. Aim for a normal practice speed. Capture at least one full game of live serving.
- Returns: 20 return reps on each side with a partner serving at realistic pace. Include at least one return game of live play. For structured reps, see our return of serve mastery plan.
- First four balls: play live points and track only the first four shots on each side. This shows how well you start points.
- Patterns: film 10 neutral exchanges crosscourt on each wing, 10 build patterns that change direction at the right time, and 10 finish attempts where you try to end with a drive, volley, or overhead.
Keep each filming block to 10 to 15 minutes. That is enough to see trends without drowning in video.
The six simple at home metrics
You can calculate each metric with a pencil, a simple spreadsheet, or the notes app. If you prefer apps, tools like SwingVision, OnForm, Dartfish, or Kinovea can help, but they are optional. The key is to define each metric clearly so a parent and a player would score the same way after watching the same rally.
1) First serve percentage
- How to measure: count made first serves divided by total first serves in live games.
- Sample target: 60 percent for developing juniors, 65 to 70 percent for competitive juniors and adults.
- Why it matters: a higher make rate lets you start points on your terms without giving away free points.
2) Double faults per service game
- How to measure: count double faults, divide by the number of service games.
- Sample target: under 0.5 per service game on average. That means one double fault every two service games or better.
- Why it matters: you do not need a perfect second serve. You need a trusted one that shows up under pressure.
3) Rally length distribution
- How to measure: for live play, place each point into one of three buckets: 0 to 4 shots, 5 to 8 shots, 9 or more shots. Count a shot each time the ball crosses the net, including the serve.
- Sample target: juniors often see most points in the 0 to 4 bucket. A good weekly goal is to win a higher share of your 5 to 8 shot points by using better neutral balls.
- Why it matters: if you only train for long rallies but most points end quickly, practice and matches will not match.
4) Depth targets hit
- How to measure: mark three depth zones on the opponent’s side when you review video. Zone A is short and lands before the service line. Zone B is deep and lands between the service line and the last meter before the baseline. Zone C is very deep and lands in that last meter before the baseline. Tally your neutral balls only.
- Sample target: at least 60 percent of neutral balls in Zone B or C, and at least 20 percent in Zone C.
- Why it matters: depth helps you gain time, push the opponent back, and set up the next ball.
5) Direction mix
- How to measure: tally crosscourt, down the line, and middle balls on both forehand and backhand. Only count intentional changes of direction for the build and finish phases.
- Sample target: a healthy mix often looks like 60 percent crosscourt, 30 percent down the line, and 10 percent middle for most levels. If you never change direction, you will not hurt good opponents. If you change too often, you will leak errors.
- Why it matters: direction choices are the steering wheel of your patterns.
6) Unforced to forced error ratio
- Definitions you can agree on at home:
- Unforced error: you had time, balance, and a playable ball, but missed.
- Forced error: the ball quality or situation was difficult because of pace, spin, depth, angle, or pressure.
- How to measure: tally both for each set. Divide unforced by forced.
- Sample target: 1.0 or lower. That means you make no more unforced errors than forced errors.
- Why it matters: this ratio is the cleanest weekly scoreboard for ball tolerance and decision making.
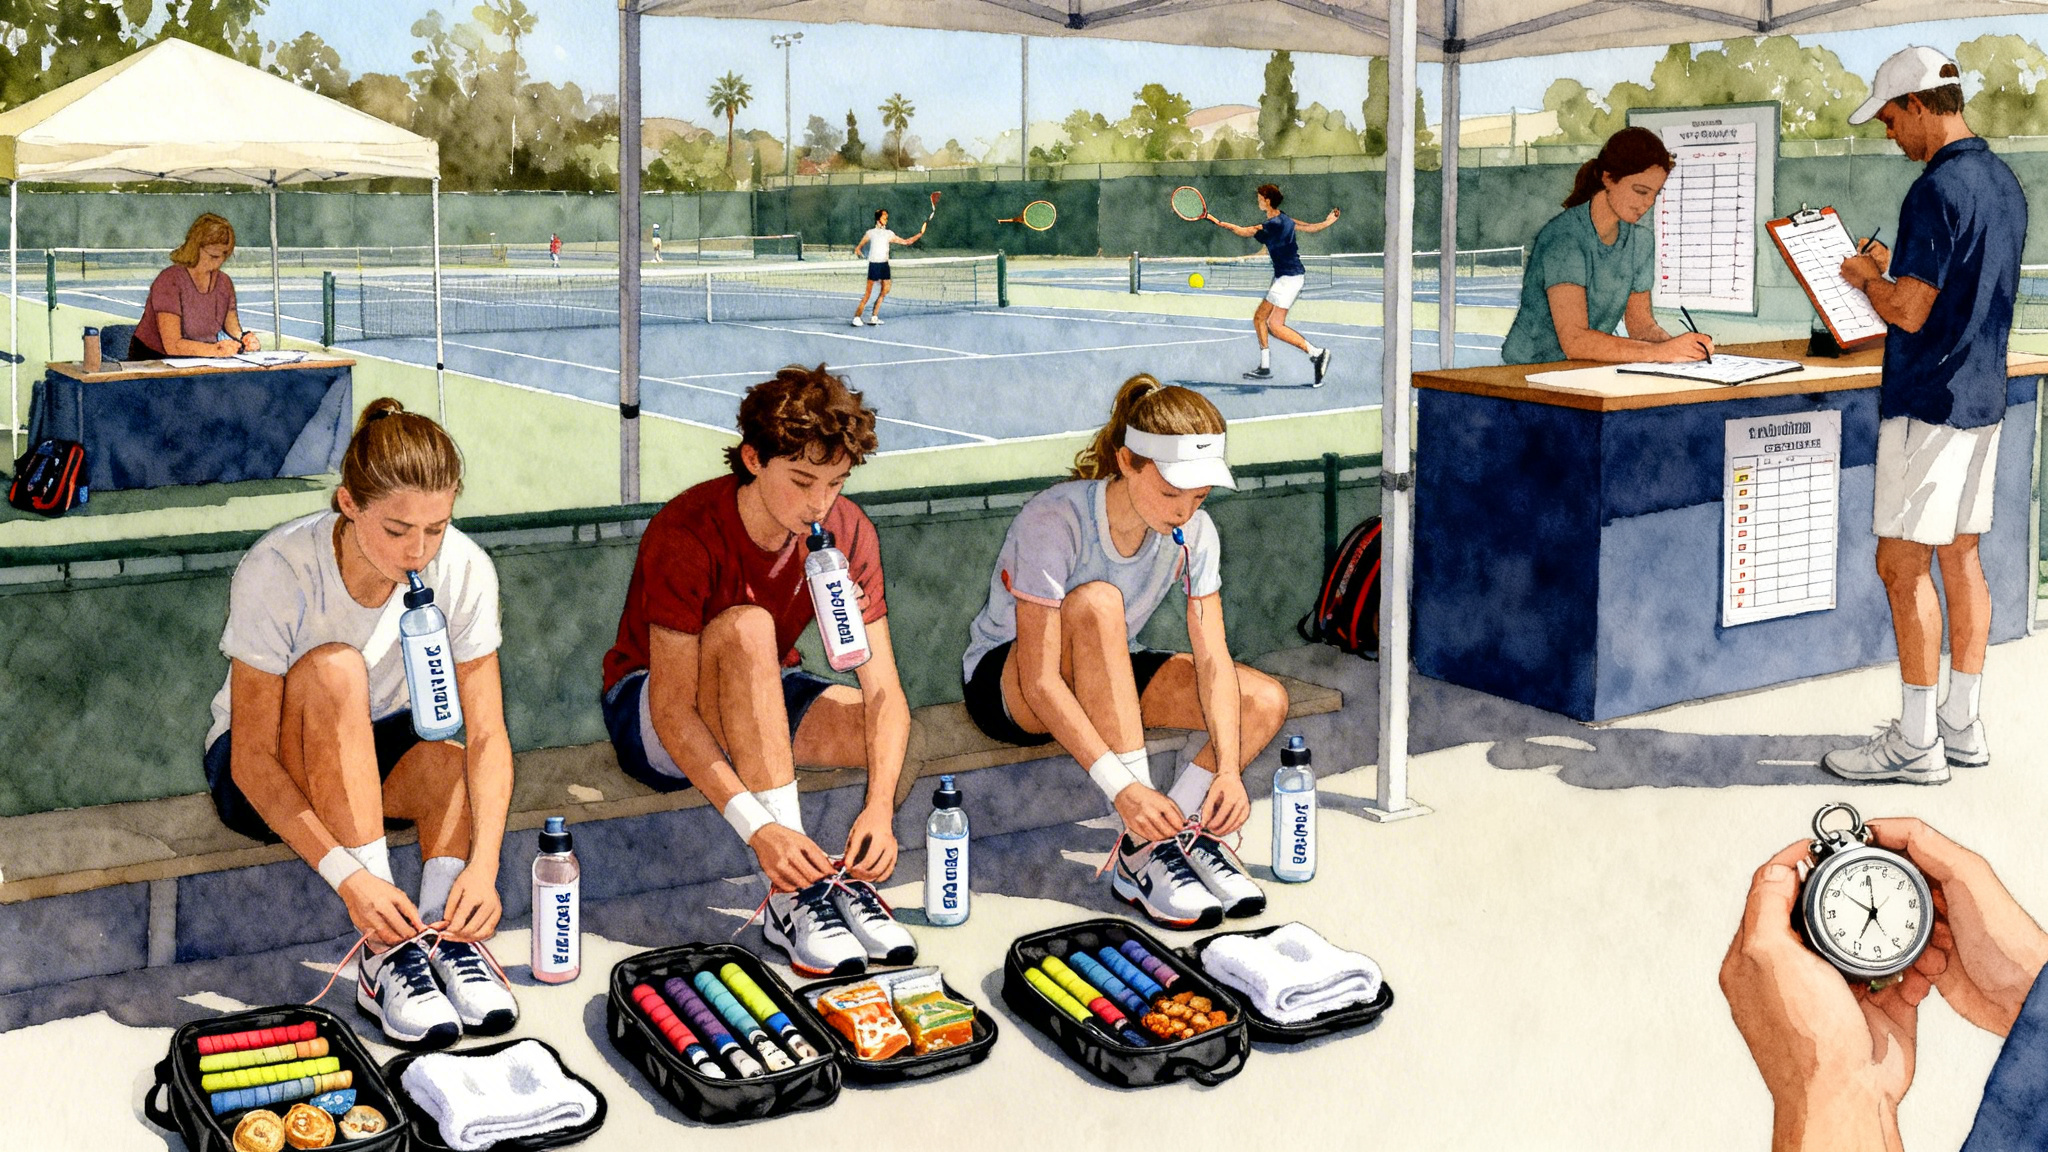
Keep a one page tracker. Date at the top, opponent or drill, surface, and the six metrics. Color code green if you hit the target, yellow if you were close, red if you missed by a lot. The point is to spot trends, not to chase perfect numbers.
A two week review routine that fits real life
Here is a simple two week cycle that most families can maintain during the season.
- Day 1 to Day 2: film one focused block using one of the angles above. Jot down the six metrics.
- Day 3: pick one phase that needs attention. Examples: second serve height, return contact in front, or first four balls after your serve.
- Day 4 to Day 6: run two short practices that feature one or two drills aimed at that phase. Keep the camera off or record only a few reps to check feel versus reality.
- Day 7: compete in a match or match play. Film the same angle you used earlier that week.
- Day 8: compare the two videos side by side. Look only at the chosen phase and the six metrics. If the change showed up, bake it in for another week. If not, simplify the cue and reduce the target.
- Day 9 to Day 12: two short sessions to reinforce what worked or to try a leaner version of the change. For example, if “spin more second serves” was too vague, switch to “toss slightly left and finish over the head.”
- Day 13 to Day 14: rest or light movement. Update the tracker. Choose the next focus.
Each cycle should end with a clear action for the next week. For example, “Win the 5 to 8 shot bucket by hitting 70 percent of neutral forehands to Zone B crosscourt.” That is precise enough to guide practice but broad enough to survive match chaos.
What college coaches actually want to see in clips
Most coaches are busy and review many players in a single sitting. Make their job easy and you will stand out.
- Start with a 60 to 90 second highlight package that shows point patterns, not only winners. Include one or two sequences where you neutralize a heavy ball, build with depth, then finish with conviction.
- Include raw, uncut segments. Add at least two unedited games of live play from the behind the baseline view. If you can, show one return game and one service game. Label the date and opponent level.
- Show serve variety. One wide slice, one body serve, one down the T, and a reliable second serve that lands deep and high. To build speed safely, try the arm care speed progression.
- Let footwork and spacing shine. From the sideline angle, include two or three rallies that show how you recover, how you move through contact, and how you close to the net.
- Keep audio and speed honest. Do not add music. Do not speed up or slow down in the highlight section. Save slow motion for the serve insert and keep it short.
- Provide context on screen. A simple scoreboard overlay and the set score are enough. If you include a practice drill, label it.
- Avoid over editing. Coaches want to see decision making and tolerance under pressure. Ten forehand winners in a row tells less than three messy but well played points that end in your favor.
If you are unsure whether your clips check the boxes above, have a coach or a neutral parent watch the first 90 seconds without commentary. If they can describe your strengths and patterns in one sentence afterward, you are on track.
A sample filming day, start to finish
Use this one page plan for your next session.
- Before you leave: charge the phone and the power bank. Pack the mount, a small tripod or clamp, a towel to block wind noise, and tape.
- On court setup: behind the baseline, centered, clamp at about 2.5 meters high. Lock focus and exposure on the far service line. Hit record and clap once toward the camera so you can find the start in review.
- Recording plan: 10 minutes of serve practice, 10 minutes of return practice, 15 minutes of live points with a focus on the first four balls, then five minutes of pattern play.
- Quick check: view the first 15 seconds. Confirm you can see both sidelines and the far baseline.
- Wrap up: stop recording between blocks to save storage. Name the files with the date and the angle.
Troubleshooting and quick fixes
- The ball looks blurry: use 60 frames per second and avoid heavy digital zoom. Clean the lens.
- The picture flickers indoors: try 30 frames per second. Many indoor lights pulse in a way that pairs better with 30.
- The sun ruins half the frame: place the camera so it looks away from the sun or shade the lens with a cap.
- The net blocks the view on a low fence: raise the mount or move one step closer and tilt down.
- People walk through the shot: place a small cone near your tripod with a polite note. Most players will steer around it.
- The audio is harsh: wrap a thin athletic sock around a tiny microphone or shield the phone with a towel behind it.
A minimal gear checklist that travels well
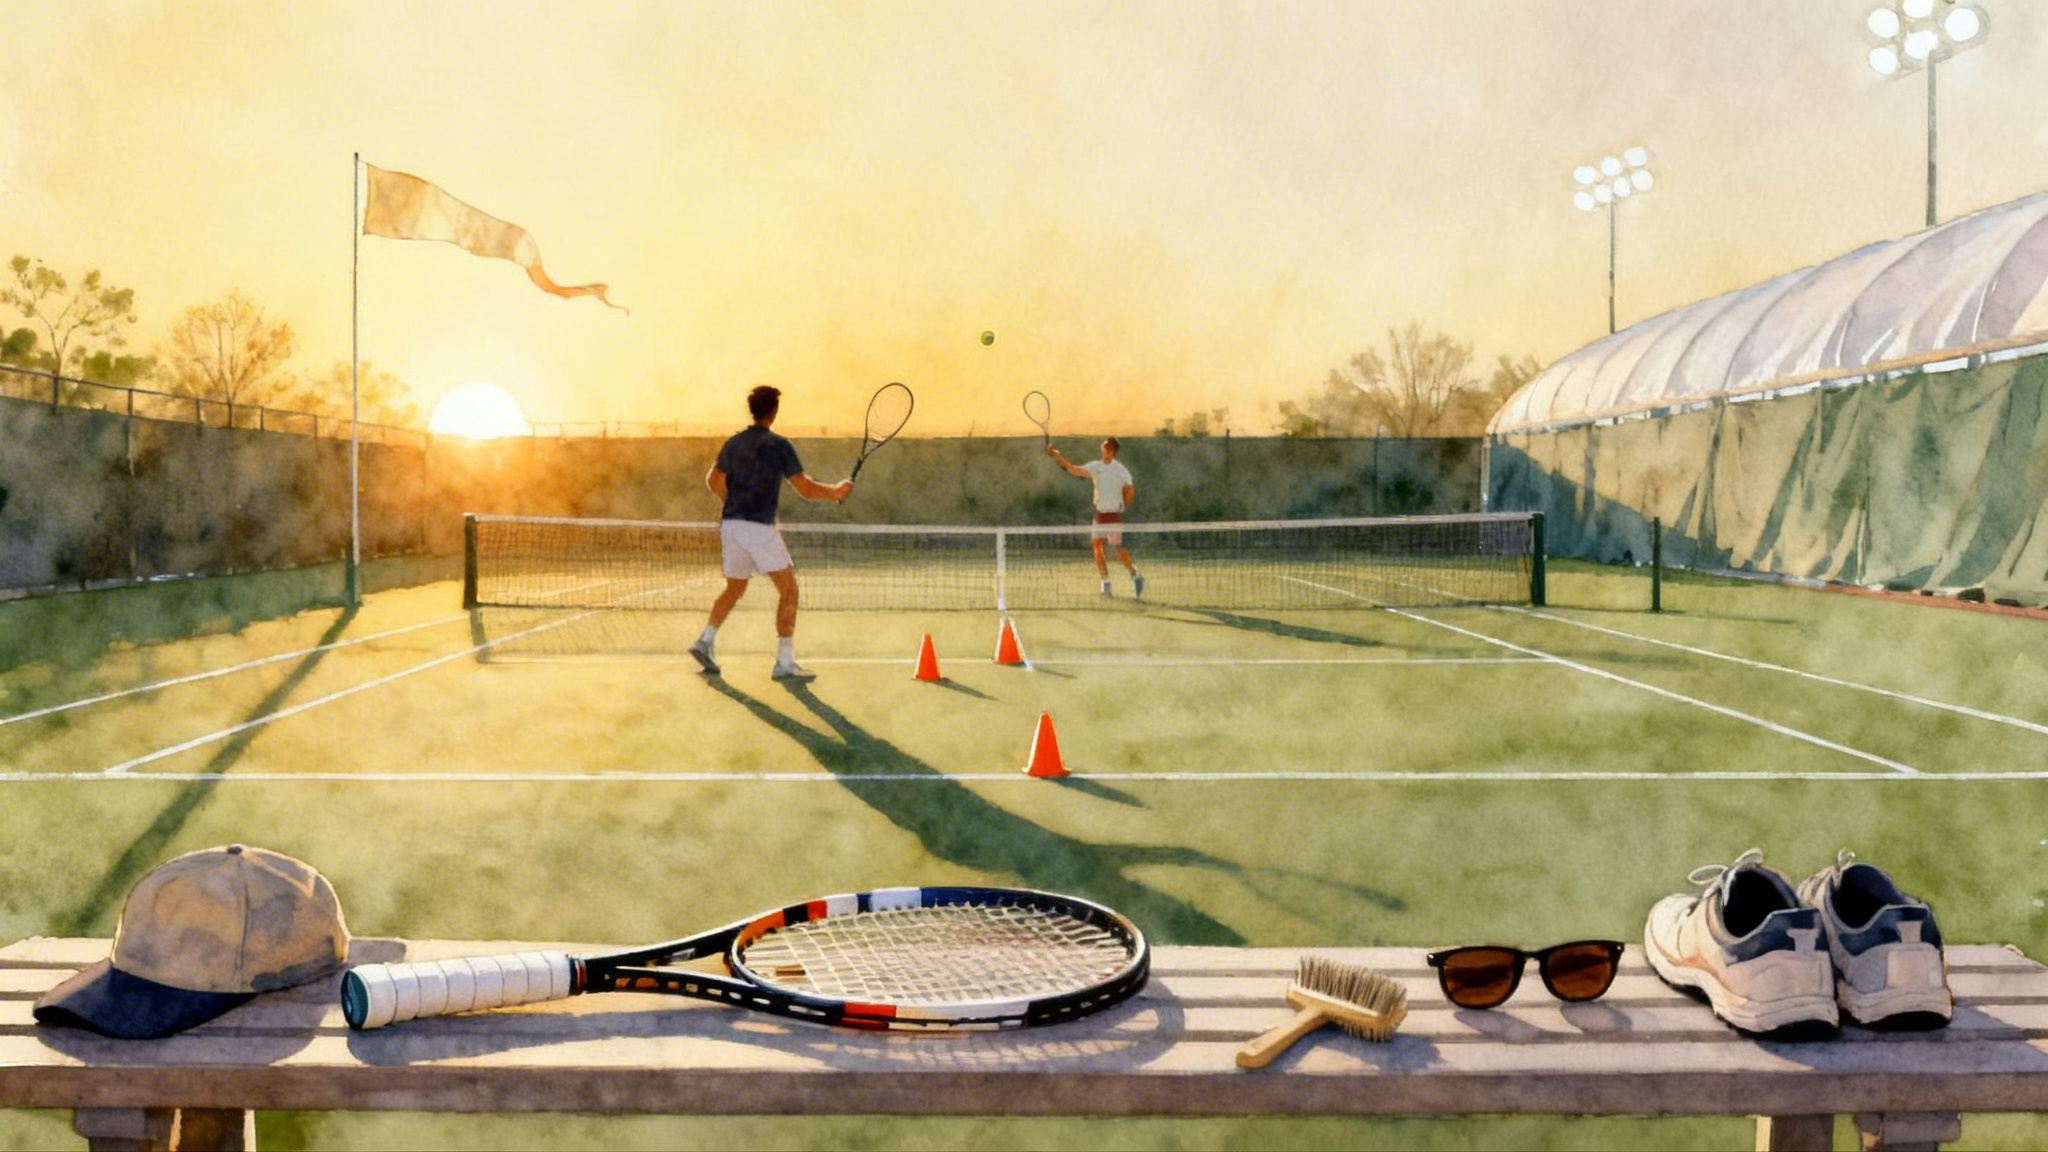
You can film with only a phone, but these small items make a big difference.
- Fence or glass mount with a secure clamp.
- Small tripod or monopod for indoor courts.
- Phone holder with a firm grip and a safety lanyard.
- Power bank and short cable.
- Gaffer tape or reusable zip ties.
- A microfiber cloth for the lens.
- Optional wide angle lens attachment if your courts are tight.
Brands like Joby, Manfrotto, and small independent makers offer good value. Action cameras from GoPro and DJI also work well if you prefer to keep your phone free.
Turning raw footage into an action plan in Spicewood
If you want a professional set of eyes on your first batches of film, book a Video Fundamentals Session at Legend Tennis Academy in Spicewood, Texas. Bring one match or practice file. You will leave with a one page plan that maps your six metrics, two priority patterns, and one serve cue you can train this week. To schedule, use the academy page at Book a Video Fundamentals Session and note “video” in the request. Session availability can vary by season, so plan a week ahead when possible.
Frequently asked questions
- How long should my full match file be for review at home? One set is enough to see patterns. If you have time, add the last three games of another set.
- Should I film both players? Yes. Frame the court, not only the hitter. Direction and depth are relationships.
- Do I need special software? No. Your phone’s gallery, pause, and slow motion controls are enough to start. If you want to tag points quickly, try a basic timeline app or free desktop tools, then upgrade only if you outgrow them.
- What about storage? Offload video weekly to a laptop or a cloud drive. Name files with date, angle, and opponent.
- How do we avoid debates over unforced versus forced? Agree on the definitions before you press record. If you disagree on a single point during review, mark it as a wash and move on.
Put it all together in one page
Here is a compact template you can copy into your notes app or a spreadsheet:
- Date, surface, opponent or drill
- Angle used
- First serve percentage: __
- Double faults per service game: __
- Rally length distribution: 0 to 4 __, 5 to 8 __, 9 plus __
- Depth targets hit: Zone B or C __ percent, Zone C __ percent
- Direction mix: crosscourt __ percent, down the line __ percent, middle __ percent
- Unforced to forced error ratio: __
- Next week’s single focus: __
- Two practice drills to run: __ and __
For return-specific progressions, add the return of serve mastery plan to your next two practice blocks.
A smart finish
Good video does not need to be fancy. It needs to be consistent, clear, and tied to specific actions. Pick one angle, collect the six metrics, and decide on one priority for the next week. Parents, your job is to run the camera and ask clean questions. Players, your job is to be curious, honest, and to try one change for long enough to feel it in real points. Do that for two weeks, then two more, and you will have a simple, durable system that gives you control of your progress in 2026 and beyond.