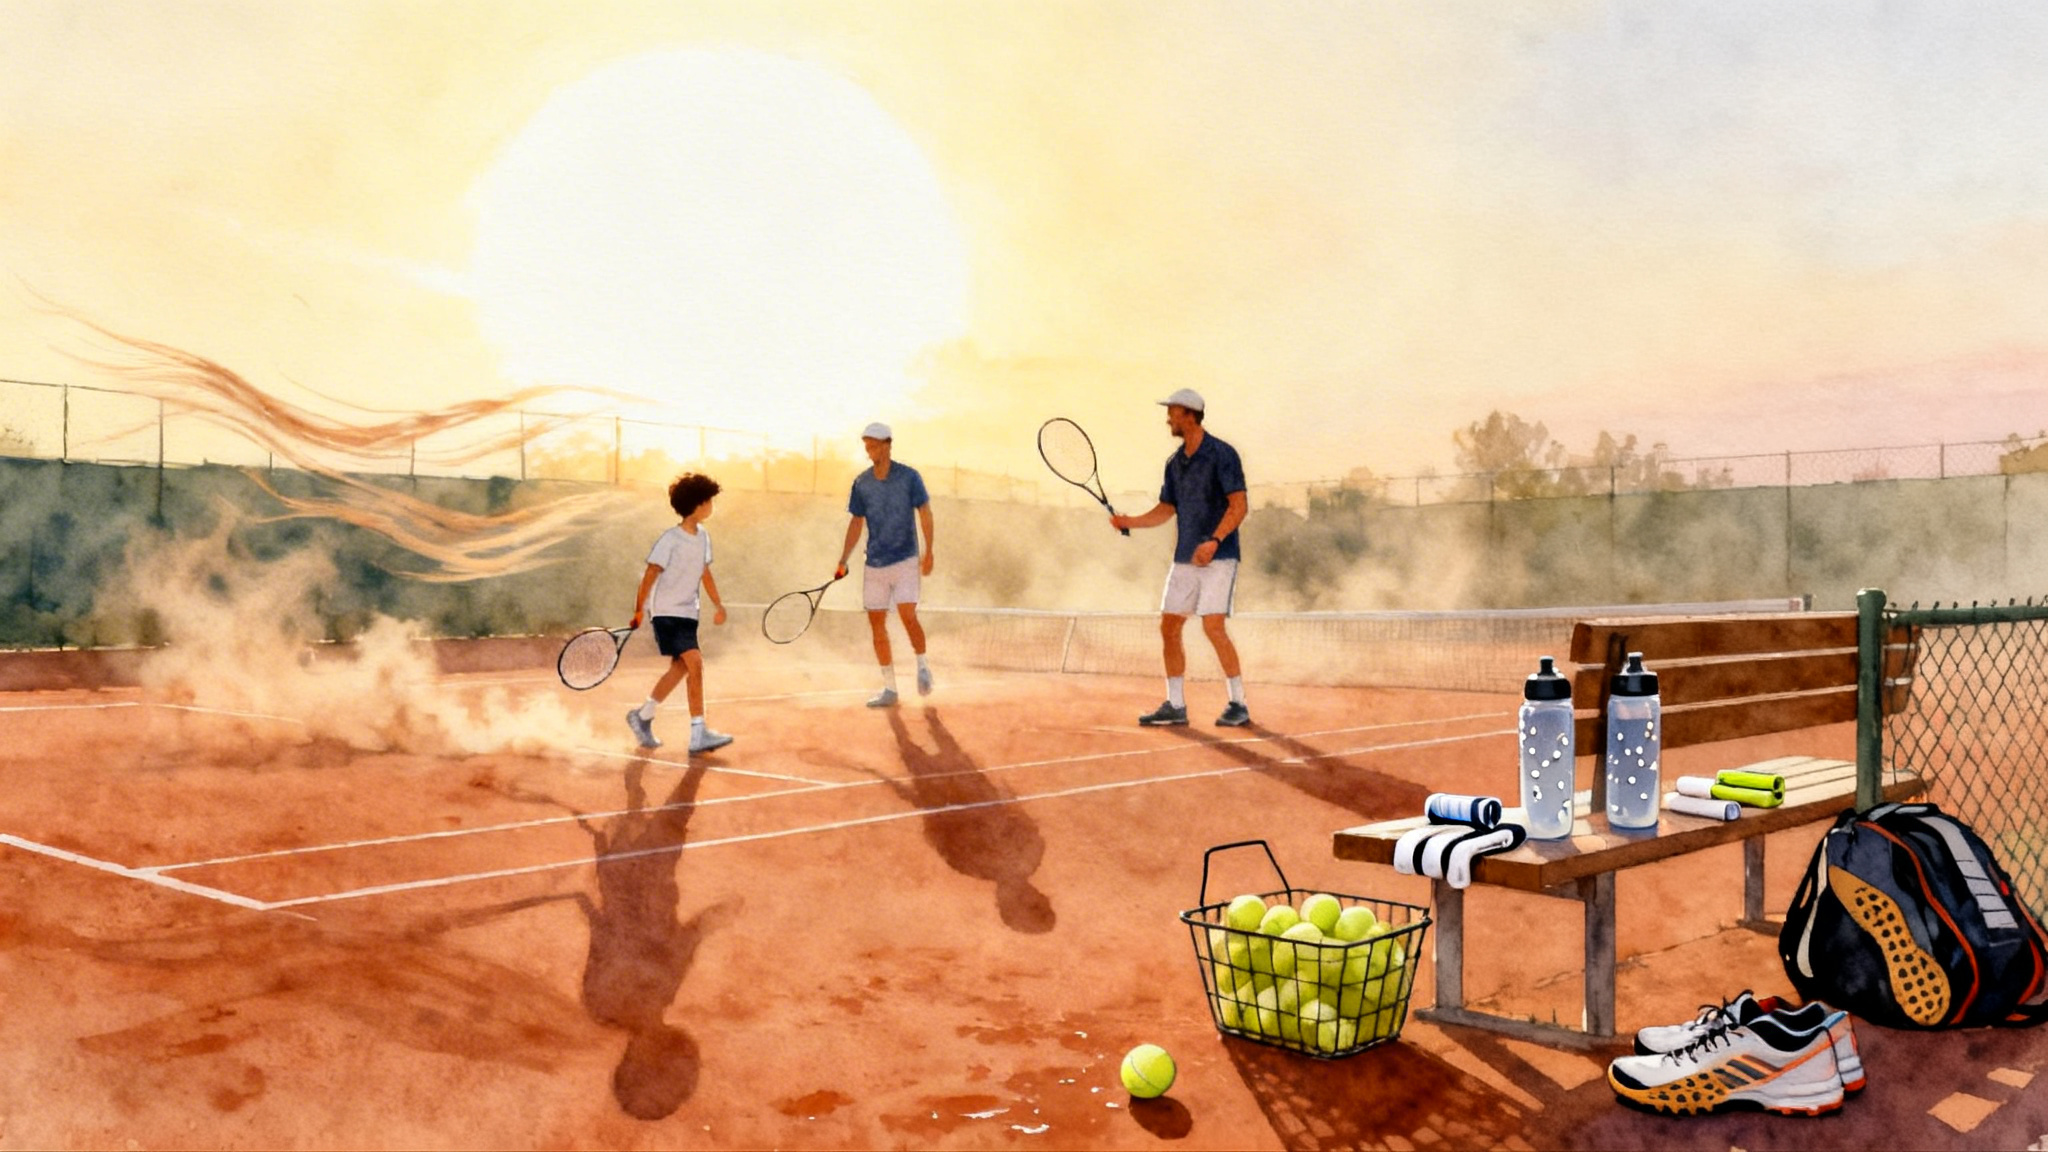
Footwork First: Age‑Smart Tennis Training for Juniors and Adults
Build faster, smarter tennis movement in two short sessions a week. A test‑driven system for juniors, parents, and adult league players with age‑banded drills, simple benchmarks, shoe and surface tips, and clear parent coaching cues.
Why footwork goes first
Most players try to fix their forehand by hitting more forehands. That can work, but there is a cheaper, faster lever. If your feet get you to the ball early, in balance, with a clean recovery path back to the next shot, every stroke improves at once. Footwork is the engine that powers timing, swing shape, and shot selection.
This article gives you a practical, test-driven movement system that fits real life. It runs on three pillars, it scales from red-ball beginners to adult United States Tennis Association league competitors, and it takes two short sessions a week. You can do it at home in a driveway or on court. Parents get simple cues so they can help without turning practice into a lecture. At the end you can book an in-person footwork assessment at Legend Tennis Academy in Spicewood to lock in your plan.
The three pillars
- Split-step timing
- Explosive first step
- Recovery patterns
These three ideas show up in every point. The split-step helps you read and react on time. The first step creates separation from where you are to where you must be. Recovery patterns put you back on the string that connects your opponent, the ball, and your next contact point.
Pillar 1: Split-step timing
What it is: a small, soft hop that lands as the opponent strikes the ball. Landing at that instant turns your leg muscles into springs. The goal is not to jump high, the goal is to unweight, land quietly, and push in the correct direction.
How to feel it: watch your opponent’s racquet as it approaches the ball. Begin your small hop as the racquet descends, land as strings meet the ball, then push. Use the cue, land like a cat, then go.
Common errors and fixes:
- Error: landing too early, then standing flat. Fix: use the cue, up as they go down, land as they hit.
- Error: jumping too high. Fix: keep heels barely off the ground, think paper-thin.
- Error: landing narrow. Fix: land feet just outside shoulder width, knees soft, chest quiet.
Simple drill, all ages: Partner toss read. Stand on the service line, partner stands across the net with two balls. Partner fake-pumps on one side and tosses on the other. You split as the ball leaves the hand and push toward the real toss. Ten reps, then switch sides.
Pillar 2: Explosive first step
What it is: the very first push after the split-step. The first step decides whether you arrive early and calm or late and rushed. Think nose over toes, shin pointing the way, and arms punching the air to match your direction.
How to feel it: start from an athletic stance, weight on the balls of your feet. If you move right, your left foot punches down and back, your right knee drives forward, your belly button turns to the target space.
Common errors and fixes:
- Error: two tiny shuffle steps instead of one big push. Fix: set a five-foot visual target and try to cover it in one stride.
- Error: upright torso. Fix: cue, lean like a sprinter for the first two steps.
- Error: dead arms. Fix: cue, punch your pockets forward.
Simple drill, all ages: Drop and go. Partner holds a ball at shoulder height. You split, the partner drops the ball at a random moment, you explode to catch it after one bounce. Five drops to each side.
Pillar 3: Recovery patterns
What it is: the path you take from contact to a neutral court position that anticipates the opponent’s next option. Movement patterns change by shot and surface. The building blocks are side shuffle, cross-over run, drop step, and hip turn.
How to feel it: say hit and go as you strike the ball, then commit to a clean first recovery move. On wide balls, use a cross-over run. On moderate balls, use side shuffle and small repositioning steps. On deep diagonals, drop step, then open the hips and sprint.
Common errors and fixes:
- Error: admiring the shot. Fix: say hit and go out loud at contact.
- Error: jogging back in a curve. Fix: recover on a straight line to your anticipated contact point, then fine tune with small steps.
- Error: stopping flat. Fix: finish recovery with a micro split-step before the opponent hits.
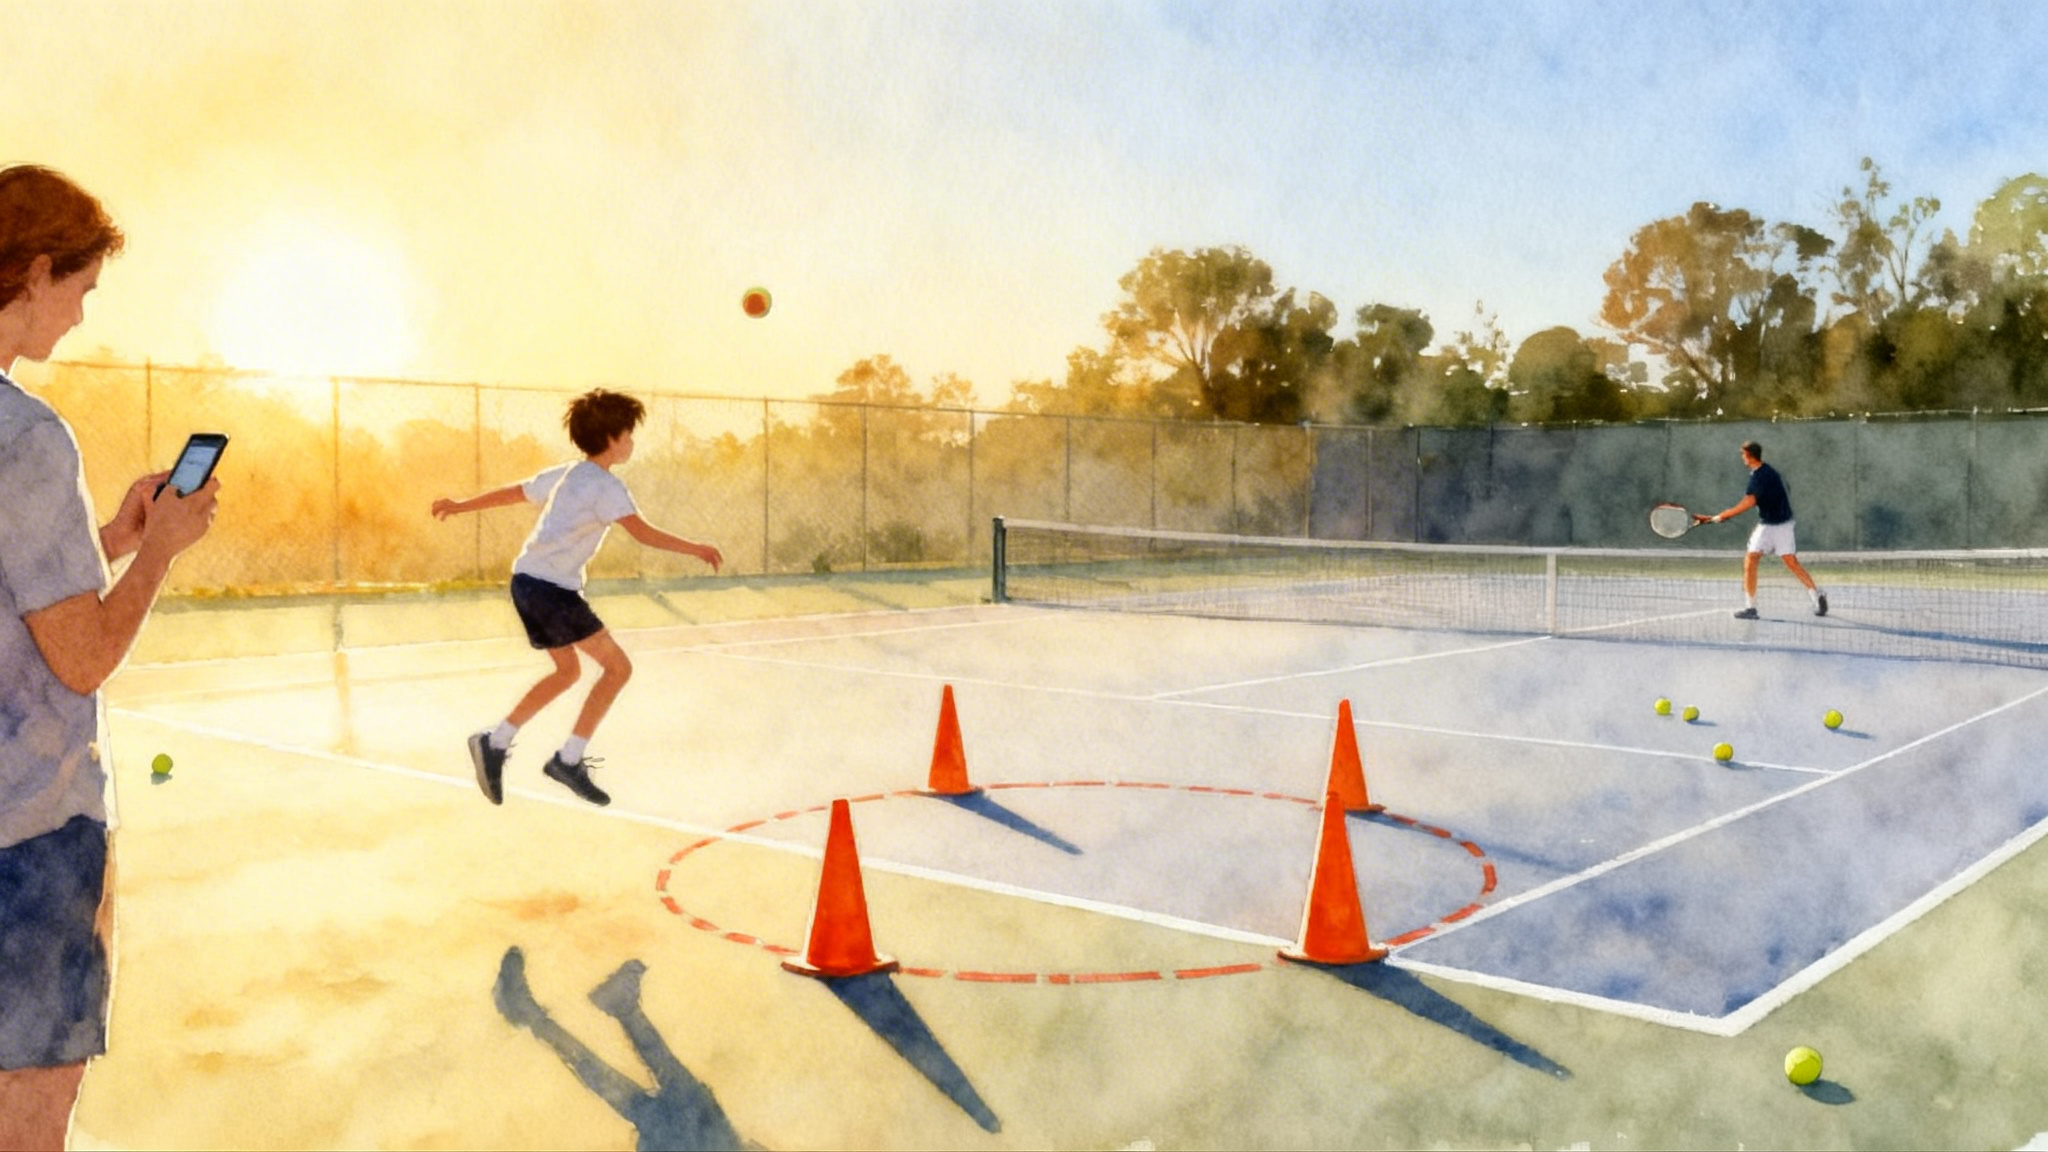
Simple drill, all ages: Figure-8 recover. Set two cones ten feet apart. Shuffle around the first cone, cross-over to the second, shuffle around it, and repeat, tracing a smooth figure-8. Keep your head steady and posture tall. Time your set and try to trim one second next week.
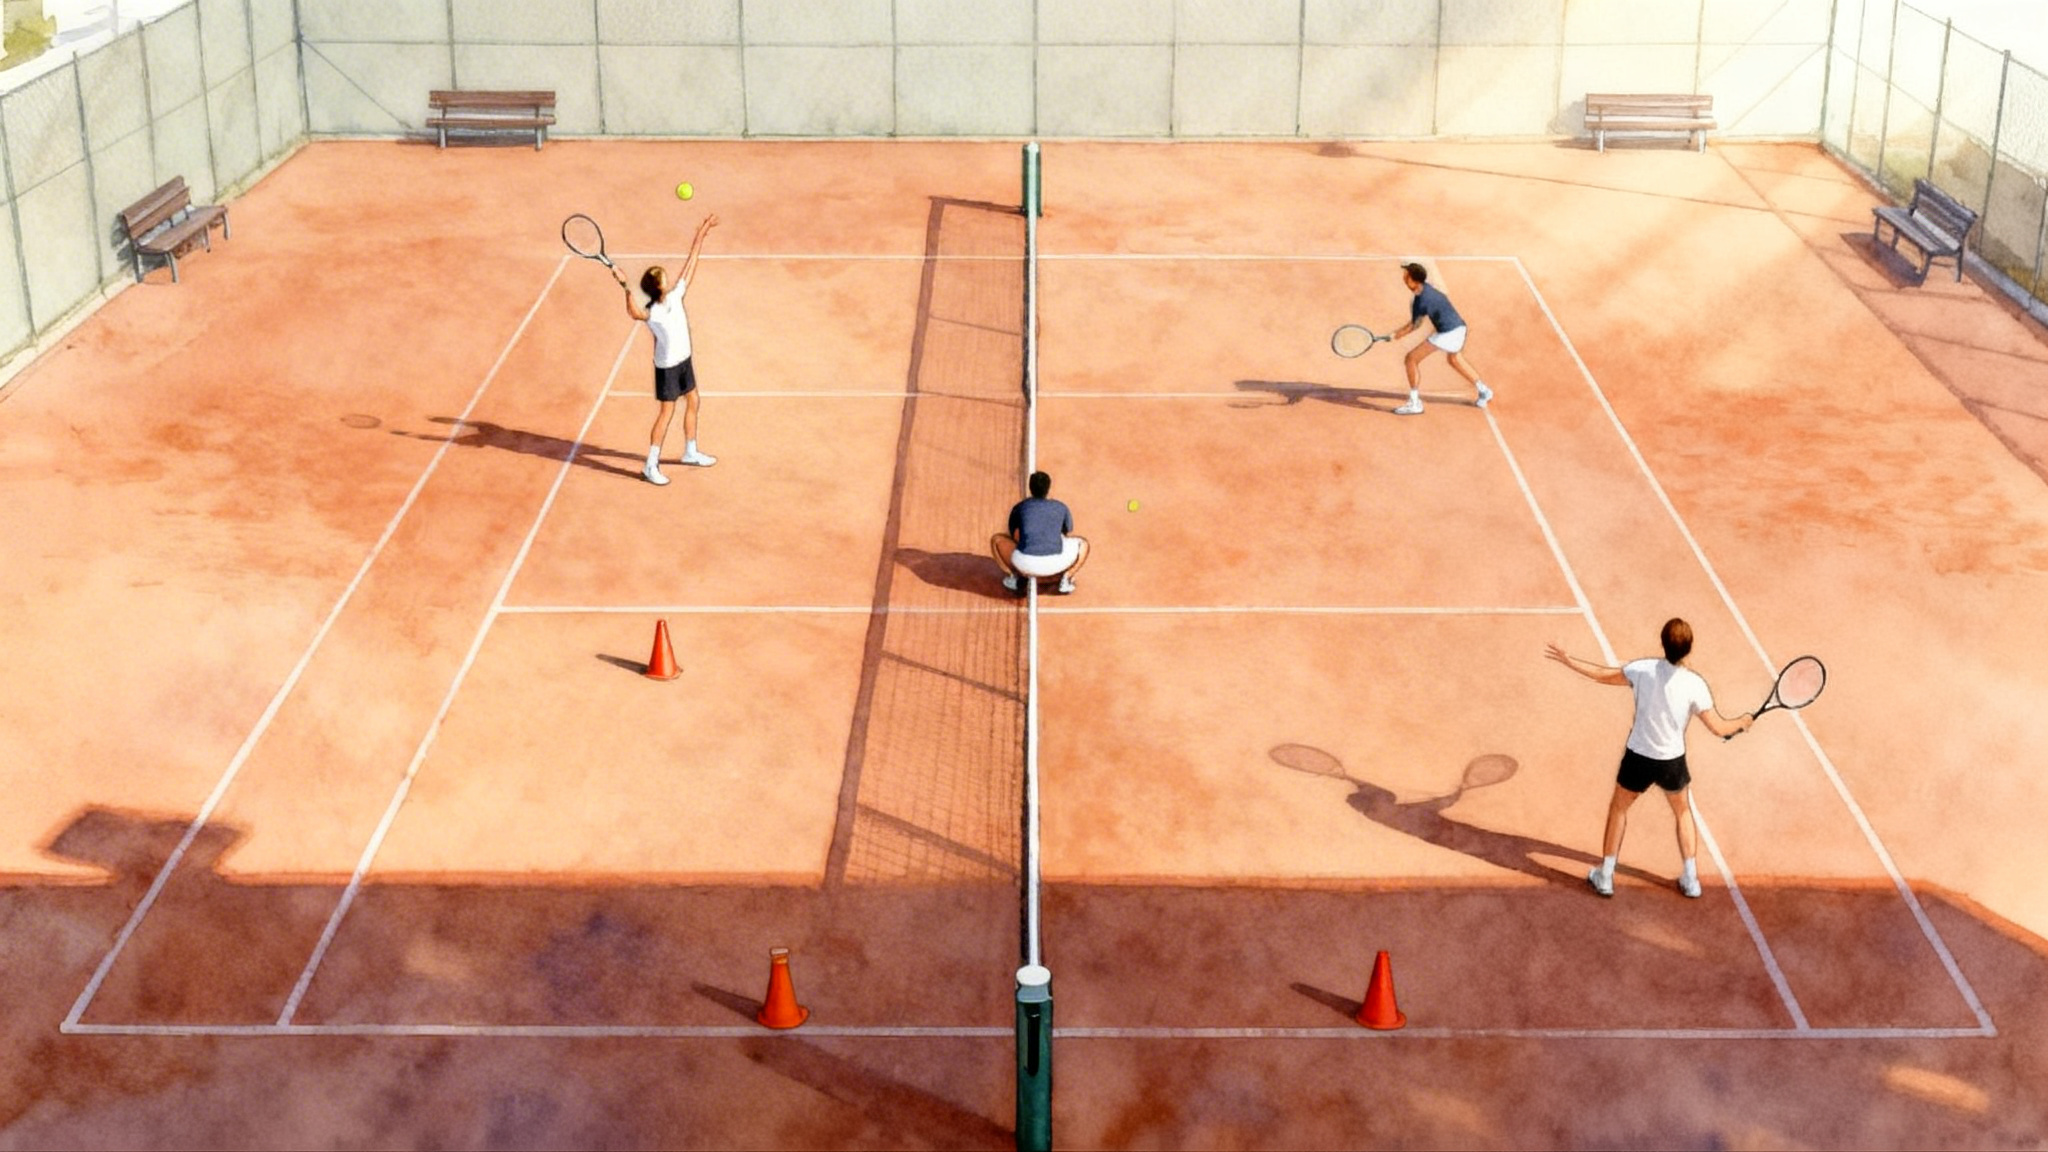
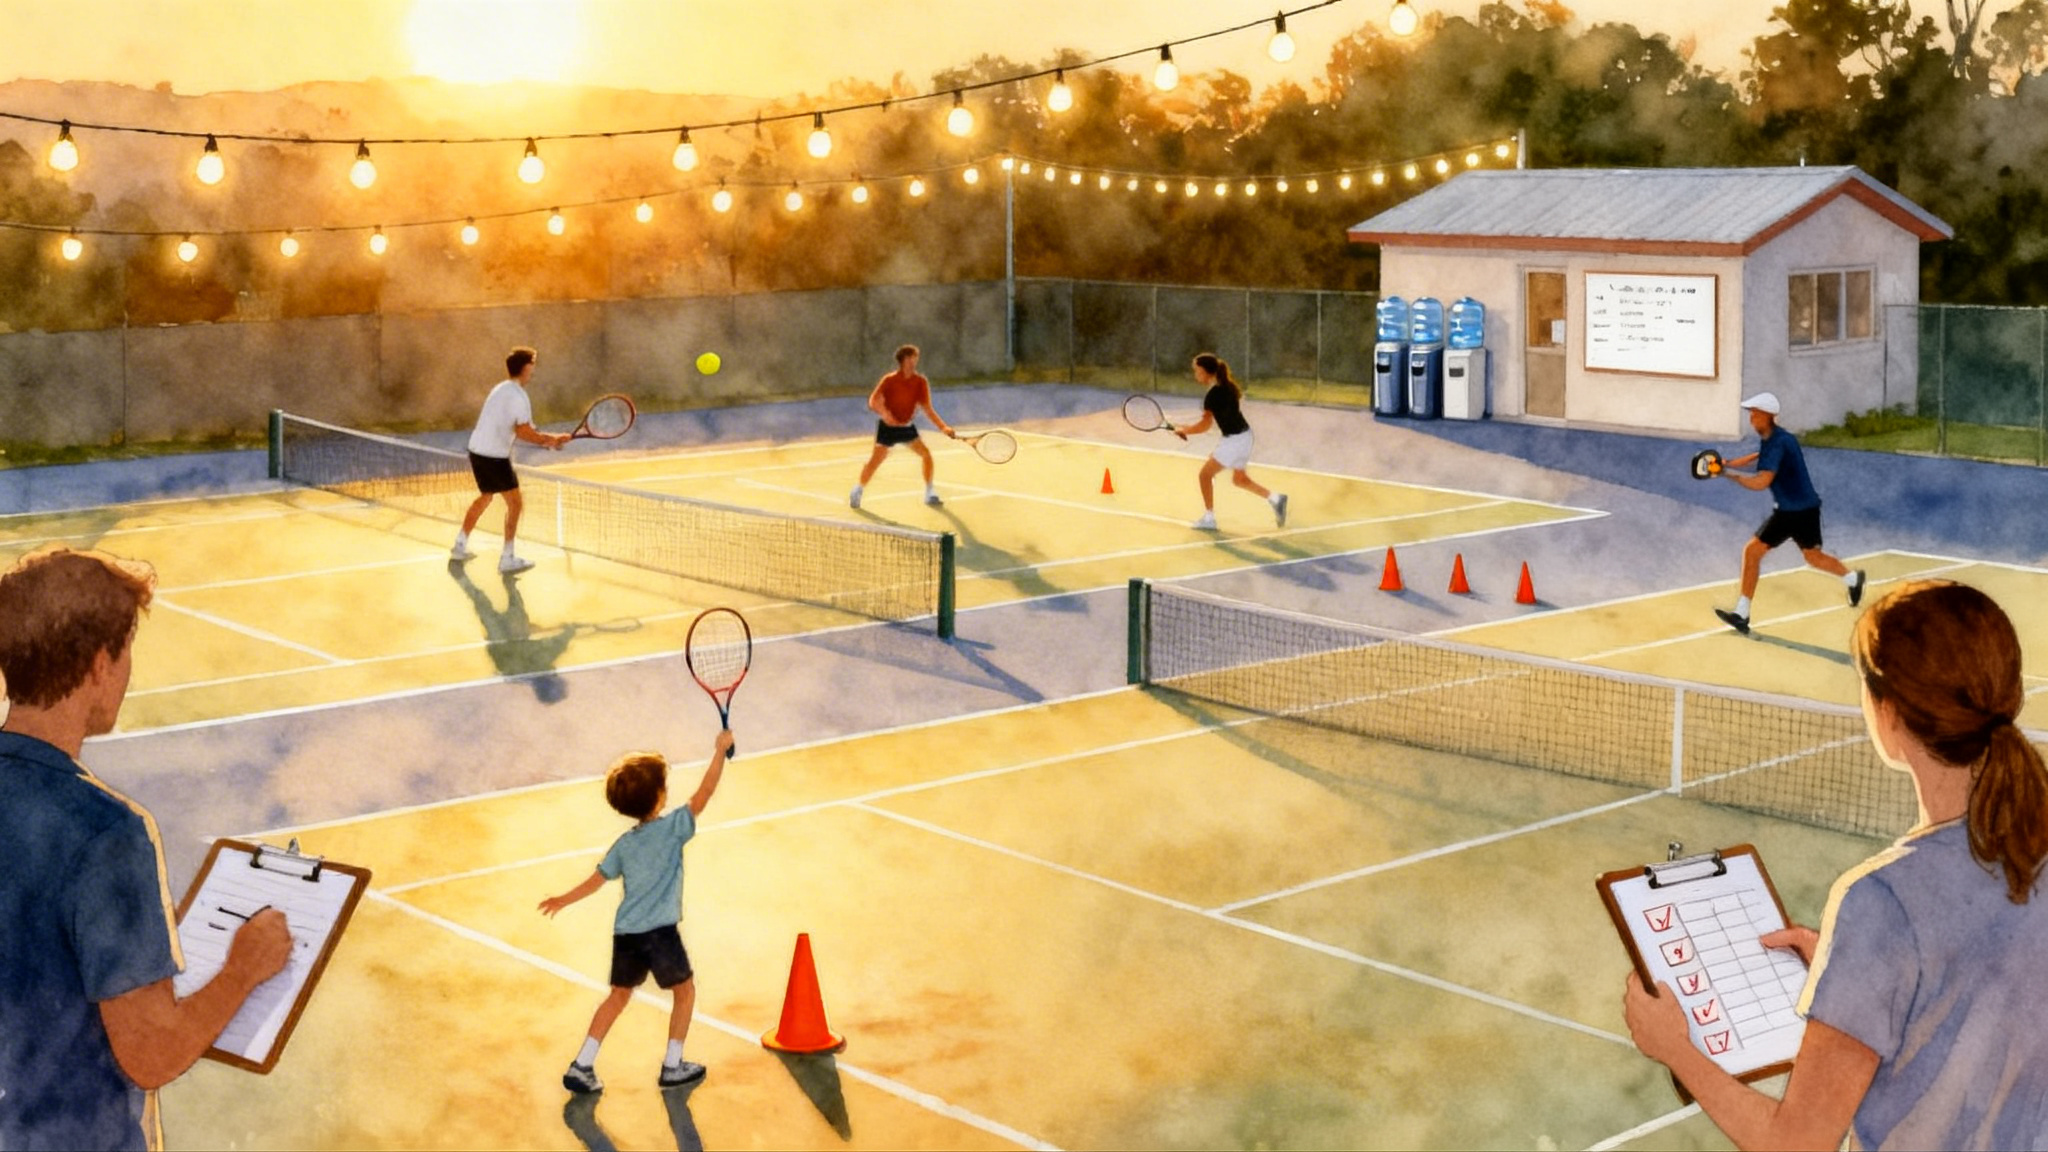
Age-banded drills and progressions
We scale complexity by ball type and experience. Use the ball you play most. Parents, these sessions are meant to be cheerful and short.
Red ball, typical ages 5 to 8
Goals: rhythm, soft landings, playful reactions.
- Split-step pops: Place two floor spots three feet apart. Child hops from spot to spot, lands quiet, then mimics a push to the left or right when you point. Two sets of 30 seconds.
- Rainbow chase: Underhand toss balls left or right. The player splits as your hand moves, catches after one bounce, and returns it with a gentle throw. Ten reps per side.
- Mini figure-8: Cones six feet apart. Trace five slow loops without tripping cones. Rest, then five faster loops.
- Parent cue set: land like a cat, quiet head, point and push, touch and smile. Keep it positive, count good landings out loud.
Orange ball, typical ages 8 to 10
Goals: consistent split timing, first step in one push, simple recovery shape.
- Reactive drop first step: Partner drop from shoulder height, player must catch on one bounce within two strides. Ten drops, random timing.
- Three-cone V: Place one cone at the baseline center mark, two cones eight feet diagonally forward. Split at your clap, explode to a cone, touch, recover to the start with a cross-over. Eight reps.
- Figure-8 with target: After each loop, the player shadow swings a forehand or backhand, then says hit and go and starts the next loop. Three sets of four loops.
- Parent cues: split on my clap, big first step, recover on a line, hit and go.
Green dot, typical ages 9 to 12
Goals: add speed, keep balance, read the opponent’s contact.
- Split on contact: Stand across the net. Feed alternately to forehand and backhand. Player must land the split as you strike. Ten balls per side, then switch sides.
- Directional first step: From center mark, call Left or Right during the toss. Player explodes to the called side, shadow swings, then cross-over back to center. Twelve reps.
- L-pattern three-cone: Set a cone at the center mark, a second five yards to the right on the baseline, a third five yards forward from the second. Touch baseline cone, sprint to forward cone, backpedal around baseline cone, recover to start. Four reps each side.
- Parent cues: hear the hit, nose over toes, punch your pockets, micro split before the next ball.
Yellow ball juniors, typical ages 12 to 18
Goals: speed under control, recovery chosen by ball type, repeatable tests.
- Live read drill: Rally crosscourt. The hitter must call Split when they land, then First when they push. This builds awareness and reduces false starts. Three sets of one minute.
- Wide and back: Coach feeds a wide ball to the forehand, player hits on the run, recovers with a cross-over to a micro split in the middle, then repeats to the backhand. Eight balls per side.
- Figure-8 speed: Cones ten feet apart. Six loops for time, twice. Record your best.
- Parent or coach cues: split on contact, one step to speed, cross-over back, micro split to lock balance.
Adults, United States Tennis Association league or social
Goals: easy setup at home, repeatable tests, fatigue management.
- Kitchen-tile split: Draw a small X with tape on your garage floor or driveway. Shadow split, land soft, push left or right on a random clap. Ten reps, rest, then ten more.
- Reactive drop with decision: Partner drops the ball left or right. If it bounces inside the taped box you approach, if it bounces outside you retreat two steps first, then go forward. This trains adjustment. Twelve reps.
- Three-cone pro agility: Cones in a line five yards apart. Start on the middle cone. Touch right cone, touch left cone, finish through the middle. Two trials each direction, record best time. Focus on low turns and clean foot plants.
- Self cues: stay tall in the torso, load the outside foot, turn the hips early, small split before every decision.
Two 20-minute plug-and-play sessions per week
Each session has the same skeleton so it is easy to remember. Session A leans on acceleration, Session B leans on recovery. Insert your age-banded drills into the slots below.
Session A, 20 minutes
- 4 minutes warm up: skip, side shuffle, karaoke steps, ankle pogo jumps. Keep landings quiet.
- 8 minutes pillar circuit: split-step timing drill for 60 seconds, rest 30 seconds, first-step drill for 60 seconds, rest 30 seconds, repeat twice.
- 6 minutes benchmark focus: pick one test, do two recorded trials after one practice set.
- 2 minutes cool down: calf and hip flexor stretches, deep nasal breaths.
Session B, 20 minutes
- 4 minutes warm up: mini hops, forward and backward shuffles, shoulder rolls.
- 8 minutes pillar circuit: recovery pattern drill for 60 seconds, rest 30 seconds, reactive drop for 60 seconds, rest 30 seconds, repeat twice.
- 6 minutes mobility and core: 30 seconds each of side plank, dead bug, hip bridge, rest 15 seconds, repeat.
- 2 minutes reflection: write the best time, one cue that worked, and one note to try next session.
If you already play twice a week, slide these 20-minute blocks before or after your hits, or place them on non-hitting days to keep the habit light.
Simple benchmarks that keep you honest
Testing makes practice meaningful. Use your phone clock. Repeat tests every two weeks and keep a clean log.
Figure-8 time trial
Setup: two cones ten feet apart. Start centered between them, facing forward. Shuffle around the left cone, cross-over to the right cone, shuffle around it, and continue until you have traced six full loops. Start and finish at the middle.
Standards to shoot for:
- Red ball: 6 loops under 38 seconds with clean posture
- Orange ball: under 32 seconds
- Green dot: under 28 seconds
- Yellow ball juniors: under 24 seconds
- Adults social: under 26 seconds
- Adults competitive 4.0 and up: under 22 seconds
Coaching notes: do not clip cones. Keep the head steady. If you miss the line or collide with a cone, repeat the trial.
Three-cone L drill
Setup: place cone A at the center mark, cone B five yards to the right on the baseline, cone C five yards forward from cone B. Start at A facing the net. Sprint to B and touch, turn and sprint to C and loop around it, back to B, and finish through A. Do two timed trials to the right, then mirror left.
Standards to shoot for:
- Red ball: use three yards instead of five, finish under 17 seconds
- Orange ball: four-yard spacing, under 15 seconds
- Green dot: five-yard spacing, under 14 seconds
- Yellow ball juniors: five-yard spacing, under 12.5 seconds
- Adults social: five-yard spacing, under 13.5 seconds
- Adults competitive 4.0 and up: five-yard spacing, under 11.5 seconds
Coaching notes: on each turn, lower your hips, plant firmly on the outside foot, and drive the arms. No flailing. Keep a micro split before your final push to the finish.
Reactive drop test
Setup: partner faces you from five feet away holding a ball at shoulder height. You stand in an athletic stance. The partner can wait one or two seconds, then drops the ball without a verbal cue. You must split as the hand opens, explode, and catch after one bounce. Perform ten drops to each side.
Scoring and targets:
- Red ball: 6 of 10 clean catches each side
- Orange ball: 7 of 10
- Green dot: 8 of 10
- Yellow ball juniors: 9 of 10
- Adults social: 8 of 10
- Adults competitive 4.0 and up: 9 of 10 with one-handed catches
Coaching notes: if you are late, start your hop earlier, land softer, and commit to one big push. If you are early, reduce hop height and sharpen your read of the hand opening.
Footwear and surface notes
Shoes matter because footwork punishes poor traction and weak sidewalls. Look for three things: a stable heel counter, a firm shank in the midfoot, and a durable outsole with a herringbone or hybrid grip pattern that matches your court.
- Hard court: prioritize cushioning and a stable midfoot. Models built for hard courts from major brands such as Asics, Nike, New Balance, Babolat, and Adidas tend to offer reinforced outsoles. If your court is gritty, replace shoes every 50 to 70 hours of play or when the tread under the ball of the foot goes bald.
- Clay: choose a full herringbone tread that sheds clay and prevents clogging. Consider a slightly looser lace near the forefoot to allow micro slides without toe jam.
- Grass or artificial turf: use soles that avoid deep lugs, you want light grip with easy release.
- Home surfaces: on concrete or asphalt, use older tennis shoes, not running shoes. Running shoes often have soft, high heels that roll during lateral cuts. On gym floors, wipe soles with a damp cloth for traction.
Sock choice can reduce blisters. Use a thin synthetic sock inside a thicker tennis sock when you break in new shoes. Replace insoles if your arches ache after first-step work.
Parent coaching cues that work
Keep cues short, positive, and about the body or the ball, not about the outcome. Here are field-tested lines for each pillar.
- Split-step timing: up as they go down, land as they hit. Land like a cat. Hips soft, heels light.
- Explosive first step: nose over toes. Punch your pockets. One big push.
- Recovery patterns: hit and go. Straight line back, then tiny steps. Micro split before you read.
How to deliver cues:
- One cue per rep, not three. The brain does not like clutter under speed.
- When your player does it right, name it. Say, that was a clean first step, you covered five feet in one push.
- Use a metronome count when timing the split. Say, up, down, go, to link the hop and push.
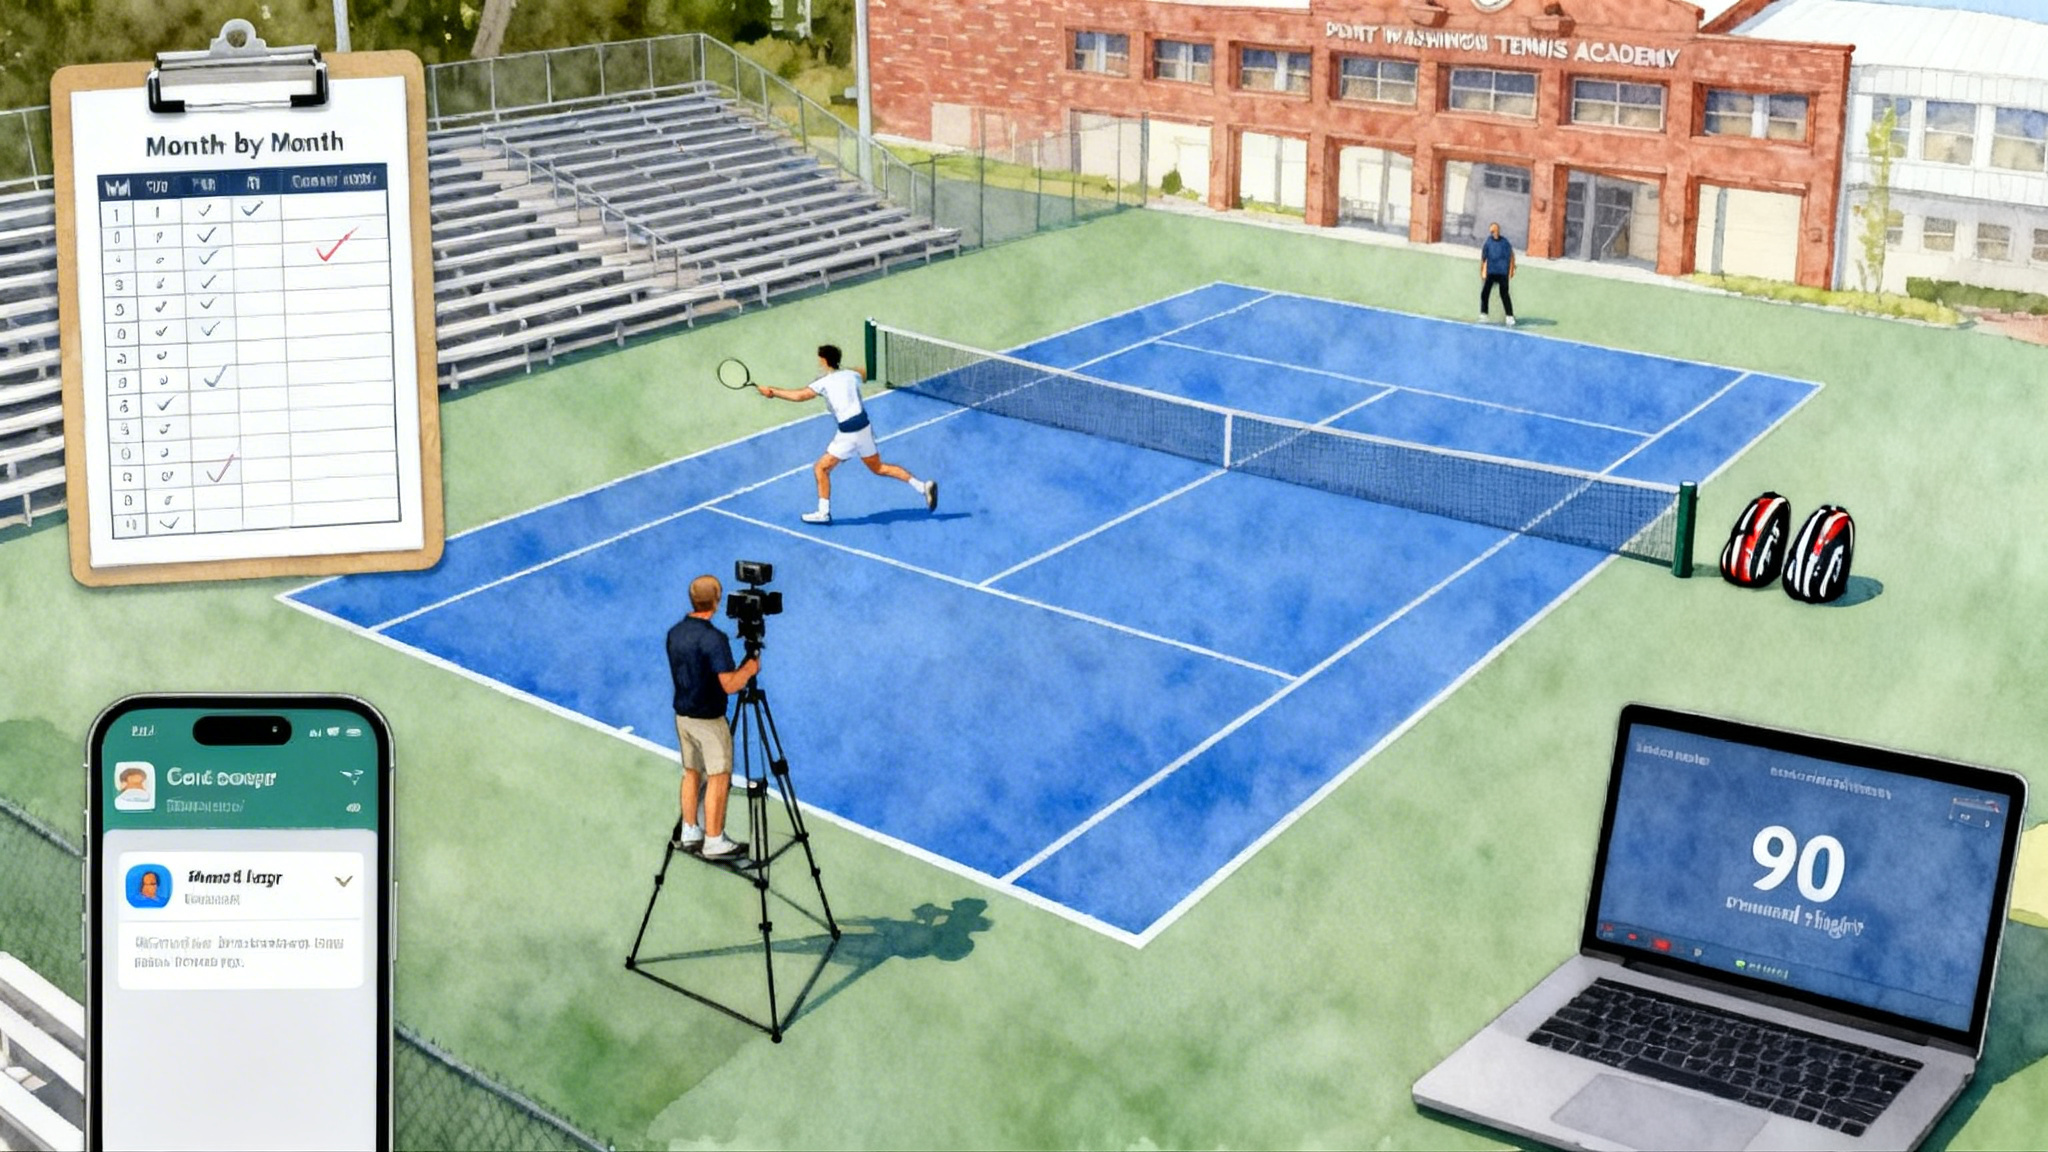
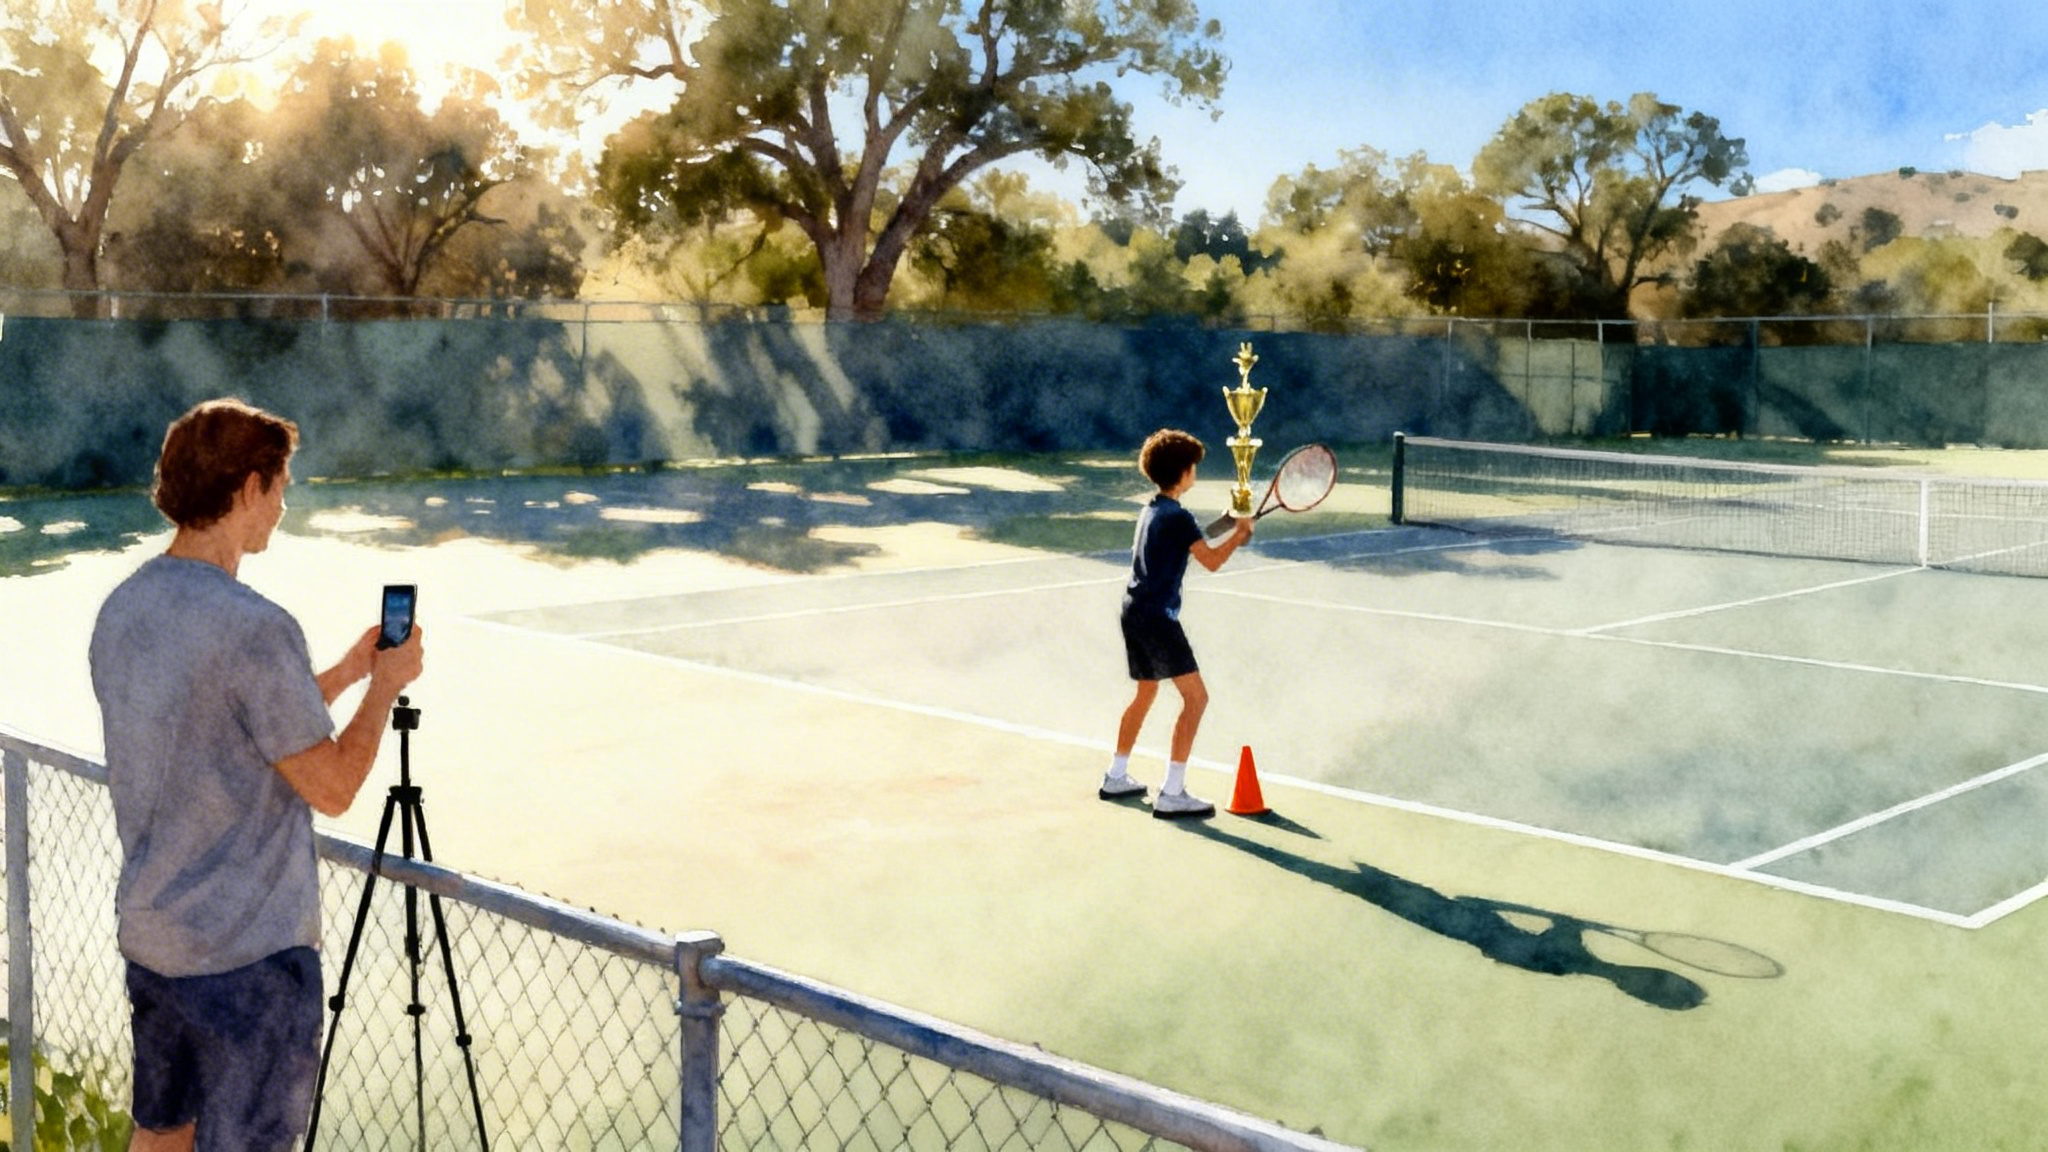
- Film ten seconds on your phone from the side. For setup and workflow, use our smartphone tennis video setup.
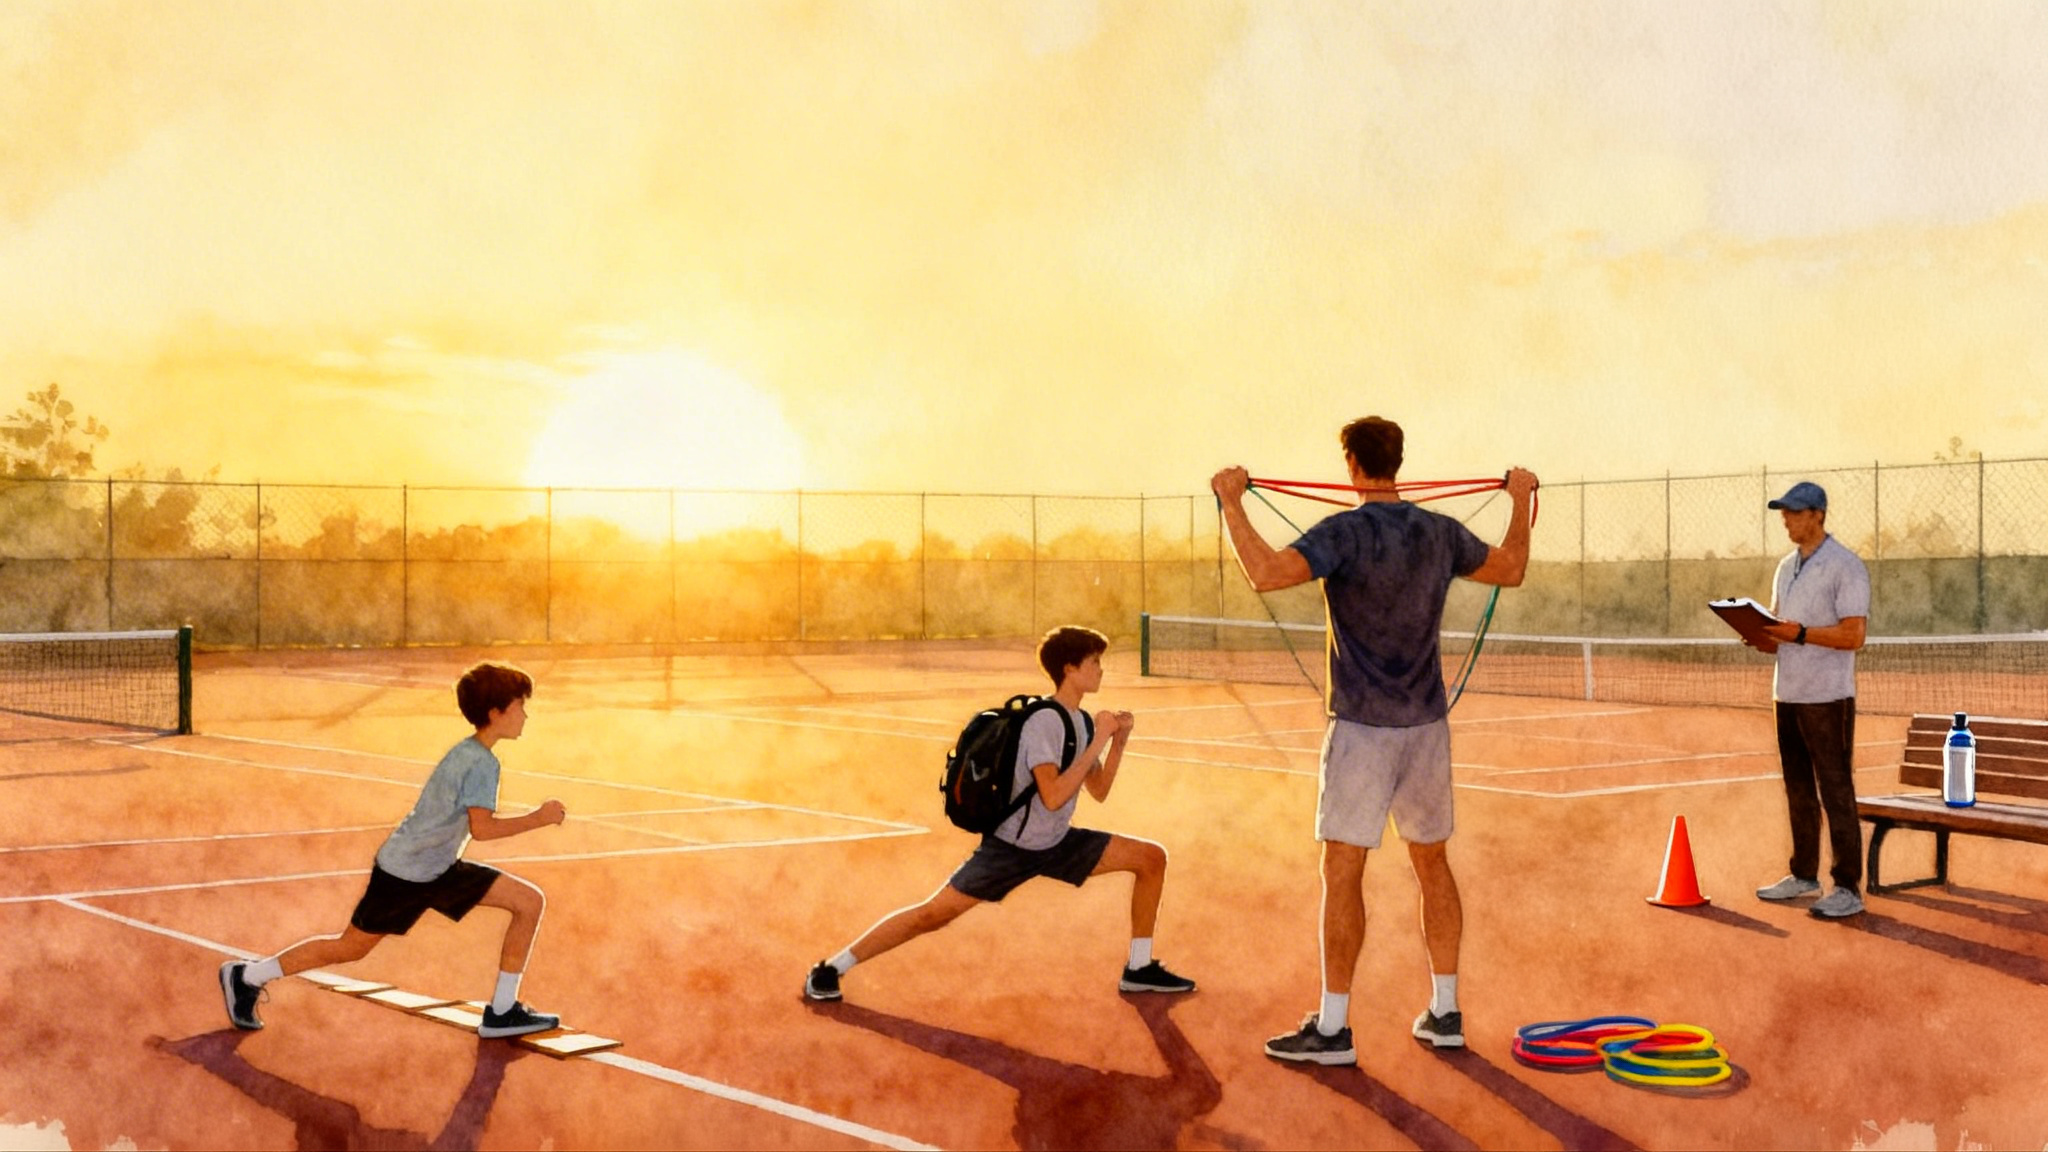
Safety and load management
Movement gains happen when you do enough to adapt, not so much that you get hurt.
- Warm up until your landing sounds quiet. Quiet feet equal ready muscles.
- Use the rating of perceived exertion scale. On a scale of 1 to 10, these sessions should feel like a 6 or 7, not a 9.
- Progress one variable per week. Either add two seconds per rep, or shrink cone spacing by one foot, or add one extra loop. Not all at once.
- Stop a set if landings get loud or your turns get tall. That is form failure.
For full warm-up menus and strength add-ons, see age-smart warm-ups and strength.
A six-week sample plan
This plan assumes two 20-minute sessions per week. Keep your normal hits. If you feel stale, skip a session, do a gentle walk, then resume.
Week 1 and 2
- Focus: split-step timing and reactive drop
- Benchmarks: establish figure-8 and reactive drop scores
- Goal: landings that are quiet, timing that is roughly right
Week 3 and 4
- Focus: explosive first step and L drill
- Benchmarks: beat figure-8 by one second, add one more clean catch on reactive drop
- Goal: one big push to cover five feet, arms drive clean
Week 5 and 6
- Focus: recovery patterns and live read
- Benchmarks: improve L drill by 0.5 to 1.0 second, add one extra clean catch on reactive drop
- Goal: hit and go becomes automatic, micro split appears before every read
Troubleshooting: when a pillar stalls
- Split feels late: shrink the hop and shift your visual to the opponent’s strings. Start your hop as the racquet goes down, land as it meets the ball. If that is still late, cue yourself to start the hop one beat earlier.
- First step feels weak: set a chalk line five feet away. Try to touch it in one stride. If you cannot, lower your chest one inch and drive the opposite arm harder.
- Recovery feels messy: draw a straight chalk line back to your center. After contact, step on that line with your first recovery step, then shuffle off it. This removes wasted curves.
What success looks like in matches
You know the system is working when you notice three tells.
- You feel early to the ball. More balls arrive at perfect height, so you swing calmer.
- You finish shots with a small micro split. Your opponent’s attacks feel less threatening because your body is ready.
- Your legs still answer in later games. Recovery paths reduce wasted steps, so you keep speed when others fade.
Put it to the test in person
You can run this system at home, but live feedback accelerates the learning curve. Book an in-person footwork assessment at Legend Tennis Academy in Spicewood. We will time your split-step, first step, and recovery in tennis-specific patterns, then hand you a customized six-week plan you can actually follow. If you prefer to start on your own, grab the printable session cards and testing sheets in our program handouts at your next visit.
The closing lesson
When your feet arrive early, every stroke looks prettier without hours of stroke tinkering. Two short sessions a week, three pillars, and a few tests will change how you move, and then change how you hit. Start with quiet landings and one big push, track your figure-8, three-cone, and reactive drop scores, and let the results guide the work. Do the simple things precisely, measure honestly, and watch rallies feel easier by the week. Then come see us in Spicewood to lock in your gains and chase the next second off your times.