The 2026 Tennis Serve Blueprint: Five Checkpoints for All Ages
Turn your serve into a simple, repeatable system in five clear checkpoints. Get age-specific drills for red, orange, green, and yellow ball players, quick home assessments, micro strength add-ons, parent coaching scripts, and adult return fixes.
Why a blueprint beats talent
A great serve looks like magic, but it runs on a clear system. When you watch Novak Djokovic or Iga Swiatek, you see rhythm, posture, and precise contact. None of that requires guesswork. It comes from a blueprint that removes clutter, narrows attention to a few controllable pieces, and invites high quality repetitions. This guide gives you that blueprint in five checkpoints that juniors, parents, and adults can use on any court.
Think of building a chair from a flat-pack kit. If you skip a step, the chair wobbles. The serve is the same. Follow the steps in order, and stability appears. This is the 2026 tennis serve blueprint.
The five checkpoints
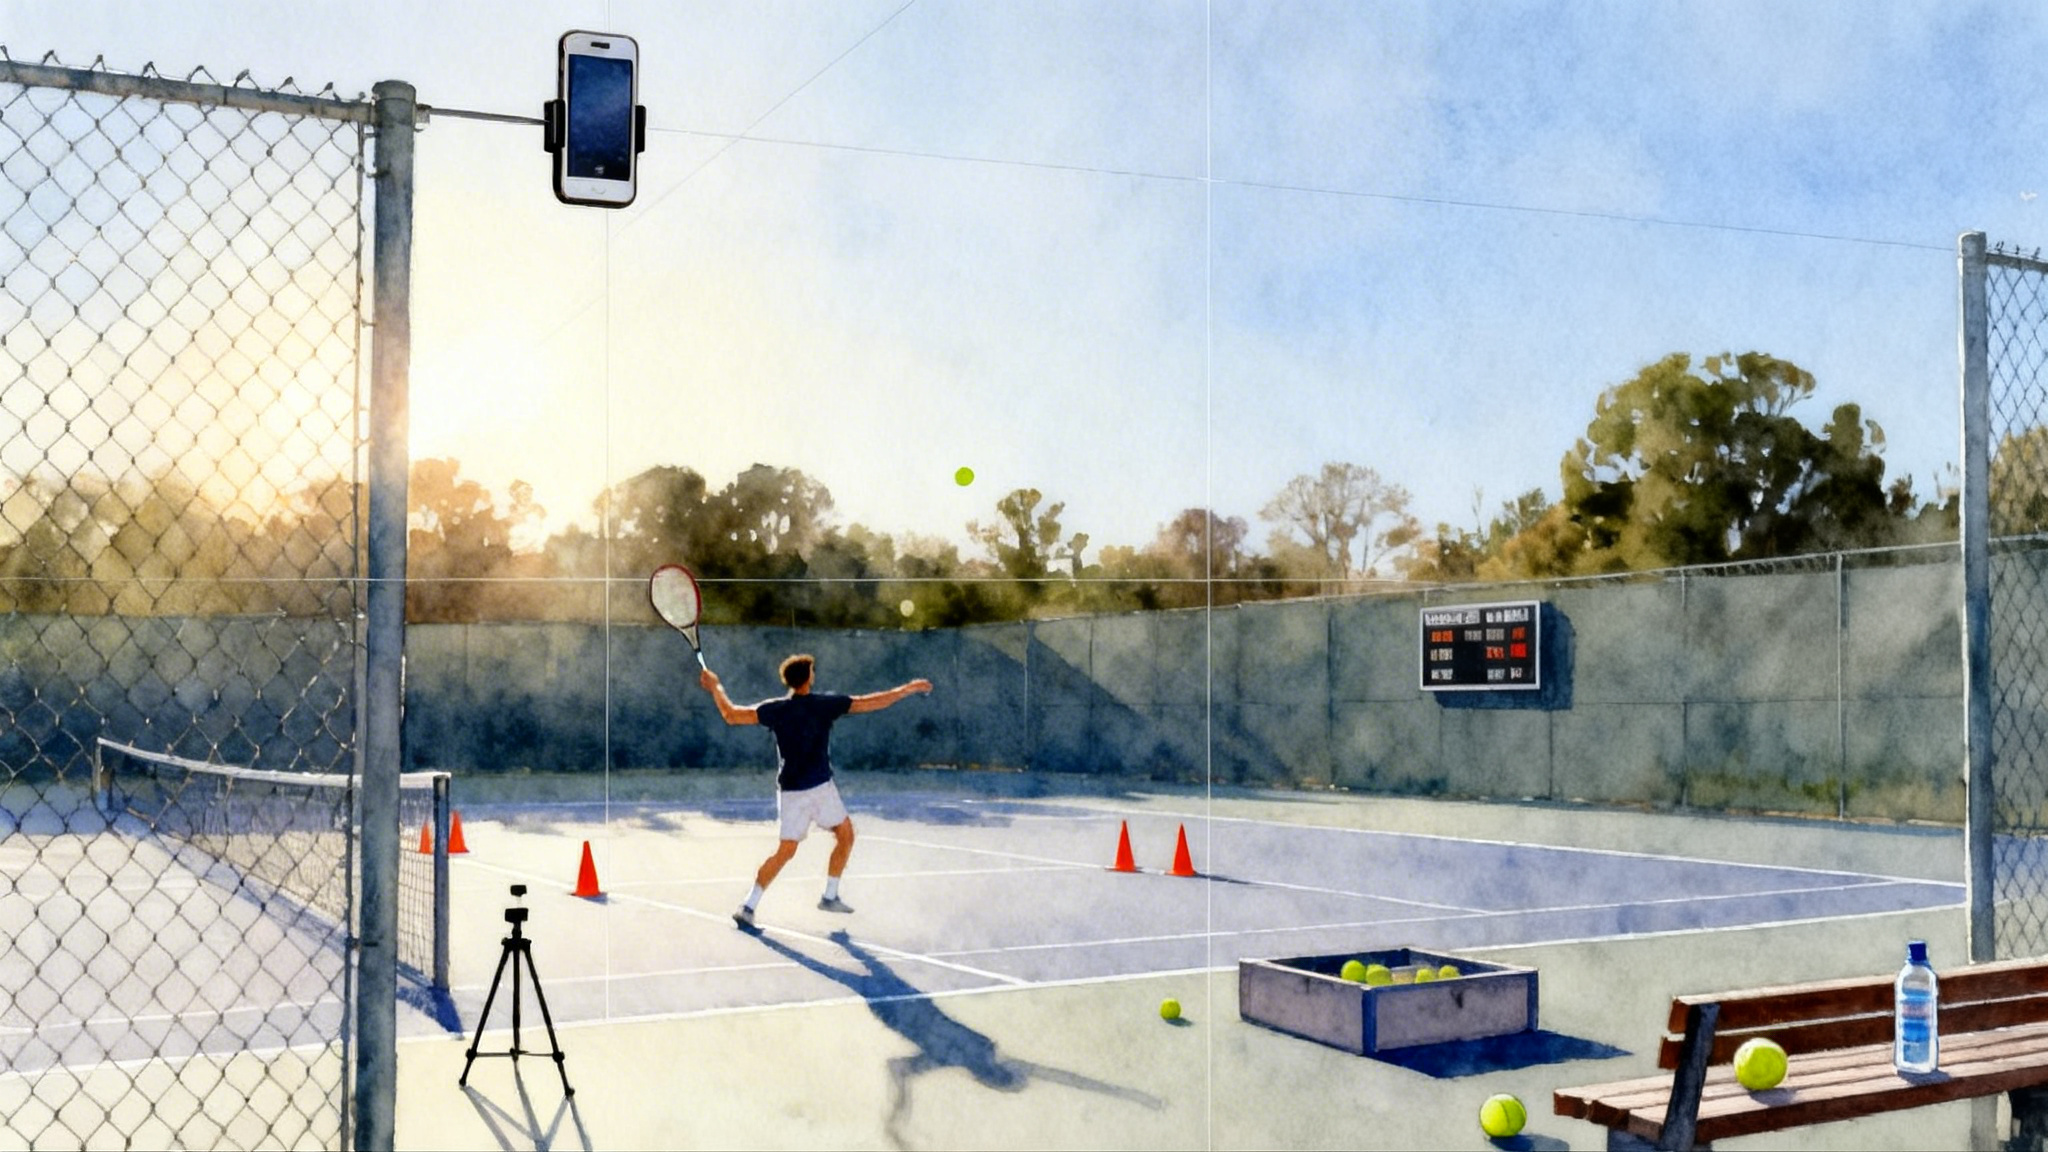
Below are the five universal checkpoints. Read them in order. Coach them in order. Film from the side and behind to verify each piece. For a step-by-step filming setup, use our tennis video analysis guide.
1) Base posture
- What it is: Athletic stance with pressure through the balls of the feet, knees soft, spine tall, eyes level. Racquet hand and tossing hand relaxed. Imagine you are a spring, loaded but calm.
- Why it matters: Balance at the start lets the rest of the motion stack cleanly. If base posture is off, the toss and turn will chase compensation.
- Common miss: Hips drift forward, chest collapses, or heels settle heavy. Fix with a cue: "Tall through the crown, zipper long, weight slightly toward laces."
- Micro check: Freeze at the start and wiggle your toes. If you cannot, you are gripping the ground too hard.
2) Toss window
- What it is: A repeatable target zone that sits slightly in front of your front foot and just inside your hitting shoulder. For a first serve, imagine a basketball hoop floating one foot above and one foot in front of your extended tossing hand. Land the ball through that hoop.
- Why it matters: The serve is a throwing motion at the ball. A tidy window lets the body move up and forward with clean timing.
- Common miss: Toss drifts behind you or too far left or right. Fix with a cue: "Palm to the sky, lift from the shoulder, release eye level, let the fingers simply open." Avoid wrist flicks.
3) Shoulder over shoulder
- What it is: A vertical tilt that stacks the back shoulder under the front shoulder during the loading phase. Picture a beach umbrella closing. The front shoulder points up as the rear hip loads behind.
- Why it matters: This tilt stores elastic energy in the torso, sets a rising path to the ball, and protects the lower back by distributing force.
- Common miss: Only rotating flat around the waist. Fix with a cue: "Point the toss-hand fingertips to the sky, zip the back pocket toward the fence."
4) Edge-on contact with pronation
- What it is: The racquet travels edge first toward the ball, then the forearm turns inward through contact, which is called pronation. Imagine throwing a hammer upward so the head leads, then your forearm turns as you release.
- Why it matters: Edge-on travel reduces air drag and sets the racquet for a powerful snap. Pronation aligns the strings to the sky at the right instant, adds spin, and protects the elbow and shoulder.
- Common miss: "Pancake" contact with strings facing the net too early. Fix with a cue: "Show the edge to the ball, then high five the sky after contact."
5) Balanced finish
- What it is: After contact, the racquet decelerates across your body, your back foot lands or drags forward, and your chest finishes to the target. You can hold the pose for two seconds without wobble.
- Why it matters: A stable ending proves a stable motion. If you fall off balance, energy leaked earlier.
- Common miss: Falling sideways or backward. Fix with a cue: "Nose and chest through the window, catch your landing softly, strings finish down."
How to coach the blueprint in order
Use a top down plan that guards attention. Only move forward when the earlier step is solid.
- Film the current serve from the side and from behind. Identify the earliest checkpoint that breaks down.
- Train that single checkpoint for three short blocks of eight to ten balls each. No more.
- Retest with video in slow motion. If the piece holds, integrate the next checkpoint.
This is the same pattern that many top academies follow. The United States Tennis Association and leading tennis academies teach red, orange, green, then yellow ball progressions to scale the task by court size and ball speed. We will match that progression below so parents and players use the right tasks at the right time.
Age-specific drills: red, orange, green, and yellow ball players
The colored balls refer to low compression balls used in youth development. Red is the slowest with the largest bounce window on a small court, orange and green progress toward standard speed and size, and yellow is the regular match ball. These recommendations are general. Adjust by the player’s size and coordination.
Red ball, ages 5 to 8
Goal: Learn base posture, a calm toss, and a balanced finish. Keep contact low and in front.
- Cone window drops: Place a cone two feet in front of the front foot. Toss the ball so it falls just over the cone, let it drop, catch it at hip height, and finish with the body facing the target. Ten reps, then add a gentle tap upwards with a continental grip.
- Statue to salute: Freeze in base posture. Lift the tossing arm to the sky, hold for a two count, tap the ball up, then salute with the racquet finishing across the body. Emphasize holding the finish.
- Rainbow throws: From service line, throw a foam ball upward toward the service box with a rainbow arc. Match the throw into a soft serve. Cue: "Tall, window, salute."
Parent script: "Stand tall like a giraffe, drop the ball through your window, show me your salute at the end." Keep language fun and specific. Praise the finish more than the result.
Orange ball, ages 8 to 10
Goal: Add shoulder over shoulder and a simple rhythm, then introduce edge-on contact.
- Three-beat toss and go: Say out loud, "lift, reach, pop." Lift the toss to eye level, reach the tossing hand to the sky, then pop the ball with a relaxed hit. The ball can bounce before the net at first. The sequence builds rhythm.
- Edge-on brush: Shadow swing with the racquet edge leading. Stop at the contact point and check the edge facing the ball. Then hit ten serves focusing on the same feel. Cue: "Edge first, then high five."
- Ladder landings: Place a flat agility ladder near the service line. Land the front foot in a square, hold for one count, then step out. This teaches the balanced finish.
Parent script: "Lift to your window, reach up, pop the ball, freeze your landing." When a child rushes, reset the three-beat language.
Green ball, ages 9 to 11
Goal: Build a higher contact, controlled pronation, and consistent landing.
- Tape the window: Use a strip of painter’s tape on the court one foot inside the baseline and slightly right of the front foot for a right-hander. Toss so the ball drops over that tape. Ten clean tosses before any hit.
- Hammer to sky: Hold the racquet like a hammer. Shadow up, show the edge, turn the forearm through an imaginary contact, finish with palm down. Then serve ten balls at half speed with the same feel.
- Two in a row: Serve two balls in a row into the deuce box, both with a balanced finish you can hold for two seconds. If the finish breaks, the set resets.
Parent script: "Tape, edge, turn, hold." Use short words that map to the checkpoints.
Yellow ball, ages 11 and up, and adults
Goal: Integrate the full kinetic chain with varied spins and targets.
- 1-2-3 rhythm: Count 1 on the start, 2 at peak toss, 3 at contact. Use a phone metronome set between 54 and 60 beats per minute. Hit six balls on one rhythm, then adjust by two beats and notice what timing feels best.
- Swing-then-look: Video frame contact to check head position. The head should stay under the toss hand until after contact. Hit six serves where you keep the eyes up through the strike, then track the ball late.
- Target ladder: Place three targets front to back in the deuce box, from short tee to deep corner. Hit four flat serves to target one, four slice to target two, four kick to target three. Keep the finish balanced on all.
Parent or self-coach script: "Count your rhythm, keep your eyes up, land soft and tall."
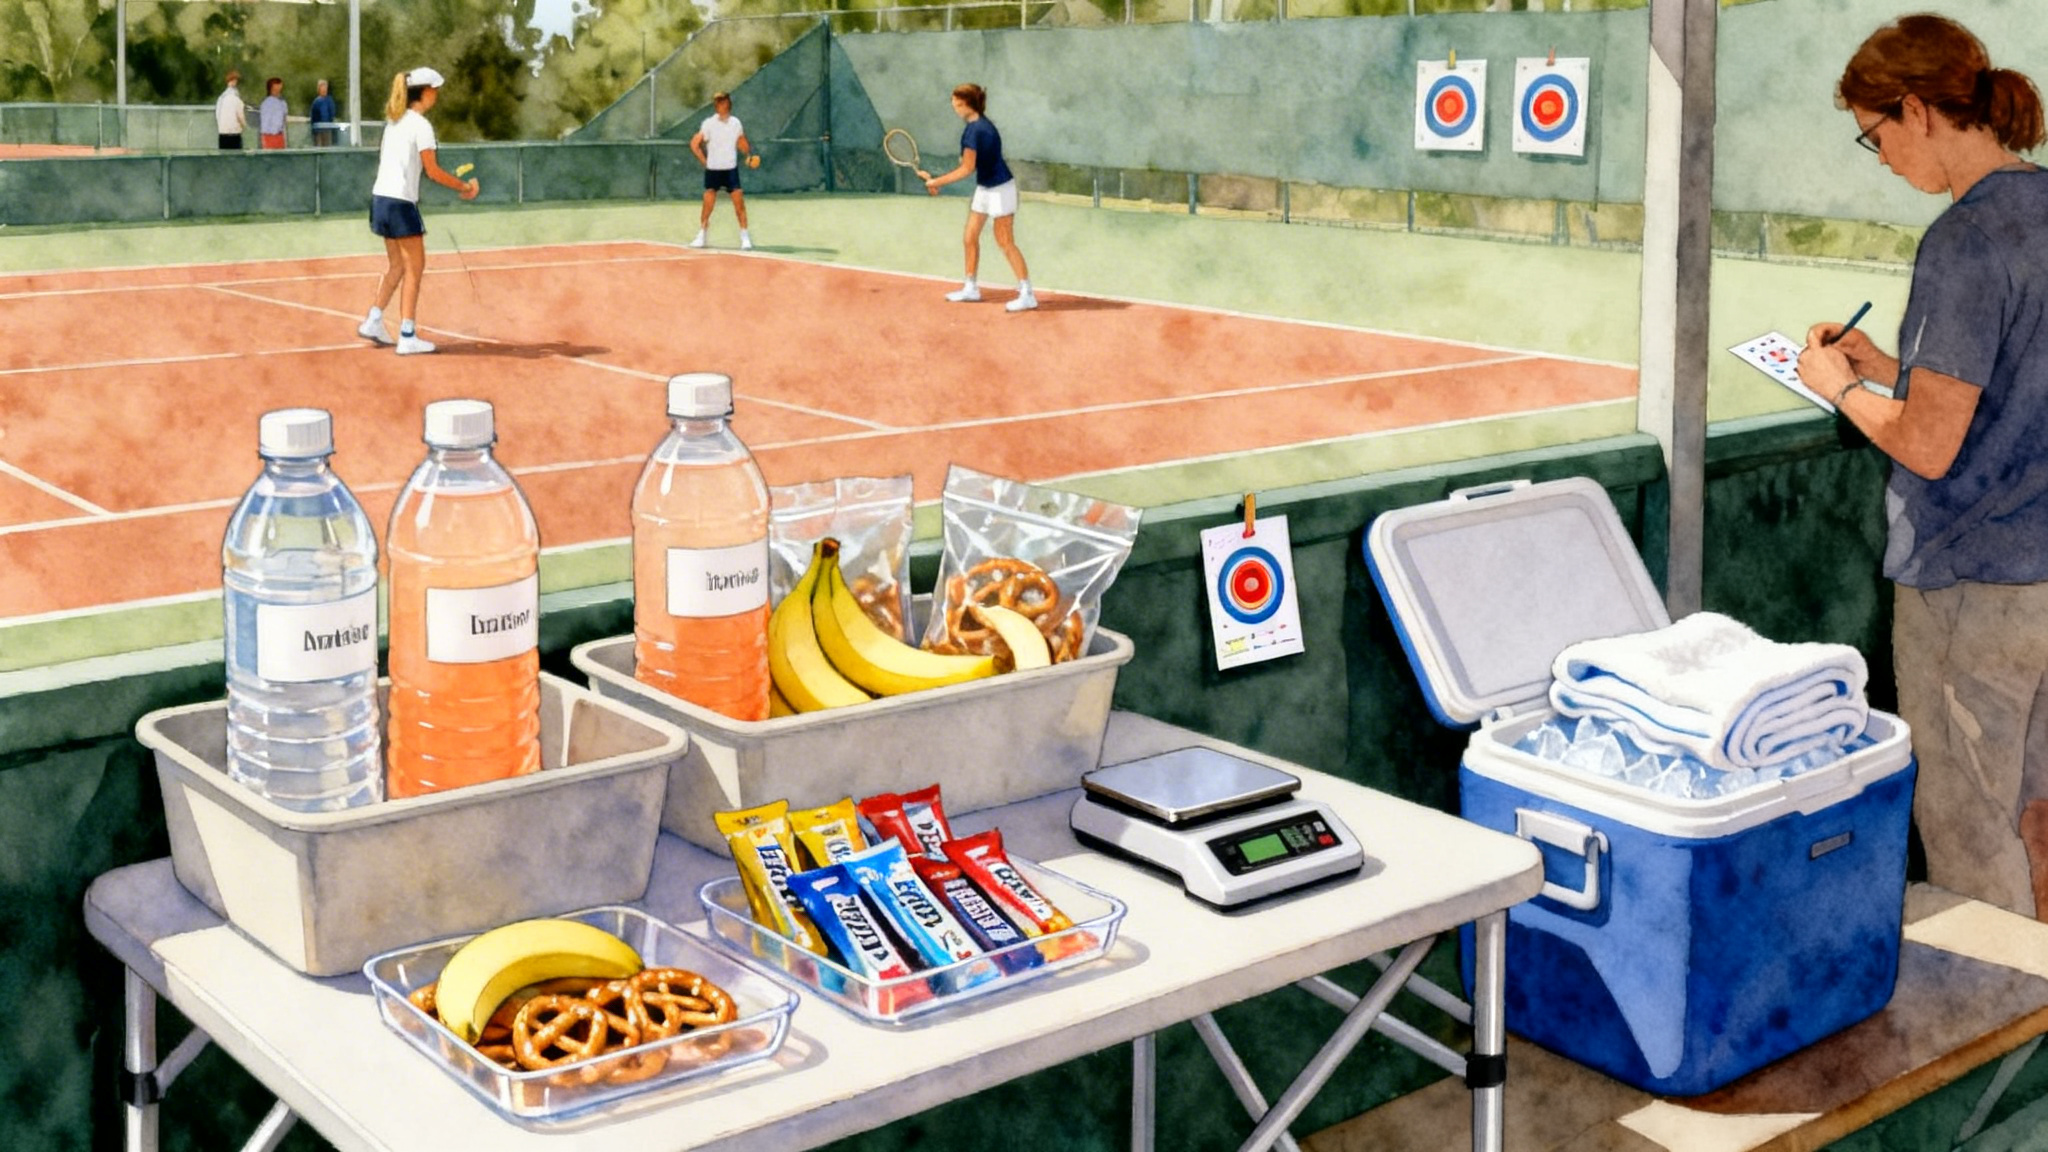
Quick home serve assessments, ten minutes total
You can check three drivers at home or on a quiet court with a phone and simple tools. These are not about perfection. They are about giving today’s practice a clear aim.
- Toss accuracy, three by three grid
- Tape a three by three square on the driveway with painter’s tape, each box about twelve inches across. Stand in your service stance and release the toss. The ball should land in the front middle box for a flat serve, or front right box for a slice serve if you are right-handed. Do ten tosses. Goal: seven out of ten in the same box. If you miss, video your hand. Check for wrist flicks or elbow bend.
- Contact height, string brush test
- Stand near a wall. Shadow the serve and brush the wall with the racquet strings at "contact." The highest safe brush point that you can reach without leaning backward is your working contact height. Mark that spot with tape. Use it as a visual on court by imagining the tape above the ball.
- Rhythm, metronome clarity
- Use a metronome app or a simple online metronome. Count 1 at the start, 2 at peak toss, 3 at contact. Record three serves at 56 beats per minute. If your contact keeps arriving late to the third beat, your toss is likely too high or your launch is slow. Lower the toss by two inches and retest.
Micro strength and stability add-ons
You do not need a gym to build a stronger, safer serve. Add these short blocks three times per week. These are general recommendations. If you have shoulder or back pain, consult a qualified clinician.
- Scapular slides against a wall, two sets of ten: Keep ribs down, slide forearms up the wall without shrugging. Builds upward rotation for a smooth shoulder over shoulder pattern.
- Half-kneeling anti-rotation press, two sets of twelve per side: Hold a light band attached to a door. Press the handle straight out, resist any twist. Teaches the trunk to transfer force without arching the back.
- Heel-to-toes calf raises, three sets of fifteen: Drive through the big toe. Improves ankle stiffness for a crisp upward push.
- Forearm pronation turns with a hammer, two sets of twelve: Hold a hammer at the end, lift the head by turning the forearm in, then control back. This maps directly to edge-on contact with pronation.
- Hip airplane to balance, two sets of five per side: Hinge on one leg, open the pelvis, then close it, stand tall and hold balance for two seconds. This connects the landing phase to a stable finish.
A few trusted brands make reliable mini bands, light medicine balls, and shoulder care tools, including OnCourt OffCourt and TheraBand. Use what you have first, then invest if the habit sticks.
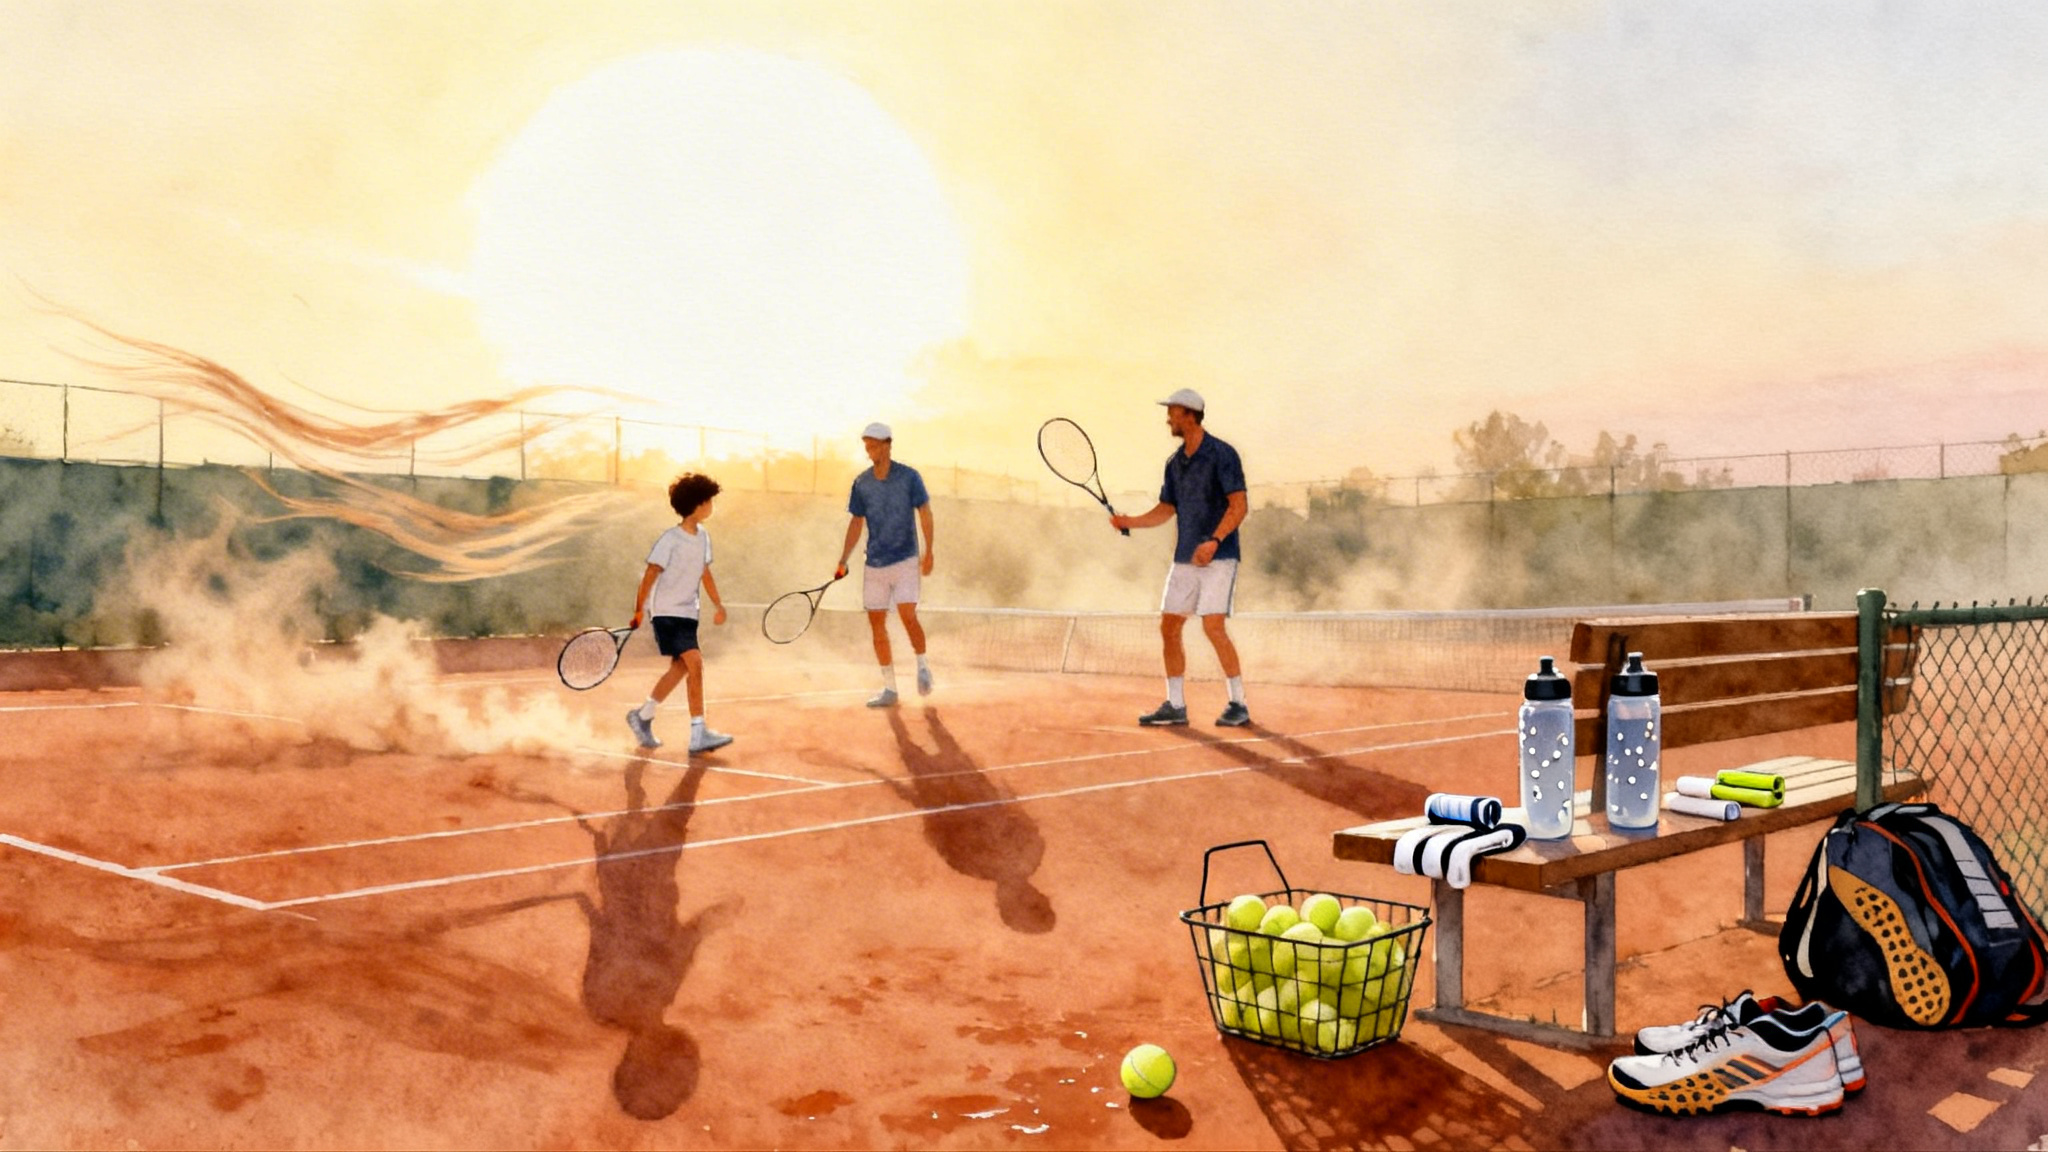
Parent coaching scripts that actually work
Parents are powerful practice partners. The key is to be specific, brief, and consistent. Use scripts that cue action, not judgment. Here are scripts mapped to each checkpoint.
- Base posture: "Show me tall crown and soft knees. Can you wiggle your toes before you start?"
- Toss window: "Palm to the sky, lift from the shoulder, release by your eyes."
- Shoulder over shoulder: "Point the front fingertips to the clouds, zip the back pocket to the fence."
- Edge-on with pronation: "Edge to the ball, high five the sky."
- Balanced finish: "Hold your landing for two seconds, nose through the window."
How to use scripts on court:
- One script per ball. If the child misses, repeat the same script on the next ball. Only change the script after three to five attempts. This protects attention and reduces frustration.
- Track what works. Keep a tiny notebook or a note on your phone. List the script that produced the best contact that day. Bring that script to the next session.
Fixes for common adult returner faults
Yes, this is a serve article. Adults who struggle with the return often carry habits that creep into the serve as well, especially with posture, timing, and contact awareness. Cleaning up the return sharpens these patterns and makes your serve practice more efficient. For a full return system, see Master the Return in 2026.
- Fault: Choppy or late split step that lands as the opponent hits. Fix: Start your split as the opponent’s arm rises, land as the ball leaves the strings. Use a soft two-inch hop, feet slightly wider than shoulder width. Cue: "Up as they go up, down as they go down."
- Fault: Early backswing that freezes the torso. Fix: Keep the racquet out front as the ball crosses the net, then turn the shoulders as you step. This sequencing maps to shoulder over shoulder timing on serve.
- Fault: Standing too close to the baseline and crowding the bounce. Fix: Move half a step back to give the ball space to rise. This encourages a taller spine and a cleaner contact window on both return and serve.
- Fault: Reaching across the body on backhand returns. Fix: Step and turn, then swing. Use a short, calm swing that finishes high. The feel of edge-on to contact, then a turn, mirrors serve pronation timing.
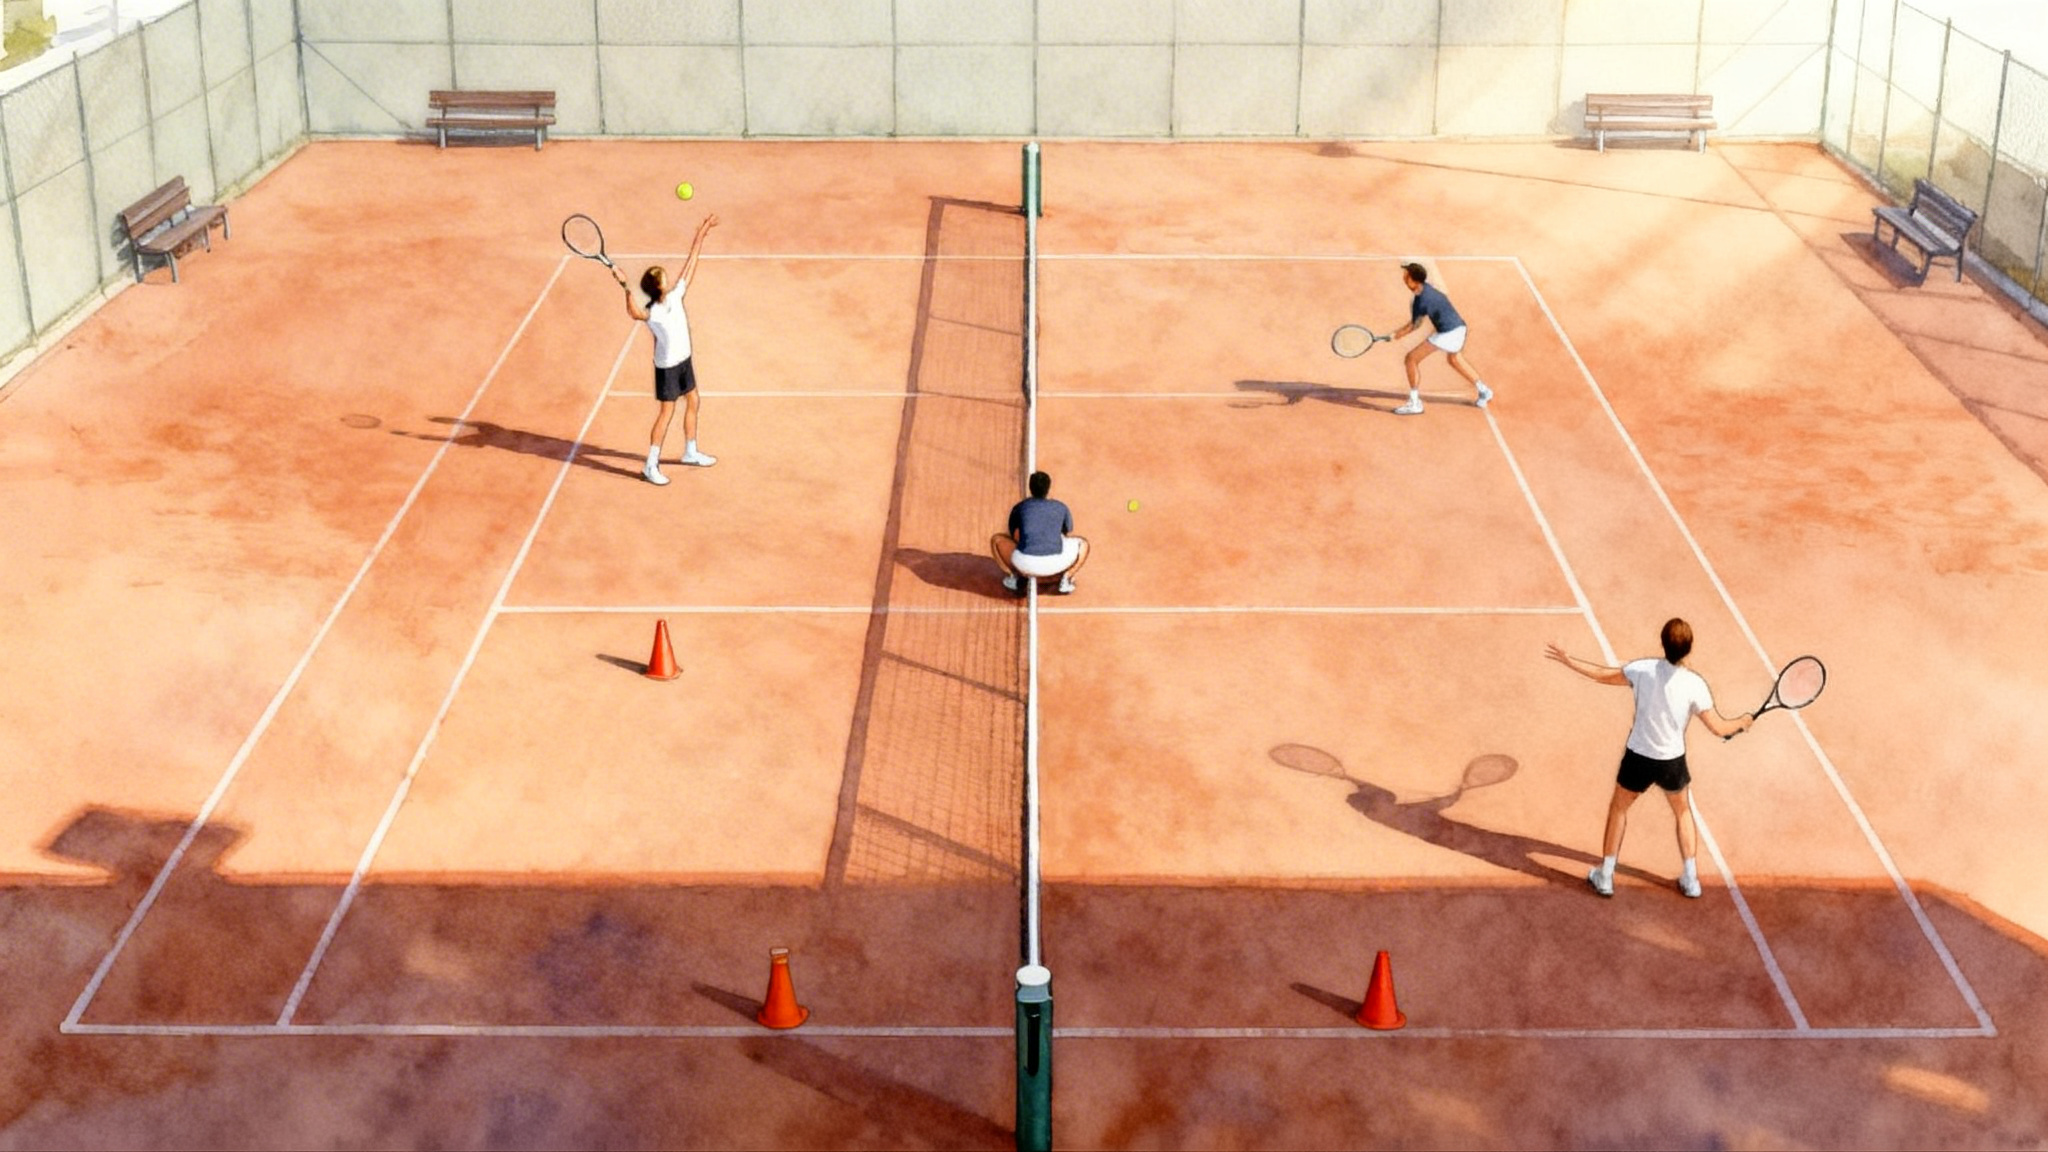
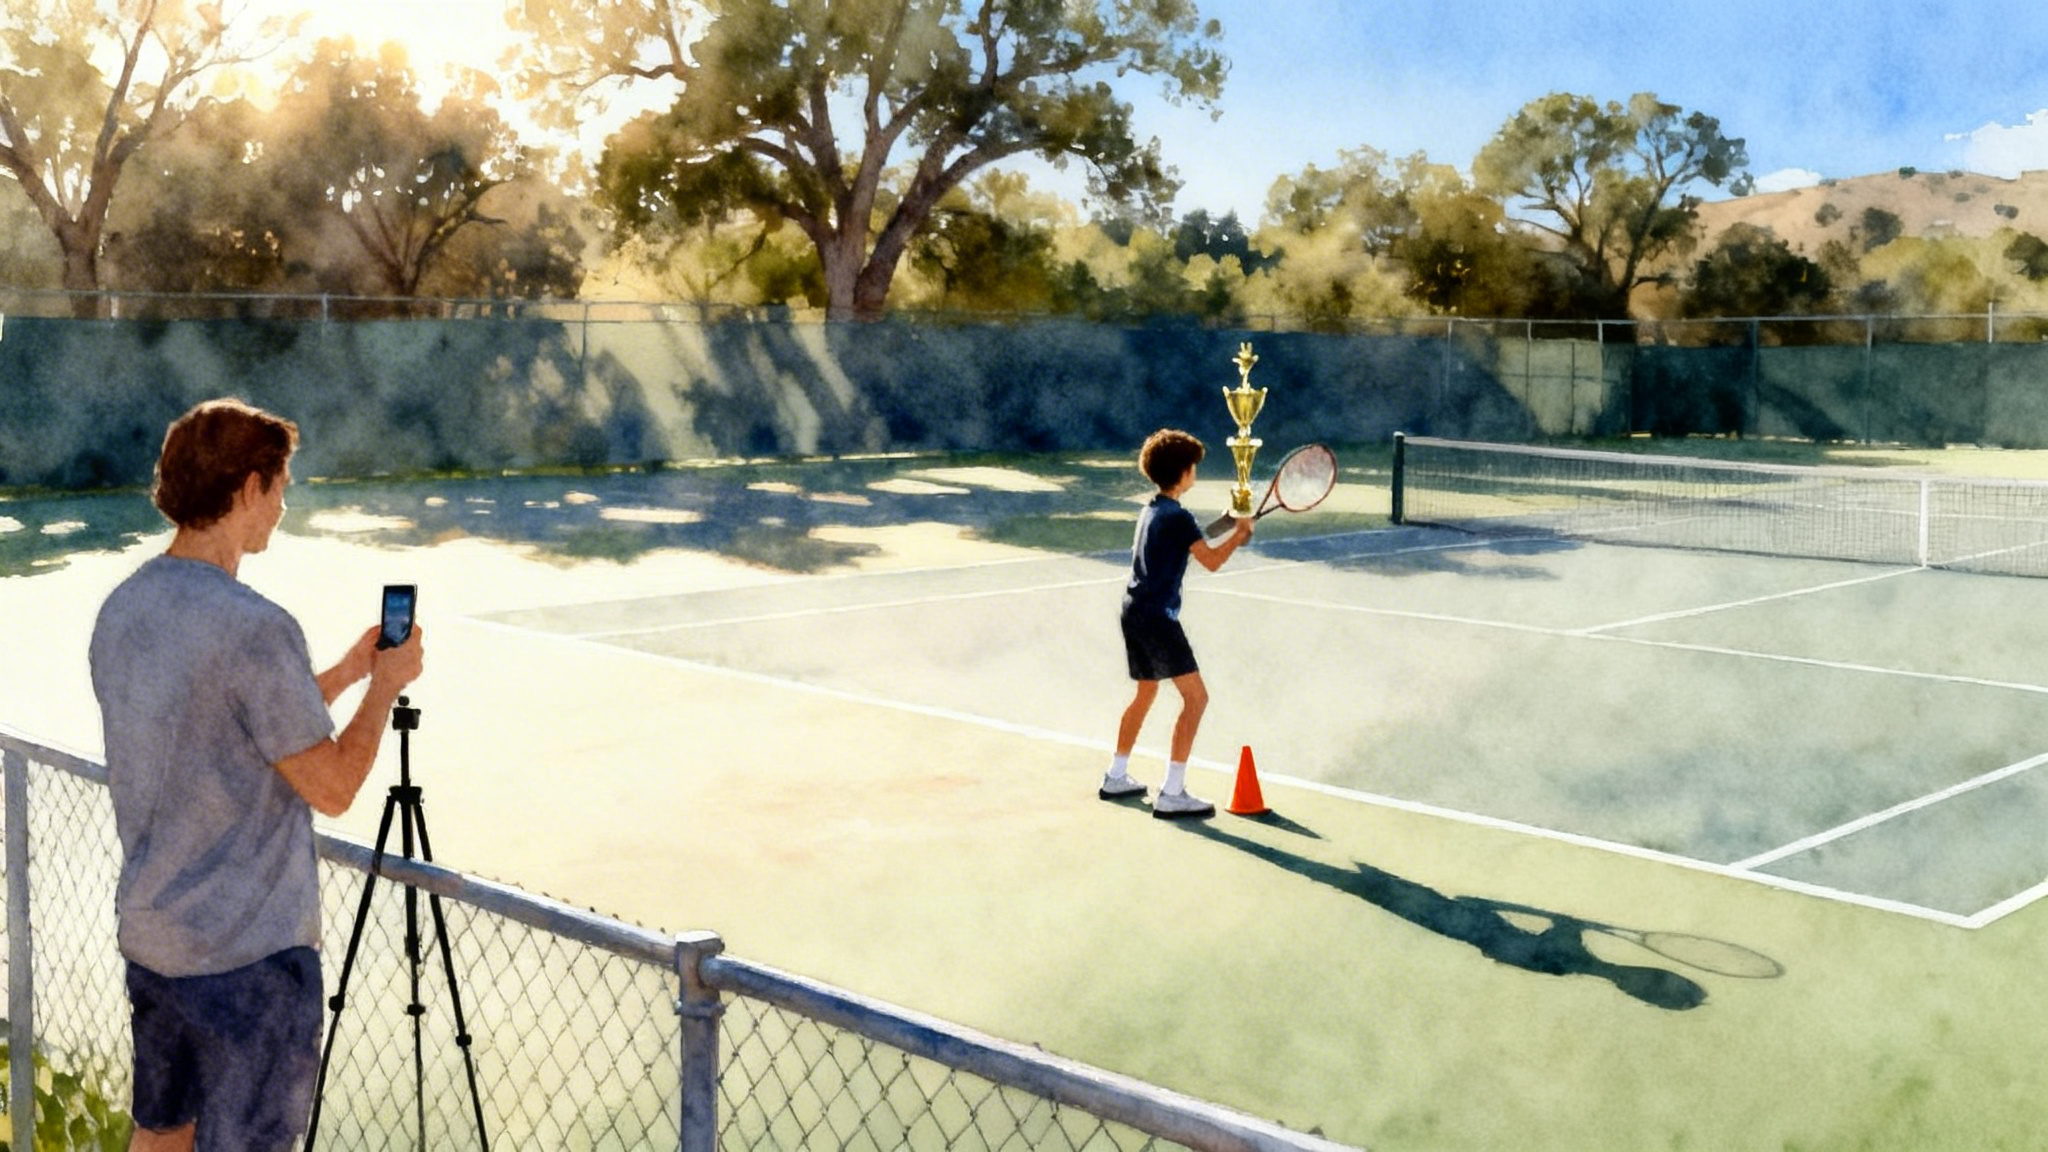
Case study: Legend Tennis Academy, Spicewood, Texas
Legend Tennis Academy in Spicewood, Texas, has run serve tune-ups for juniors and adults for years. In a recent spring block, a junior group in the green ball stage worked through the five checkpoints as a shared language. The coaches placed a tape window near the baseline for toss training, used phones for slow-motion checks on pronation, and ended each session with a two-second balance hold after contact.
One player, a ten-year-old right-hander, had a drifting toss and a flat rotation around the waist. The coach used the script "tape, edge, turn, hold." They started with ten tosses to the tape, no hits, then added half-speed serves with the hammer-to-sky drill. In two weeks the child could land seven out of ten tosses in the target window, and the finish pose was steady. The change showed up in match play as cleaner contact and more confident second serves.
In the adult program, a group of weekend players met on Friday mornings for focused serve practice. Many showed a pancake contact and a falling finish. The coach layered one change at a time, starting with base posture and toss window. The key was patience. Players avoided tinkering with everything at once and instead honored the order. The head coach summarized it well: when the checkpoints are clear, improvement stops feeling mysterious.
A two-week blueprint you can start today
Here is a simple plan that fits busy lives. Each on-court session is about thirty minutes. Add the micro strength block afterward or on off days.
Week 1
- Day 1: Base posture and toss window. Ten minutes of toss only. Ten minutes of half-speed serves. Finish holds for two seconds.
- Day 2: Shoulder over shoulder. Three sets of shadow swings with tilt cues, then two sets of eight serves at half speed.
- Day 3: Edge-on with pronation. Hammer to sky drill, then eight serves with soft targets. Film the last six from behind.
- Day 4: Balanced finish and rhythm. 1-2-3 metronome practice, six balls per rhythm. End with two in a row to the deuce box.
- Day 5: Review video. Identify the earliest checkpoint that breaks. Revisit that single piece for twenty minutes.
Week 2
- Day 1: Add spin choice. Four flat, four slice, four kick, all with balance holds.
- Day 2: Serve plus one. Serve, recover, hit a shadow groundstroke to the open court. This links landing to movement.
- Day 3: Accuracy ladder. Three targets front to back in the deuce box. Record makes and misses. Adjust toss window as needed.
- Day 4: Speed day. Warm up slowly. Then hit three sets of four serves at your smoothest fast tempo. Stop if form breaks.
- Day 5: Assessment day. Repeat the three home tests. Compare to last week. Note which script moved the needle.
Troubleshooting guide by checkpoint
- If the toss floats behind you: Start the toss from your front thigh, keep the palm open to the sky, and release near eye height. Practice in front of a mirror to see wrist neutrality.
- If your lower back aches: Reduce your lean. Find shoulder over shoulder by lifting the tossing arm higher and letting the back heel rise naturally. Use the half-kneeling anti-rotation press in your strength block.
- If you slap the ball flat: Rebuild edge-on. Shadow up to contact with the frame showing its edge, then add a gentle forearm turn through the ball. Use the hammer drill daily until it feels normal.
- If you fall after contact: Land the back foot forward with a soft knee and a tall chest. Imagine your nose and zipper moving through a window in front of you.
Make coaching measurable
Bring a small notebook to the court. Write today’s single focus, the script you will use, and a simple score.
- Toss accuracy: Ten tosses, goal of seven in the window.
- Finish holds: Ten serves, goal of eight steady two-second poses.
- Rhythm feel: Which metronome number produced the best contact. Keep that number for next session.
If you like printable tools, download our free checklist that matches these five checkpoints and assessments. It fits on one page and keeps parents and players aligned. You can grab it on our site: serve blueprint checklist.
The call to get your serve right
Great serves are built, not born. The five checkpoints give you a shared language, the age-specific drills scale the task, the home assessments sharpen feedback, and the micro strength routine protects your progress. If you want a coach to validate your form and speed up the process, book a focused thirty minute analysis with our team. We film from two angles, measure your toss window, check contact height, and leave you with one or two scripts to use for the next two weeks.
Ready to remove guesswork and turn your serve into a weapon you trust under pressure? Book a serve assessment with us today: book a serve assessment.