Smartphone Tennis Video in 2026: Setup, Checklists, and a Weekly Loop
Turn your phone into a coach. This 2026 guide shows juniors, parents, and adult players how to film from baseline, sideline, and behind, tag rallies and errors, and run a 7 day loop that converts clips into targeted drills.

Why smartphone video is your most coachable habit in 2026
Great tennis is pattern recognition under pressure. Your phone is already good at pattern recognition. It records what really happened rather than what you felt happened. In 2026, the camera and storage on even midrange phones are more than enough to capture repeatable evidence. The goal is simple: get clean angles, tag the moments that matter, and turn those patterns into one small improvement per week.
This guide is a device‑first workflow for juniors, parents, and adult players. You will learn exact camera positions, a 10‑point capture checklist, simple tags that travel from court to coach, and a 7‑day loop that turns short clips into targeted drills. We will also cover parent filming etiquette and how an academy like Legend Tennis Academy can plug your clips into measurable skill work. We will not cover recruiting, detailed serve mechanics, return systems, footwork blueprints, or doubles playbooks.
If you want deeper technique frameworks, see the 2026 Tennis Serve Blueprint and Master the Return in 2026.
The three camera positions that always work
Angles decide what you can learn. Use these three positions for nearly every session. Distances reference a regulation court. If you need measurements, see the official court dimensions.
1) Behind the baseline
Primary view for patterns and depth control.
- Location: Two to three feet behind the fence or back curtain, centered on the center mark. If the fence is close, mount at chest height on the fence.
- Height: About 5 to 6 feet off the ground. Eye height matches the player perspective without tilting the phone too far upward.
- Framing: Include both sidelines and the far baseline. Keep a small margin of sky so the auto exposure does not darken the court. The near baseline should sit in the lower third of the frame.
- Use cases: Rally patterns, depth zones, width, recovery spacing, decision making after neutral balls.
2) Sideline at the service line
Best for contact height and spacing to the ball.
- Location: On the doubles sideline at the service line, pointing across the court.
- Height: About 4 to 5 feet.
- Framing: Include the striker from hip to just above the contact point. Keep the ball flight in frame for at least one bounce.
- Use cases: Timing, spacing, spacing errors on high or low balls, balance at contact.
3) High behind the receiver
Reveals return of serve and first four shots of the point. Use during match play or live practice sets. This is the only behind angle that is not focused on detailed serve mechanics.
- Location: Behind the receiver at center. If you can mount higher on the fence, even better.
- Height: 7 to 8 feet if possible. Higher gives a tactical map.
- Framing: Capture both service boxes and the server.
- Use cases: First strike decisions, neutral ball tolerance, depth on the first two groundstrokes.
Recommended camera settings that hold up in daylight and under lights
- Resolution: 1080p is the sweet spot. It keeps files small and detail high.
- Frame rate: 60 frames per second captures contact moments without making files unwieldy. Use 120 frames per second for short slow‑motion clips of a single swing sequence when you need fine timing.
- Stabilization: Keep it on when handholding. Turn it off when the phone is hard mounted and the view wobbles or warps. Static is ideal.
- Focus and exposure: On iPhone, tap to focus and hold to lock. On many Android phones, tap and hold to lock. Reduce exposure by a third of a stop if the court is very bright.
- File management: Record in short segments. Two to four minutes per clip is easier to tag and share than a 45‑minute block.
If your Android phone does not let you fix frame rate, a free app like Open Camera for Android can lock 60 frames per second and control exposure.
The 10‑point capture checklist
Use this before every hit. It reduces retakes and keeps your workflow simple.
- Battery at 40 percent or more. Bring a small power bank if you plan to film a full match.
- Storage check. You need at least 5 gigabytes free for a typical 60‑minute session at 1080p60.
- Lens clean. A microfiber wipe prevents blur and flare.
- Mount stable. Use a fence mount, clamp tripod, or a mini tripod on the bleachers. A backpack propped with shoes is a last resort.
- Frame the court. From behind, show both sidelines and the far baseline. From the side, keep the hitter and first bounce in frame.
- Lock focus and exposure. This keeps contact crisp when clouds pass.
- Turn on airplane mode. Eliminates calls and saves battery.
- Cue the drill or set. Say the drill name aloud at the start. The audio becomes your tag anchor.
- Record short segments. Two to four minutes beats a single marathon file.
- End with a marker. Wave or clap once at the end of a useful rally string so it is easy to find in the timeline.
Print this checklist or save it as a pinned note. The moment you can run it from memory, your capture quality will feel professional.
Free apps that cover the whole workflow
All you need is capture, trimming, slow motion, and a way to store and share.
- Built‑in Camera apps: iPhone and most Android phones shoot clean 1080p60 and short slow motion. Use these for primary capture.
- iOS editing and review: Photos for trimming and scrubbing frame by frame. iMovie for quick side‑by‑side splits. Clips for quick vertical edits of one theme.
- Android editing and review: Google Photos for trimming and slow‑motion playback. Open Camera for capture control if your default app limits frame rate.
- Cross‑platform editors: CapCut and VN are free and fast for highlight cuts or multi‑clip comps. Keep exports at 1080p to speed uploads.
- Desktop for deeper review: Kinovea on Windows is free and gives reliable frame advance, basic drawing tools, and side‑by‑side. Useful if you prefer to review at home on a big screen.
- Cloud storage: Google Drive, iCloud, or Dropbox. Create a simple folder tree: year, month, day, session type. Example: 2026 > 03 Mar > 07 Practice Set > Court 5.
These tools are not about special effects. They make it easy to find, trim, slow, and share short clips. That is enough.
Simple tags that survive the real world
Tags must be fast to add, easy to read, and specific enough to drive a drill. Keep them short and consistent. A tag is a three‑part stamp: rally length, depth zone, error type. Add a fourth if needed for direction.
- Rally length: R3, R5, R8, R12. Count total ball strikes in the point. Example: R8 means an eight‑shot rally.
- Depth zones: Z1 short inside service line. Z2 deep to baseline inside singles court. Z3 past the baseline for forced defense. These map to tactical pressure without measuring tape.
- Error types: NET, LONG, WIDE. Add UF for unforced or F for forced if known. Keep it simple unless you are certain.
- Direction: C for crosscourt, D for down the line, M for middle.
A complete tag might read: R6 Z2 NET C. That means a six‑shot rally ended in a net error on a crosscourt ball, and most balls landed in the deep zone. In your phone notes or a spreadsheet, use one row per clip with columns for date, opponent or drill, score if match play, and the tag. Create a simple sheet that mirrors these fields so your notes match what a coach expects.
How to tag without slowing practice
- Use your voice. At the end of a rally you want to keep, say R8 Z2 LONG C. You can add text later while listening.
- Tag only the telling rallies. Three to five rallies per set is enough to find a weekly theme.
- Be consistent. Use the same codes every time so weeks compare cleanly.
A 7‑day loop that turns clips into targeted drills
This loop assumes two sessions on court in a week. If you only play once, stretch the loop across two weeks. The point is rhythm. Capture, review, convert to one drill, measure, and adjust.
Day 1: Capture
- Set the behind‑baseline camera and a sideline camera if you have a second device.
- Record two to four minute blocks of live hitting, point play, or practice sets.
- Mark the telling rallies with a clap or a spoken cue.
Day 2: Clip and tag
- Trim to the ten to fifteen rallies that show a pattern.
- Add tags using the three or four‑part code. Example entries: R5 Z1 LONG M. R8 Z2 NET C. R4 Z3 F WIDE D.
- Save to a shared folder with the date and opponent or drill name.
Day 3: Pattern find
- Tally the tags. Which two tags repeat the most across the set or match.
- Decide one theme. Examples: Too many Z1 balls under neutral pressure. Rallies dying in NET on crosscourt forehands after R4. Not enough Z3 balls on first strike after return.
- Write a weekly hypothesis. Example: When my first neutral ball lands Z1, my opponent takes control inside the baseline.
Day 4: Convert to a single drill
Build a drill that mirrors the situation. Keep it specific and measurable.
- If the theme is Z1 depth under neutral pressure: Play a cooperative rally to eight shots where your balls must land Z2 or deeper. Use cones on the service line to make Z1 obvious. Score a point each time you keep four or more in Z2 during one rally.
- If the theme is crosscourt forehand NET errors after R4: Feed a neutral crosscourt ball. Play out crosscourt only. Every rally to five shots without a net error scores one. If you miss into the net, reset.
- If the theme is not enough Z3 first strike after return: In practice sets, on the first ball after your return, try to land Z3 once per game. Keep a small counter on the bench.
Day 5: Execute the drill and film one set
- Warm up, run your single drill for 15 to 20 minutes, then switch to a practice set.
- Film one segment from behind baseline. Keep the camera in the same position as Day 1.
- Tag only the rallies that reflect the weekly theme. You only need five to eight.
Day 6: Compare and communicate
- Tally the new tags and compare to Day 2. Did Z1 shrink. Did NET errors drop after R4.
- Save two before‑after clips that prove the change. One success, one where it failed.
- If you work with a coach or an academy, share only those two clips plus your tally. Signal to noise improves.
Day 7: Lock the change
- Write a one‑sentence rule that you can carry into matches. Examples: My first neutral ball targets Z2 middle. On rally ball five I lift clearance by one foot. After a crosscourt exchange I hold width for one extra shot before changing direction.
- Archive the week. Move raw files to long‑term storage and keep only the two proof clips in your highlights folder.
The final step matters. You are training memory, not only mechanics. One clear rule per week compounds.
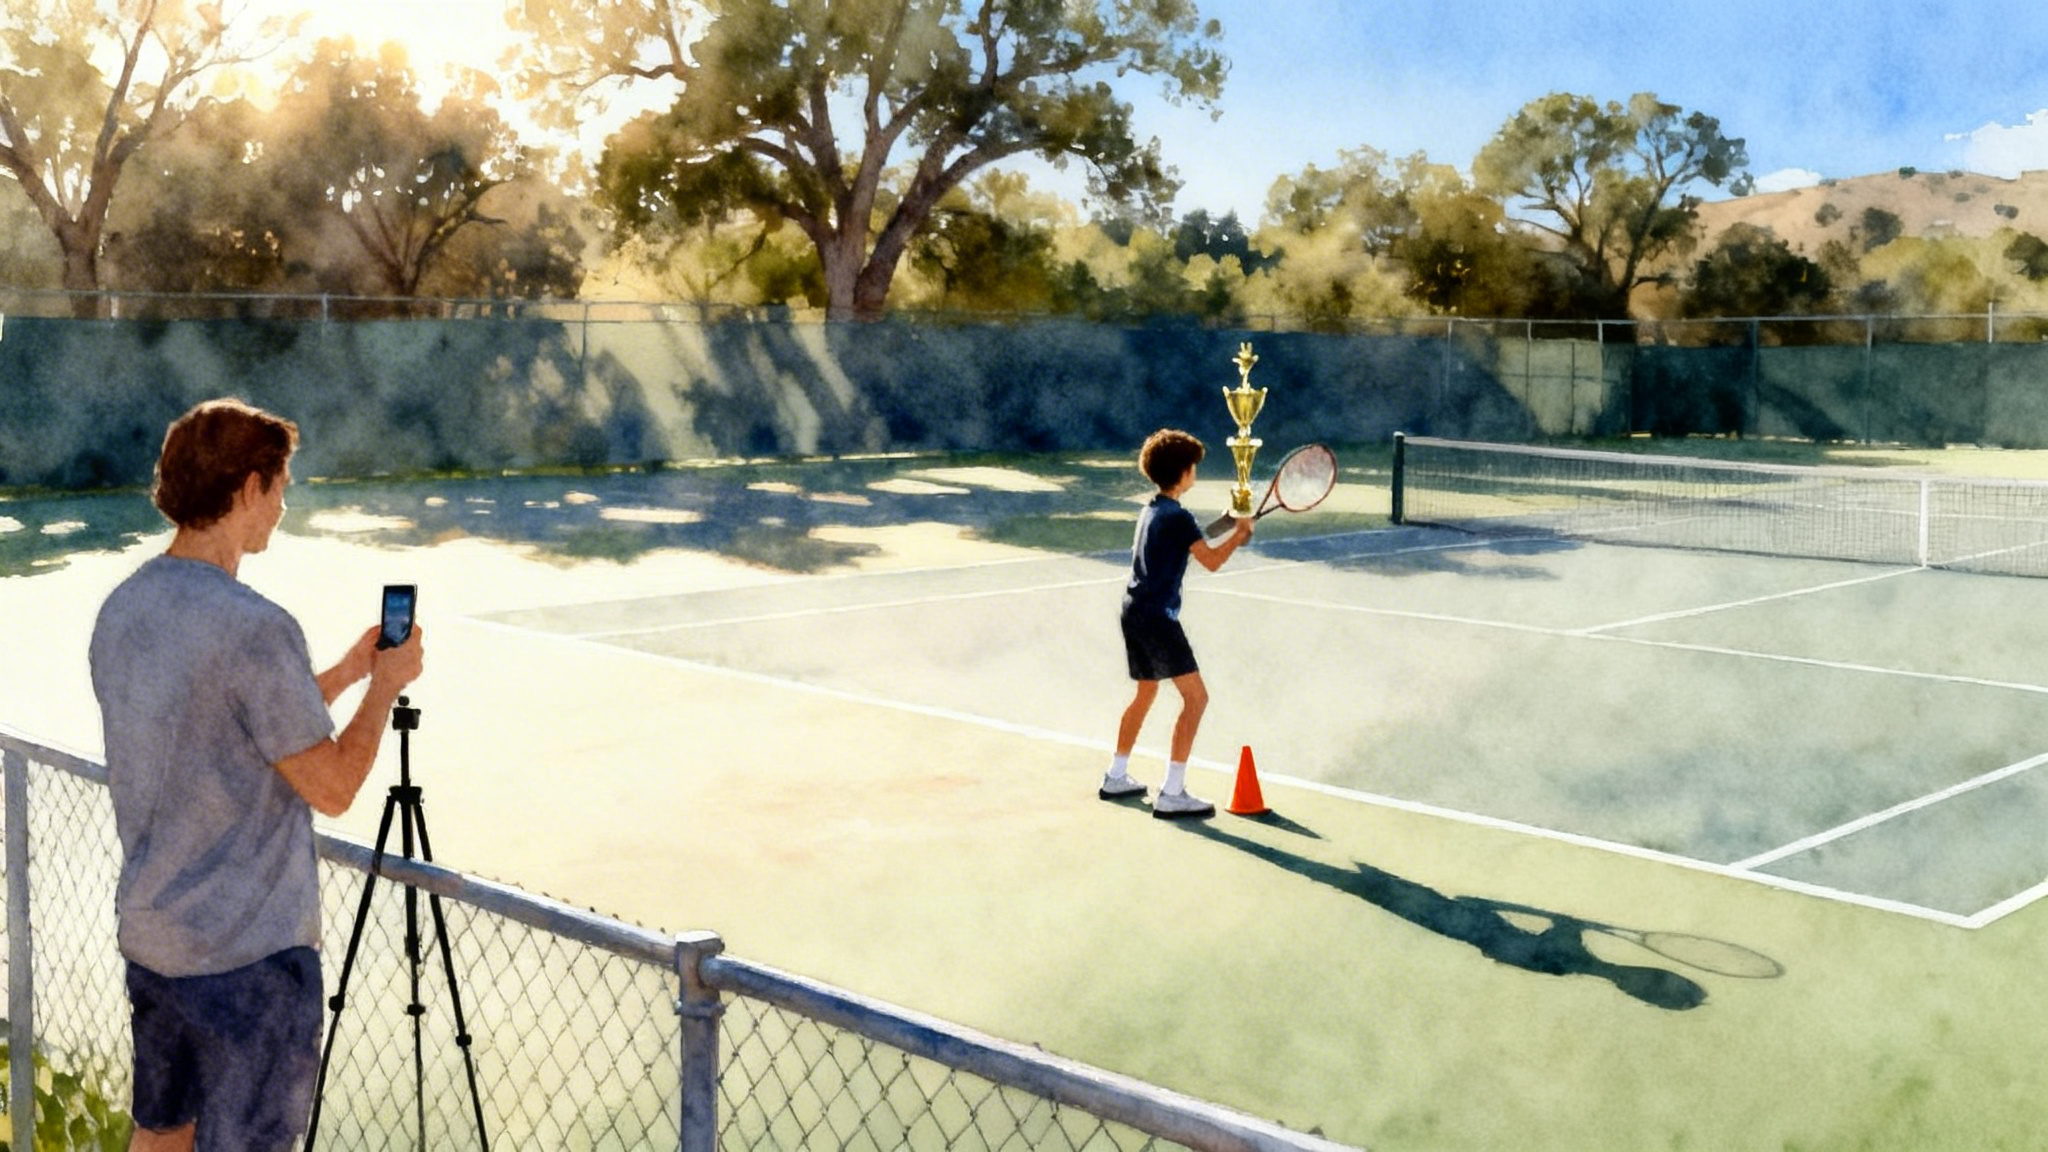
Parent filming etiquette that keeps the peace
Parents are the biggest performance advantage when they film well. They can also create friction if they overstep. Share this section before you hit record.
- Ask permission. Confirm with the opponent, coach, and facility that filming is allowed.
- Be invisible. Choose the behind‑baseline fence angle or a back‑row bleacher seat. Do not follow the ball with the camera. Set it and leave it.
- No live coaching. Even positive comments change the tone. Let the video do the talking later.
- Keep quiet during points. Use the audio channel only to mark the start or end of a drill.
- Respect privacy. If you plan to post a clip publicly, crop out faces of other players or ask consent.
- Safety first. Do not block walkways with tripods or cables. Keep bags under benches.
- Share lightly. Send only the two or three clips that show a pattern. Your coach will thank you.
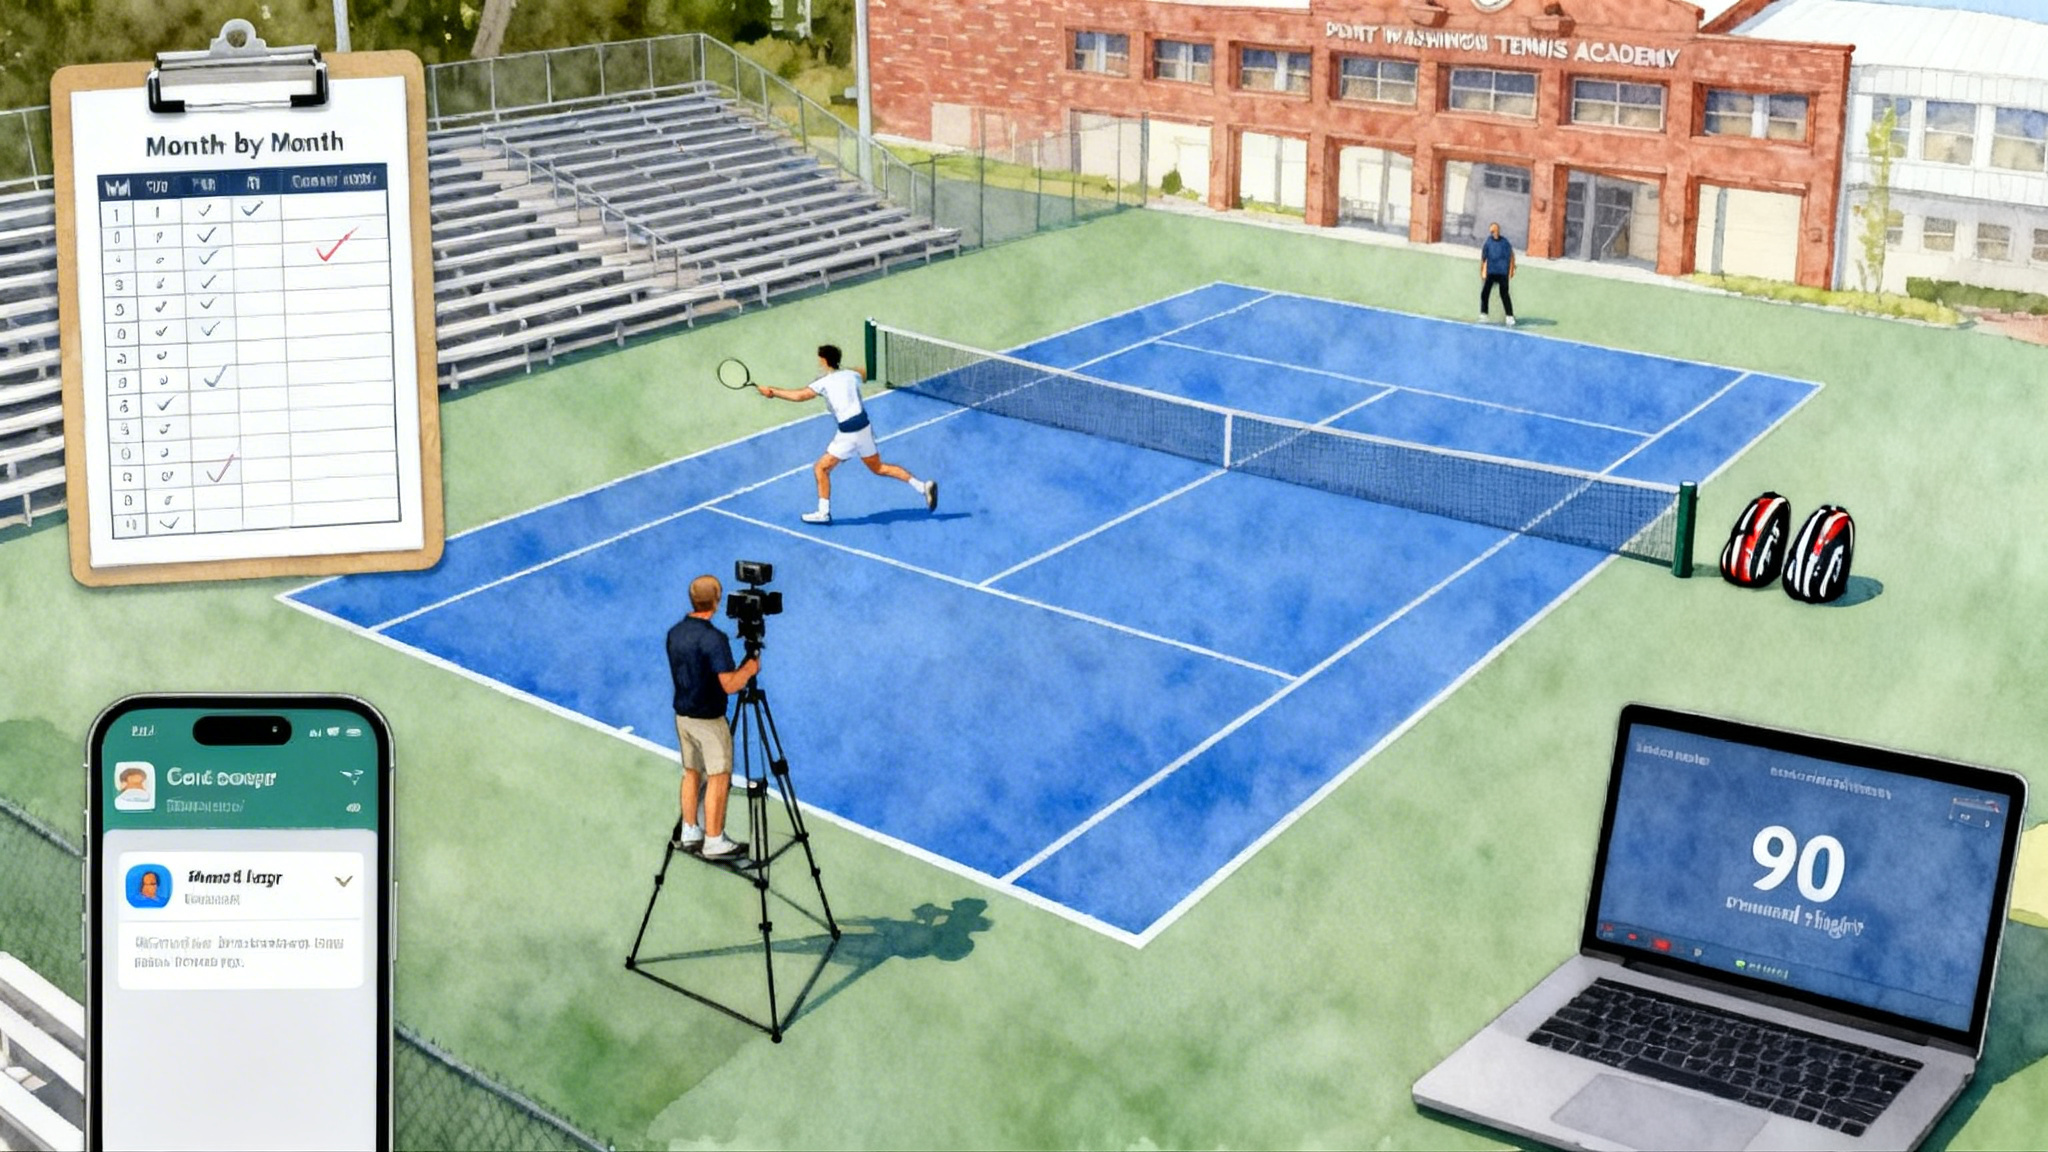
How an academy like Legend Tennis Academy plugs in your clips
A good academy meets your workflow where it lives. Legend Tennis Academy is a useful model for how to turn short clips into measurable skill work without drifting into recruiting or full technical playbooks.
- Intake: You submit eight to twelve tagged clips from two sessions. The tags follow the R length, Z depth, and error type format.
- Summary metrics: The academy converts tags into two numbers per theme. Example: Z1 rate on neutral forehands. Crosscourt NET errors after rally shot four. First strike Z3 attempts per set.
- Target: They set one weekly micro target. Example: Cut Z1 neutral forehands from 28 percent to 18 percent. Or produce two Z3 first strike balls per game on return games.
- Prescription: They send back one drill card with setup, scoring, and constraints that exactly match your clips. The card tells you where to place cones, which angle to film, how many reps to run, and how to score it.
- Turnaround: Because you send short clips with clear tags, feedback arrives within 48 hours.
- Verification: After your next session, you send two proof clips that hit the target and two misses that still need work. The academy updates the next drill card accordingly.
This plug‑in approach keeps agency with the player. It is your data, your clips, and your rules. The academy provides translation and pressure tests.
Troubleshooting and small optimizations
- Wind noise: Put the phone slightly behind the fence mesh or add a small stick‑on windscreen. Even a thin sock over a cage case reduces rumble.
- Harsh sun: Angle the camera so the sun is at your back. Lower exposure a third stop. A small clip‑on lens hood helps if you often shoot at noon.
- Focus hunting: Lock focus on the near baseline line. The court is flat. That lock keeps contact sharp.
- Heat and shutdowns: Shade the phone with a light towel. Set screen brightness to 50 percent. Airplane mode reduces background processing.
- Storage creep: Offload weekly. Keep only the proof clips on device.
- File names: Use a consistent stamp. 2026 03 07 Court5 Set1 R5 Z1 NET.
- Stabilization weirdness: If straight lines warp when the phone is mounted to a fence, turn off electronic stabilization. Static trumps software wobble.
- Cheap mounts that work: A spring clamp with a phone holder, or a purpose‑built fence mount with rubber feet. If you forget a mount, lace two zip ties through the fence into a loop and slide the phone in a thin case between them.
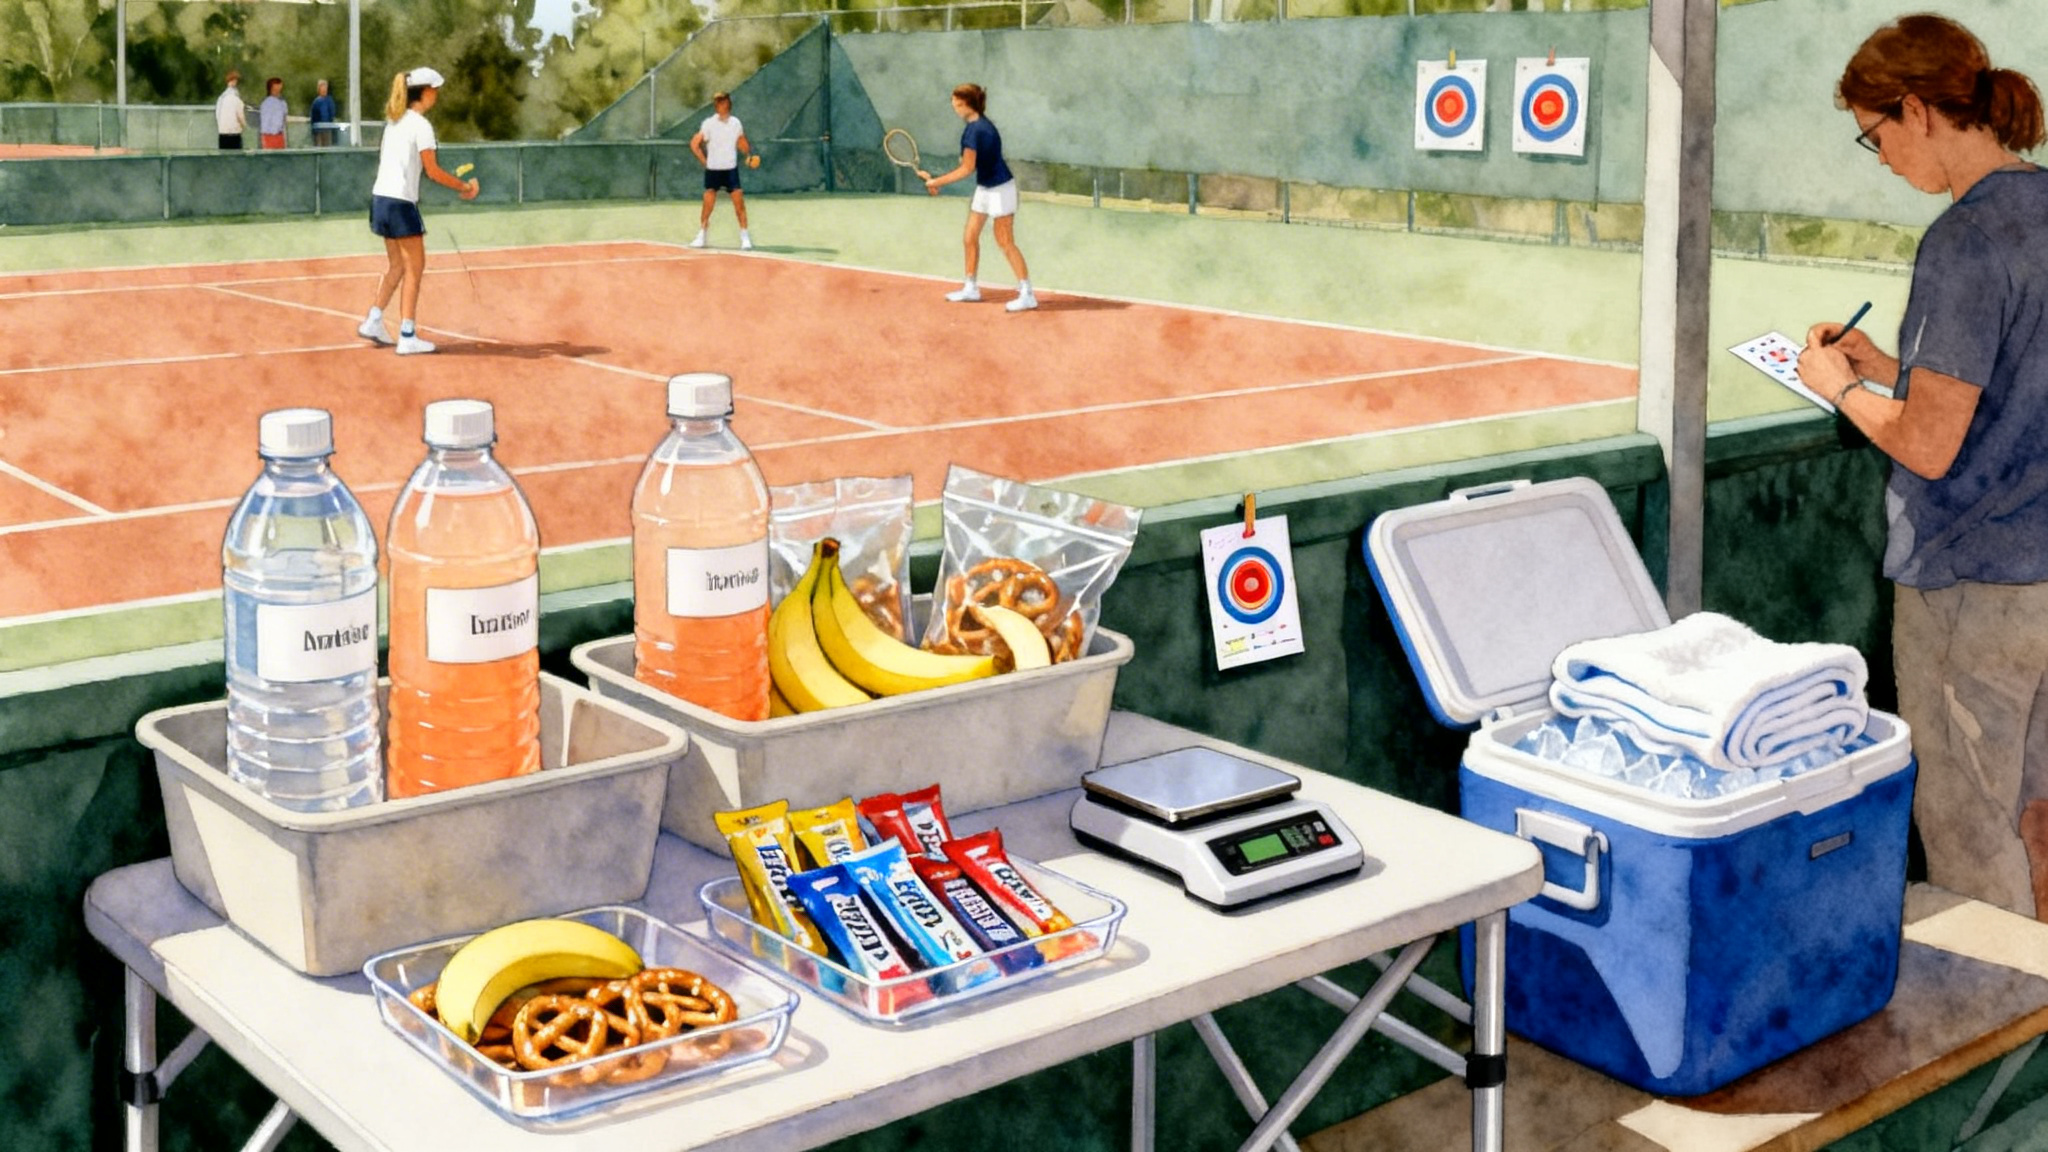
A sample week from a real player scenario
- Player: Adult 4.0 who plays two practice sets each week.
- Day 1 behind‑baseline capture: Ten rallies tagged. Five tags say R6 Z1 LONG C after a neutral exchange. Hypothesis: Depth drops under neutral pressure.
- Day 4 drill: Cooperative rally to eight. Only count points if four or more balls land Z2 or deeper. Two cones on the service line as a visual do‑not‑cross reminder.
- Day 5 film: New set shows R6 Z2 outcomes with fewer LONG tags. Player also records two Z3 first strike balls after a deep crosscourt. Proof clips saved.
- Day 6 compare: Z1 rate drops from 31 percent to 19 percent on neutral balls. Rule for matches: First neutral ball targets Z2 middle.
This is exactly how a one‑week change looks. Clear, boring, and repeatable.
Final thoughts
Smartphone video is not about perfect angles or cinematic edits. It is about building a small weekly loop. Capture from behind, sideline, and behind receiver. Tag rallies with length, depth, and error. Choose one theme. Run one drill. Verify with two proof clips. Then lock a one‑sentence rule you can carry into the next week. Do that for a month and you will own four new rules. Do it for a season and you will own a playing identity you can trust under pressure.
Your phone already knows how to record. Now let it help you learn.