Return of Serve Blueprint: Timing, Cues, Drills for Every Player
A level-based plan to fix the most ignored skill in tennis: the return. Learn split-step timing by serve speed, visual cues, compact swings, three drill ladders, at-home modules, simple tracking, and doubles patterns.
Why the return decides more points than you think
On most courts the return gets the least practice and the most blame. Players groan about big servers, then spend the next hour grooving forehands. The return is the only shot you hit every game and it starts the point on your terms. When you build a simple timing system, a short and reliable swing, and a drill routine you can repeat without a coach, your hold–break math changes fast.
This blueprint gives juniors, parents, and adults a shared language and a clear plan. You will get split-step timing windows matched to serve speed, visual cues that tell you what is coming, compact swing menus for each level, three progressive drill ladders, a 20-minute at-home module, simple tracking metrics that fit on a phone note, doubles patterns for college and no-ad play, and an optional clinic to pressure test your progress.
The big picture: simple rhythm, small swings, big targets
- Shorter is faster. You do not need a full forehand swing on the return.
- Feet set the table. Split on time, land balanced, move first, swing second. For faster stopping and balance, see the Stop Faster to Play Faster guide.
- Big targets win points. Middle and crosscourt beat down-the-line hero shots.
- Measure results. In-play percentage first, then depth, then direction.
Keep those four ideas in your head as we go from timing to tactics.
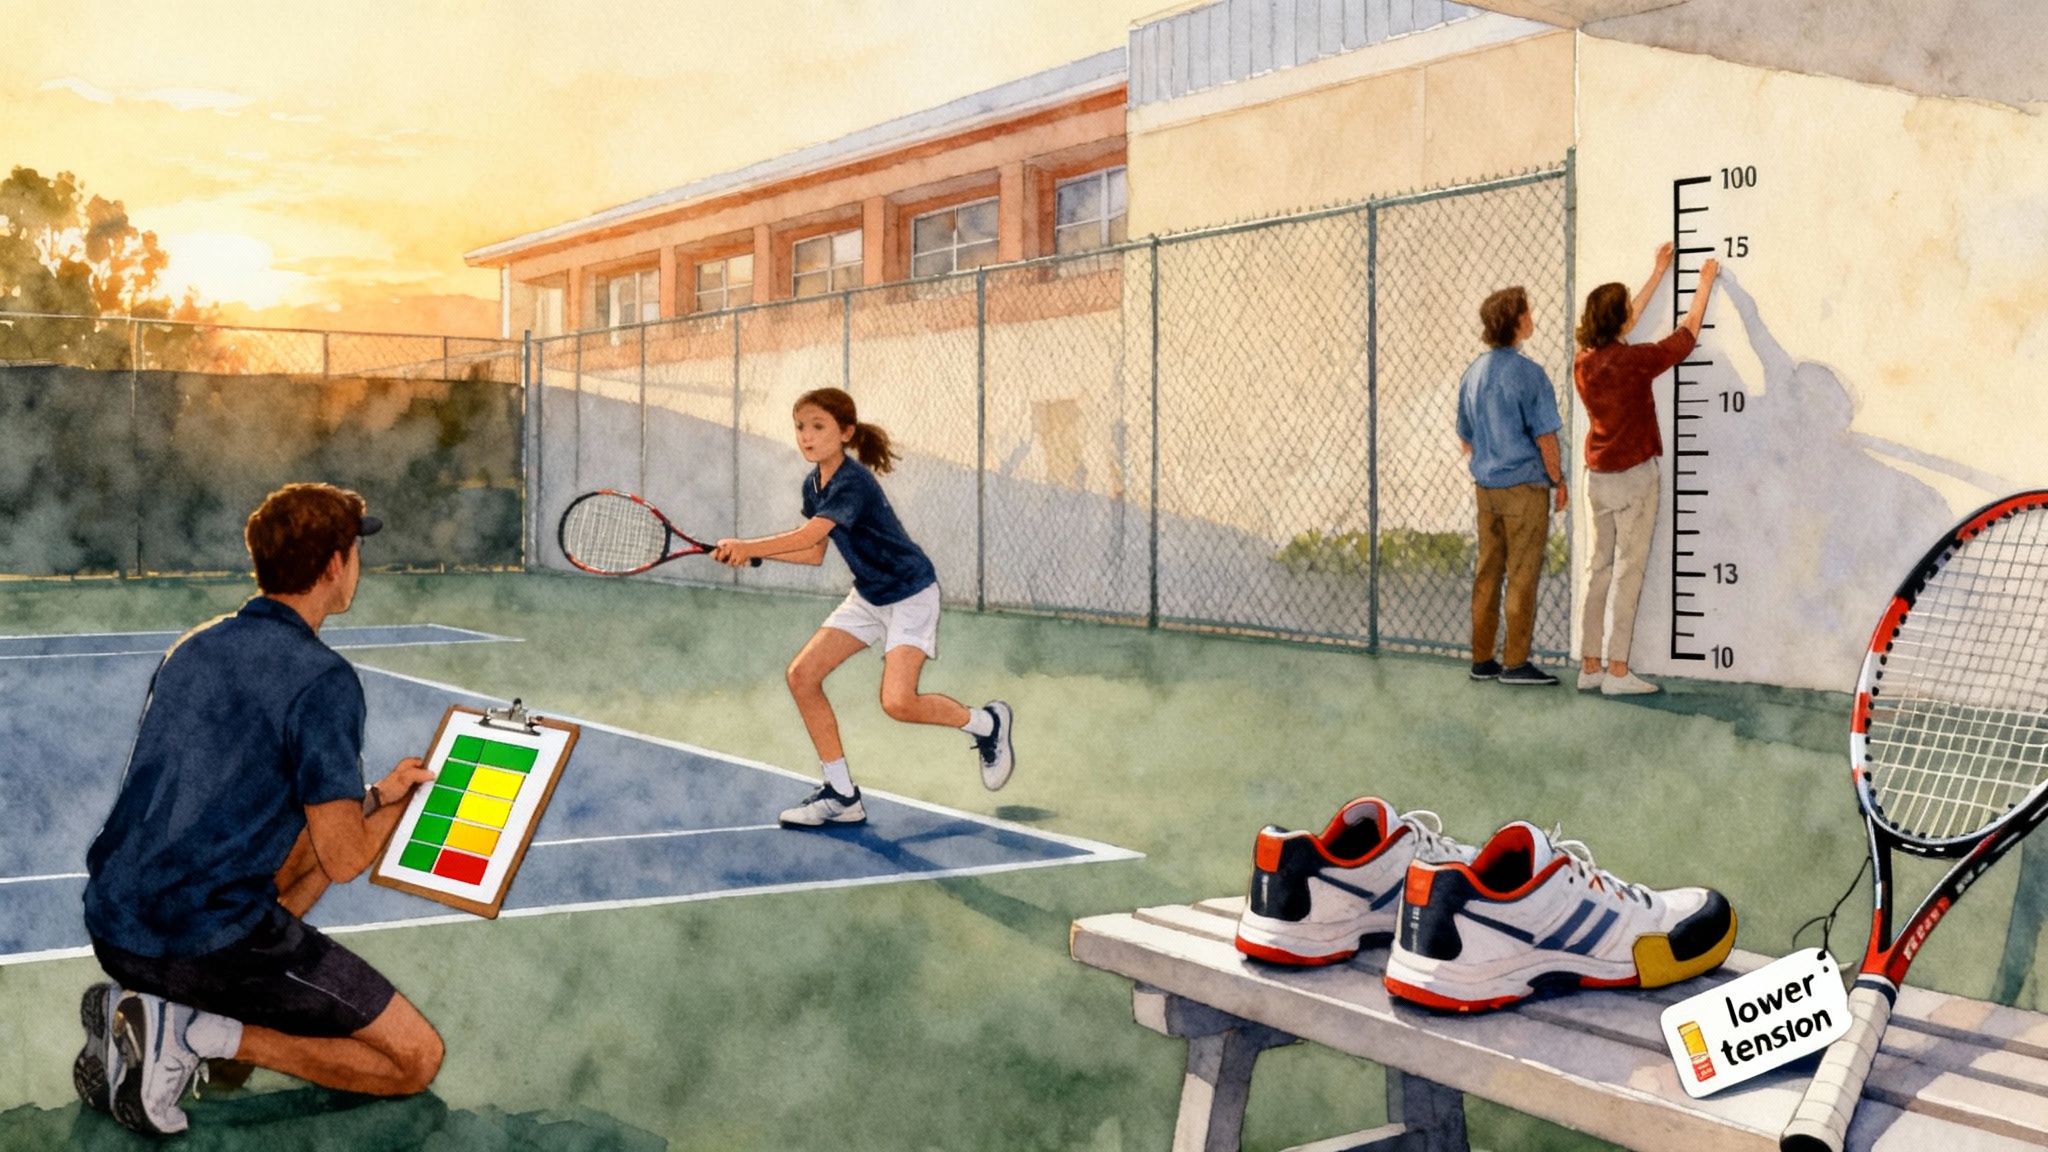
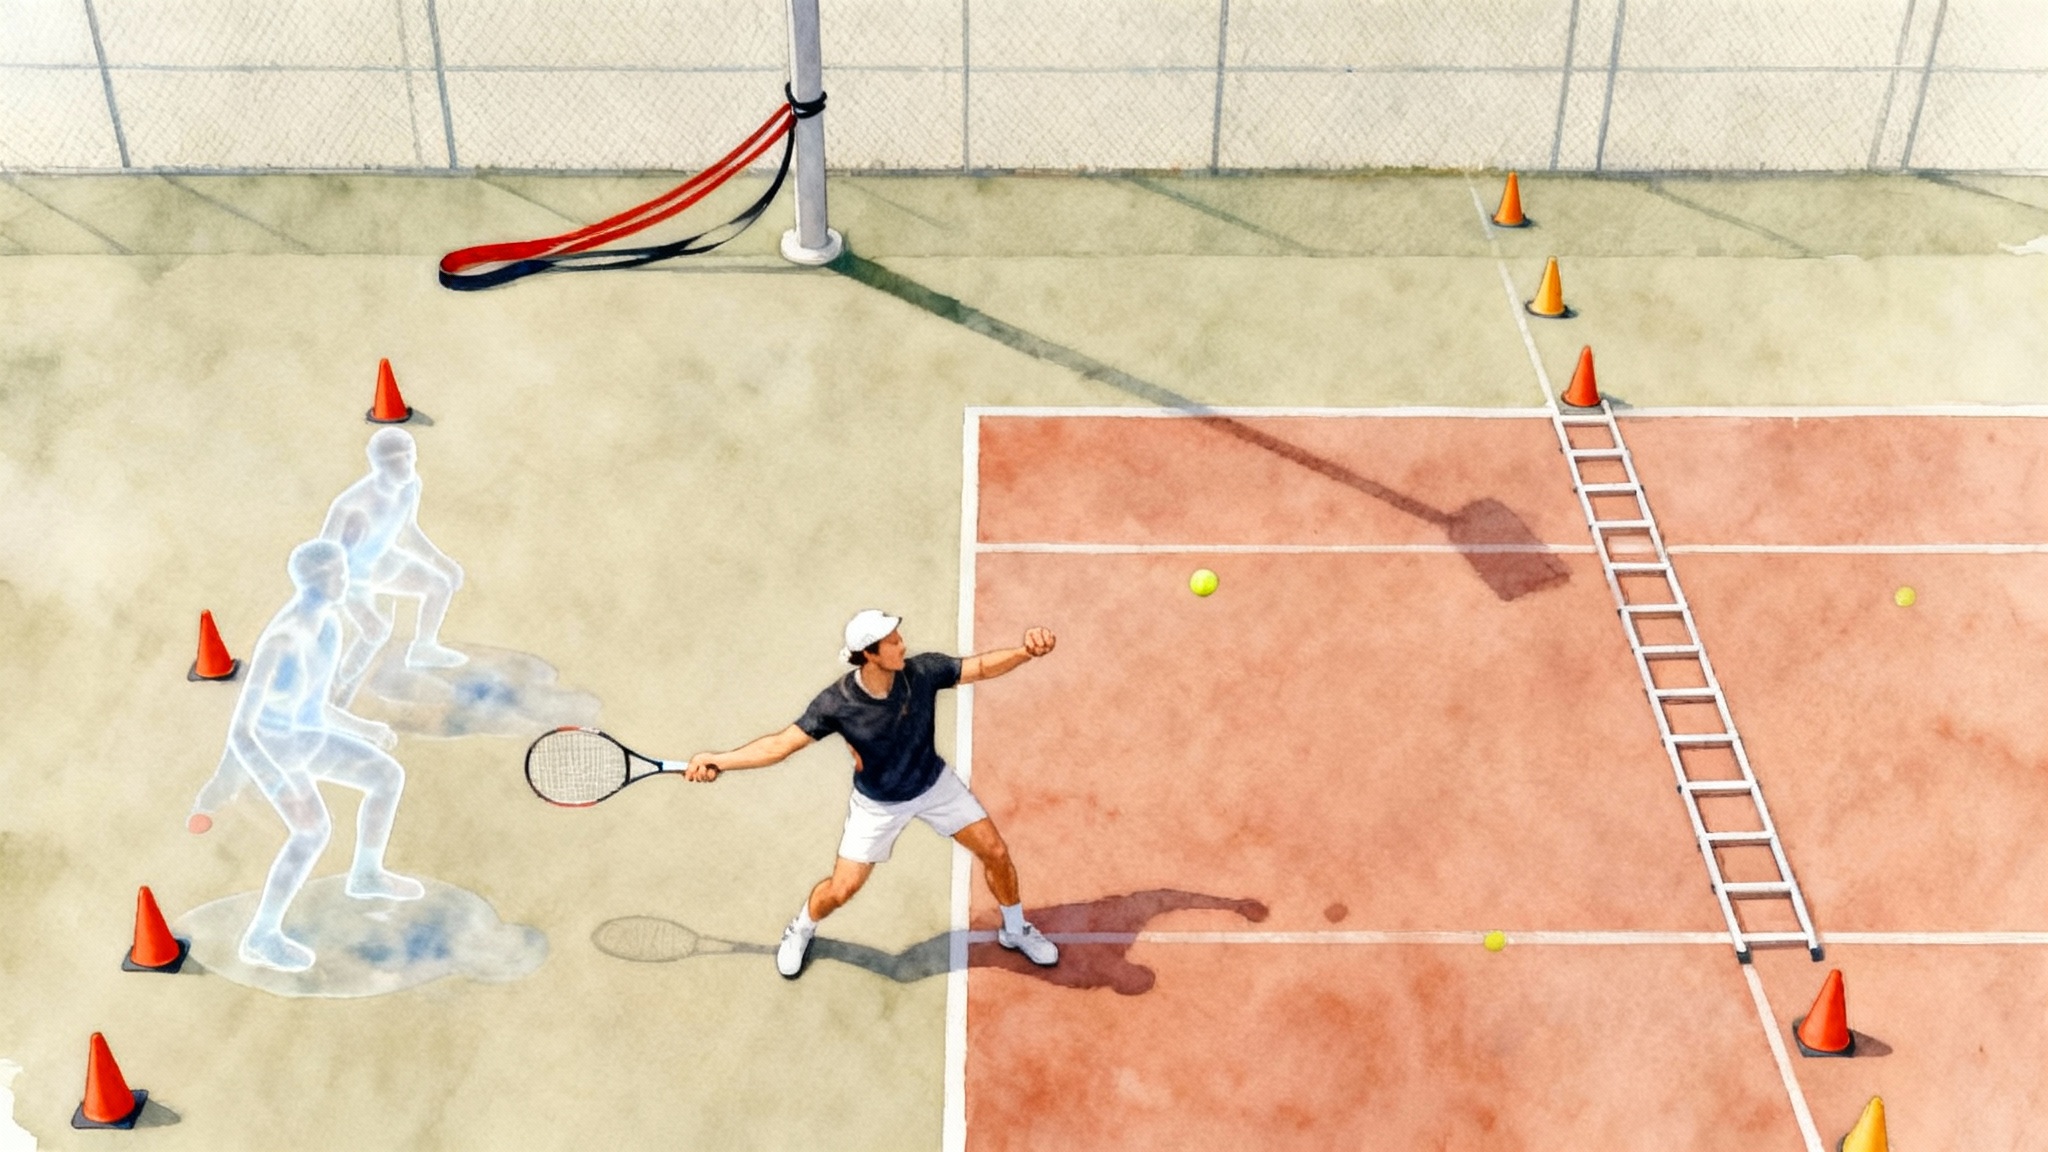
Split-step timing by serve speed
You want to land your split at the moment of the server’s contact or just after it. The faster the serve, the earlier you need to start your jump so your feet touch down right on that window. Use these practical windows and then calibrate with slow-motion video on your phone.
Serve speed is listed in miles per hour. Miles per hour will be abbreviated as mph in the sections below.
- 50 to 70 mph serves: land your split roughly 0.10 to 0.15 seconds after contact. Think “up on toss apex, down just after hit.” This is common on junior courts and many recreational second serves.
- 75 to 95 mph serves: land within 0.05 to 0.10 seconds after contact. Say “up as the racquet starts up, down on hit.” This is most adult recreational first serves.
- 100 to 120 mph and above: land at contact to within 0.05 seconds after. Start your load earlier, often as the tossing arm starts to fall. This is advanced and college-level pace.
Calibration checklist
- Record 3 points in slow motion from the returner’s view. Count frames between server contact and your foot landing. If you are still in the air at contact, start your split earlier. If you are flat long before contact, start later.
- Foot width: about one and a quarter shoulder widths on landing. Heavier servers may require a touch wider base for stability.
- Weight on the balls of your feet, heels light, chest tall. Do not sink too deep. Quick springs beat heavy squats.
Parents on the court: say the rhythm out loud for your player. Use a simple cadence: “up… down” tied to toss apex and hit.
Visual cues that preview serve type and direction
Returners who read the ball early move less and hit more. Train your eyes to pick up three telltales.
- Toss location: for a right-hander, a toss to the hitting side usually signals slice that moves away on the deuce side and into you on the ad side. A toss over the head or slightly behind suggests kick that jumps higher and to your backhand on the deuce side. A toss out in front and slightly to the hitting side often precedes a flatter, straighter ball. Reverse the directions for a left-hander.
- Shoulder line and chest: when the server opens the chest early toward a corner, direction is often going that way. Closed shoulders with a high elbow tend to be kick.
- Contact height and reach: high contact in front gives pace and straighter flight. Contact that is above the head with a brushing motion gives you a slower incoming ball with bigger bounce.
Train the cue order: toss first, shoulder second, contact last. Say it. “Toss, shoulder, contact.” Your first step starts from what your eyes predict, not what your brain wishes.
Compact swing options by level
Your swing should match the time you have. Create a menu you can call under pressure.
Juniors and early-stage adults
- Block: continental or mild eastern grip, racquet face stable, no backswing, short catch in front. Think “catch and send.” Aim middle third of the court.
- Chip: continental grip, slight open face, knife the ball down into deep court. Keep it simple on the backhand. On the forehand, imagine carving a thin slice of bread.
Intermediate adults and competitive juniors
- Punch drive: short backswing to an L shape on both sides, drive through the belly button of the ball. Minimal wrist, big through-line with your body.
- Roll backhand two-hander: tiny unit turn, racquet head just outside the hands, brush up to add a safety arc against body serves.
Advanced and college-bound
- Drive neutral: abbreviated takeback, early contact, add legs and core for pace. You are not trying to out-swing the server. You are redirecting energy with a compact move.
- Counter to lanes: same short swing but with commitment to cross or into the body. Down the line is a special play, not your default.
Parents feeding balls: hand-feed or toss from the service line to enforce short swings. If the racquet goes behind the hip, pause and reset.
Three progressive drill ladders: block, chip, drive
Each ladder has three rungs. Move up when your in-play percentage hits 7 out of 10 for two sets in a row.
Block ladder
- Service-line blocks: coach or partner hand-feeds from inside the service box toward the returner standing on the baseline. No bounce. Goal: stable strings, ball to the middle. Set of 20 per side.
- Bounce blocks cross and middle: partner feeds from the opposite service line with a bounce. You must land your split as the ball bounces, then block. Alternate 5 cross, 5 middle for two sets.
- Live block against first serves: server hits first serves at 70 to 90 percent pace. You aim middle or at the server’s body. Track in-play percentage and depth zone.
Chip ladder
- Knife to deep Zone A: feed second-serve speed from the baseline. Chip with continental grip, ball lands between service line and baseline with at least one bounce past the service line. Ten per side.
- Chip to cross then line: two crosscourt, one down the line. Reset. Keep the same swing length. Do not lengthen to make the line.
- Live chip plus approach: chip cross or middle, follow to the baseline on anything short, split, then recover. Your goal is depth and skidding bounce, not winners.
Drive ladder
- Tee-ball drives: partner or ball machine sends gentle topspin serves to the body. You play a short L-shaped backswing, drive through center. Fifteen per side.
- Directional drives: call “cross” or “body” as the server tosses. Commit. Five and five per side. The call forces decision speed.
- Live second-serve attack: server hits second serves. You aim heavy cross with height over the net strap. If the ball is short, step in and drive through the middle.
Notes for all ladders:
- Start outside the doubles alley to exaggerate spacing, then move in.
- Keep the same return stance for 10 balls at a time to build rhythm.
- If you miss two in a row long or wide, take one block return to reset feel.
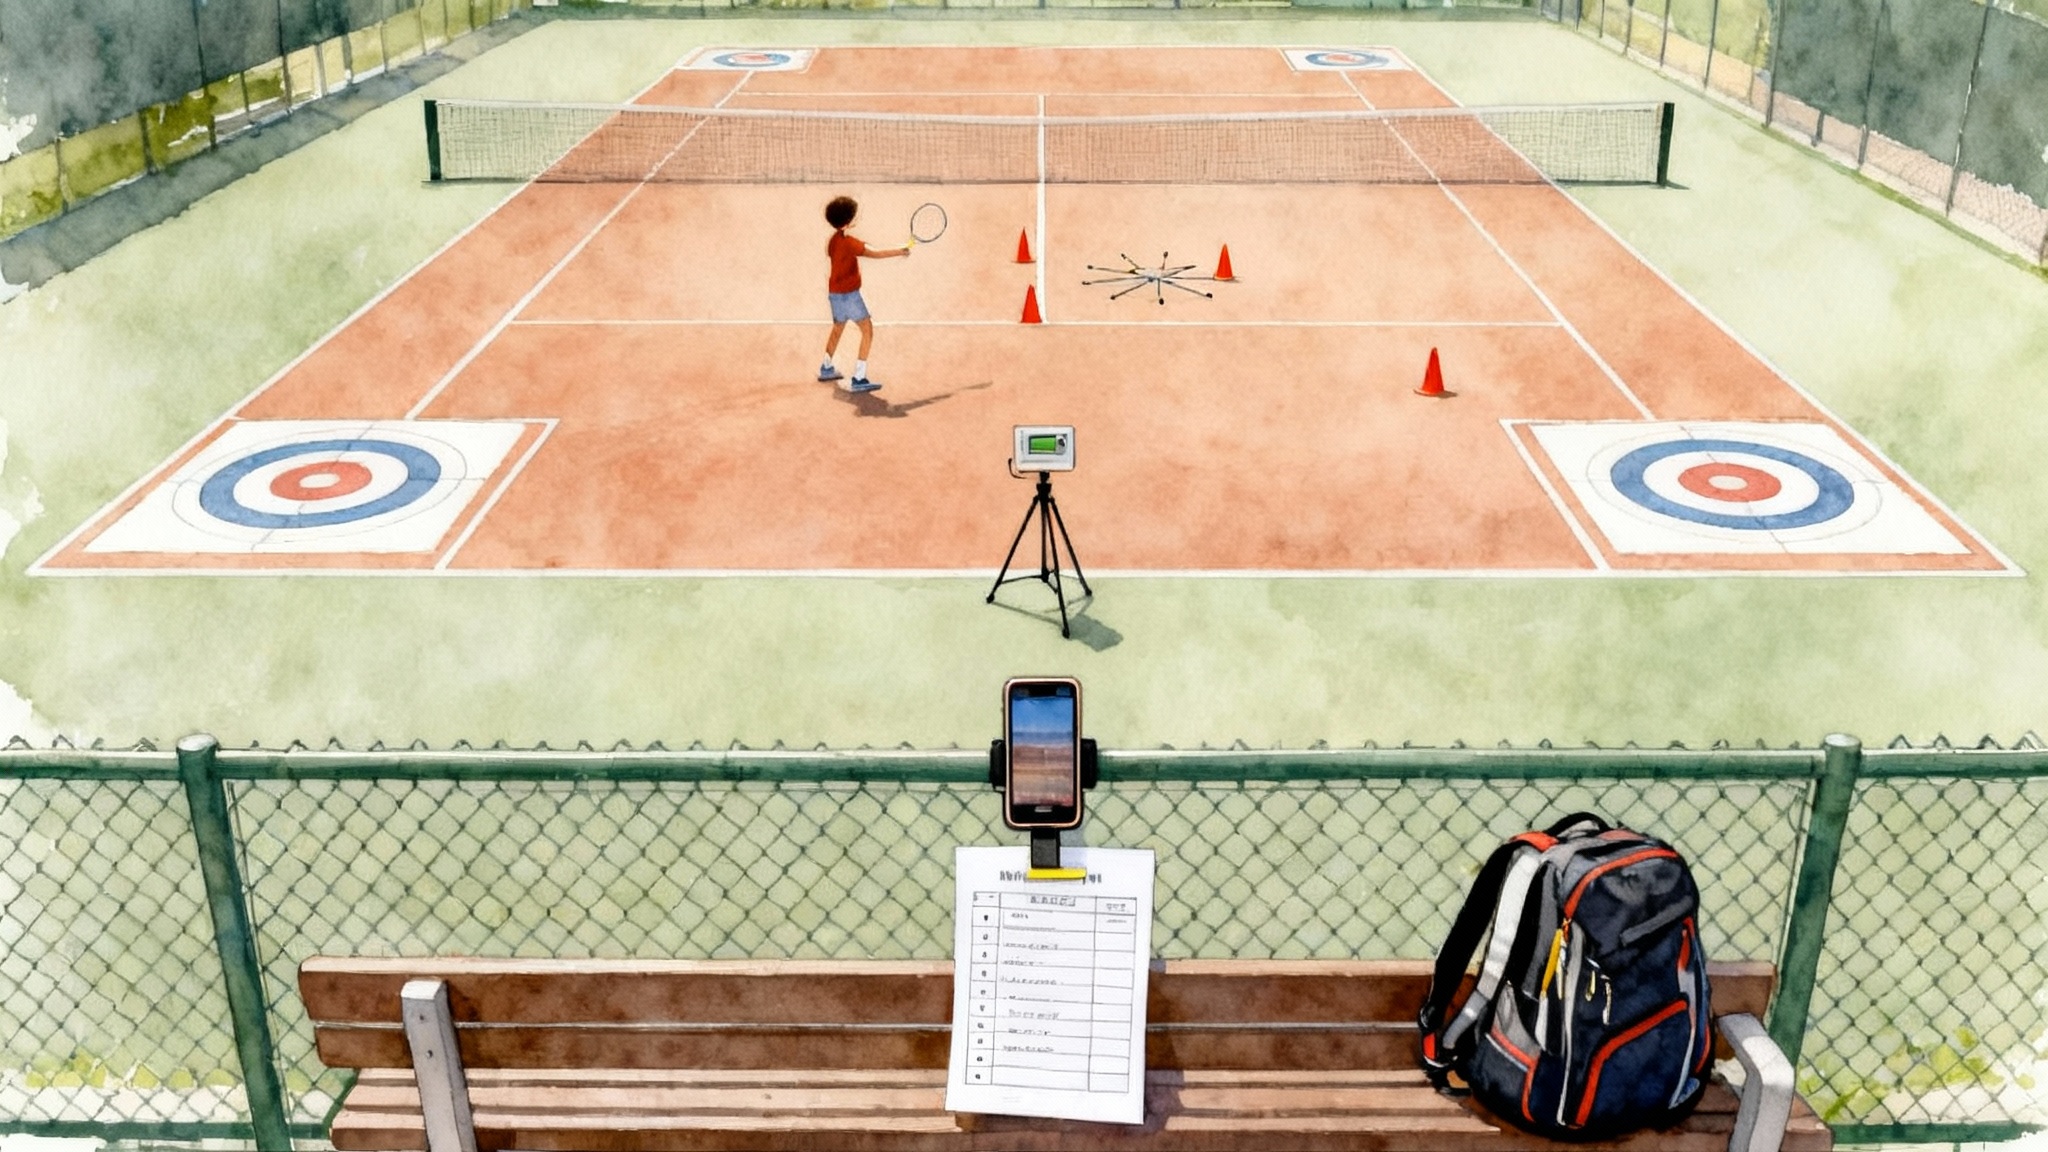
The 20-minute at-home module: feet and eyes
No court needed. Do this three times per week.
Footwork block: 10 minutes
- Metronome split: set a metronome at 60 to 70 beats per minute or clap your hands. Jump and land in sync for 40 seconds on, 20 seconds off, three sets. Add a mirror if you have one to check posture.
- First-step races: place two coins or tape marks two shoe lengths apart. Start in a ready stance, split, and step to touch the coin with your outside hand in one move. Eight times each side.
- Shadow returns: draw a small square on the floor with tape. Land your split in the square, then step forward-left or forward-right into an imaginary return. Ten per direction.
Vision block: 10 minutes
- Saccade ladder: put two sticky notes on a wall shoulder-width apart with letters written on them. Snap your eyes between them and read the letters aloud. Five sets of 20 snaps.
- Smooth pursuit: hold a ball at arm’s length and draw slow figure eights. Keep your head quiet and track only with your eyes. One minute on, 30 seconds off, three sets.
- Depth call: a partner underhands soft tosses from 8 to 10 feet. Call “up” at peak and “hit” where you would meet the ball. If alone, toss to yourself and clap at peak and catch at “hit.”
These drills sharpen the same skills used to read toss, shoulder, and contact on court.
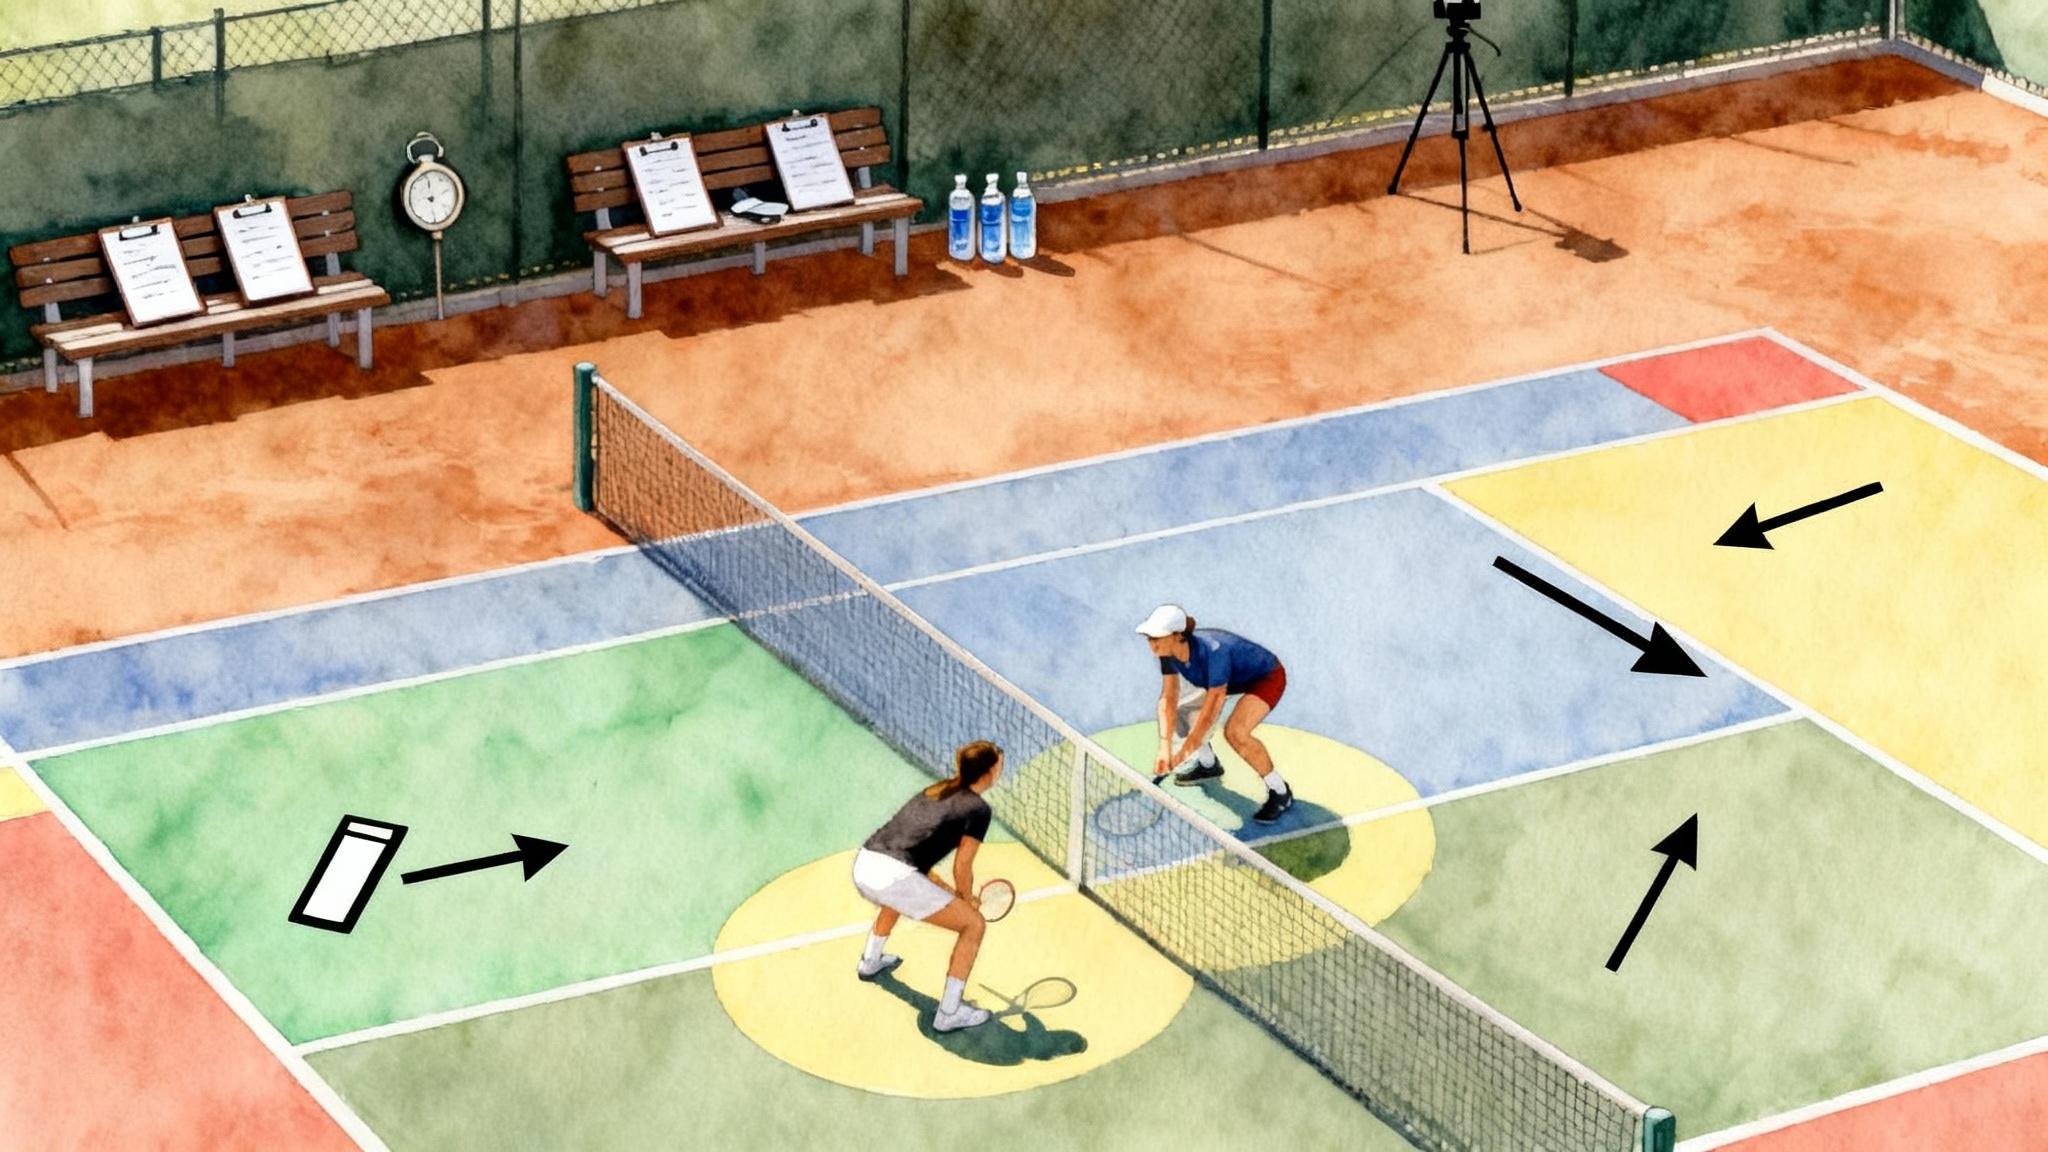
Simple tracking metrics you can keep on a phone note
You cannot fix what you do not measure. Keep it to three columns and two colors.
- In-play percentage: 10 returns per side. Count how many land in. Goal is 7 out of 10 before you add speed or small targets.
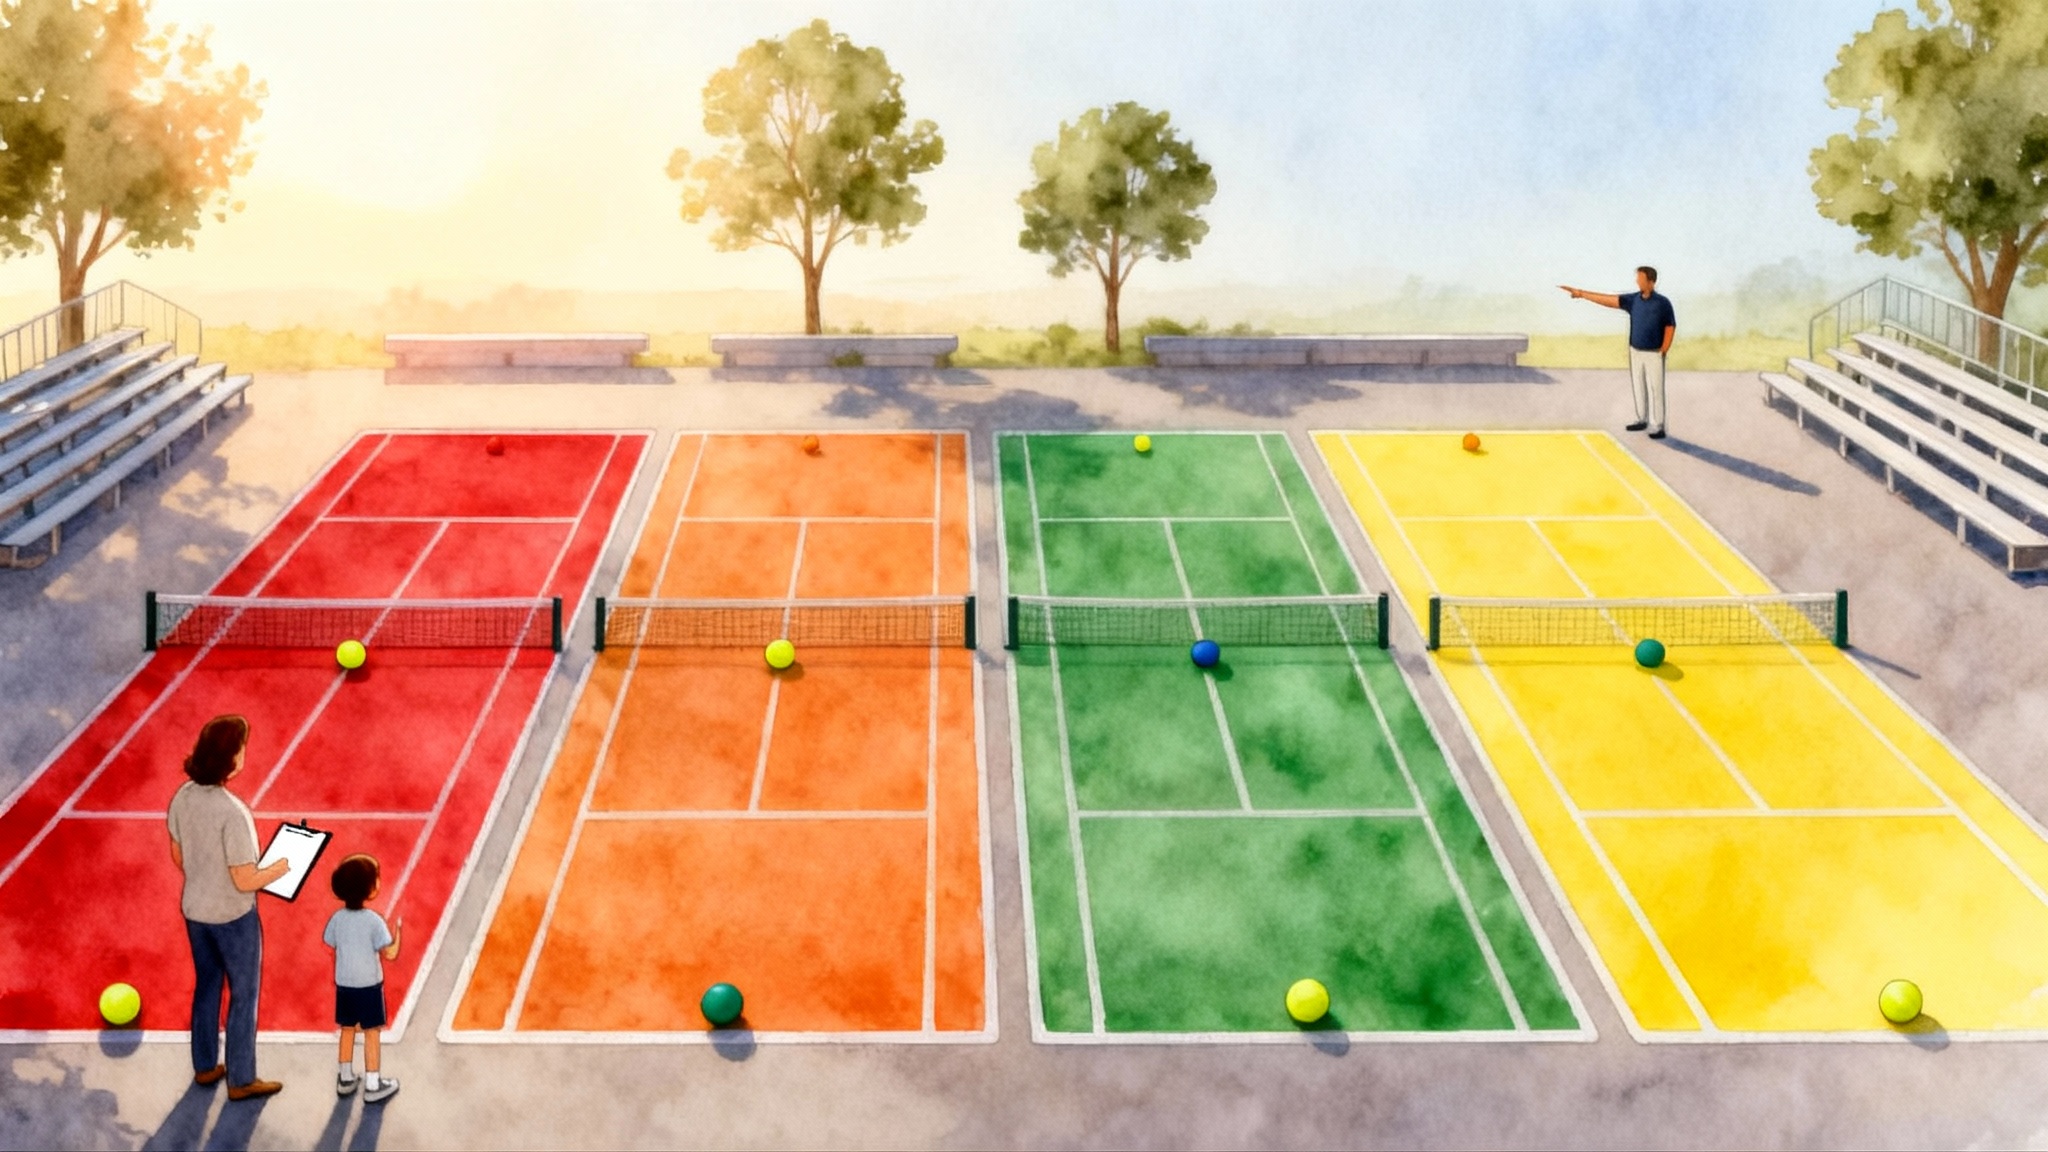
- Depth zones: mark three bands with throw-down lines or chalk. Zone A is deep, the last third before the baseline. Zone B is middle, the third between service line and baseline. Zone C is short, anything that lands before or on the service line. Write A, B, or C for each ball.
- Directional targets: choose cross, middle, or line before the serve. Tally choices and makes. Aim for 60 percent cross and middle combined. Down the line is a once-per-game play.
Promotion rules: when you can put 7 out of 10 in play with at least 5 landing in Zone A to cross or middle, move up a ladder rung or add speed.
Doubles-specific patterns for college and no-ad play
No-ad points compress decision making. Choose patterns that keep the ball away from the net player and force a tough first volley. For deeper pattern work and roles, see the College-Ready Doubles Fast-Track.
- Body-through pattern: aim a firm return at the server’s hip or chest. Your partner pinches the middle after your ball crosses the net. This reduces angle and makes the volley predictable.
- Dip and crash: heavy crosscourt return that lands in Zone A with low height over the net. Both players read a floating volley and crash the net together.
- Chip-lob mix: chip at the server’s feet two times, then show the same chip and throw a controlled lob over the net player on the third. Run this sequence at deuce to change the picture without changing your swing.
- Jam the backhand: on deuce side against right-handers and ad side against left-handers, send a firm ball at the inside hip. This steals time and reduces the chance of a clean poach.
Communication checklist:
- Pre-point signal simple: fist means body, open hand means cross, two fingers means lob. Explain the signal once and stick to it for the game.
- Verbal cue: returner calls “through” for middle or “dip” for cross. Partner knows whether to crash or stay.
- On deciding point, take away the net player’s first move. Body or hard middle is your highest percentage choice.
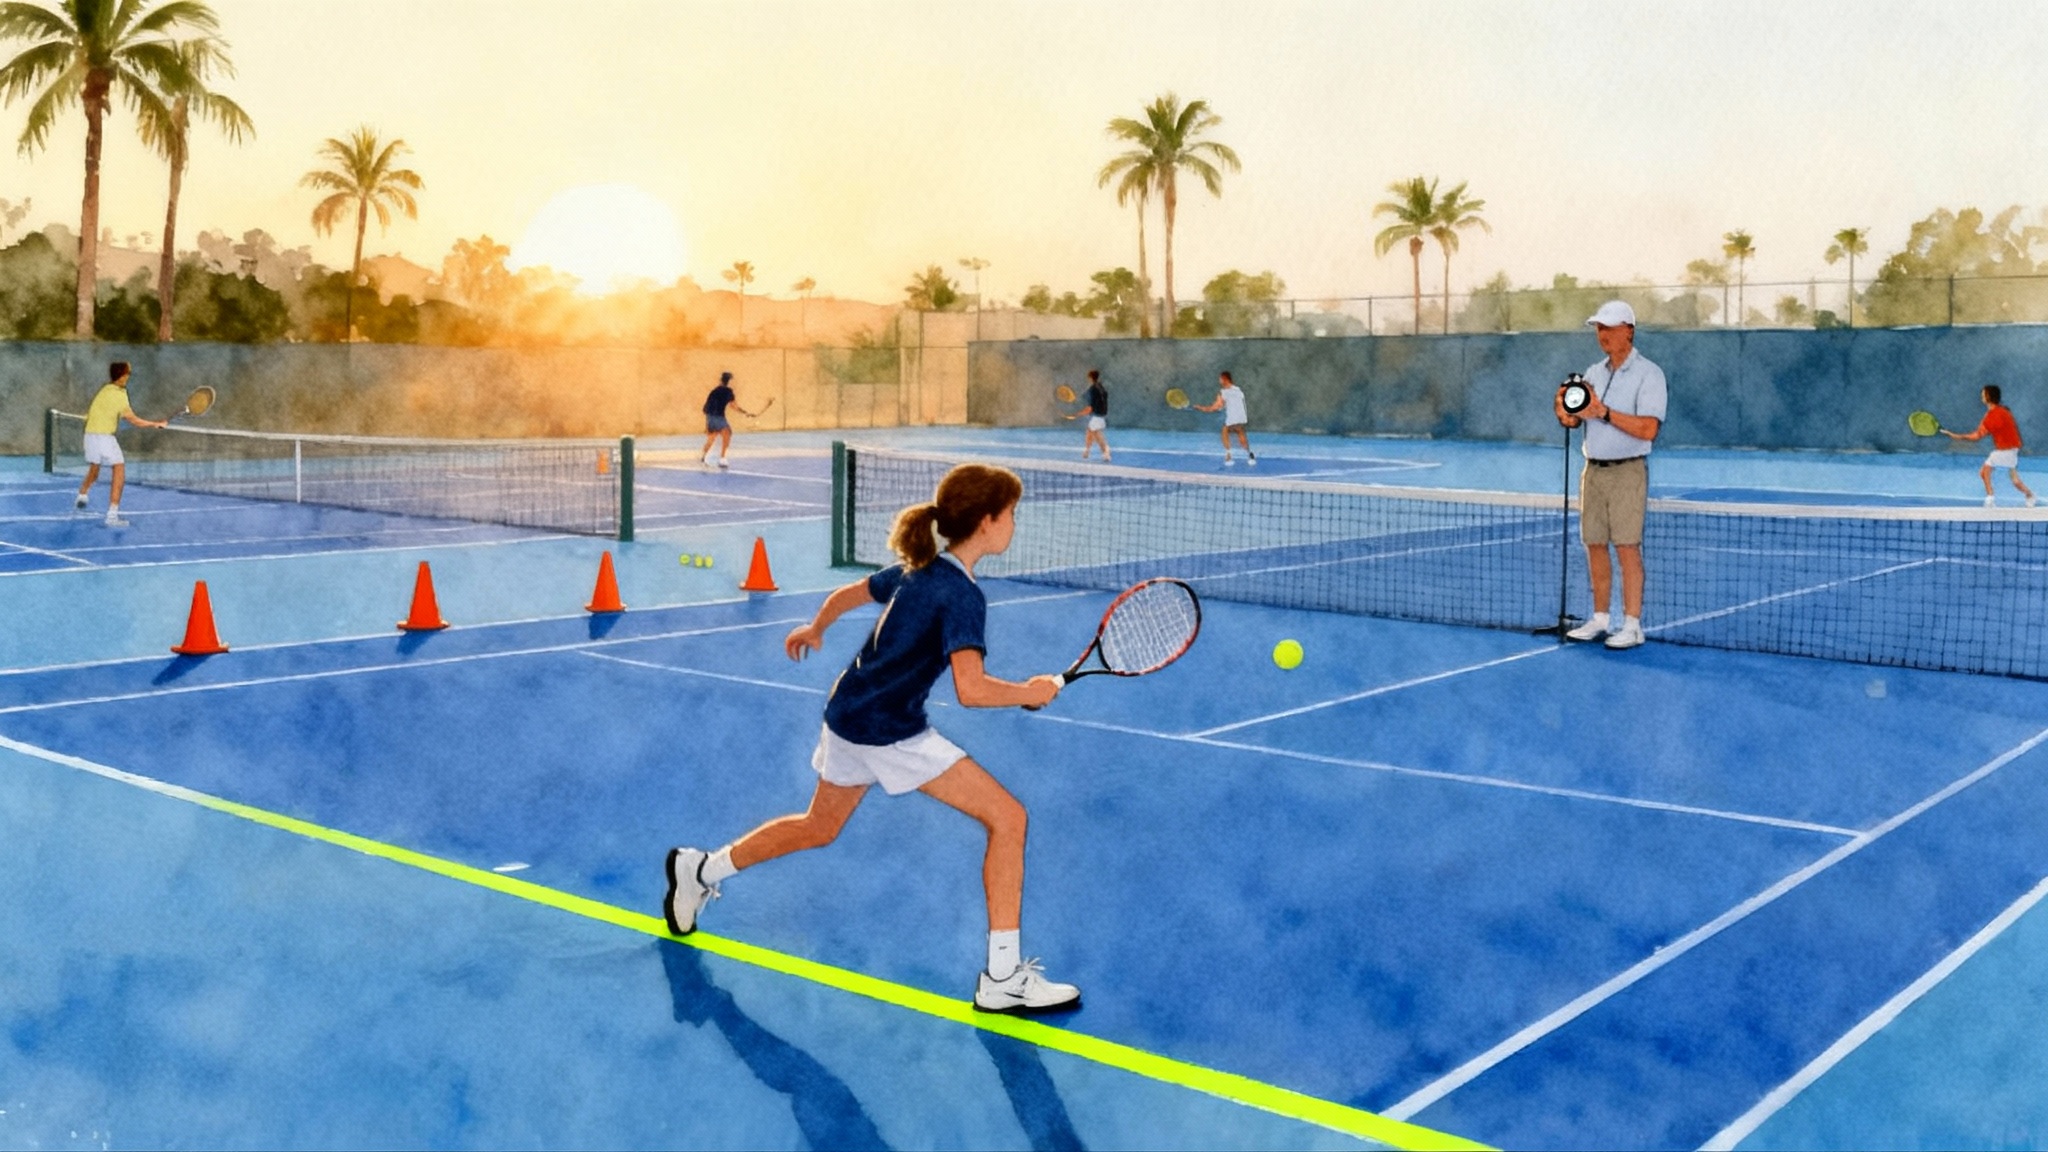
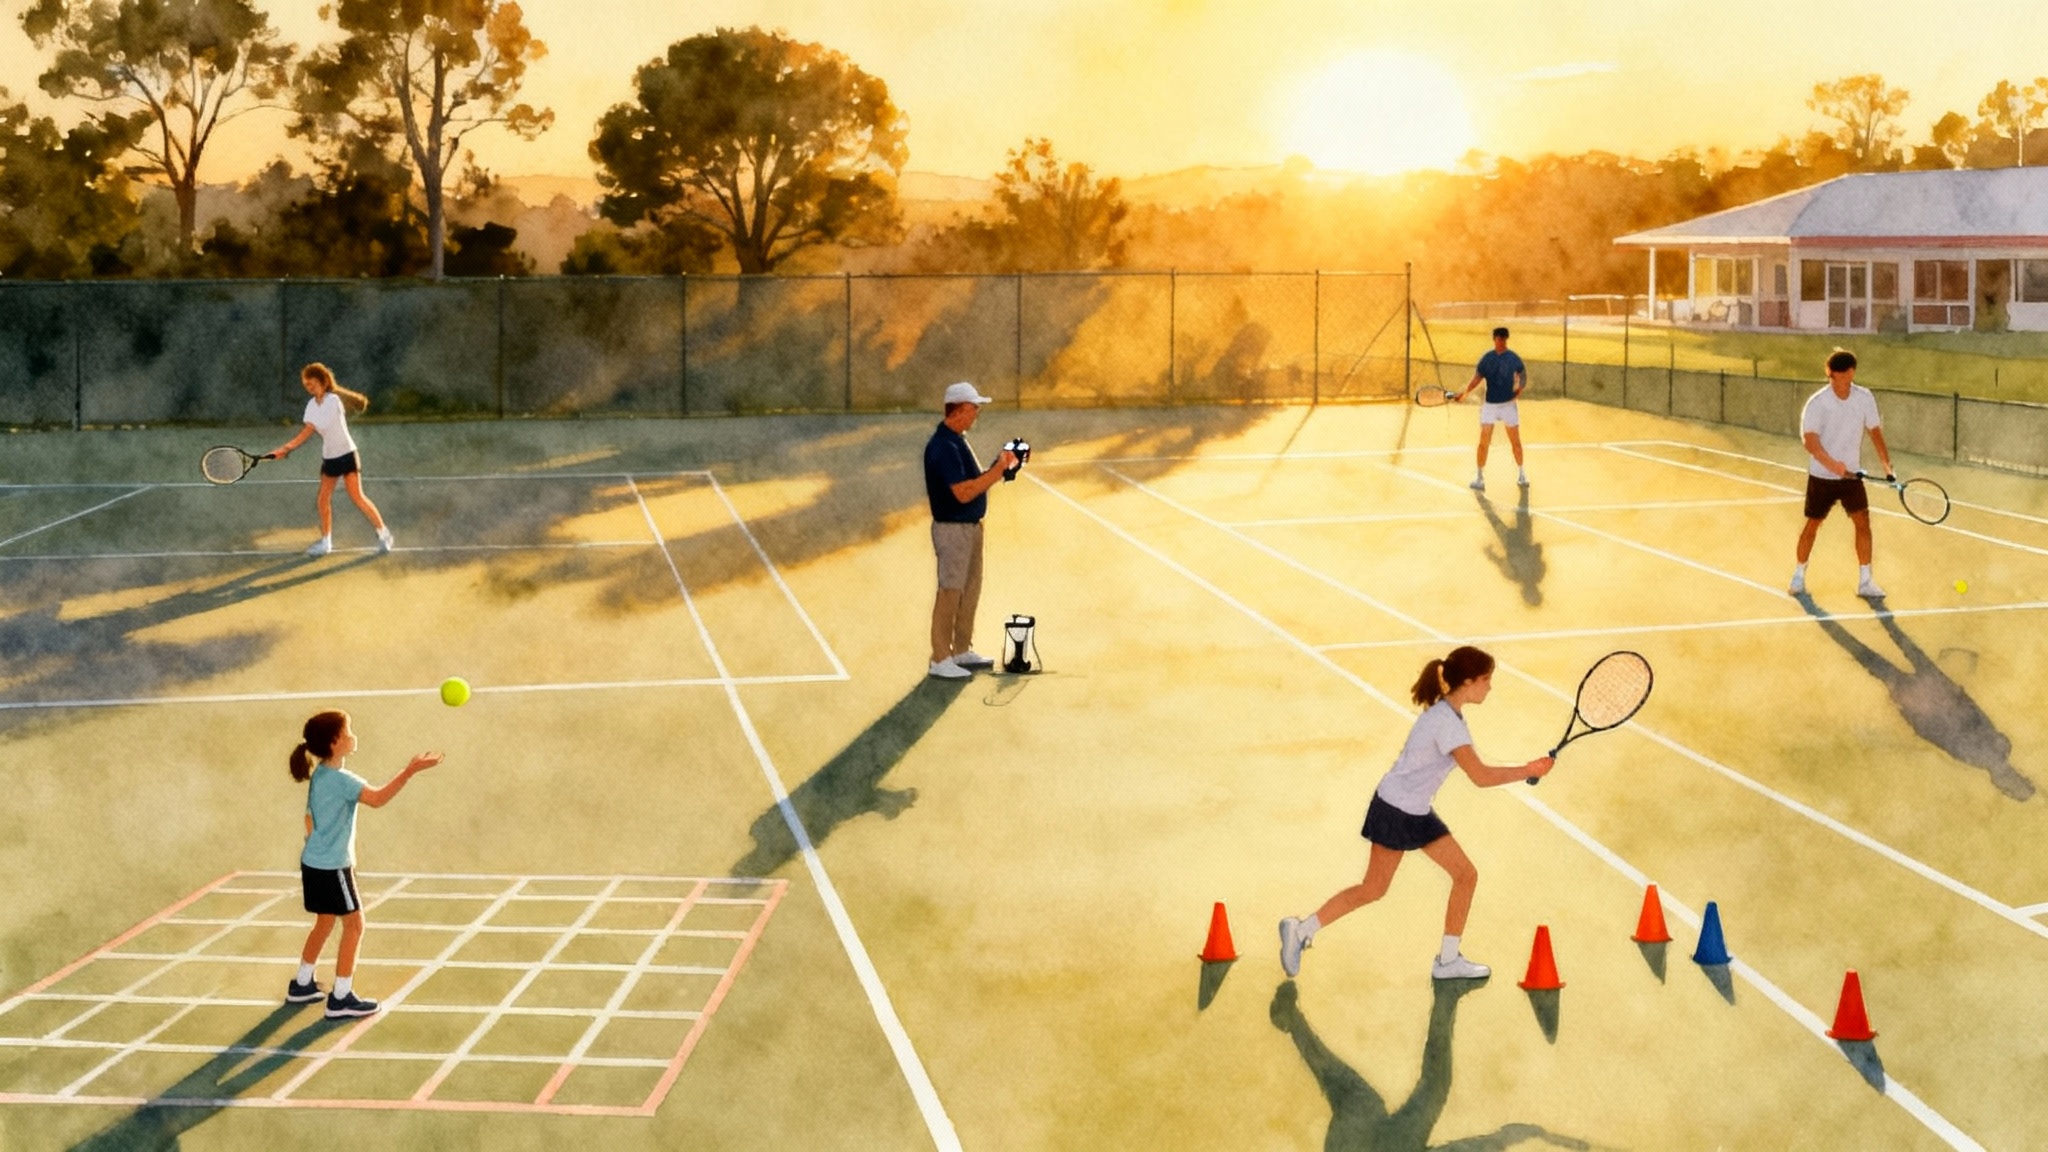
Coaching for juniors, parents, and adults on the same court
- Juniors: focus on one swing from the menu for a full practice. If your brain can say what you are doing before each serve, you are doing it right.
- Parents: stand in the service box to feed predictable balls. Say the cue words out loud: “toss, shoulder, contact” and “up… down.” End with a scoreboard game to 11 on depth zones.
- Adults: keep the ego out of it. Use the middle target early in sets. The return that starts the point beats the highlight reel that ends in the tape.
Common mistakes and quick fixes
- Late split: if you land after the ball is past the service line, start your split as the tossing arm begins to fall. Film three serves and check.
- Long swing: if your racquet goes behind your hip, grab the throat of the racquet with your off hand on the takeback. This limits length and increases stability.
- Leaning back on kick: move your starting position a half step forward to meet the bounce on the rise with a compact punch.
- Aiming too fine: tape a big rectangle over the middle third of the court. Live inside it until your in-play percentage is above 70 percent.
A two-week return blueprint
-
Day 1: block ladder rungs 1 and 2. At-home module once. Track in-play percentage only.
-
Day 2: chip ladder rungs 1 and 2. Add depth zones. At-home module.
-
Day 3: drive ladder rung 1. Directional calls cross or middle. At-home module.
-
Day 4: rest or light shadow work. Watch 10 minutes of match play and call toss, shoulder, contact out loud.
-
Day 5: block ladder rung 3 live. Track in-play and depth.
-
Day 6: chip ladder rung 3 live plus approach reads.
-
Day 7: doubles day. Run body-through and dip and crash patterns.
-
Day 8: drive ladder rungs 2 and 3 with second serves. Directional commitment before toss.
-
Day 9: serve-return games starting at 30-all. No-ad tiebreak race to 7 returns made in Zone A.
-
Day 10: mixed menu day. Five blocks, five chips, five drives per side. Choose based on toss and shoulder cues.
-
Day 11: rest or vision-only session.
-
Day 12: pressure ladder. Miss and you drop a rung. Finish when you hold the top rung with 7 out of 10 twice.
-
Day 13: doubles playbook. Add chip-lob mix pattern. Track win rate on deciding points.
-
Day 14: test day. Record two return games. Log in-play percentage, depth distribution, and directional accuracy. Compare to Day 1.
If you keep the data simple and the swings short, you will notice a different feeling on the very first point you return.
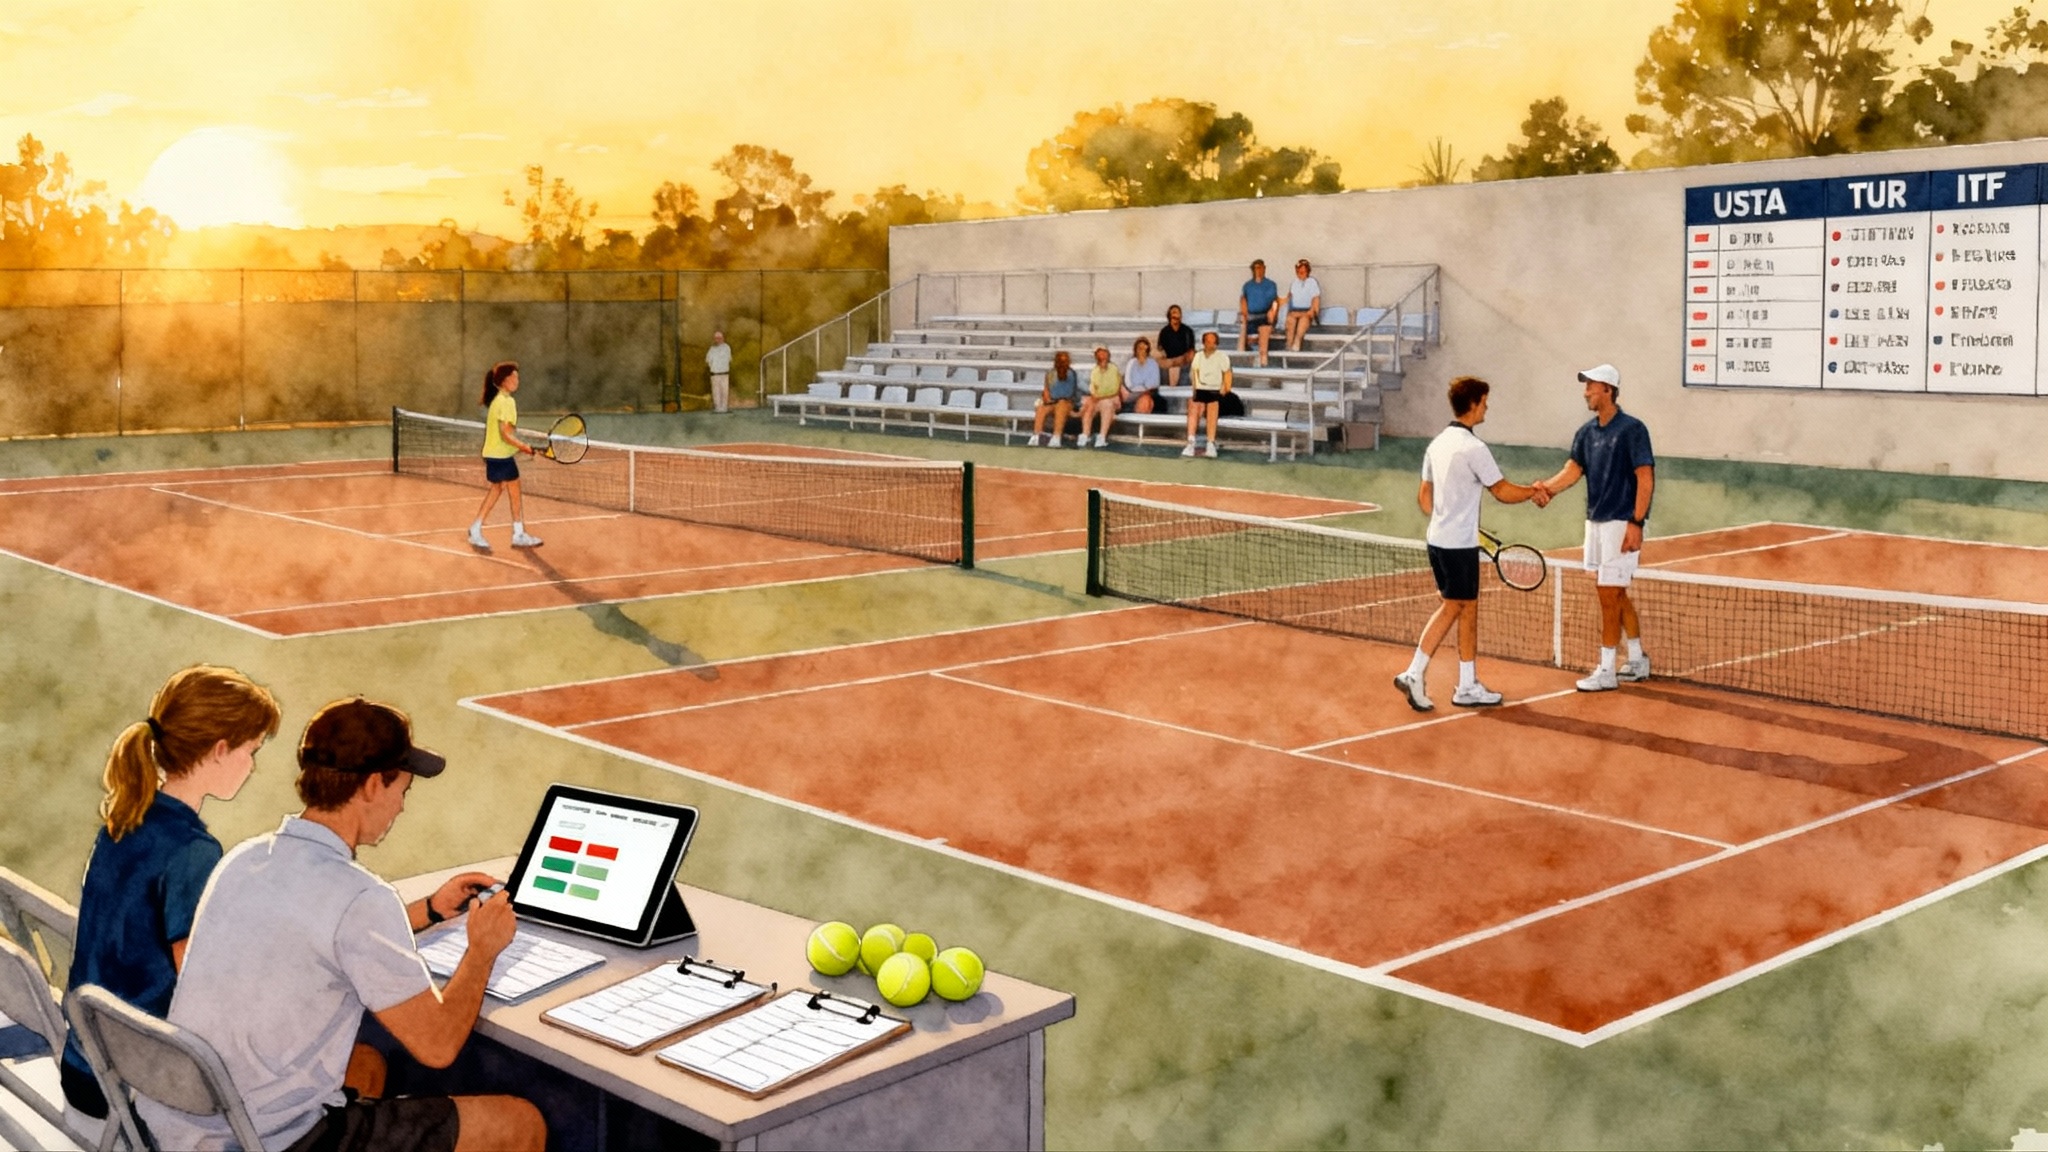
Optional next step: pressure test your blueprint
If you want live feedback and match-speed reps in a group, book a spot in our Legend Tennis Academy return clinic in Spicewood, Texas. To learn more about the facility, see the Legend Tennis Academy profile.
The last word
The return is not a mystery. It is a short swing that starts on time, to a big target, guided by clear visual cues. Build the habit of landing your split in the right window, pick a compact option from your menu, and track the three numbers that matter. When you do this, the server’s biggest weapon becomes your favorite rhythm.