Stop Faster to Play Faster: Tennis Deceleration and Cuts
Your first step is only as quick as your last stop. Learn court-tested drills, age-specific strength progressions, and three simple readiness tests that protect knees and ankles while helping you win more scramble points.
Why braking wins points
Tennis often rewards the player who can hit the brakes without losing posture or balance. The better you can stop, the faster you can reaccelerate into the next ball. That is the hidden gear behind great court coverage. On video, elite movers look like they have an extra step. They do not. They just decelerate early, low, and in good alignment, so the first step out is clean and powerful.
Deceleration is a skill. You can train it safely at any age with the right drills and a few simple rules:
- Land quietly, knees tracking over the middle toes.
- Keep your chest tall and hips back, as if you are about to sit on the edge of a stool.
- Stop within a defined zone, then own the stop for two to three seconds.
- Reaccelerate with a strong first push from the outside foot.
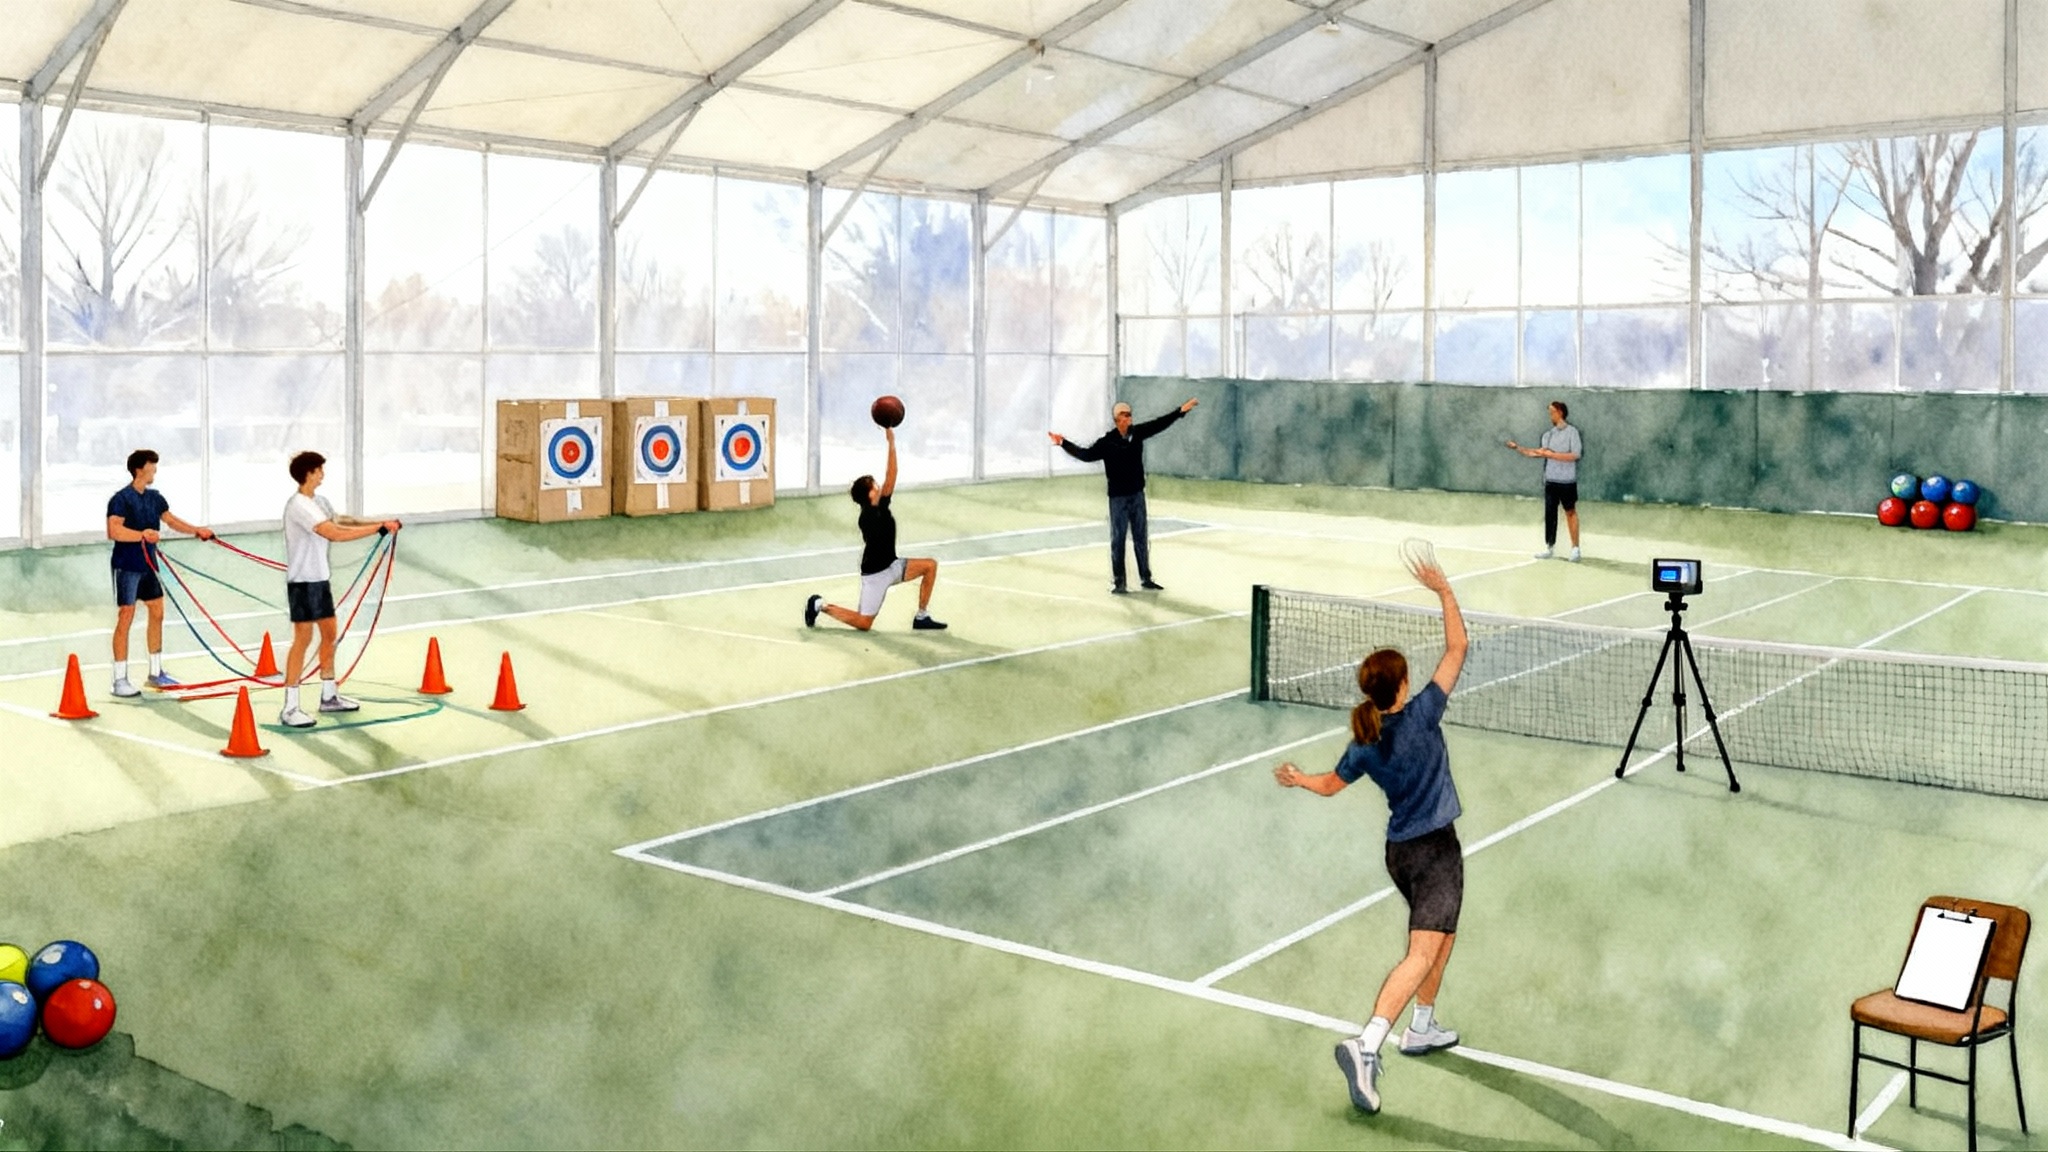
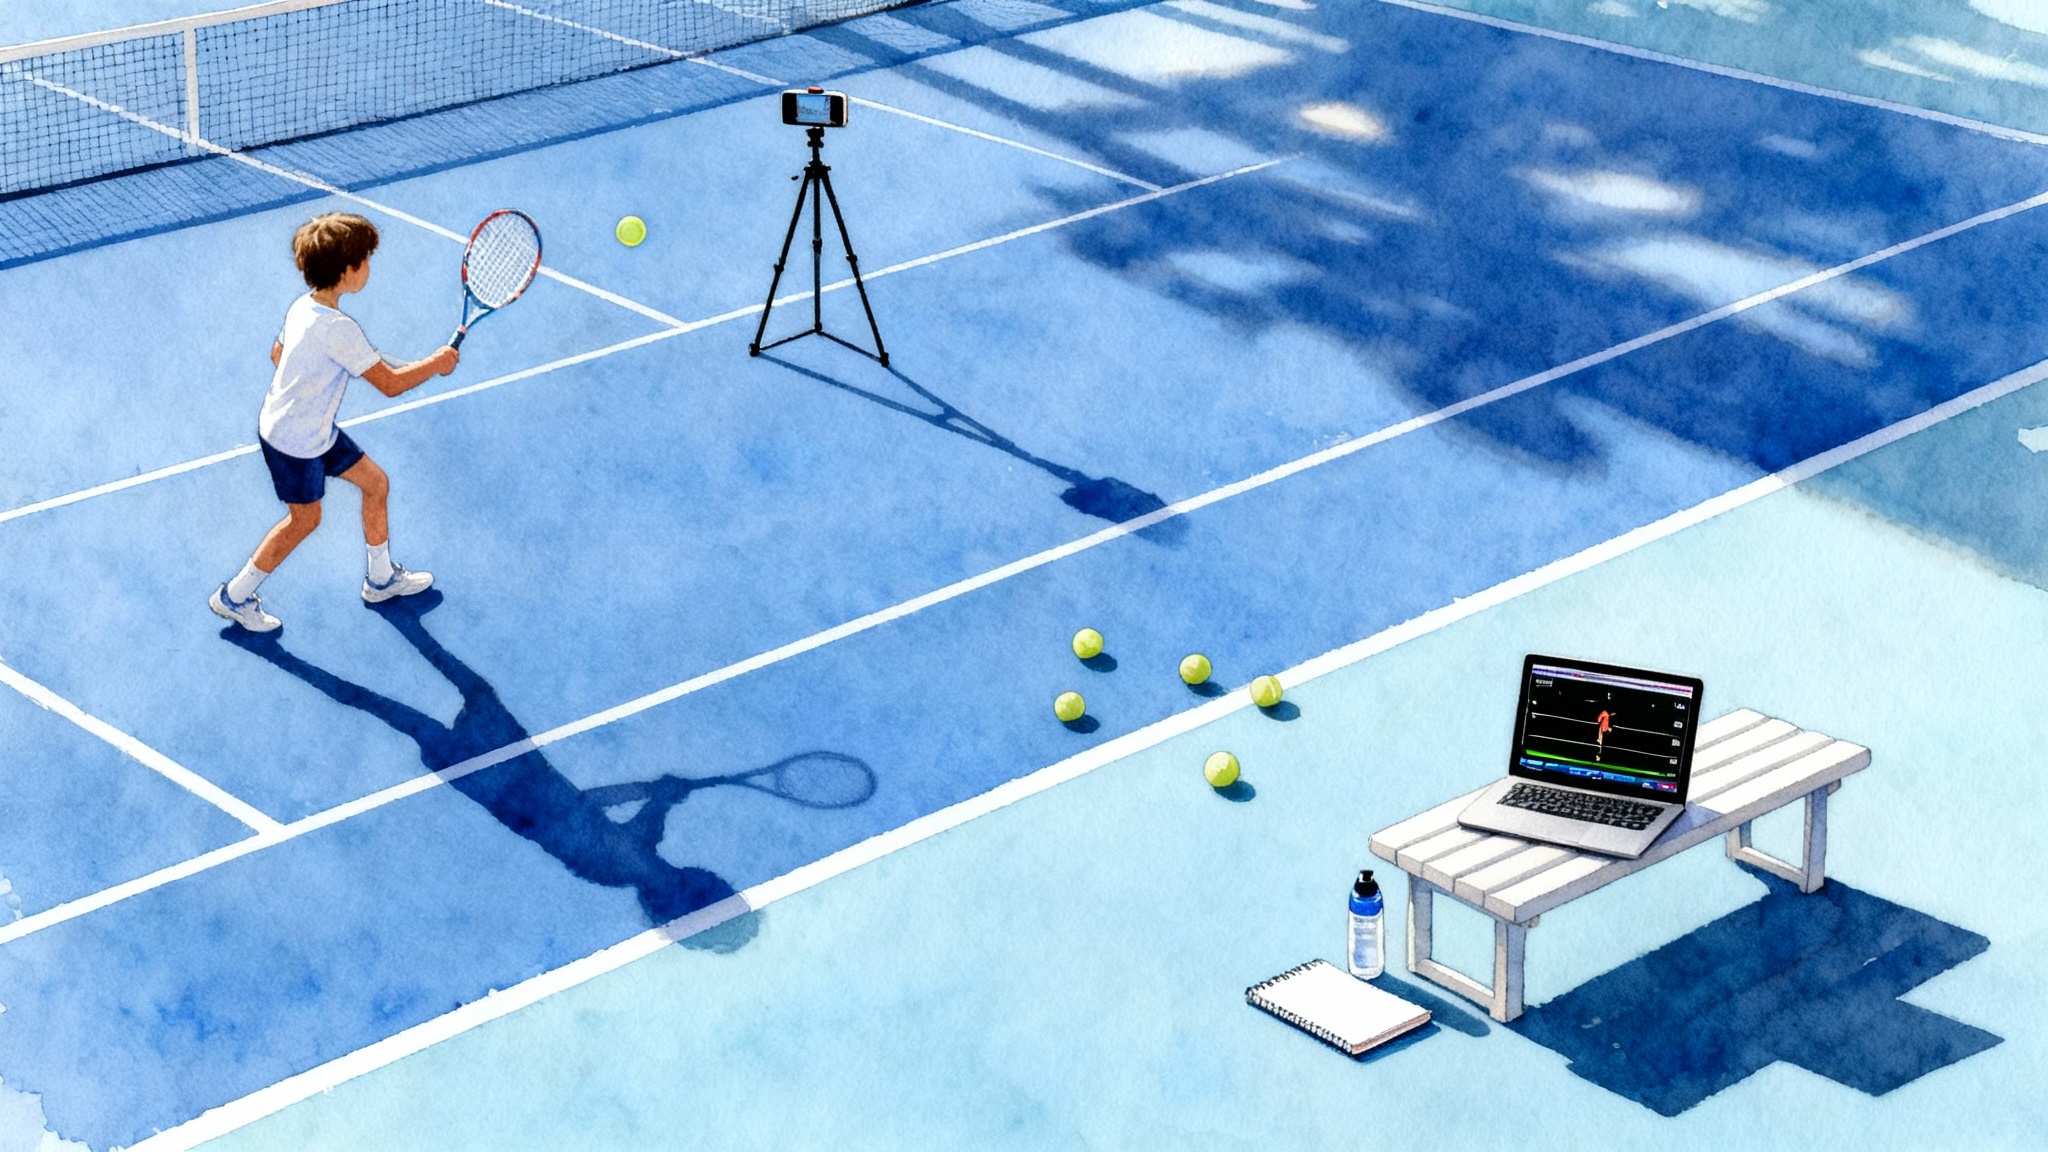
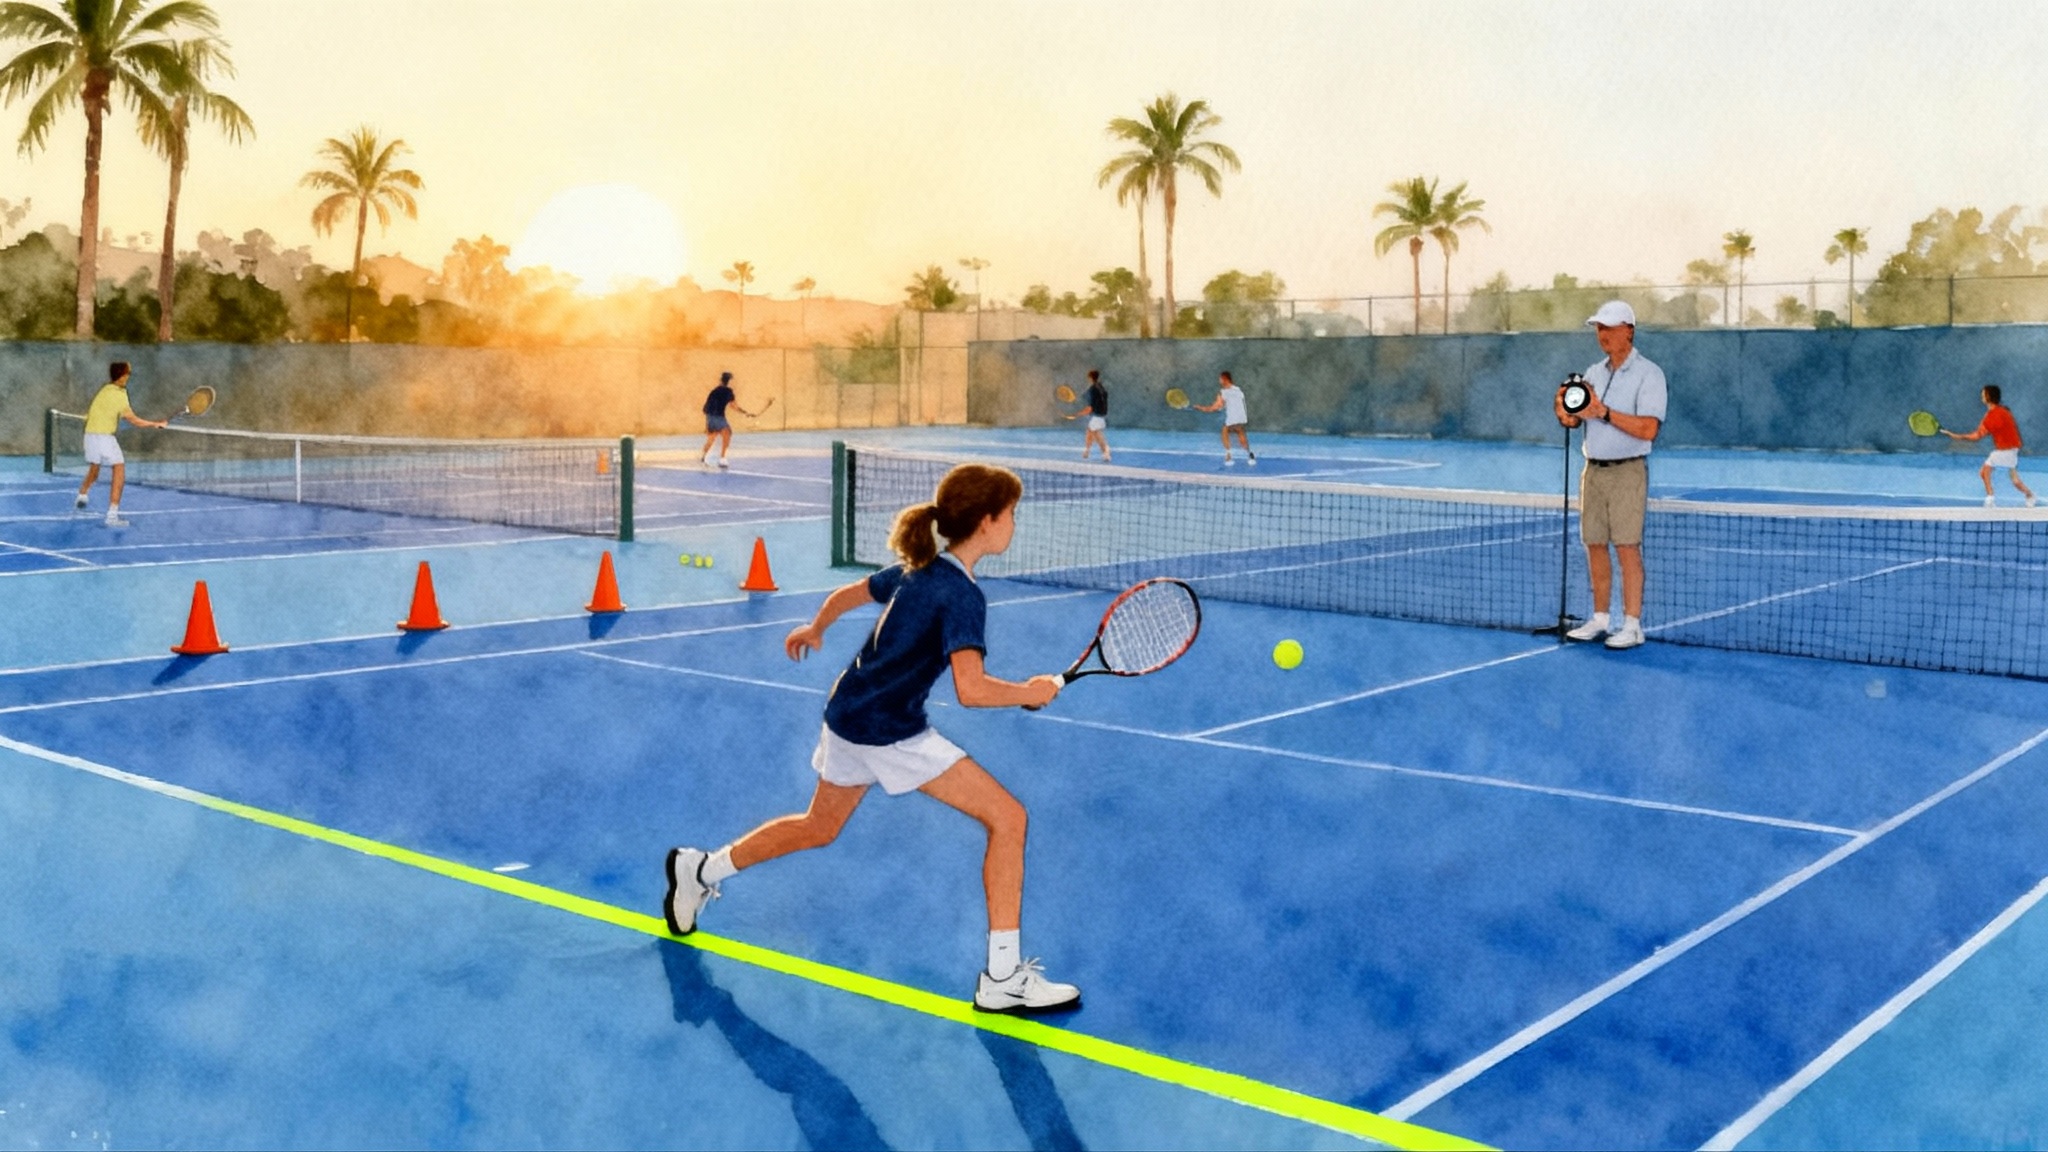
This guide breaks down practical drills for braking and cutting, at-home strength progressions for juniors, parents, and adult players, and three readiness tests that signal you are ready to move faster with less risk to knees and ankles. A sidebar details how Gomez Tennis Academy coaches integrate deceleration mechanics into daily warm ups.
The mechanics of a great stop
When you sprint to a ball and then plant to change direction, your body must absorb force through the ankle, knee, and hip. Think of it like a spring stack. If the ankle is stiff and the knee collapses inward, the spring jams. If the ankle, knee, and hip all flex together in a smooth sequence, the spring loads and then releases energy efficiently.
Key checkpoints you can feel:
- Feet: land midfoot to forefoot, not on the heels. Heels can kiss the ground as you sink, but avoid heavy heel strikes.
- Ankles: allow the shins to glide forward. Limited ankle bend forces the knee to collapse inward and shifts stress to the hip and back.
- Knees: track over second and third toes. If the knees knock inward, widen the stance slightly and slow down.
- Hips and trunk: hinge back slightly, ribs stacked over the pelvis. Imagine a zipper from sternum to belly button staying zipped.
- Eyes and hands: eyes up, racquet out front. Hands drift wide when posture collapses.
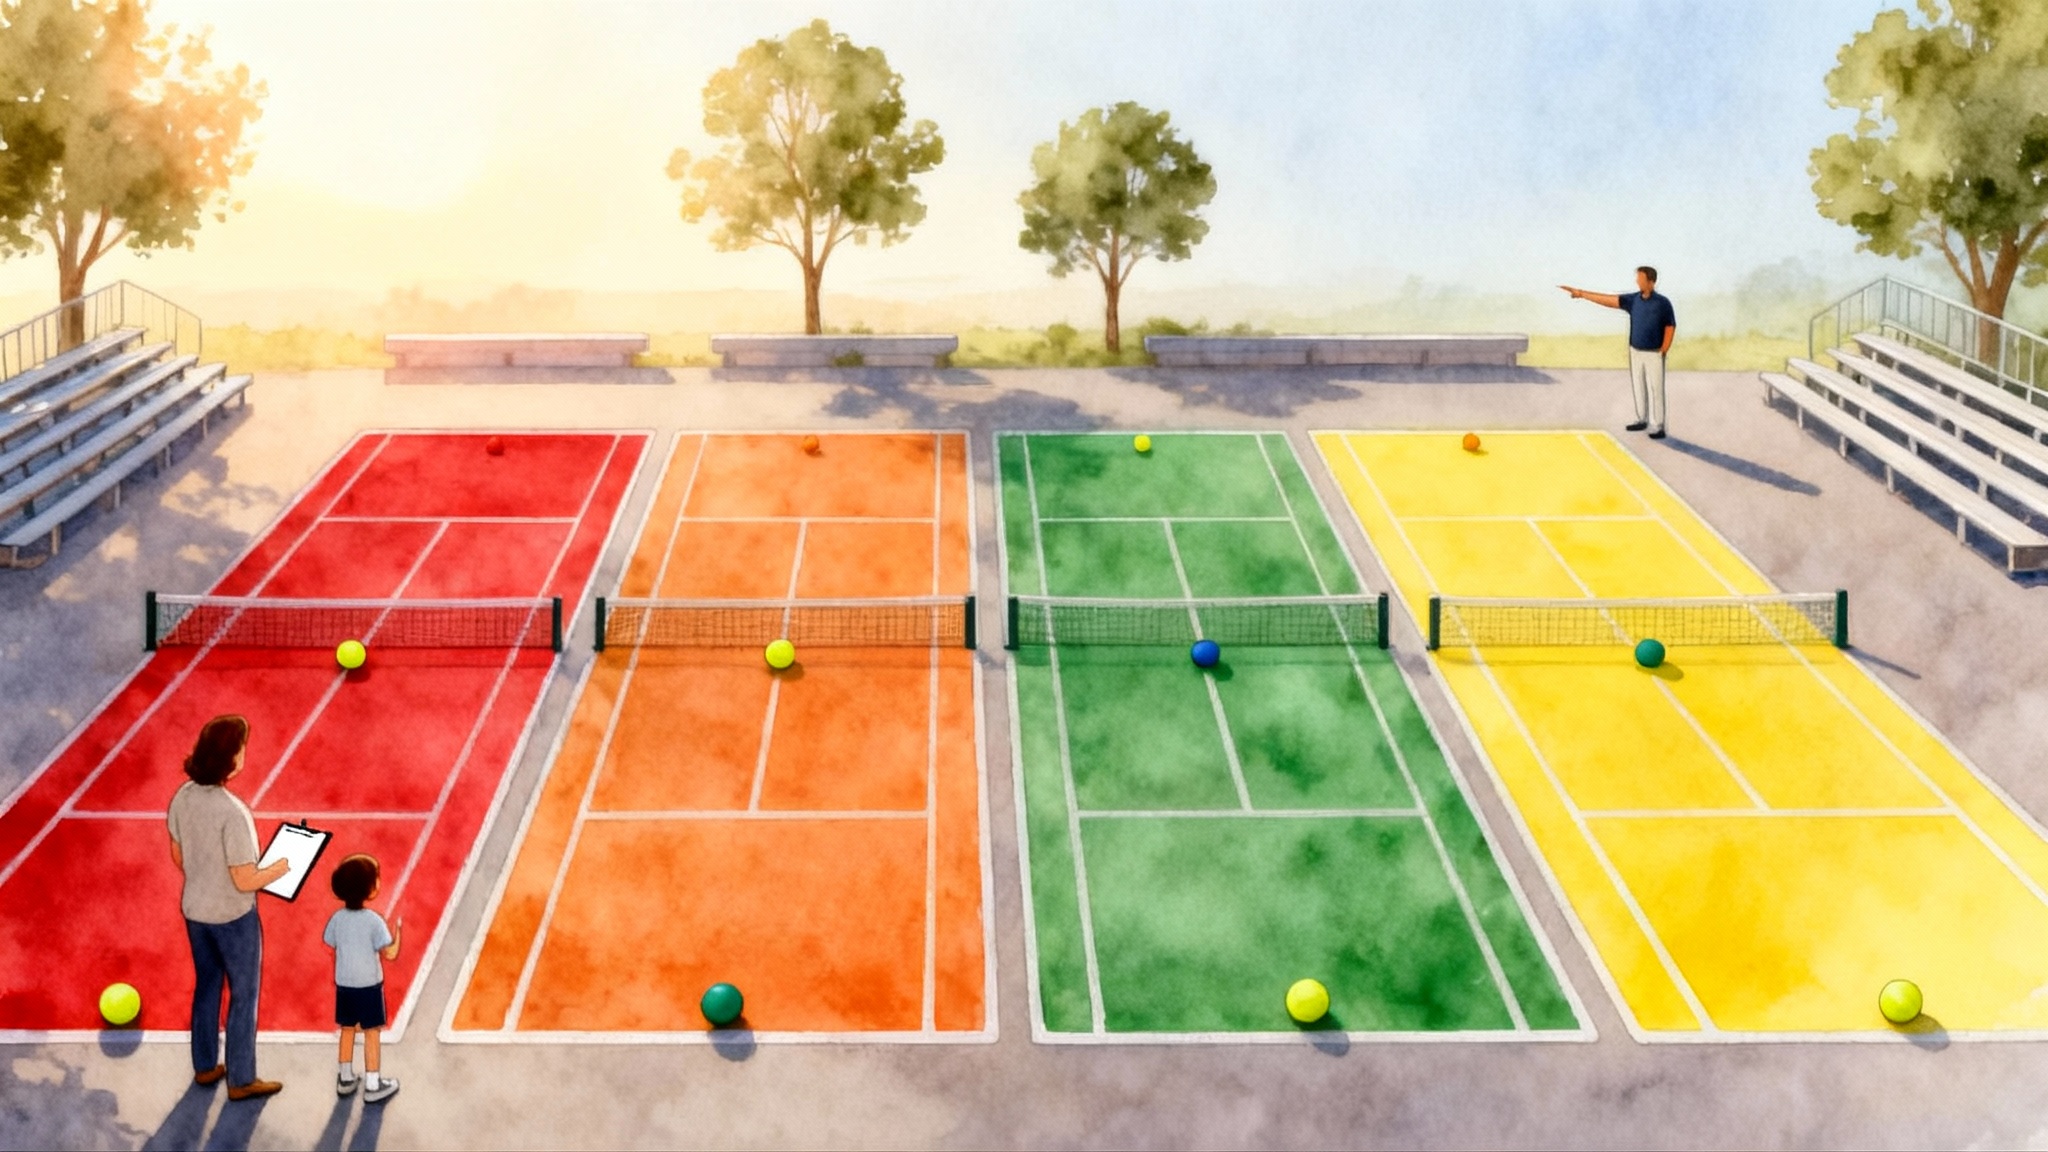
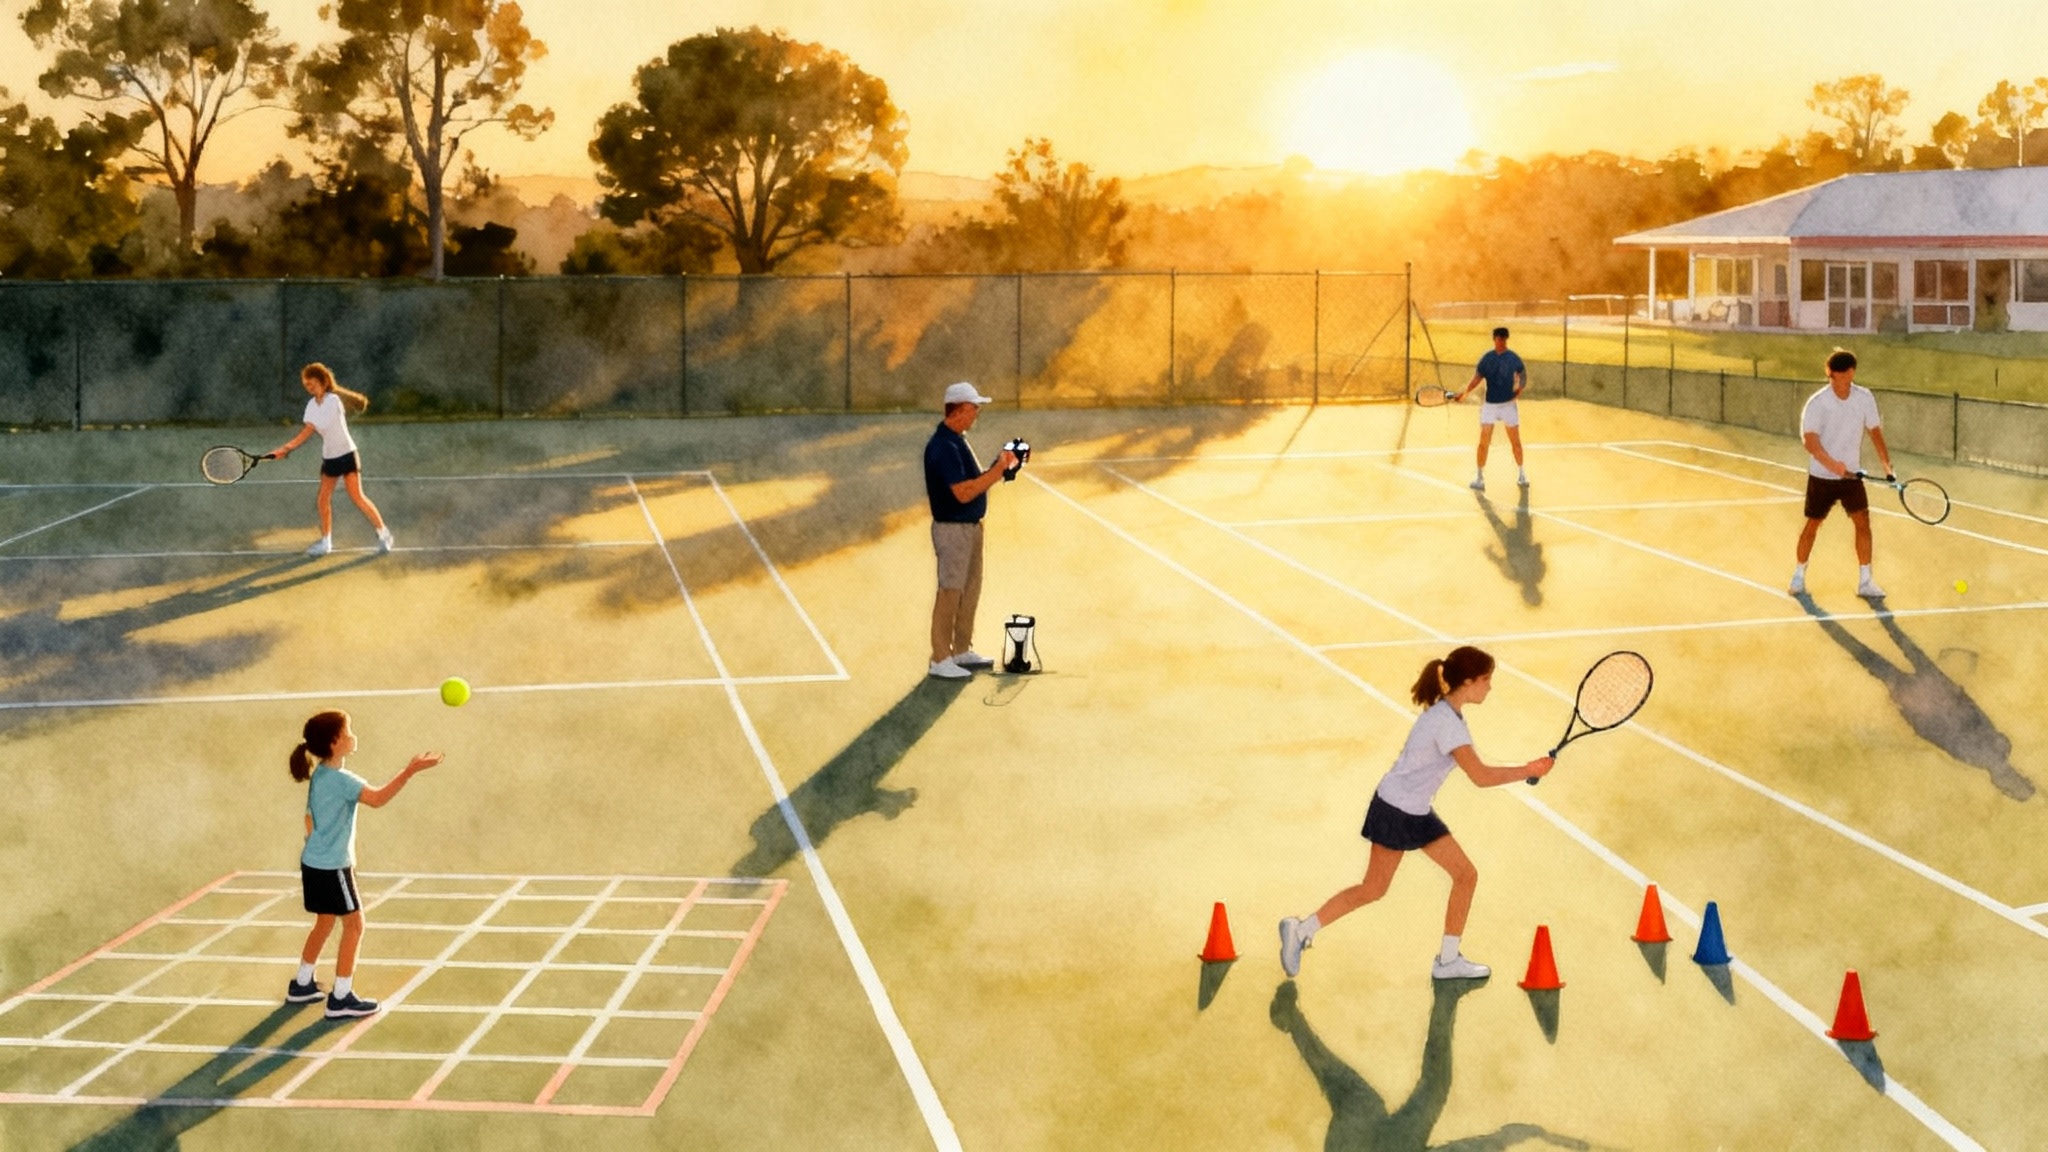
Court-tested braking drills by age
The drills below scale by age and training age. If in doubt, start easier and progress only when the stop looks clean and feels controlled.
Ages 8 to 12: playful control and positions
-
Red light stop
Place two cones five big steps apart. Jog from one cone to the other. Coach or parent calls Green, Yellow, Red. On Red, the player sinks into an athletic base and freezes for three seconds. Two sets of five runs. Focus on quiet feet and knees over toes. -
Snap down to split step
From tall on toes, drop into a split stance as if reacting to a serve. Land softly and balanced, then reset. Three sets of six reps. Cue players to keep the racquet still and the head level. -
Triangle shuffle and stick
Set three cones in a triangle. Shuffle to each cone, then stick the landing for two seconds. Two laps clockwise, two laps counterclockwise. Keep the chest tall and sit the hips back on the stick.
At this age, volume is low and quality is high. Stop every drill immediately if posture breaks down.
Ages 13 to 17: angles, cuts, and the first step out
-
3 step decel and go
Sprint three quick steps, plant the outside foot at a cone, stick for two seconds, then explode out for two steps in the new direction. Four sets of four reps each side. Rest 45 to 60 seconds. -
Lateral bound to stick
Hop sideways off one foot and land on the other, then hold for two seconds. Start with small hops. Three sets of five hops each way. The knee should not cave inward. If it does, reduce distance. -
5 meter shuttle with brake zones
Set a cone at 5 meters and a brake line 1 meter before the cone. Players must decelerate by the brake line, stop at the cone, and reaccelerate back. Four sets of three round trips. The line teaches where to start braking. -
Mirror tag with brakes
Partners face each other inside a small rectangle. One leads, the other mirrors. On a whistle, the leader must hit a stick position within a marked corner. Switch after 15 seconds. Five rounds. Great for reaction with safe braking.
Adults 18 to 49: game-speed stops that protect knees and ankles
-
1 step plant, 2 step exit
Approach a cone at moderate speed, plant the outside foot, stop within one racket length, then take two powerful steps out. Three sets of six reps each side. -
T drill with holds
Set up the classic T drill. Add a two second hold on each outside touch. Two rounds. Rest one minute between rounds. Focus on staying low through the middle of the T. -
Curved approach cut
Jog in a curved path to simulate a wide ball. Plant, face the court, stick for two seconds, then accelerate diagonally back in. Three sets of four reps each side.
Adults 50 plus: shorter distances, slower entries, longer holds
-
Step to stick
Two controlled steps into a stop, then hold for three seconds. Three sets of five reps. Keep the stride short and controlled. -
Lateral step down and reach
From a small platform or line, step sideways, tap the ground with the free hand while keeping the back flat, and return. Three sets of six each side. This teaches hip loading. -
Walk in brake points
Place cones every 3 meters. Walk two cones, then brake into a split stance and hold for three seconds before walking on. Two laps up and back. Emphasize alignment and quiet landings.
If you feel sharp pain or instability on any stop, reduce speed or switch to easier options and consult a qualified clinician if pain persists.
At-home strength progressions to support better stops
Strong brakes come from strong quads, hamstrings, calves, and glutes, along with good ankle mobility and trunk stiffness. Use these simple progressions two to three times per week. Keep rest intervals 60 to 90 seconds between sets.
Foundations for all ages
-
Calf raises and eccentric lowers
Two sets of 12 raises, then one set of 8 slow lowers per leg. The lowers train the calf and Achilles to absorb force. -
Tibialis raises
Lean against a wall, lift toes to the shins, lower slowly. Two sets of 10 to 15 reps. Strong shins improve braking on the forefoot. -
Split squat hold
Hold the bottom of a split squat for 20 to 30 seconds per leg. Two sets. Keep the front knee over the middle toes and the torso tall.
Juniors
-
Wall sits
Two sets of 20 to 30 seconds. Keep feet under knees and back flat to the wall. Teaches time under tension without heavy loading. -
Hip bridge march
Bridge up, then alternate lifting one foot without letting the hips drop. Two sets of 8 marches per side.
Teens
-
Rear foot elevated split squat
Three sets of 6 to 8 reps per leg. Control the down phase for three seconds. Builds eccentric strength for deceleration. -
Romanian deadlift with backpack
Hold a backpack in both hands, hinge at the hips, slight knee bend, back flat. Three sets of 8 reps. Teaches hip loading. -
Lateral step down
Stand on a step. Lower the inside foot to tap the ground, then return. Three sets of 6 reps. Targets knee control in the frontal plane.
Adults
-
Heel elevated goblet squat
Hold a weight or backpack at the chest. Heels raised on a small book, sit straight down, then stand. Three sets of 6 to 8 reps. Helps those with stiff ankles. -
Hamstring sliders
Heels on a towel or sliders, bridge up, slowly extend legs and pull back. Two sets of 6 to 8 slow reps. Protects against sudden pulls during cutting. -
Anti rotation press
Use a band fixed at chest height. Press straight out and resist rotation. Two sets of 10 seconds per side. Helps keep the trunk stable during stops.
Three readiness tests you can do in 10 minutes
These simple tests reveal if your ankles, knees, and hips are ready for sharper cuts. Use them monthly or before a new training block.
1. Knee to wall ankle test
- How: Face a wall in a half kneel. Place the front foot a set distance from the wall. Drive the knee forward to touch the wall without the heel lifting. Slide the foot back or forward to find the maximum distance you can reach while keeping the heel down.
- Score: Measure the distance from the big toe to the wall. Aim for at least 8 to 10 centimeters on both sides. Less than 8 centimeters suggests limited ankle mobility that could push extra stress to the knee during braking.
- Fix: Add calf stretches, tibialis raises, and heel elevated squats. Retest weekly.
2. Single leg drop and stick
- How: Step off a 15 to 20 centimeter platform onto one foot. Land softly, knee over toes, trunk tall, and hold for three seconds. Do five reps per side.
- Score: Pass if at least 4 of 5 landings per side are quiet, balanced, and show no inward knee collapse. Fails include wobble, heavy heel smacks, or the knee diving in.
- Fix: Reduce height, add lateral step downs, and practice snap downs.
3. 5-0-5 change of direction symmetry check
- How: Mark a center line and cones 5 meters on each side. Sprint from the center to one cone, plant and turn, and sprint back through the center. Time each side separately.
- Score: The closer the times, the better. Aim for a left to right difference of 0.1 seconds or less. Larger gaps suggest asymmetry in braking or reacceleration.
- Fix: Add extra reps for the slower side and repeat single leg drop and stick on that side.
These do not replace medical screening, but they give you a practical picture of your movement quality. Improve your weakest link and you will feel smoother on court.
A simple weekly plan that fits real tennis schedules
-
Two micro doses on court
Before hitting, spend 8 to 12 minutes on braking drills. Choose two positions work drills like snap downs and triangle shuffle, then one short shuttle with sticks. -
Two short strength sessions at home
Pick one quad dominant exercise, one hip hinge, and one calf or shin movement. Add a short trunk exercise. Keep each session under 20 minutes. For planning across the week, see build your tennis week microcycles. -
One readiness check every month
Log your ankle distance, stick quality, and 5-0-5 symmetry. Small consistent improvements will add up.
Coaching cues that fix the most common errors
-
Knees caving in
Cue knees over laces and widen stance slightly. Add lateral step downs and banded squats. -
Heavy heels on landing
Cue soft midfoot landings. Add calf and tibialis work. Use lower drop heights until you can land quietly. -
Upright torso with no hip hinge
Cue sit back to a stool and feel the hamstrings load. Practice Romanian deadlifts with a backpack. -
Braking too late
Add visible brake lines one to two meters before the cone. Practice stopping by the line, not at the cone. -
Losing the first step out
Pause at the stick, then push the ground away with the outside foot. Think push, then move.
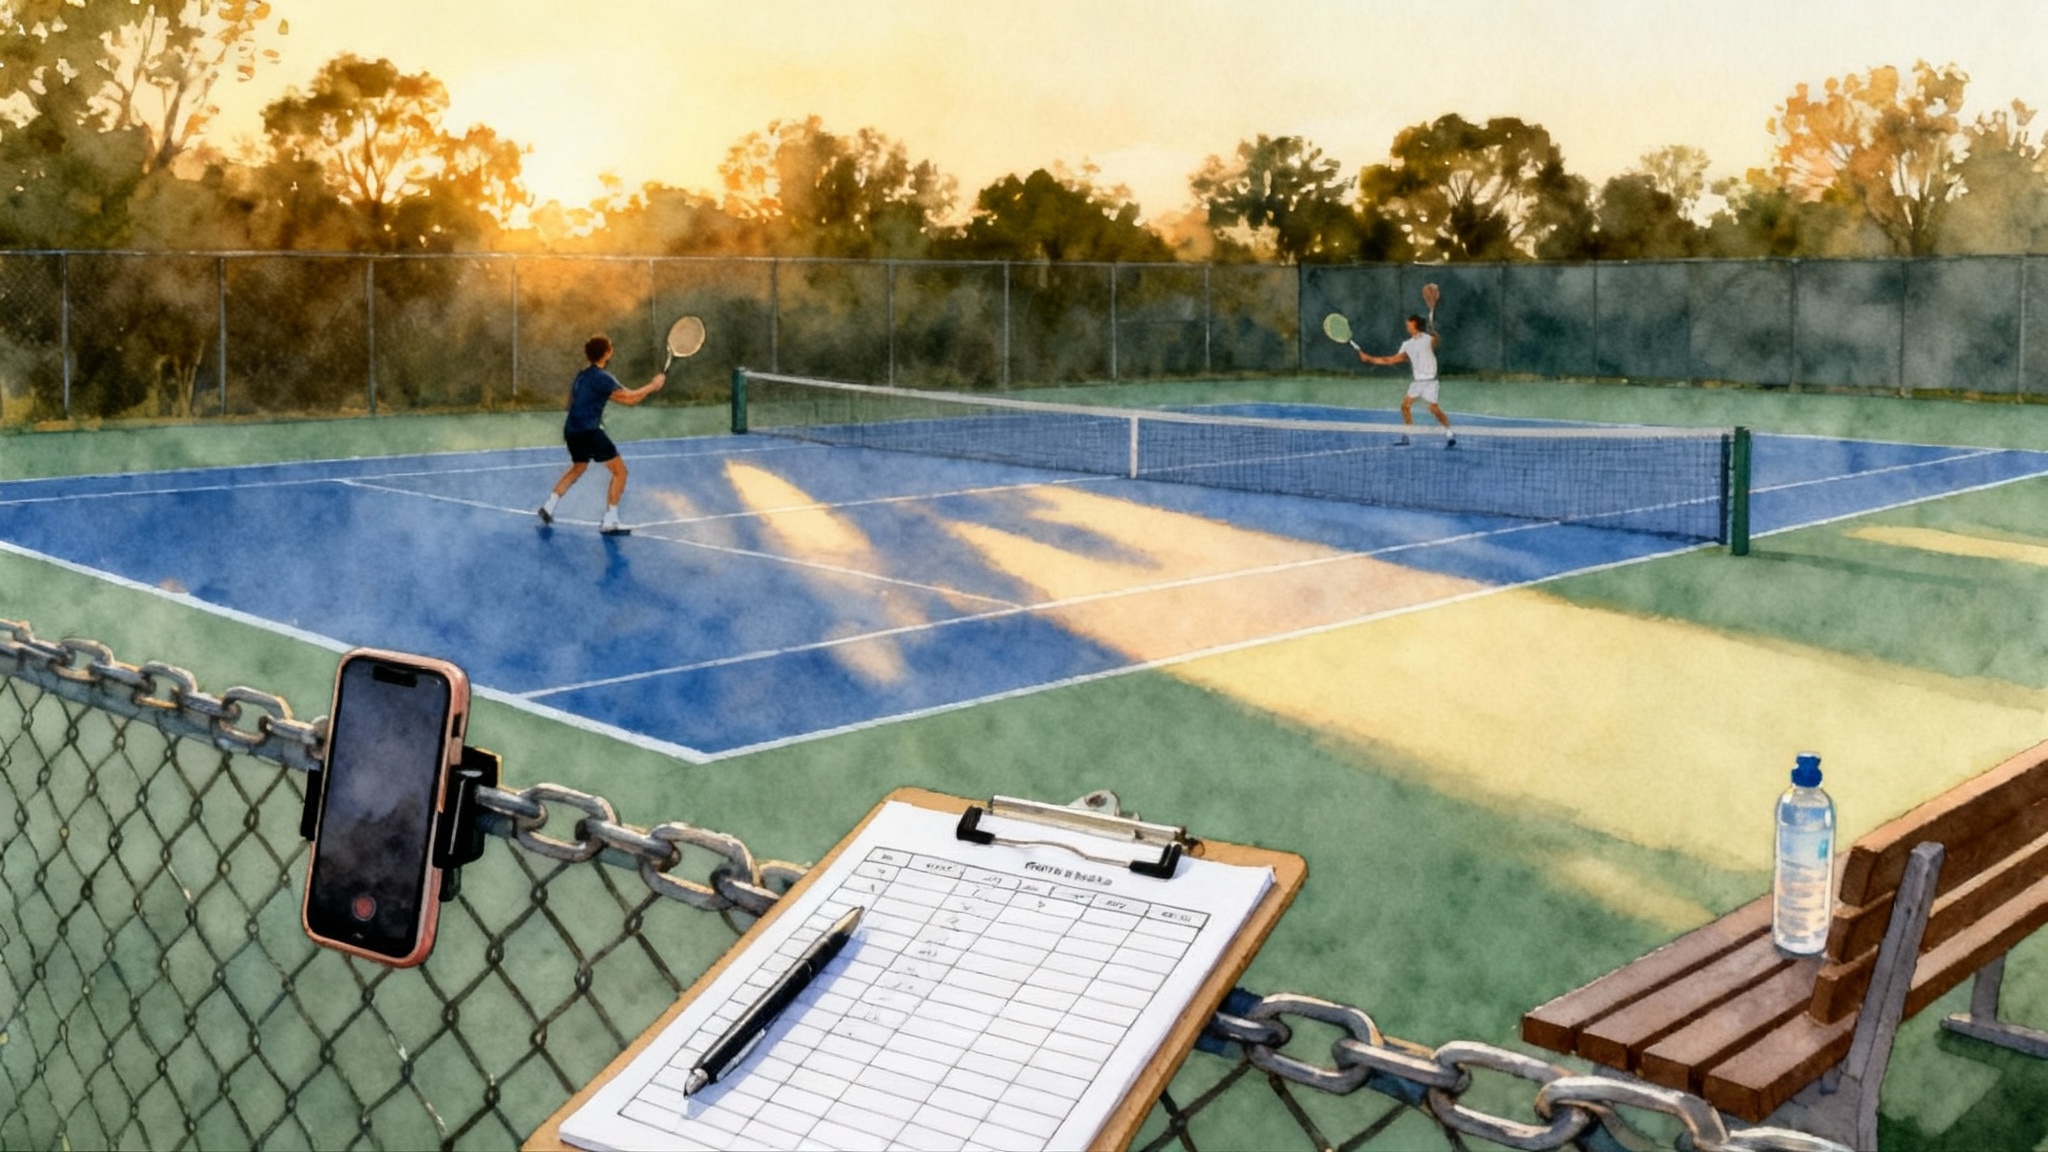
Skill transfer: turn drills into points
To make braking carry over to rallies, add a ball and a simple rule. For example, during cooperative crosscourt rallies, the hitter calls Red as the partner runs wide. The runner must stick the stop before hitting the next ball. Or run the 5 meter shuttle but feed a short ball immediately after the stick. The player must exit cleanly and attack the short ball. Start with two sets of six feeds each side.
If your junior is in a growth spurt, review the parents' PHV guide to strength, speed, and skill to adjust volume and exercise choices.
Sidebar: how Gomez Tennis Academy bakes deceleration into warm ups
At Gomez Tennis Academy coaches, coaches do not wait for strength sessions to teach braking. They layer it into the first 10 minutes on court, every day.
-
Movement prep, 3 minutes
Marching A skips, ankle rolls, and toe walks into heel walks. Athletes learn to feel the forefoot and the shin moving forward over the foot. -
Position work, 3 minutes
Snap downs to split stance, two sets of six, then triangle shuffle and stick with two second holds. Coaches cue hips back, chest tall, and quiet feet. -
Short shuttles with brake lines, 3 to 4 minutes
5 meter shuttles with a clear brake line. Players stop by the line, own the stick, then take two aggressive steps out. Coaches watch for knee tracking and trunk control before speed.
This micro approach builds thousands of high quality reps across a season without extra time on the calendar.
Equipment and surface notes
-
Shoes
Tennis shoes with solid lateral support and fresh tread help you grip and brake safely. If you often play on hard courts, rotate pairs so the midsoles recover between sessions. -
Surface
Clay rewards earlier, lower braking with a longer glide. Hard courts demand precise foot placement and softer landings. Adjust speed to the surface. -
Cones and lines
Cones are useful, but painter tape brake lines create better awareness. A bright line makes you decide to slow down sooner.
Parents’ corner: making it fun and safe
- Keep reps short and crisp. Two to three sets of five goes far for kids.
- Turn drills into games. Count quiet landings, not speed.
- Reward posture. A good hold with a smile beats a fast sloppy rep.
- Model the moves. Kids copy what they see. Do two reps yourself.
Adult players: how to progress without soreness
- Increase only one variable at a time. Add speed, distance, or reps, not all three.
- Respect soft tissue. Calves and adductors handle a lot of braking. Keep calf raises and hamstring work in the mix year round.
- Warm up with position work before any high speed approach shots or sprints.
Putting it together on court in 12 minutes
Try this quick template before your next hit. Adjust for age.
-
Minutes 0 to 3: ankle and shin prep
Calf raises 10, tibialis raises 10, ankle rolls 10 each way. -
Minutes 3 to 6: snap downs and triangle stick
Two sets of six snap downs, then two laps of triangle shuffle and stick. -
Minutes 6 to 9: 5 meter shuttle with brake line
Two sets of three round trips with two second holds. -
Minutes 9 to 12: mirror tag with brakes
Three rounds of 20 seconds. Keep holds clean.
Now you are warm, your brakes are grooved, and your first step will be crisper.
A smart close
Stopping is not the opposite of speed. It is the start of it. Train a clean stick, build simple strength in the legs and trunk, and check your readiness with three quick tests. Do it with your kids, your team, or your doubles partner. When your brakes improve, your first step out will feel like it got an upgrade, your knees and ankles will thank you, and those scramble points will start to tip your way.