Serve Toss Consistency Blueprint for Juniors, Parents, Adults
A practical, age-tailored plan to fix an erratic serve toss. Learn hand path, release height, and tempo, use three phone-video checkpoints, adjust for wind and sun, and follow a two-week progression with smart arm care.
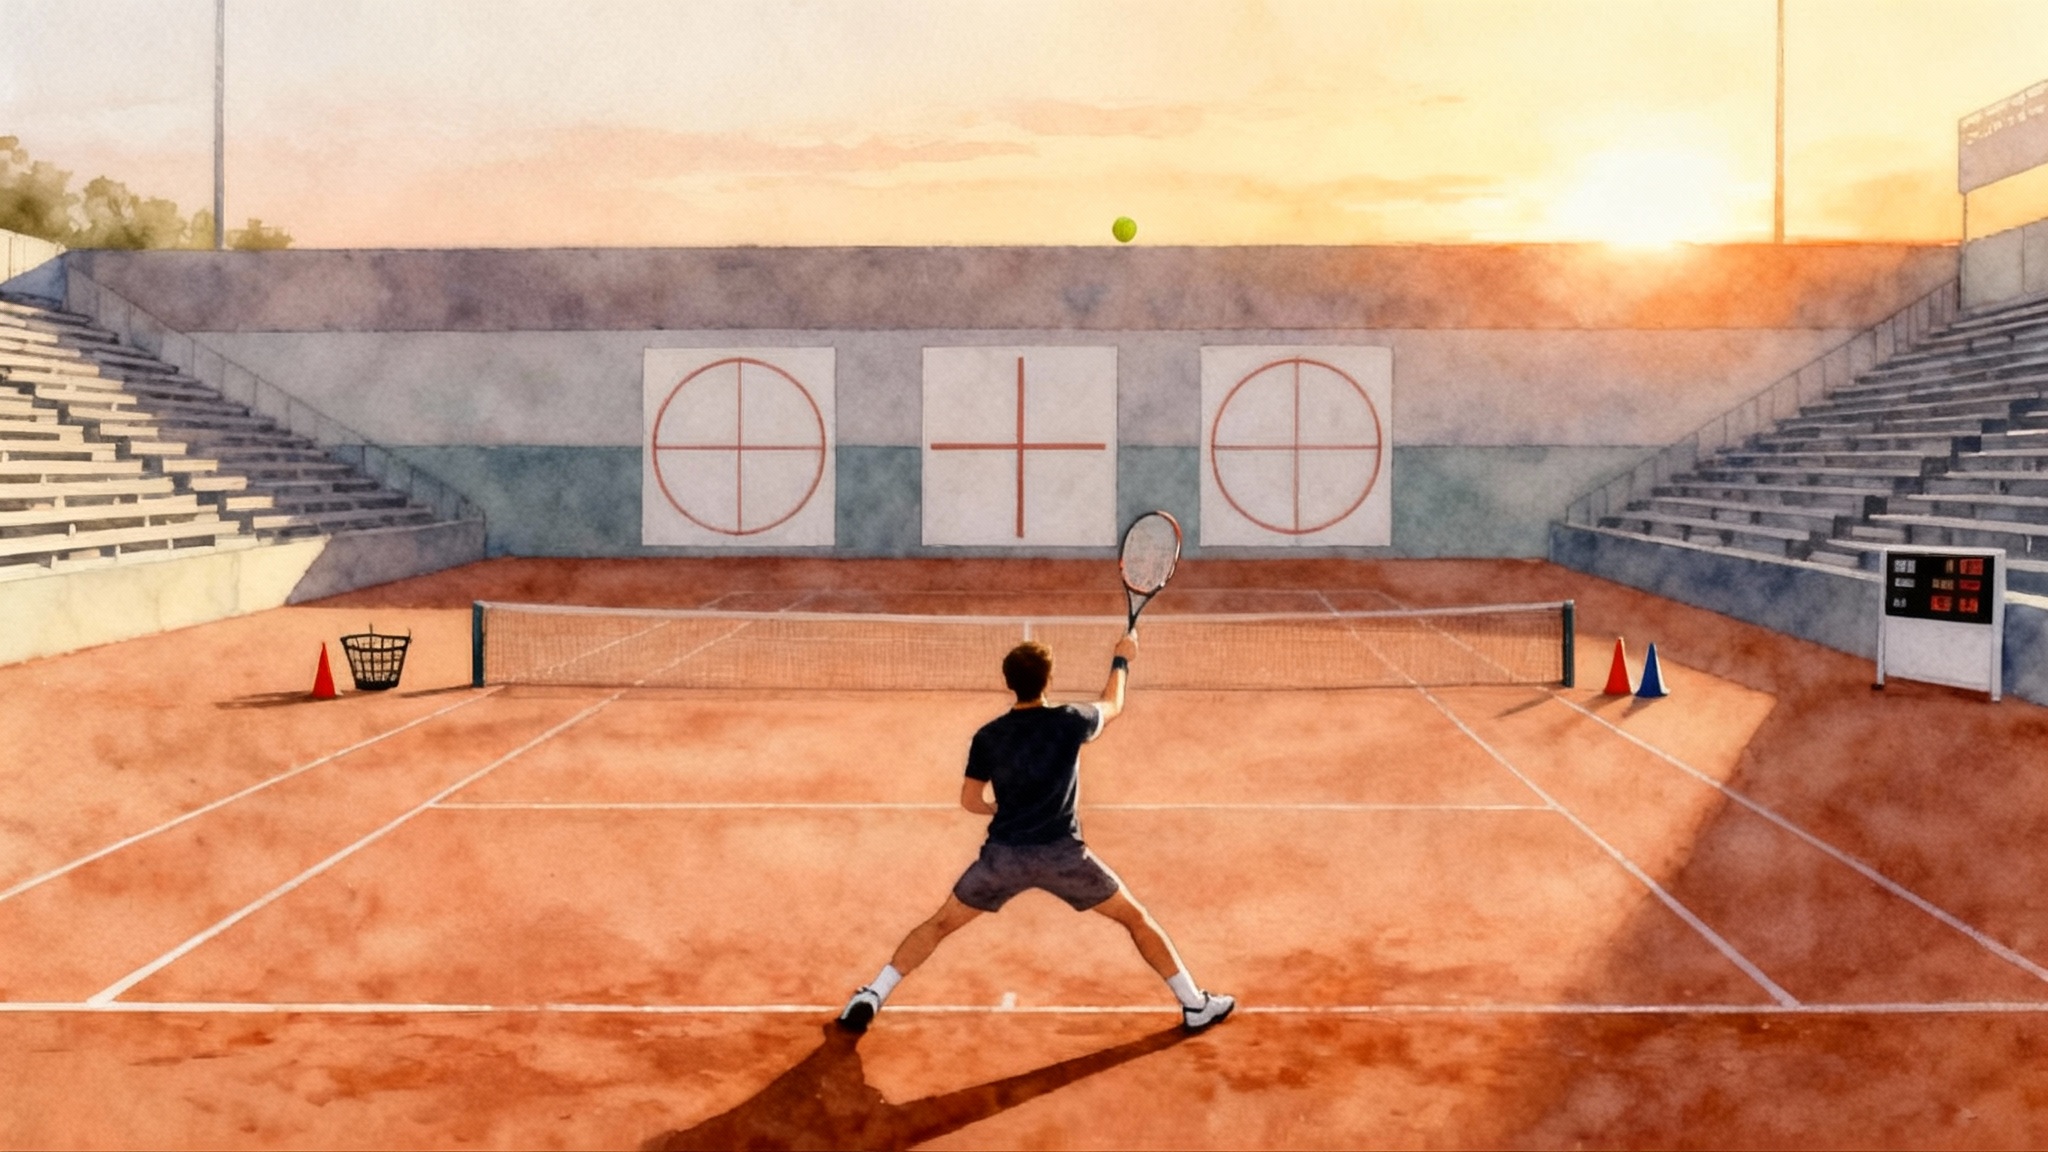
Why a steady toss changes matches
A reliable toss unlocks everything that follows on the serve. With a steady ball flight, you can time your jump or leg drive, reach a balanced contact point, and send the strings through the same part of the ball again and again. That repeatability raises first serve percentage, which steadies opening points, protects game leads, and makes second serves less stressful. When players track their data, a consistent toss usually shows up first as fewer rushed motions, then as better placement, then as an improved first serve percentage. For matching contact habits on groundstrokes, see our forehand contact point blueprint.
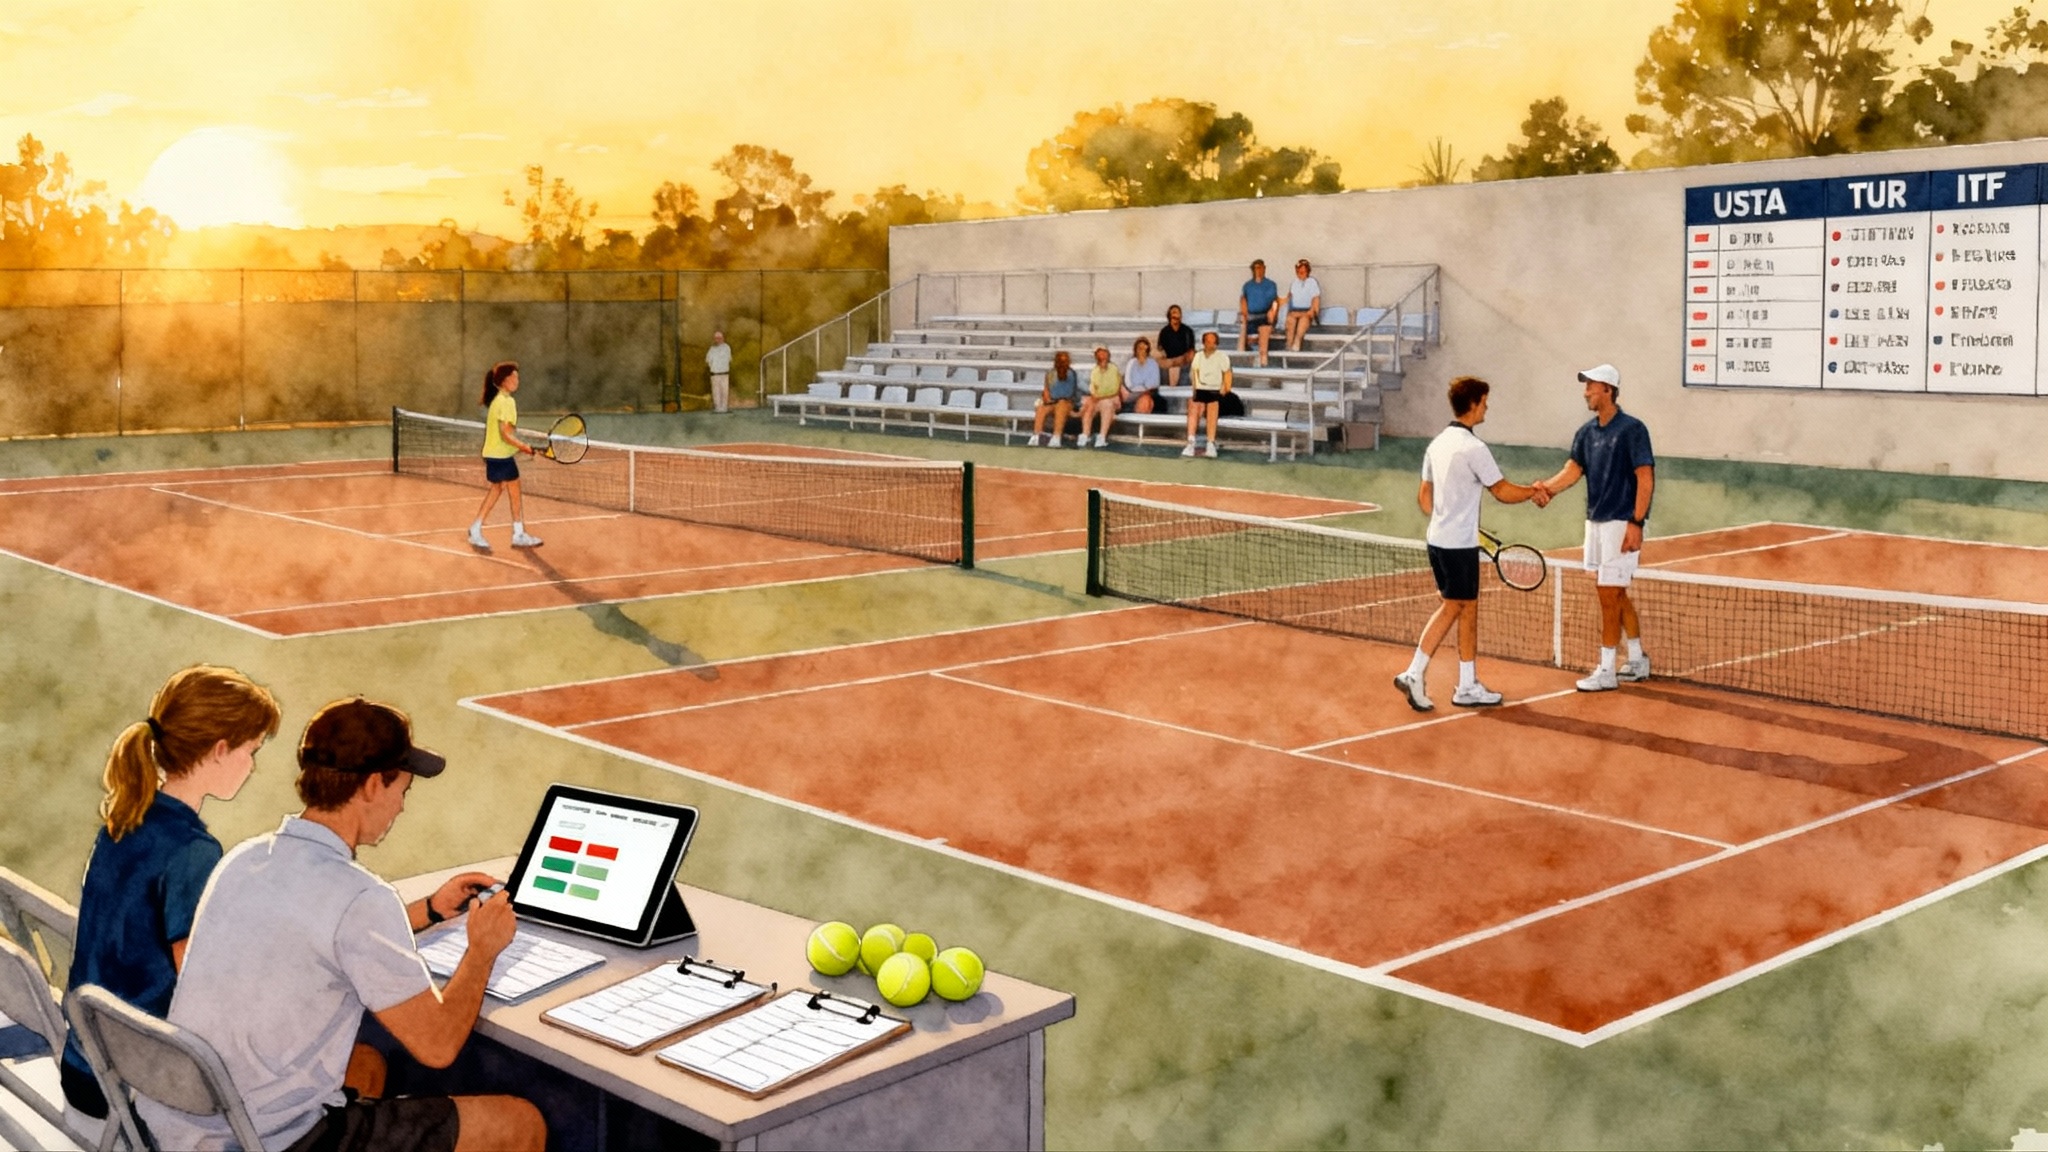
College coaches watch for this. In tryouts and recruiting videos they look for athletes who do not have to chase the ball with their head or feet. A calm, centered toss signals that the player’s serve will hold up under pressure and that the foundation for adding pace and spin is already in place. For what to show on film, use our 2026 tennis recruiting video guide. Juniors, parents, and adult players all benefit from understanding the simple mechanics of a dependable toss and how to train it in small, measurable steps.
This blueprint gives you a step-by-step plan, age-tailored coaching cues, three phone-video checkpoints to diagnose left and right drift, adjustments for wind and sun, and a two-week progression that blends light arm care with precise drills. You will also find optional practice templates based on sessions used at Legend Tennis Academy in Spicewood, Texas.
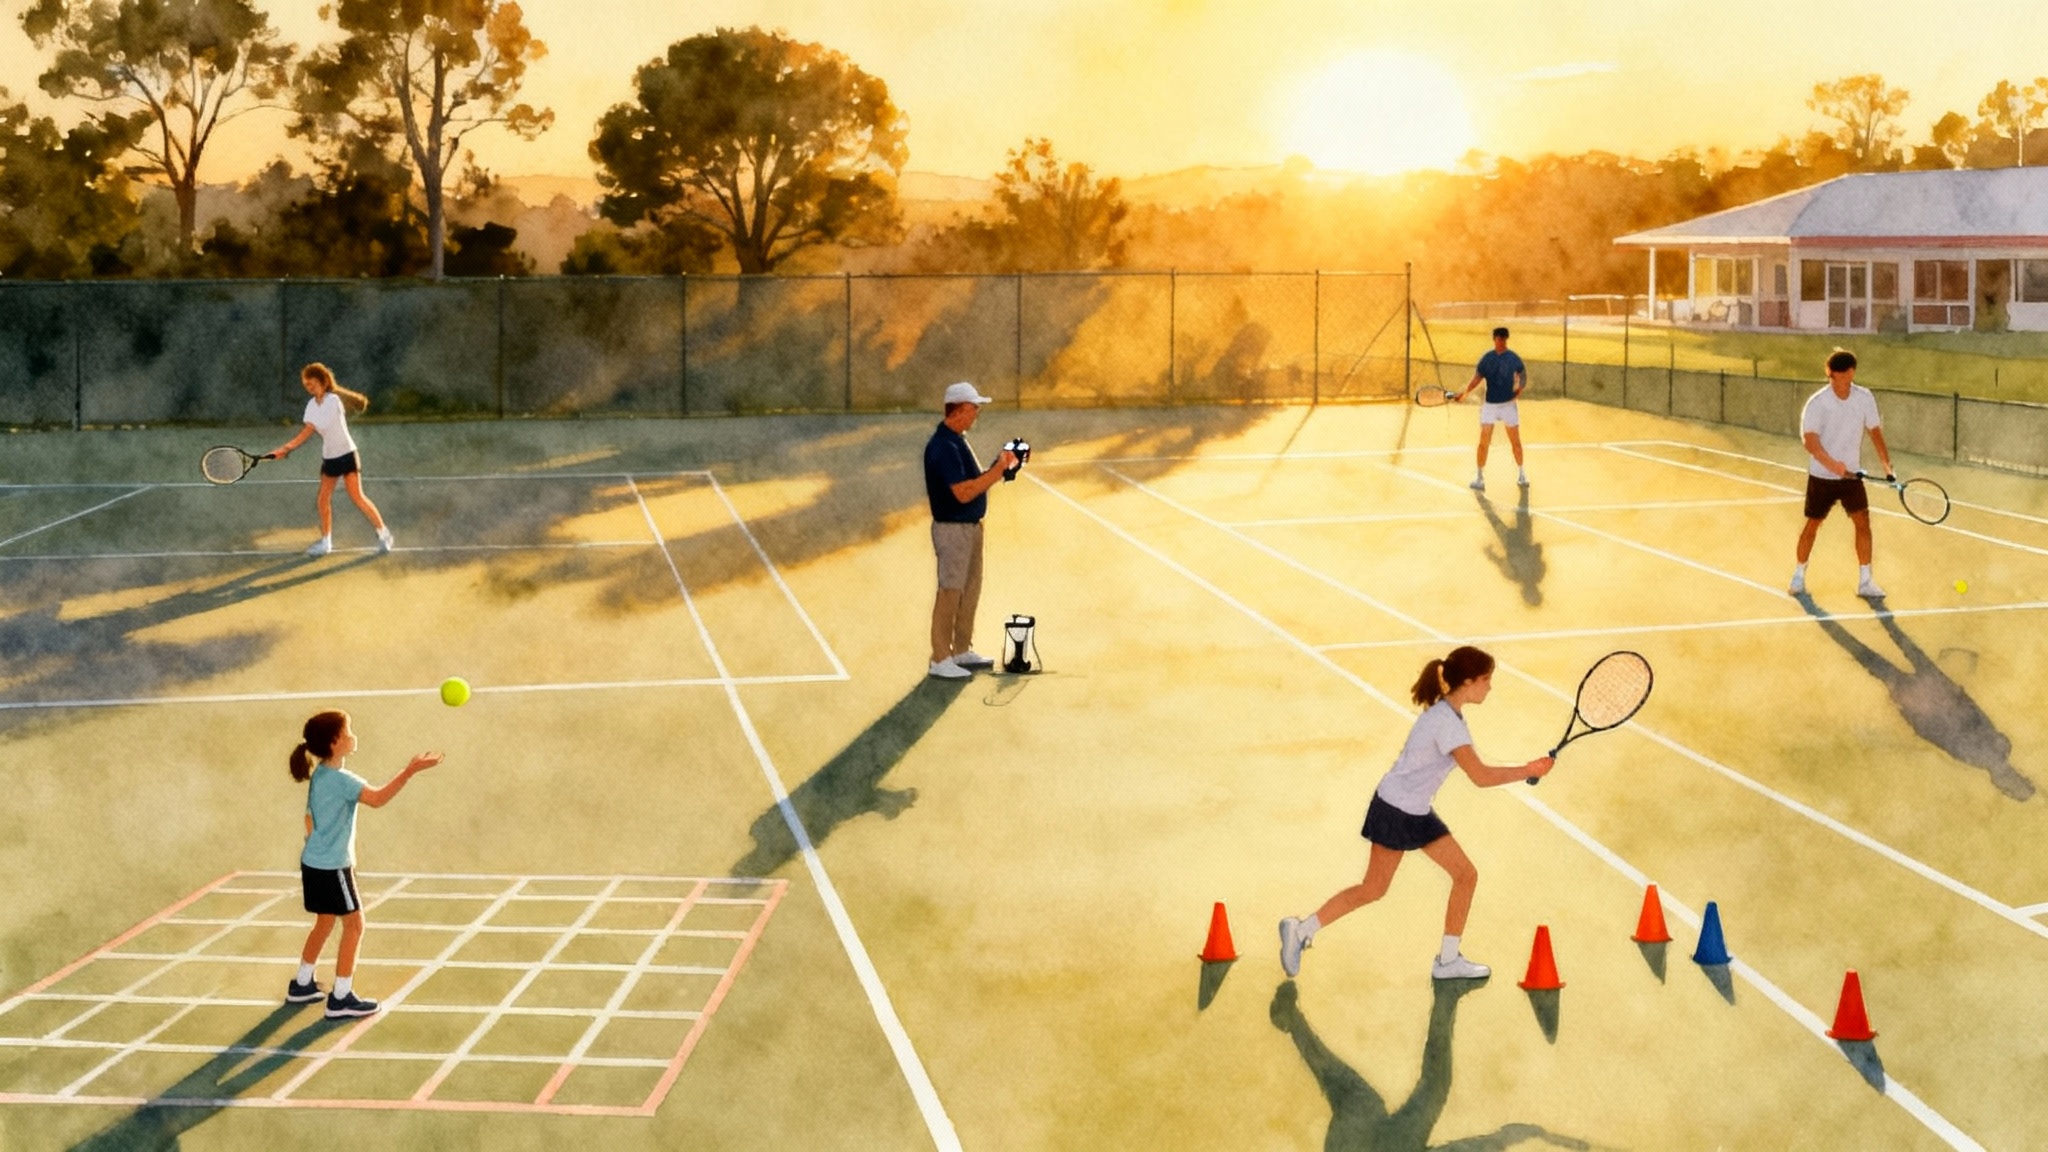
What a great toss looks like
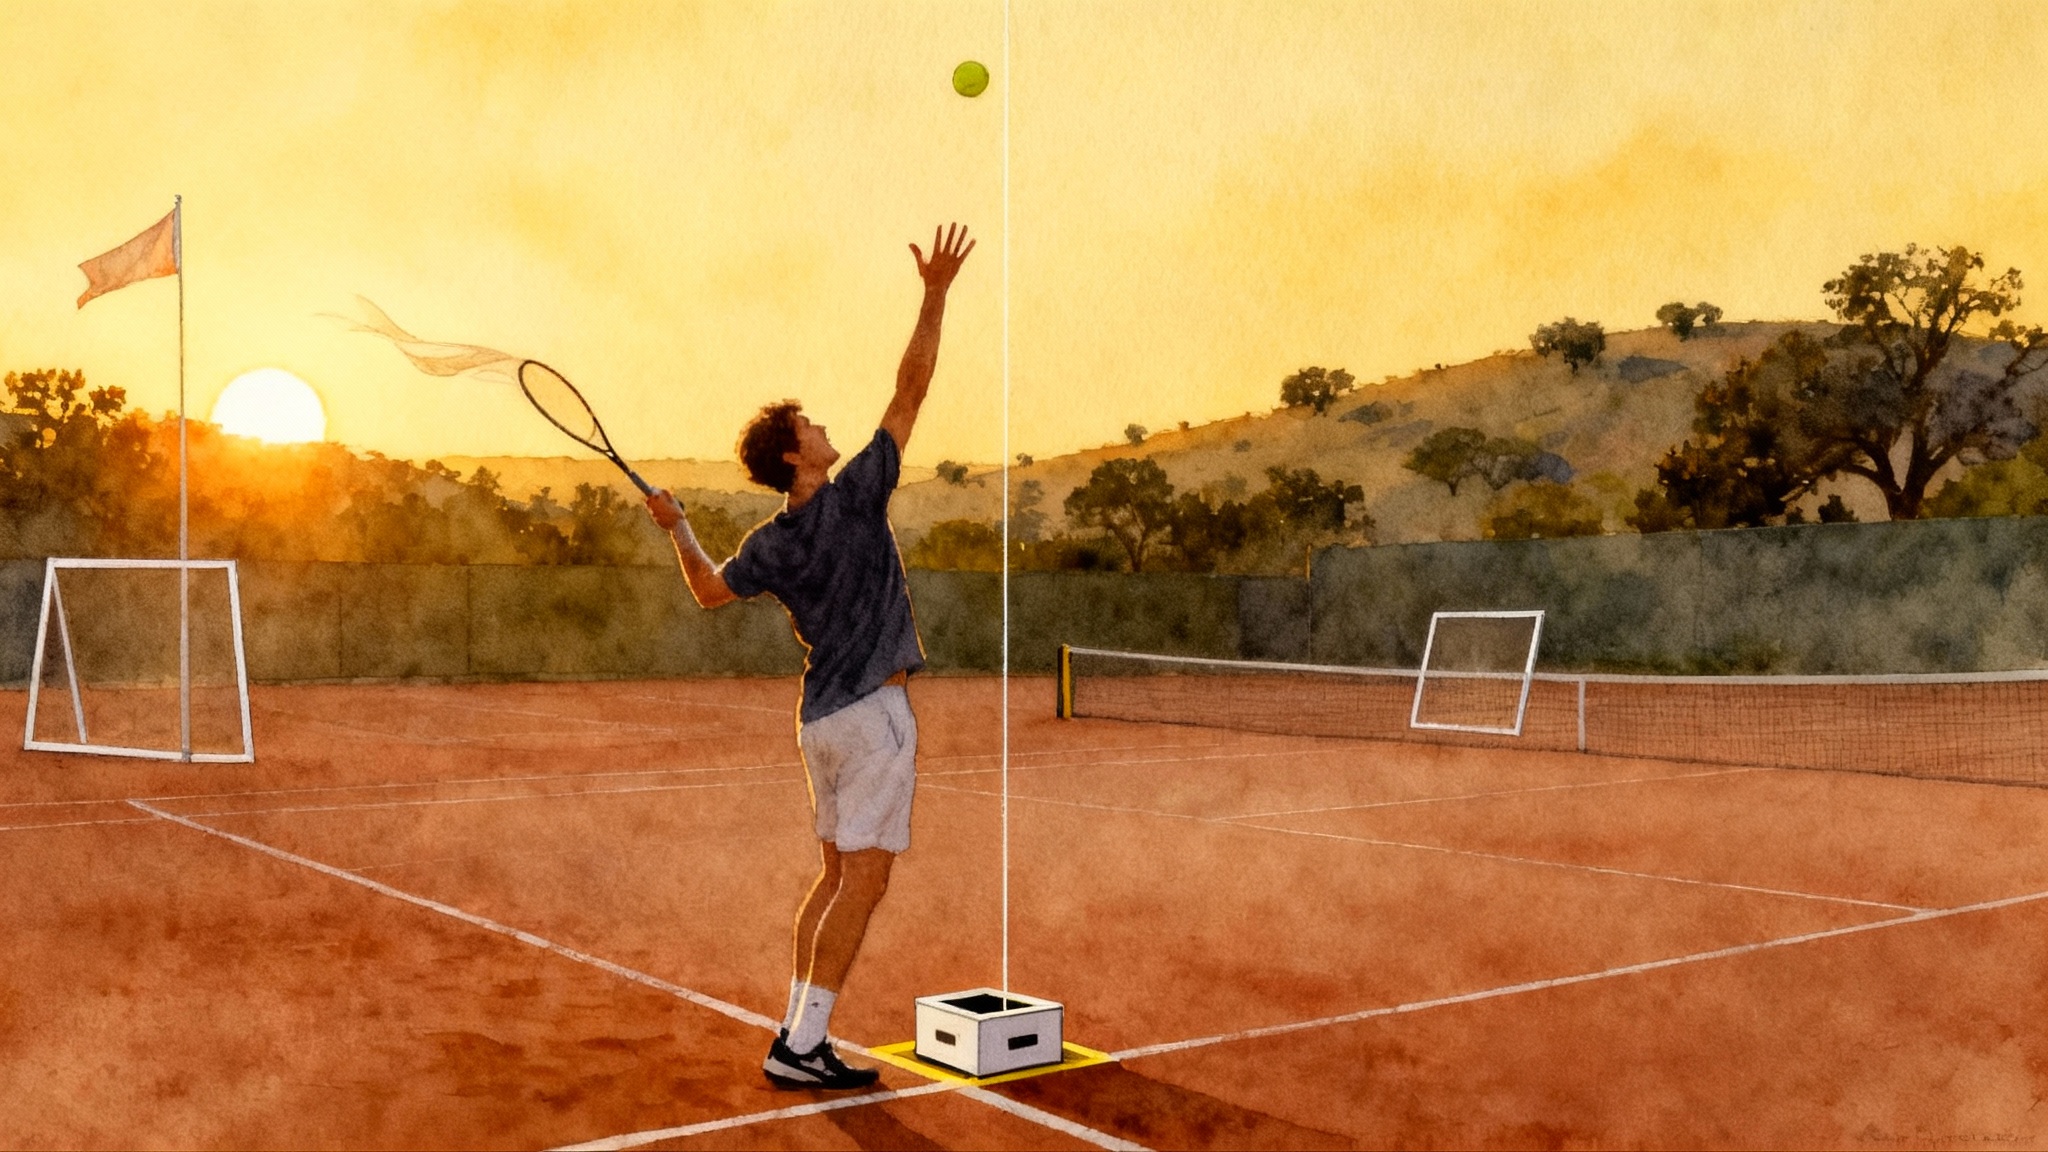
A great toss travels like a glass elevator. It goes straight up, unhurried, and returns slightly forward into your strike zone. Use these three pillars to shape it.
- Hand path: Move the tossing hand in a single smooth lift from the front thigh to the sky along an imaginary line just in front of the hitting shoulder. Keep the wrist quiet and the palm facing the sky as long as possible. The hand should feel like it is carrying a tray straight upward.
- Release height: Release the ball when the tossing hand reaches roughly the level between your chin and forehead, then let the arm continue rising after release. The elbow stays extended or only slightly bent. The ball should peak about a forearm to two forearms above your contact point, high enough to allow full extension but not so high that it floats and drifts.
- Tempo: The toss sets the rhythm for the whole serve. Use a two-count. Count “one” as the hand leaves the thigh, count “two” as the ball leaves your fingertips. Lift smoothly, do not flick. The racket side follows the tossing side, not the other way around.
Step-by-step, age-tailored cues
Every player can learn the same motion with the right picture in mind. Choose the version that fits the athlete in front of you.
For younger juniors and new players
- Picture: Carry a pizza box from your thigh to the sky. No spills, no wobbling.
- Grip the ball with the pads of the fingers, not deep in the palm. A loose palm makes the release smoother.
- Stand so the front hip faces the net post, not the court center. This keeps the hand path aligned with the hitting shoulder.
- Rule of one: One lift, one release, one bounce catch if it goes off line. Reset quickly.
- Game: Draw a small square with sidewalk chalk on the court, a foot inside the baseline and a racquet head to the right of the front foot for right handers, to the left for left handers. Can you drop the ball into the square five times in a row without swinging the racket?
For teens and developing competitors
- Picture: Zipper line. Imagine a zipper that starts on the front thigh and runs past your sternum toward the sky. The hand rides up that zipper without cutting across the body.
- Add a soft knee bend that starts after the release. If the knees bend too early, the hand lowers and the toss drifts.
- Release discipline: Video in slow motion and pause at release. Elbow height at or above the bottom of the rib cage, fingers pointing to the sky, palm open, no curl.
- Progression: Ten tosses caught at peak with the non-dominant hand, then ten shadow swings where you freeze at contact, then ten light serves at fifty percent power while keeping the head still.
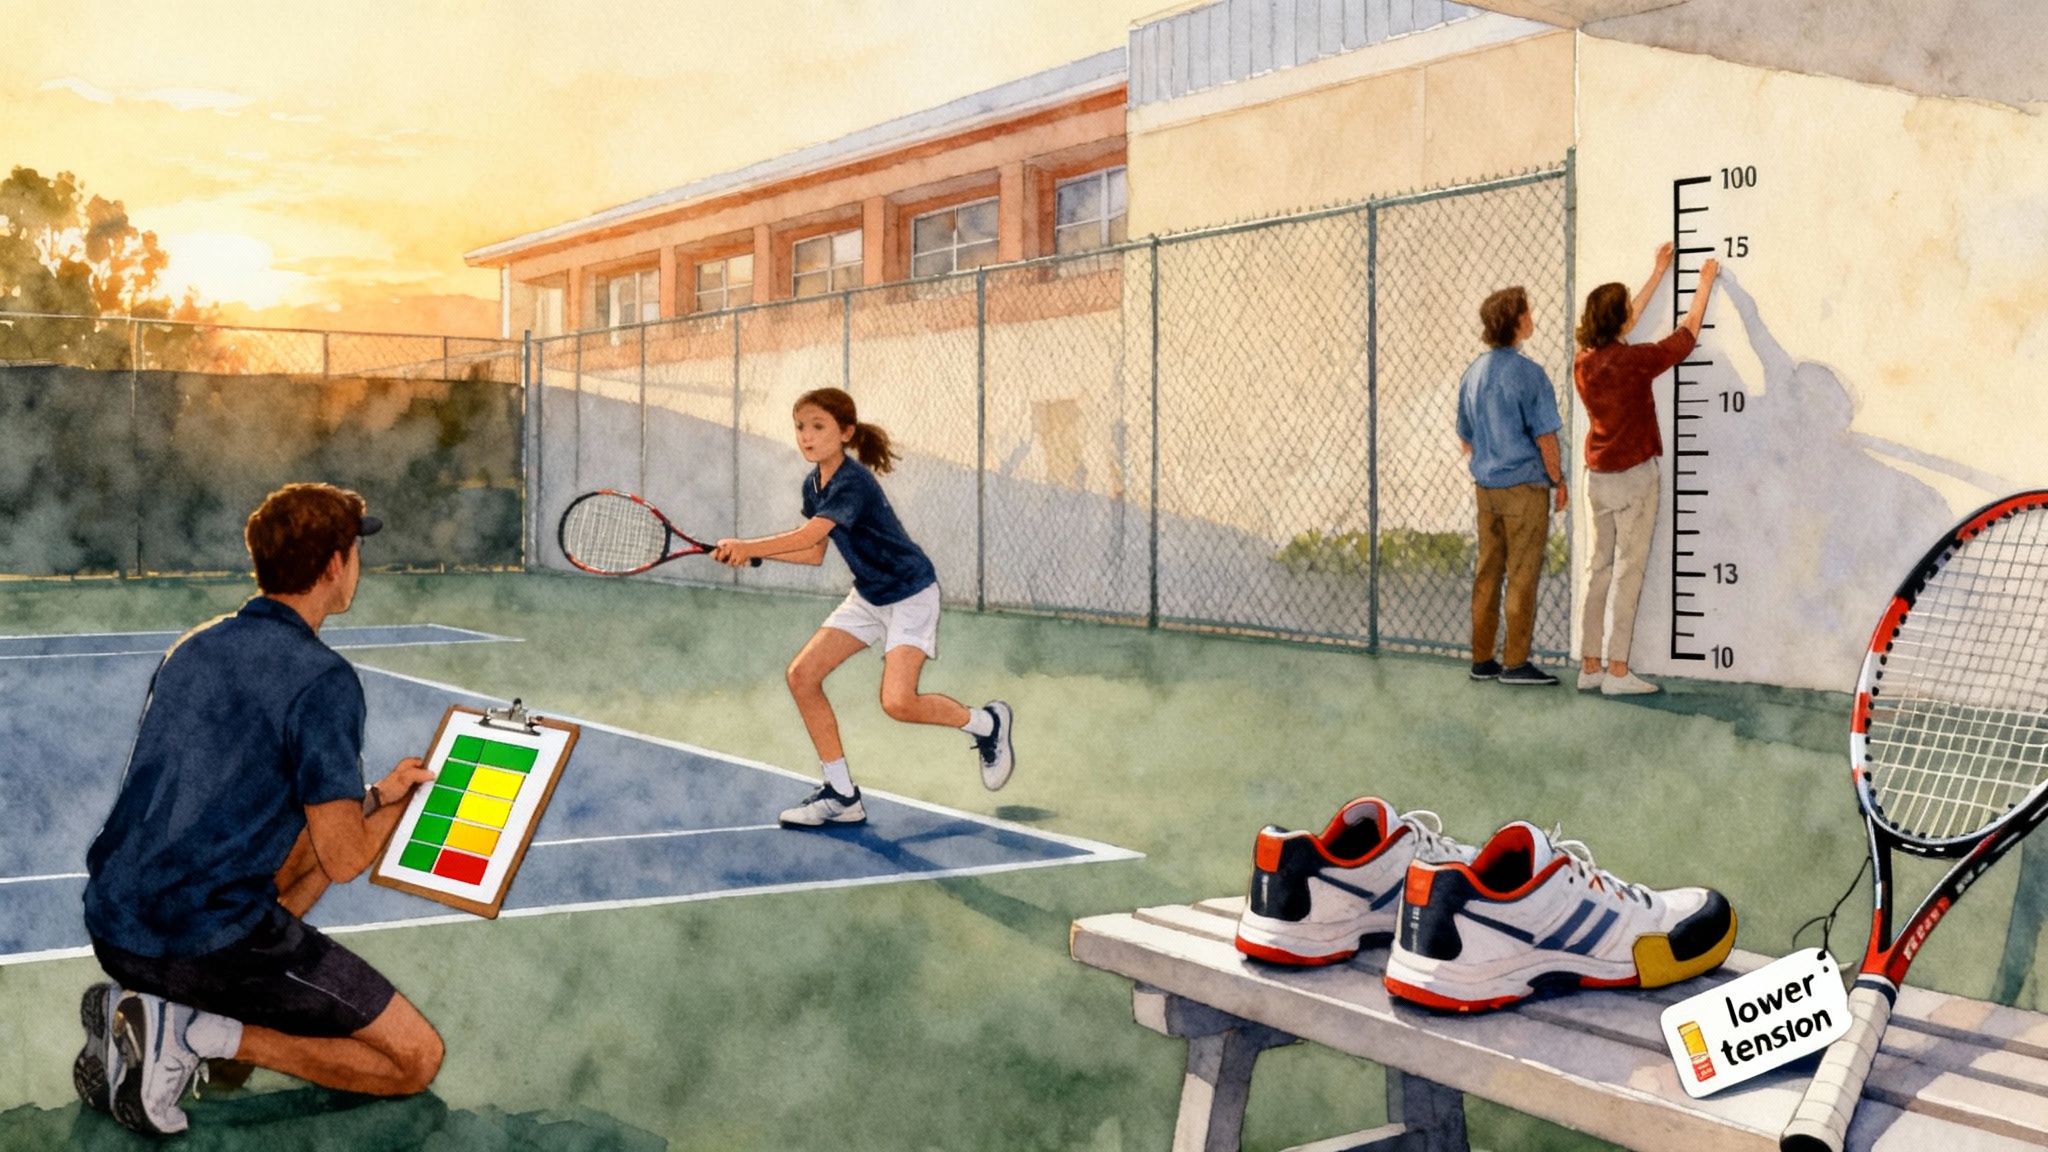
For adult players and returners from injury
- Picture: Elevator and shelf. Lift the ball to a head-high shelf, set it on the shelf, then reach up to take it off. This reduces the urge to throw the ball.
- Breathing tempo: Inhale during the lift, exhale as the racket rises to contact. This calms the upper body and slows the release.
- Joint comfort: Keep the tossing shoulder low and relaxed. If the shoulder hikes upward at release, the ball often tilts left for right handers and right for left handers. Use a light band warm up before toss drills.
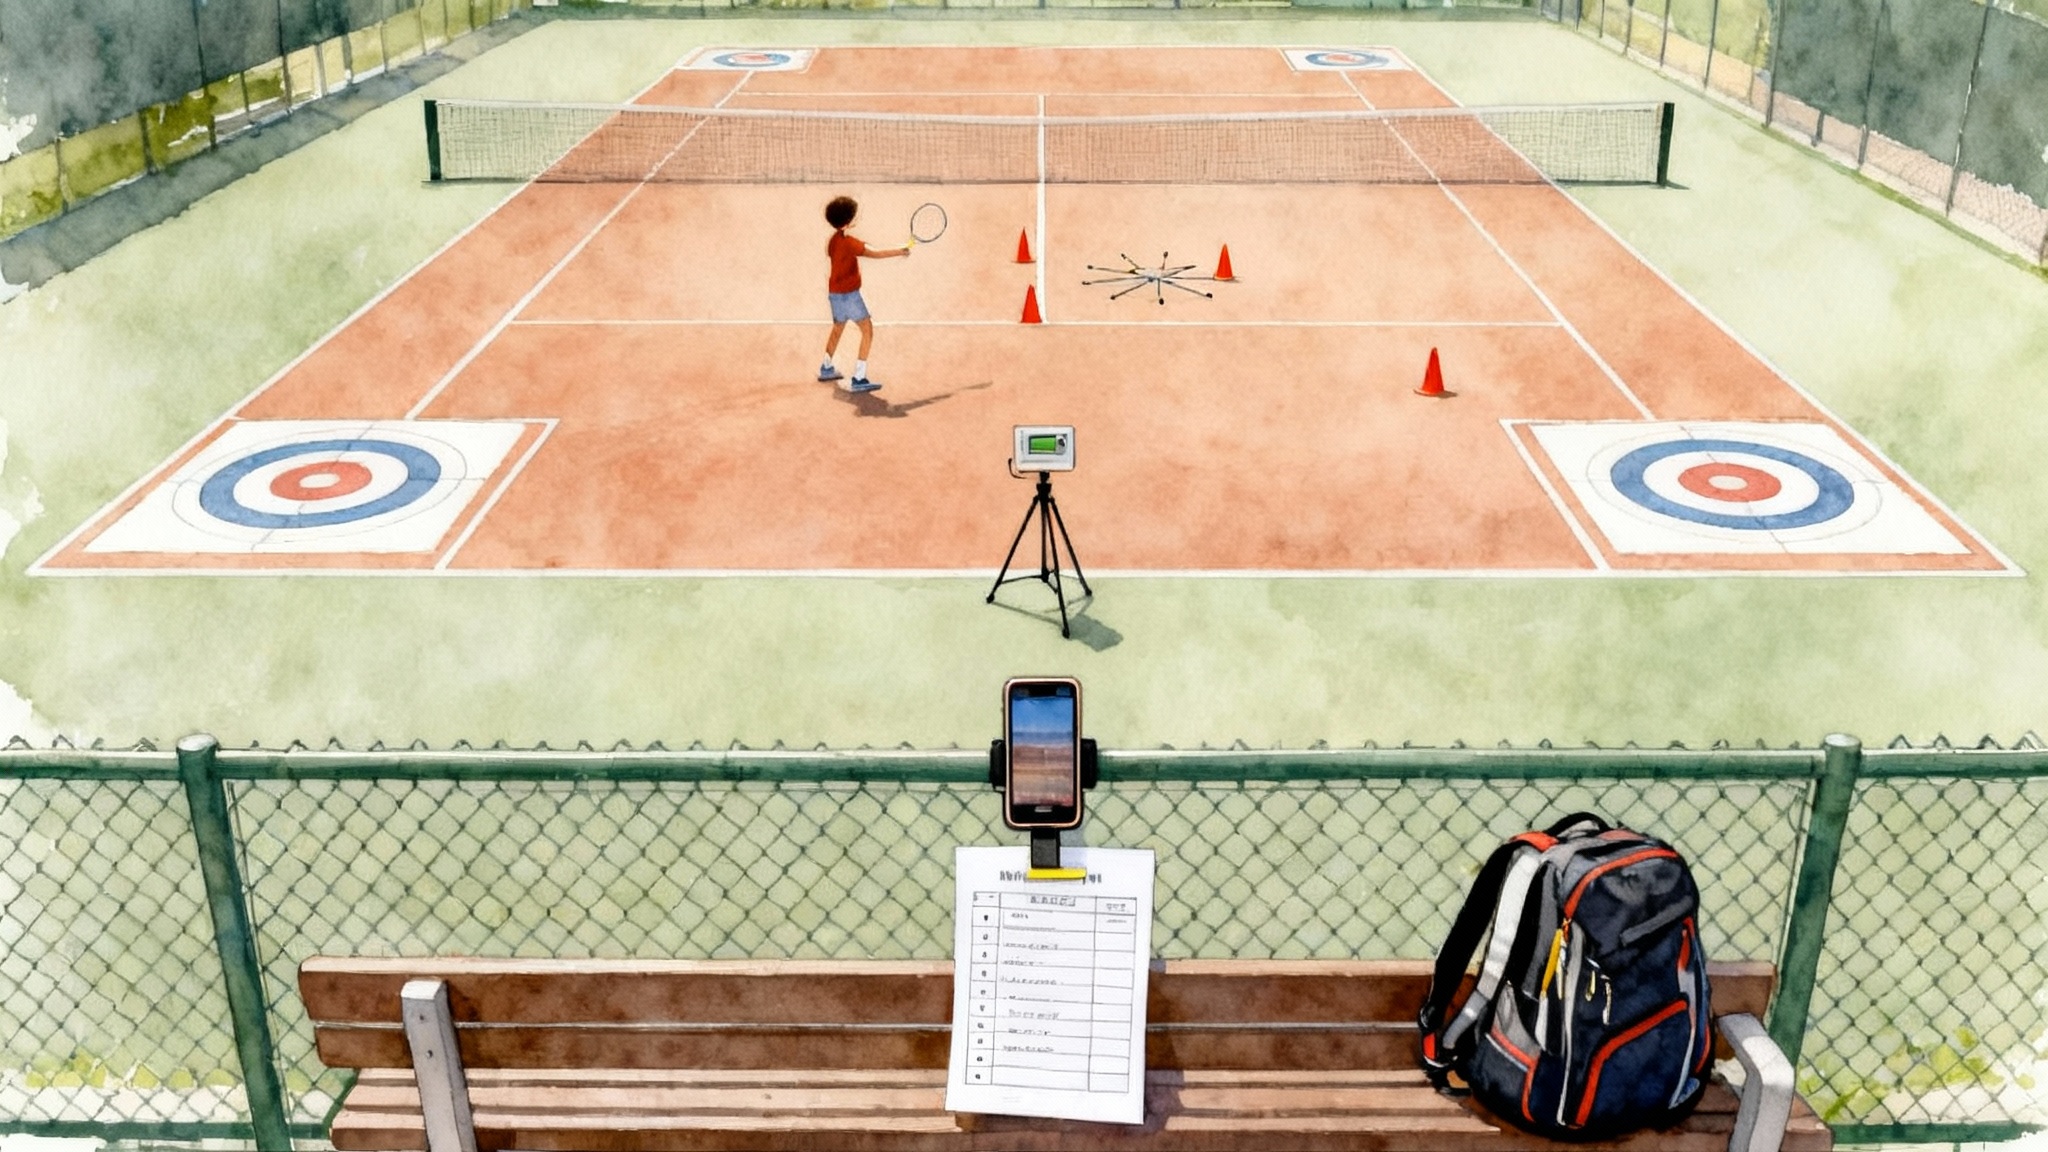
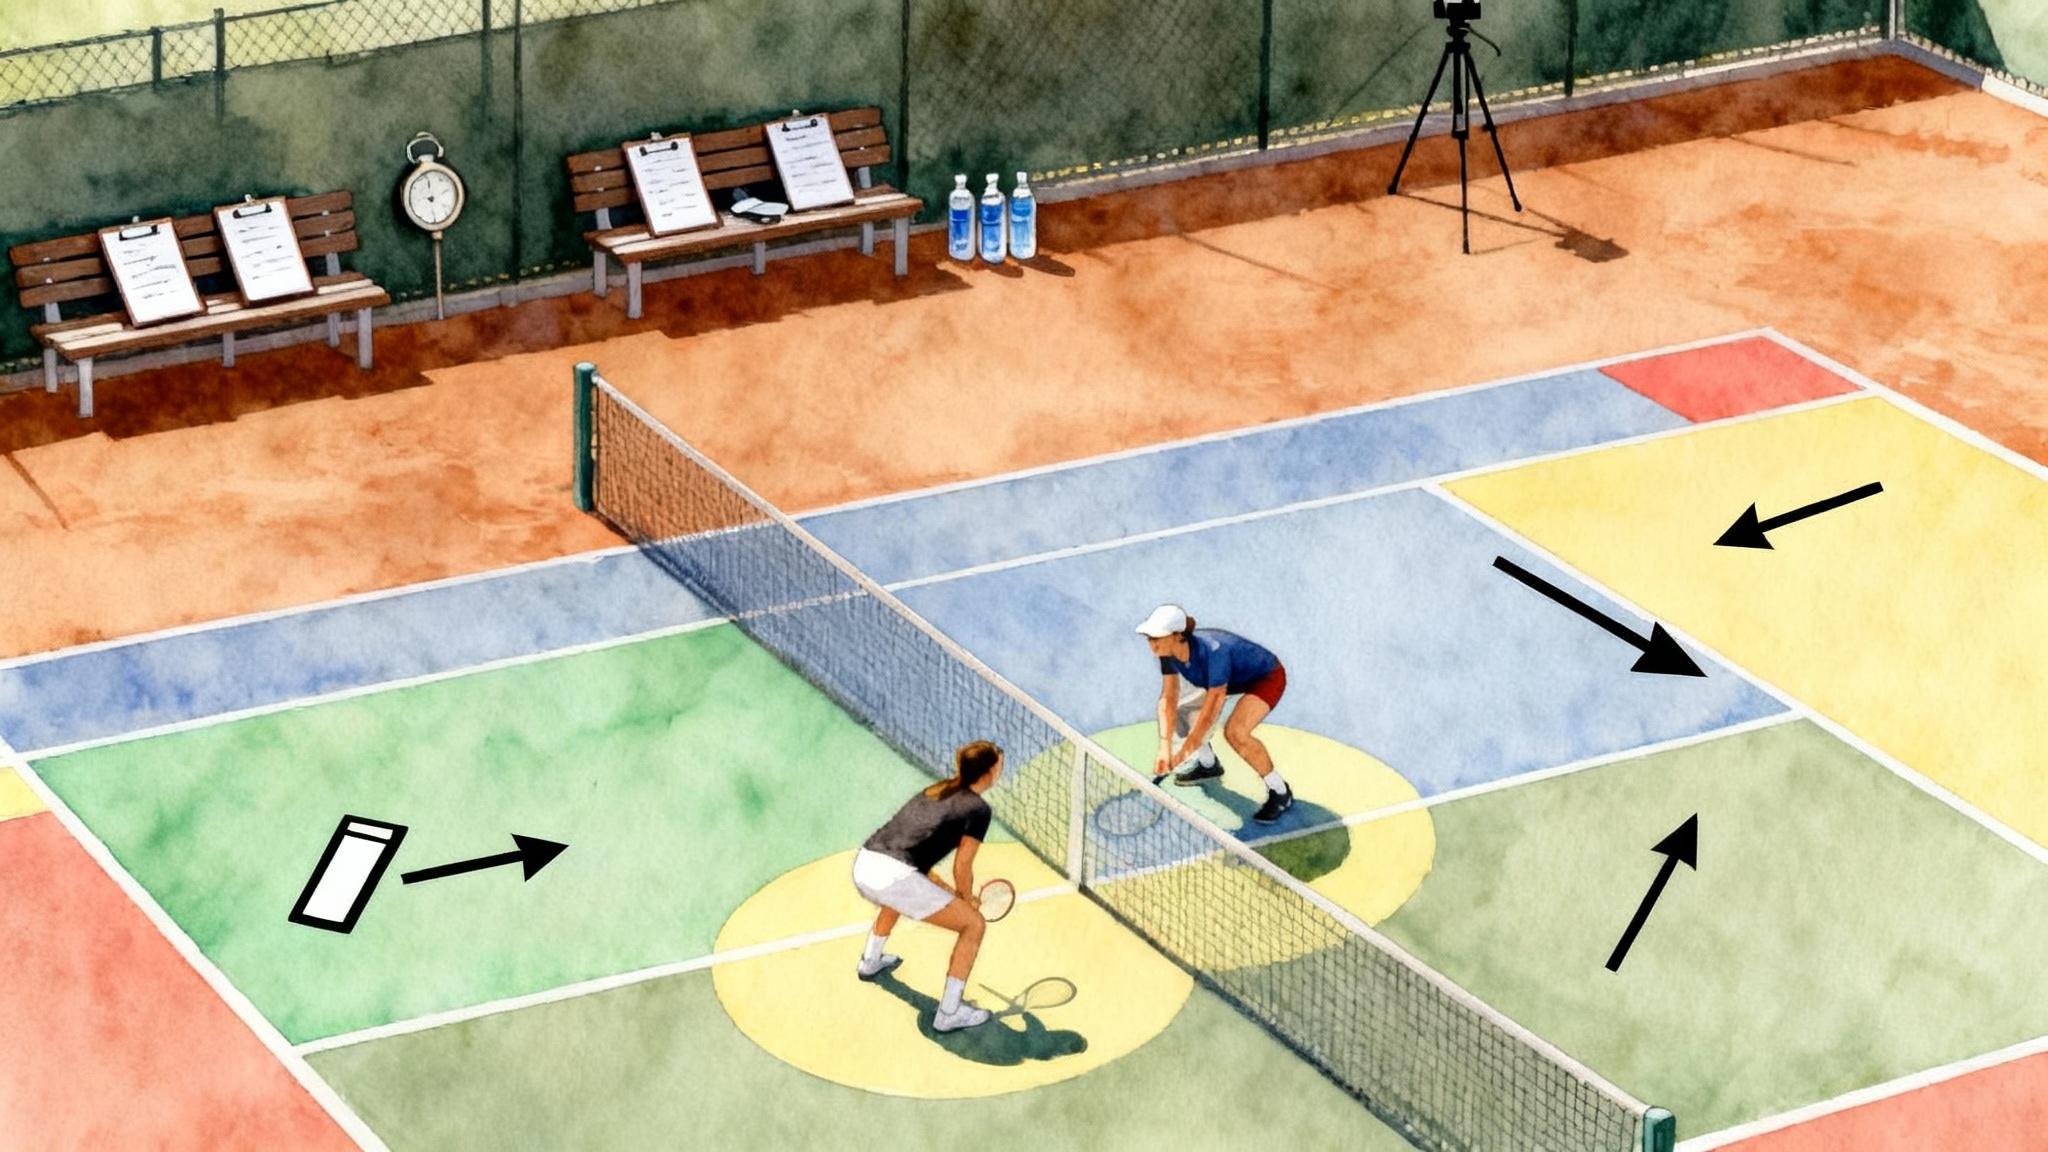
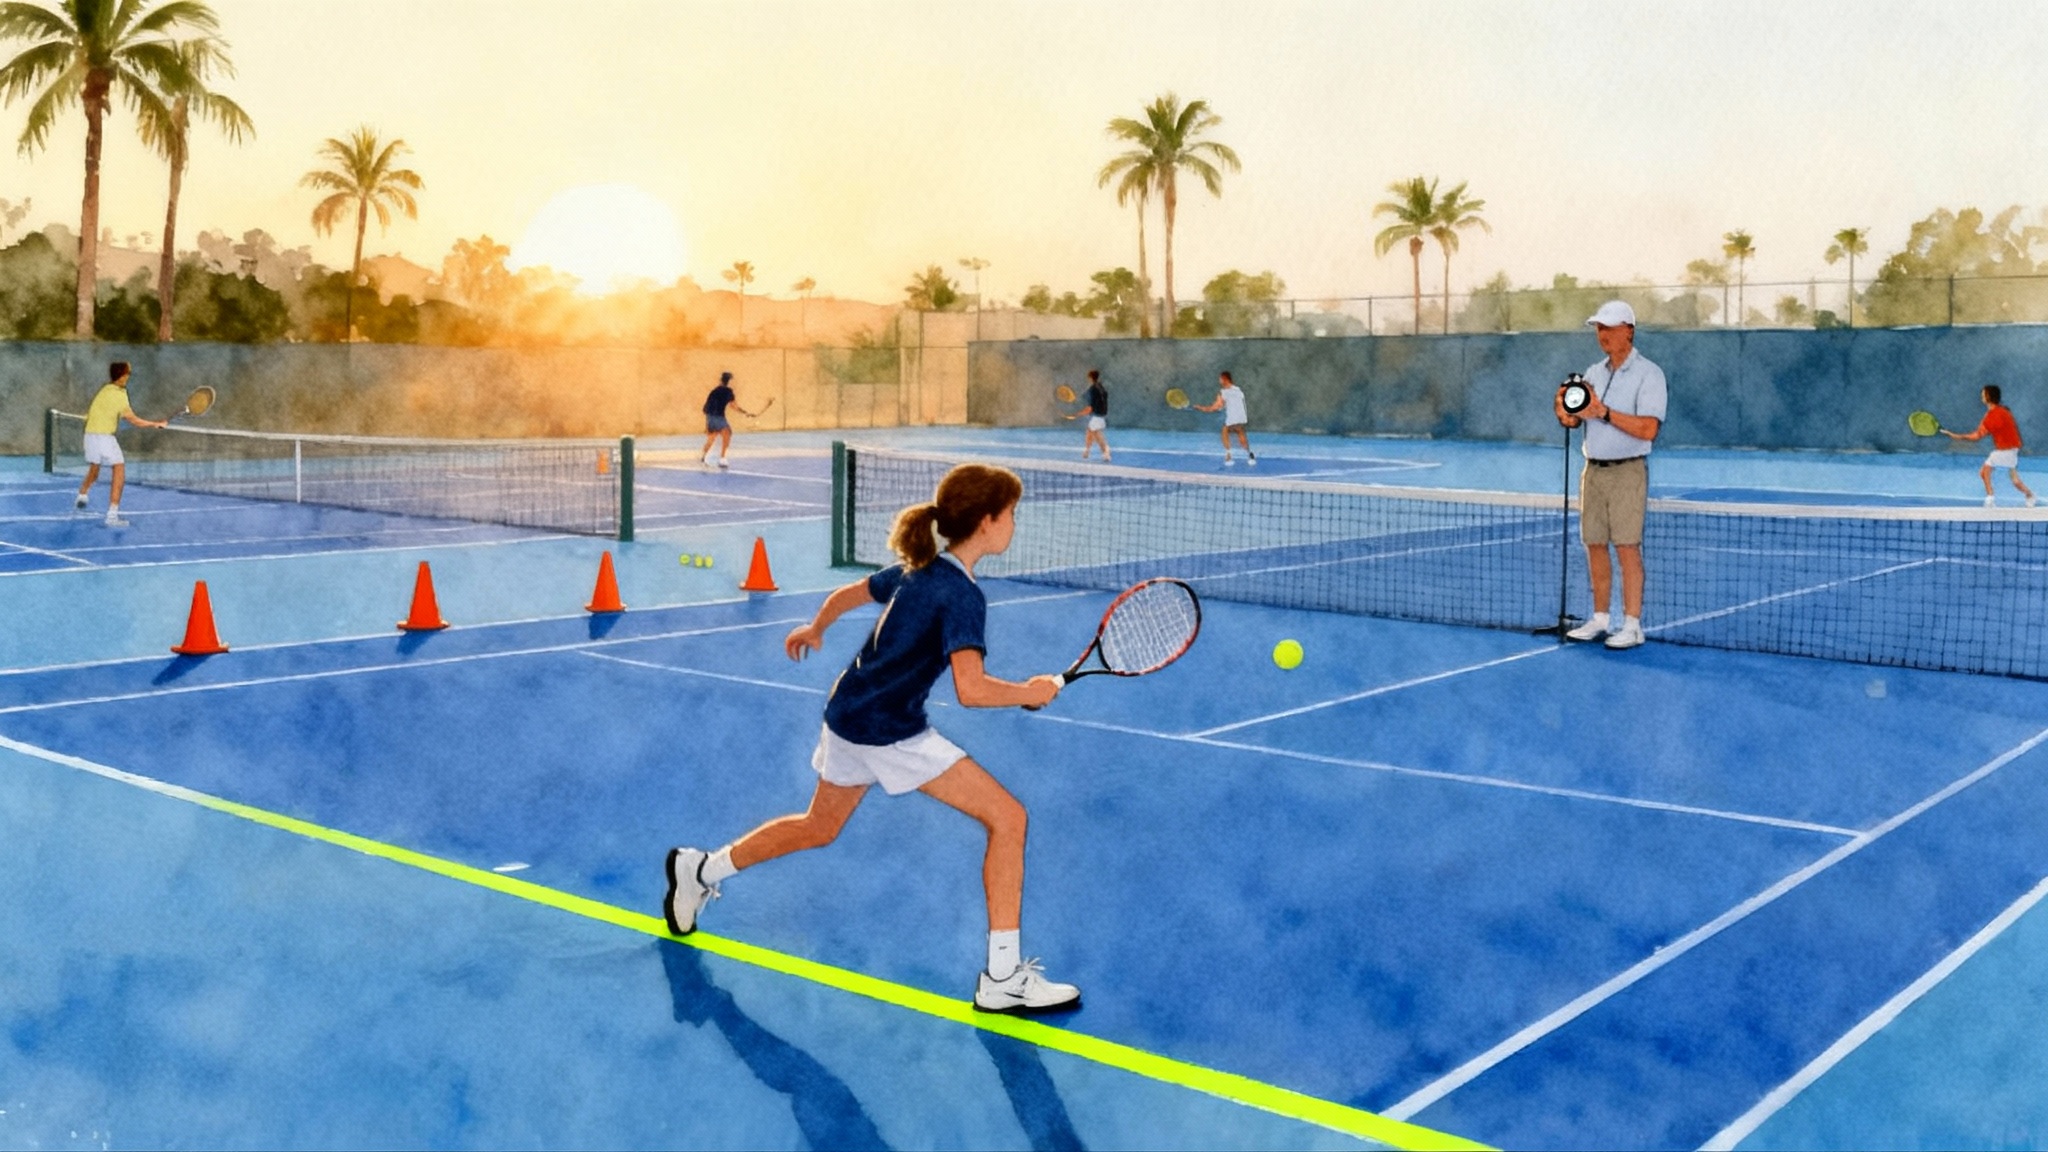
Three phone-video checkpoints to fix left and right drift
You do not need a tripod or a fancy app. A phone, a fence clip, and two pieces of tape turn each practice into a quick diagnostic.
Checkpoint 1: Behind the baseline
- Setup: Place the phone five to six meters behind the server on the court center line, at belly button height.
- Tape line: Put a strip of tape on the court that runs from the front foot straight toward the net post. This is your hand path line.
- What to look for: The tossing hand rides up that line, not across it. The ball should rise just to the hitting shoulder side of the head, then come down into a window about a tennis ball’s width to the toss side of the hitting shoulder. If the ball arcs over the head, it is too far left for right handers and too far right for left handers.
Checkpoint 2: Deuce-side profile
- Setup: Place the phone three meters to the right of a right-handed server, or to the left for a left-handed server, aligned with the baseline.
- Tape markers: Put small tape marks at chin height and forehead height on the fence as reference. You are checking release height.
- What to look for: The hand releases between chin and forehead level, then keeps rising. If the hand stops at release or drops, the toss will come up short.
Checkpoint 3: Front view at the net
- Setup: Clip the phone to the net at center strap height, pointing back at the server.
- Target zone: Chalk a small arc two feet inside the baseline where you want the ball to peak, slightly to the toss side of the hitting shoulder.
- What to look for: The ball should climb inside this arc, not outside it. The head stays quiet. If your head lunges under the ball, the toss is too far forward. If you arch and reach, it is too far back.
Review the three angles in slow motion at half speed. Count how many tosses land inside your target zone. That percentage is your toss accuracy metric for the day. Record it in a notes app so you can watch the trend line improve.
Wind and sun adjustments
Outdoor tennis adds variables that expose a sloppy toss. A few small changes keep it on track.
- In a crosswind, aim the toss a hand’s width into the wind. Also shorten the peak height by a few inches so the ball spends less time moving sideways.
- In a headwind, move the starting stance a shoe length back from your normal mark. This way the ball can drift forward a touch without forcing you to lean.
- In a tailwind, raise the release height slightly and let the ball travel a fraction higher so you can meet it without rushing.
- In harsh sun, begin the lift with the tossing palm facing the sun, then rotate the forearm so the palm faces the sky as you release. This shields your eyes briefly without changing the mechanics. A hat and a quick pre-point glance at the shadow line also help. If the sun sits directly in your toss window, shift on the baseline so its angle sits just outside your hitting shoulder.
The principle is simple. Adjust the aim by inches, not feet. Adjust the height by finger widths, not hand spans. Keep the tempo the same.
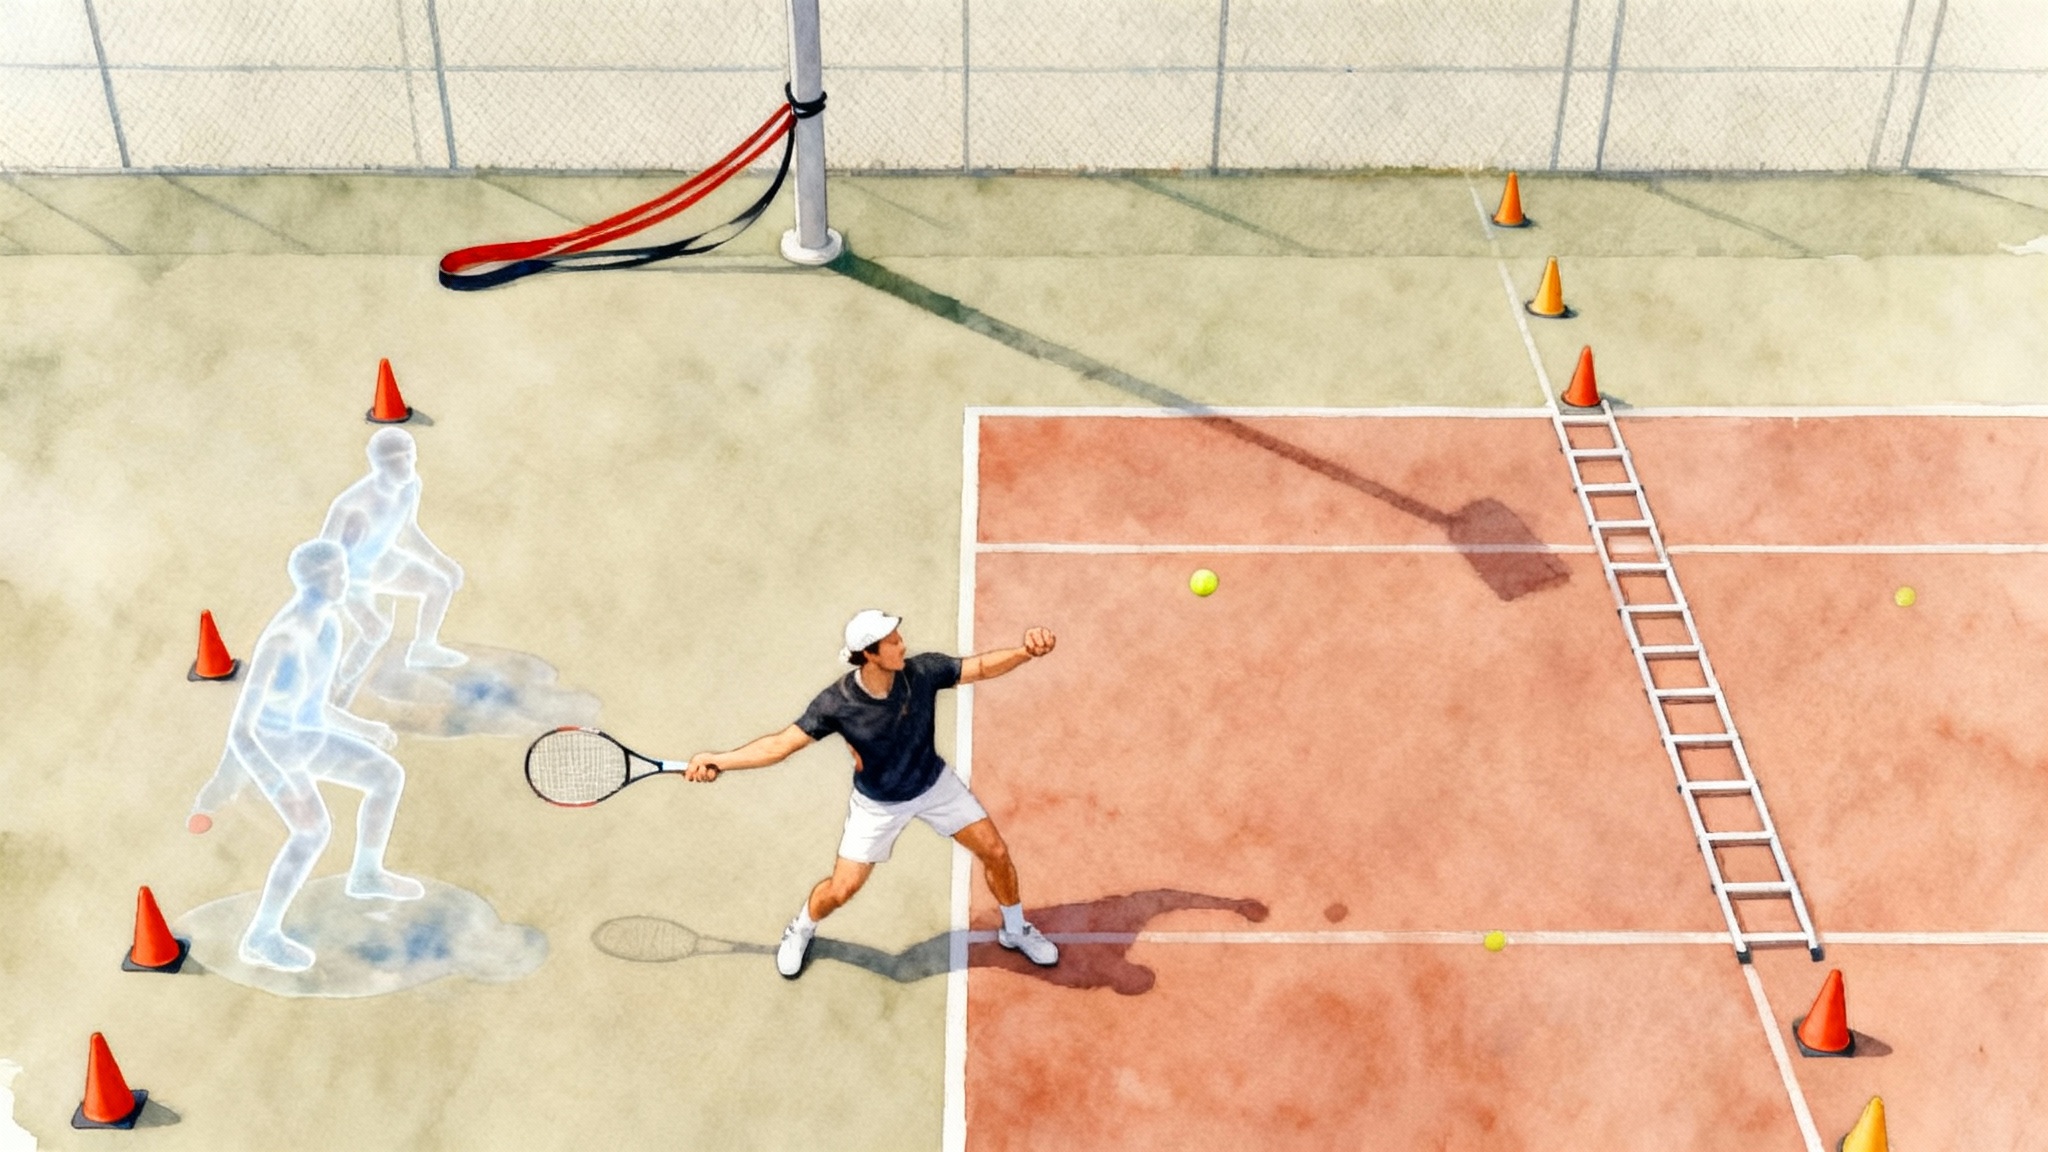
Two-week progression with arm care and precision drills
Here is a plan that blends light shoulder care with precision toss training. Sessions take 20 to 35 minutes. If you serve more than usual, do fewer power swings the same day.
Daily warm up, 5 minutes
- Band pull-aparts, 2 sets of 12.
- External rotations with a light band, elbows by sides, 2 sets of 12.
- Scapular wall slides, 2 sets of 8.
- Forearm extensor stretch, 30 seconds each side.
Week 1: Build the elevator
- Day 1: Tray carry tosses. Toss 30 balls with the pizza box image, catch each at shoulder height with the tossing hand. Film 10 from Checkpoint 1. Goal: 70 percent land within a tennis ball’s width of the line.
- Day 2: Straight-line zip-ups. Hold an empty paper towel tube in the tossing hand. Slide it up your zipper line and release the ball through the tube at face height. Toss 40 total, rest as needed. Film 10 from Checkpoint 2.
- Day 3: Wall target. Stand a racquet length from a wall. Draw a small circle on the wall at a height just above your reach. Toss so the ball touches the circle softly, then drops. 30 reps. Add 10 shadow swings to freeze at contact.
- Day 4: Box zone drill. Mark a one by one foot box on court, a foot inside the baseline and a racquet head to your toss side. Toss and let the ball drop. If it lands in the box, count it. Do 50 attempts. Goal: 60 percent.
- Day 5: Rhythm ladder. Place four coins or small markers on the ground in a line in front of you, each a foot apart. Step to coin one as you lift, release at coin two, swing shadow to coin three, land softly at coin four. 5 ladders of 6 reps. Finish with 15 gentle serves at fifty percent power. Film 10 from Checkpoint 3.
- Day 6: Mixed environment. Practice outdoors if possible with a light breeze. Use the crosswind and headwind adjustments. Toss 40 balls, no swings. Note the most successful aim change.
- Day 7: Test day. Perform the twelve toss test. Without swinging, attempt 12 tosses into your box zone. Record your score. Then hit 30 first serves at sixty percent power to alternating corners. Record first serve percentage. Compare to Day 1 notes.
Week 2: Make it automatic
- Day 8: Release ladder. Start with releases at chin height, then forehead height, then crown height. 10 reps at each level while keeping the same tempo. Decide which level yields the best strike zone.
- Day 9: Catch and strike. Toss, let the ball peak, catch it with the tossing hand, then immediately toss and hit with the same tempo. 5 sets of 6. This links the arm path to the swing.
- Day 10: Forward window drill. Place a small towel two feet inside the baseline. Aim for the ball to pass above the towel’s near edge at its peak, then descend just over the towel. 5 sets of 8 tosses, then 12 serves at seventy percent power.
- Day 11: Eyes-quiet sets. Place a coin or dot on the strings. On release, keep your eyes fixed on that spot until just before contact. This prevents head chase. 4 sets of 8 light serves. Film 10 from Checkpoint 1 and 2.
- Day 12: Pressure sets. Make your toss accuracy test harder. Shrink the box to ten by ten inches. 40 attempts. Then play a serve game to 11. Every in serve to a target corner is one point, every miss is minus one.
- Day 13: Match rehearsal. Simulate two service games. Use your full routine between points. Track first serve percentage and double faults. Note whether you ever moved your feet to chase a toss.
- Day 14: Retest and reflect. Repeat the twelve toss test and the 30-ball first serve set from Day 7. Compare scores. Write down which cues worked under pressure and how you will keep them.
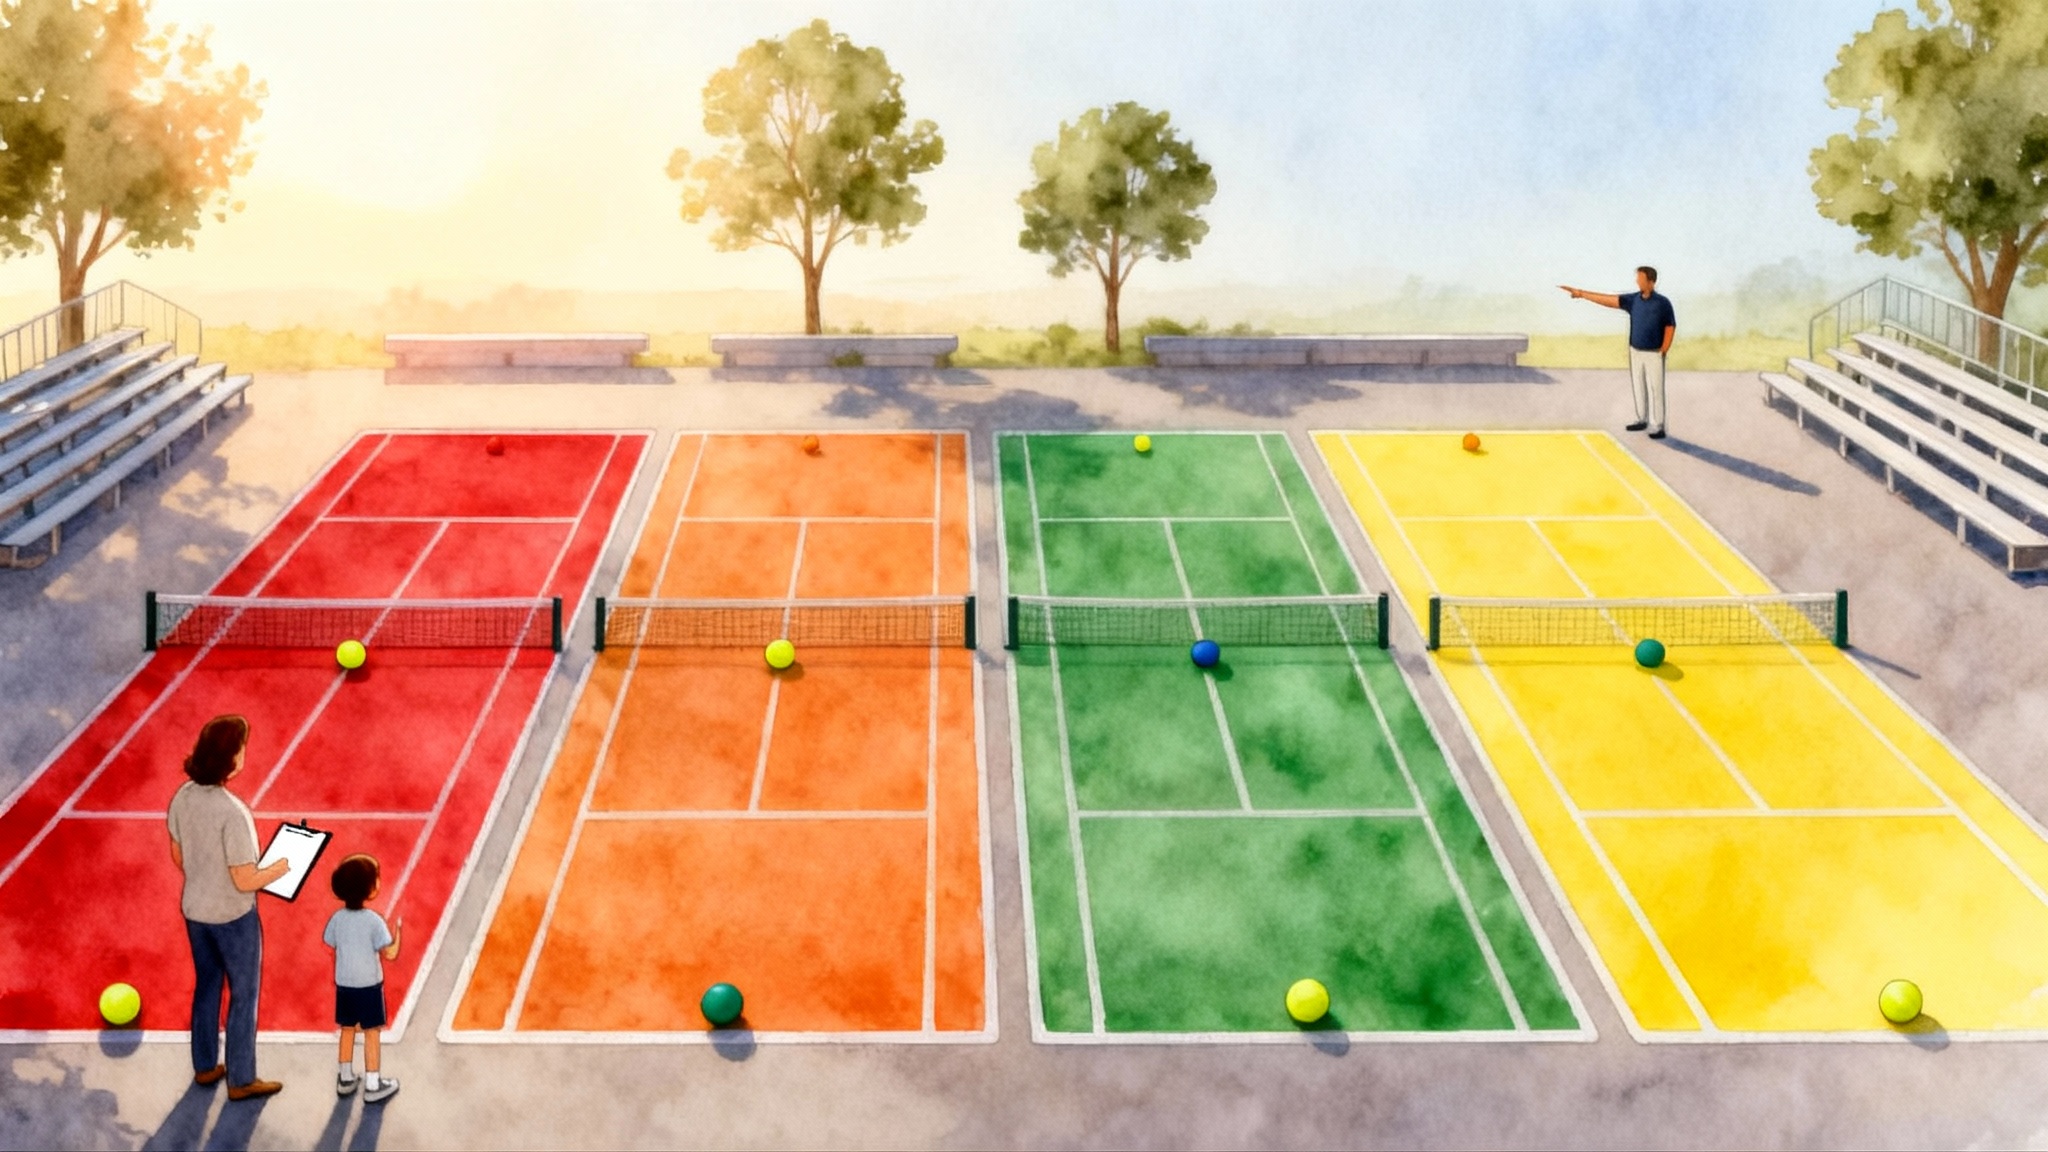
Optional practice templates featuring Legend Tennis Academy, Spicewood, Texas
Coaches at Legend Tennis Academy often set up practices with separate toss stations so repetition stays high and technique stays fresh. Adapt these as needed.
Junior 45-minute session
- Five minutes of band and shoulder warm up.
- Ten minutes of toss-only at the box zone station with a coach counting scores.
- Ten minutes of toss plus shadow swing where players freeze at contact and check head stillness.
- Ten minutes of live serves to alternating corners at fifty to sixty percent power.
- Ten minutes of serve plus one forehand pattern where the toss must meet the box standard before the rally begins.
Teen and college hopeful 60-minute session
- Ten minutes of warm up and rhythm ladders.
- Fifteen minutes of toss mechanics with video from Checkpoints 1 and 2.
- Fifteen minutes of serve location sets. Two sets of eight to the wide corner, two sets of eight to the body, two sets of eight down the tee, all at seventy percent power.
- Ten minutes of pressure game to 15 with minus-one penalty for tosses outside the box zone.
- Ten minutes of cool down and arm care.
Adult 30-minute add-on
- Five minutes of warm up and breathing tempo practice.
- Ten minutes of elevator toss drill with soft catches.
- Ten minutes of medium-pace serves with the eyes-quiet cue.
- Five minutes of stat capture and note taking.
Troubleshooting guide
- Ball floats right or left: Check whether the tossing palm turns sideways early. Keep the palm more open to the sky until after release. Also verify that the hand rides the front-foot line on your behind-baseline video.
- Toss is too low: Check whether you release from shoulder height or lower. If so, raise the release to somewhere between chin and forehead height but keep the same lift tempo. The arm should keep rising after you let go.
- Toss is too high: Keep the same release height but soften the lift so the ball peaks a little lower. Aim for a peak that sits about one forearm to two forearms above your ideal contact point.
- Head chase: If the head drops under the ball, freeze the eyes on the logo of the ball right after release for a count of one, then lift the racket. This quiets the head.
- Early knee bend: Bend the knees after release, not before. Early bend pulls the hand downward and shortens the toss.
Metrics that tie toss skill to confidence
Numbers tell the story. Use simple targets and watch how confidence grows.
- Toss accuracy: Out of 20 tosses without swinging, how many land inside your box zone. Target 70 percent in Week 1, 80 percent in Week 2.
- First serve percentage: Out of 30 first serves at your match tempo, target 60 percent in Week 1, 65 to 70 percent in Week 2. Players who keep their toss within a tennis ball’s width of the target zone usually see the largest jump here.
- Drift count: In a two-game rehearsal, count how many times you moved your feet to chase a toss. Target zero.
College coaches value athletes who present reliable patterns. In a recruiting clip, include a short sequence of ten consecutive serves where the toss window is clearly visible and your head stays quiet. Post the toss accuracy and first serve percentage numbers on screen before the clip starts. This turns a mechanical skill into a competitive signal.
Your pre-serve routine that protects the toss
Build a brief routine that locks in your pillars.
- Set the feet and check the front-foot line on the court.
- Look at your box zone for a moment to aim the lift.
- Inhale, start the smooth lift, release at face height, and let the hand continue to rise.
- Keep the eyes steady for a beat, then drive the racket to the ball.
The routine lasts only a few seconds, yet it anchors your tempo and eases nerves. Use it on every serve in practice, not just matches.
Bringing it all together
A steady toss is not a mystery. It is a simple motion practiced with clear pictures, verified by quick video checks, and reinforced with compact sets of repetition. Juniors respond to the pizza box and elevator images. Teens connect with the zipper line and release discipline. Adults benefit from breathing tempo and shelf placement. Everyone benefits from tracking toss accuracy, first serve percentage, and drift counts.
If you give the toss its own practice time for two weeks, your serve rhythm will smooth out and your confidence on big points will rise. Keep the changes small, keep the tempo steady, and keep your notes. When a college coach, a teammate, or your future self watches you serve, the story will be the same. The hand lifts like a glass elevator, the ball lands in your window, and the racket meets it in the same reliable place. That is how a blueprint becomes a habit, and how a habit becomes an advantage you can trust.