Tennis Split-Step Timing 2026: Footwork Blueprint for All Ages
An evidence-based, level-by-level guide to perfecting your split-step on hard, clay, and indoor courts. Get quick diagnostic checks, age-safe plyometric progressions, 10-minute home drills, and a two-week microcycle.
Why split-step timing is the lever that moves your whole game
Every clean first step starts before the first step. The split-step is the small hop that loads your legs so you can explode into the ball the moment your opponent makes contact. When your timing is right, your body acts like a spring: you land, store elastic energy for a blink, then release it toward the ball. When your timing is late or early, your legs lose that instant spring and you end up pushing from a dead stop.
Think of the split-step as a camera shutter. Press too early and you capture empty court. Press too late and the moment is gone. Time it to the hit, and every picture is in focus. The winning cue is simple to say and hard to do: land as the opponent strikes the ball.
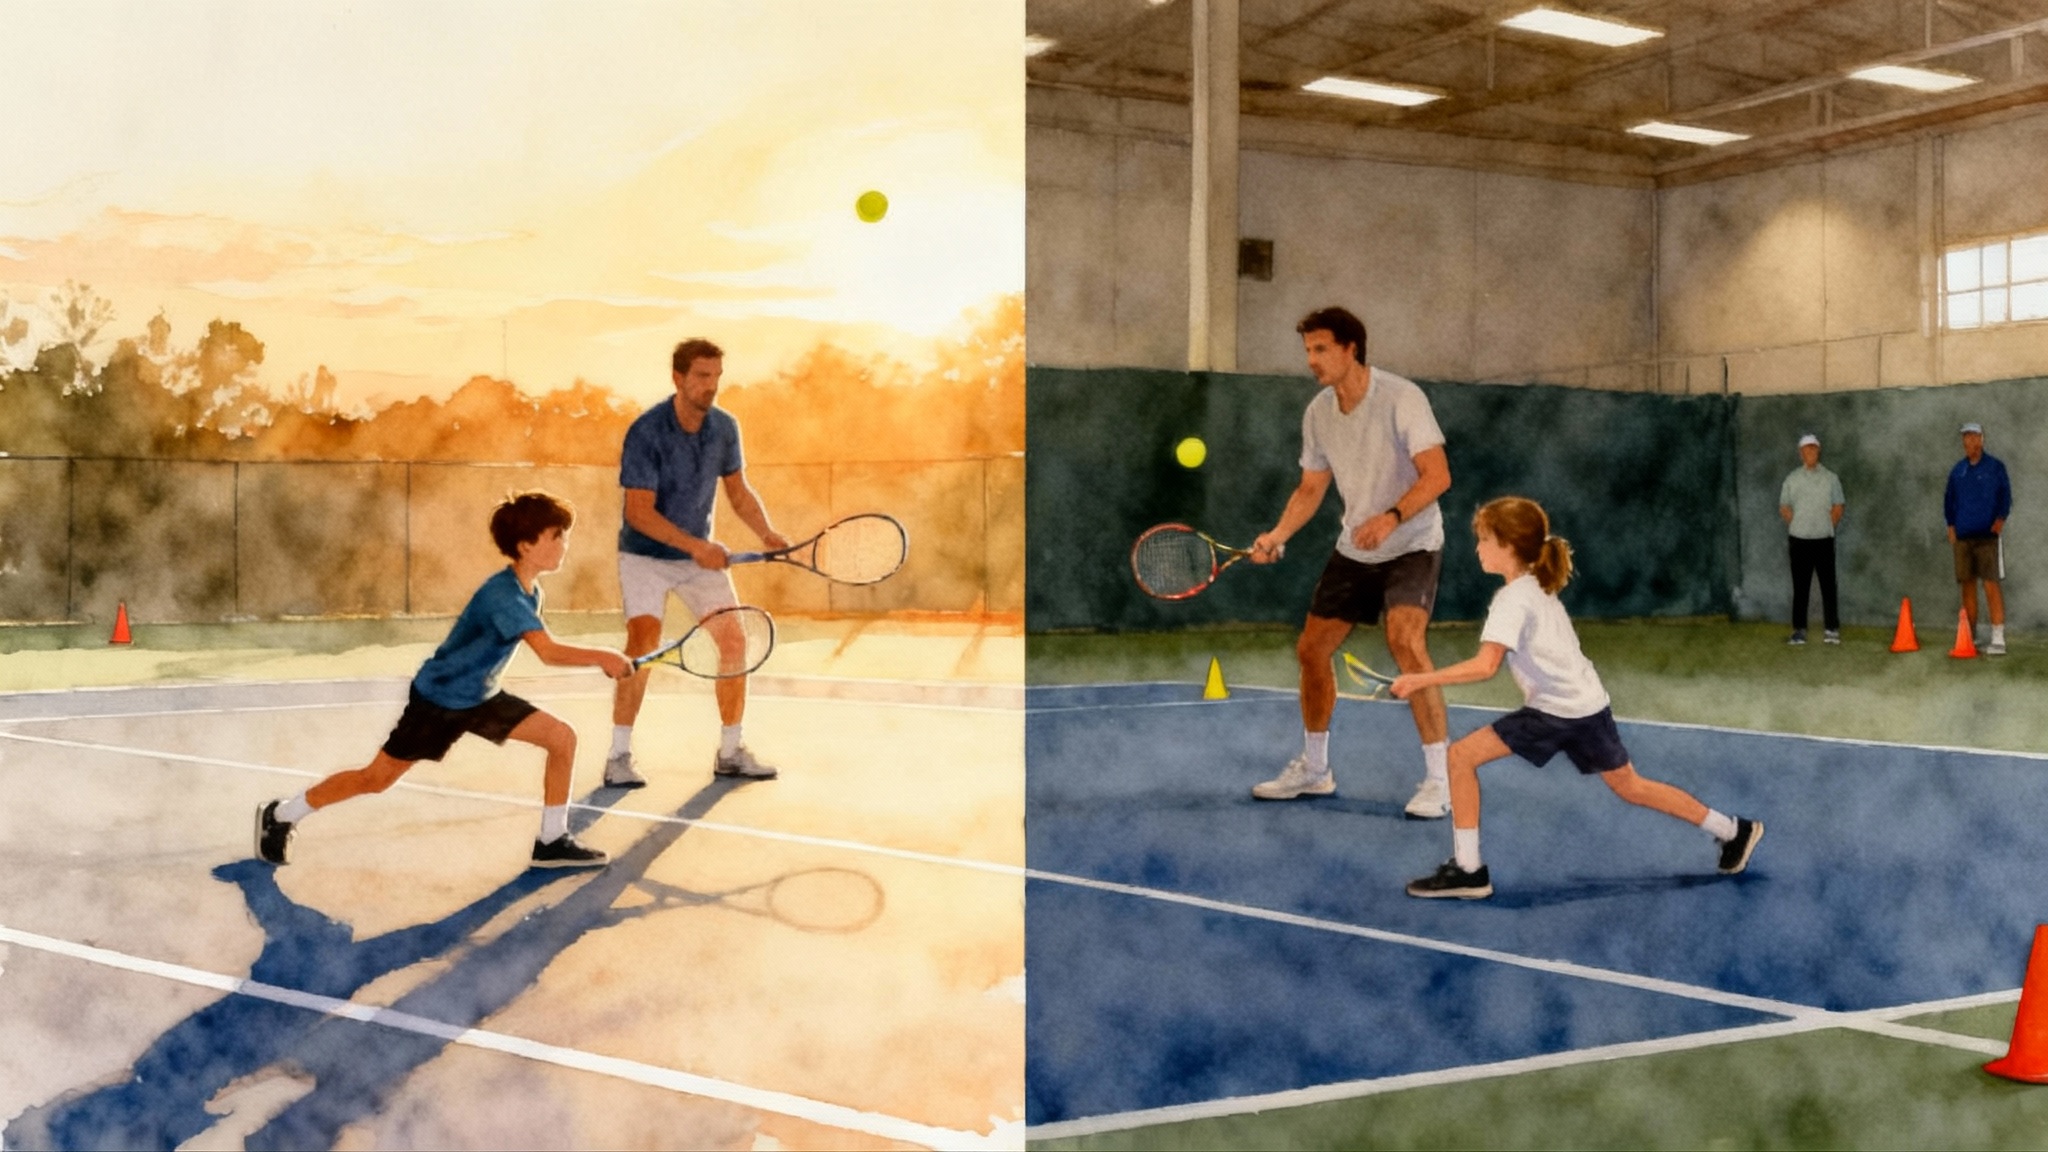
The universal principle and how surfaces change the details
The universal: your feet should touch down right as the opponent contacts the ball. That landing gives you a microsecond of compression so your center of mass can redirect quickly. The stretch-shortening cycle in your muscles is most effective if you land at contact or a hair after it, not before.
Surface-specific adjustments refine that universal:
- Hard court: The ball stays fast after the bounce, and footing is high friction. Keep the hop compact and land right at contact. Because the court returns energy efficiently, you do not need a big hop.
- Clay: The bounce stands up longer and movement includes slides. Land a whisper earlier relative to contact so you can preload and use a slightly longer first step without rushing. Your hop can be a touch softer to prepare for slip and slide.
- Indoor: Lights are even and surfaces vary, but play is often faster with lower humidity. Keep the hop small and reactive. Many players benefit from a later landing window, very close to contact, to avoid overcommitting.
A simple rule of thumb: smaller hop, sharper timing on faster surfaces; slightly softer hop, slightly earlier readiness on higher-bounce or lower-friction surfaces. The cue does not change. The shape of the hop and your readiness do.
Quick diagnostic checks you can run today
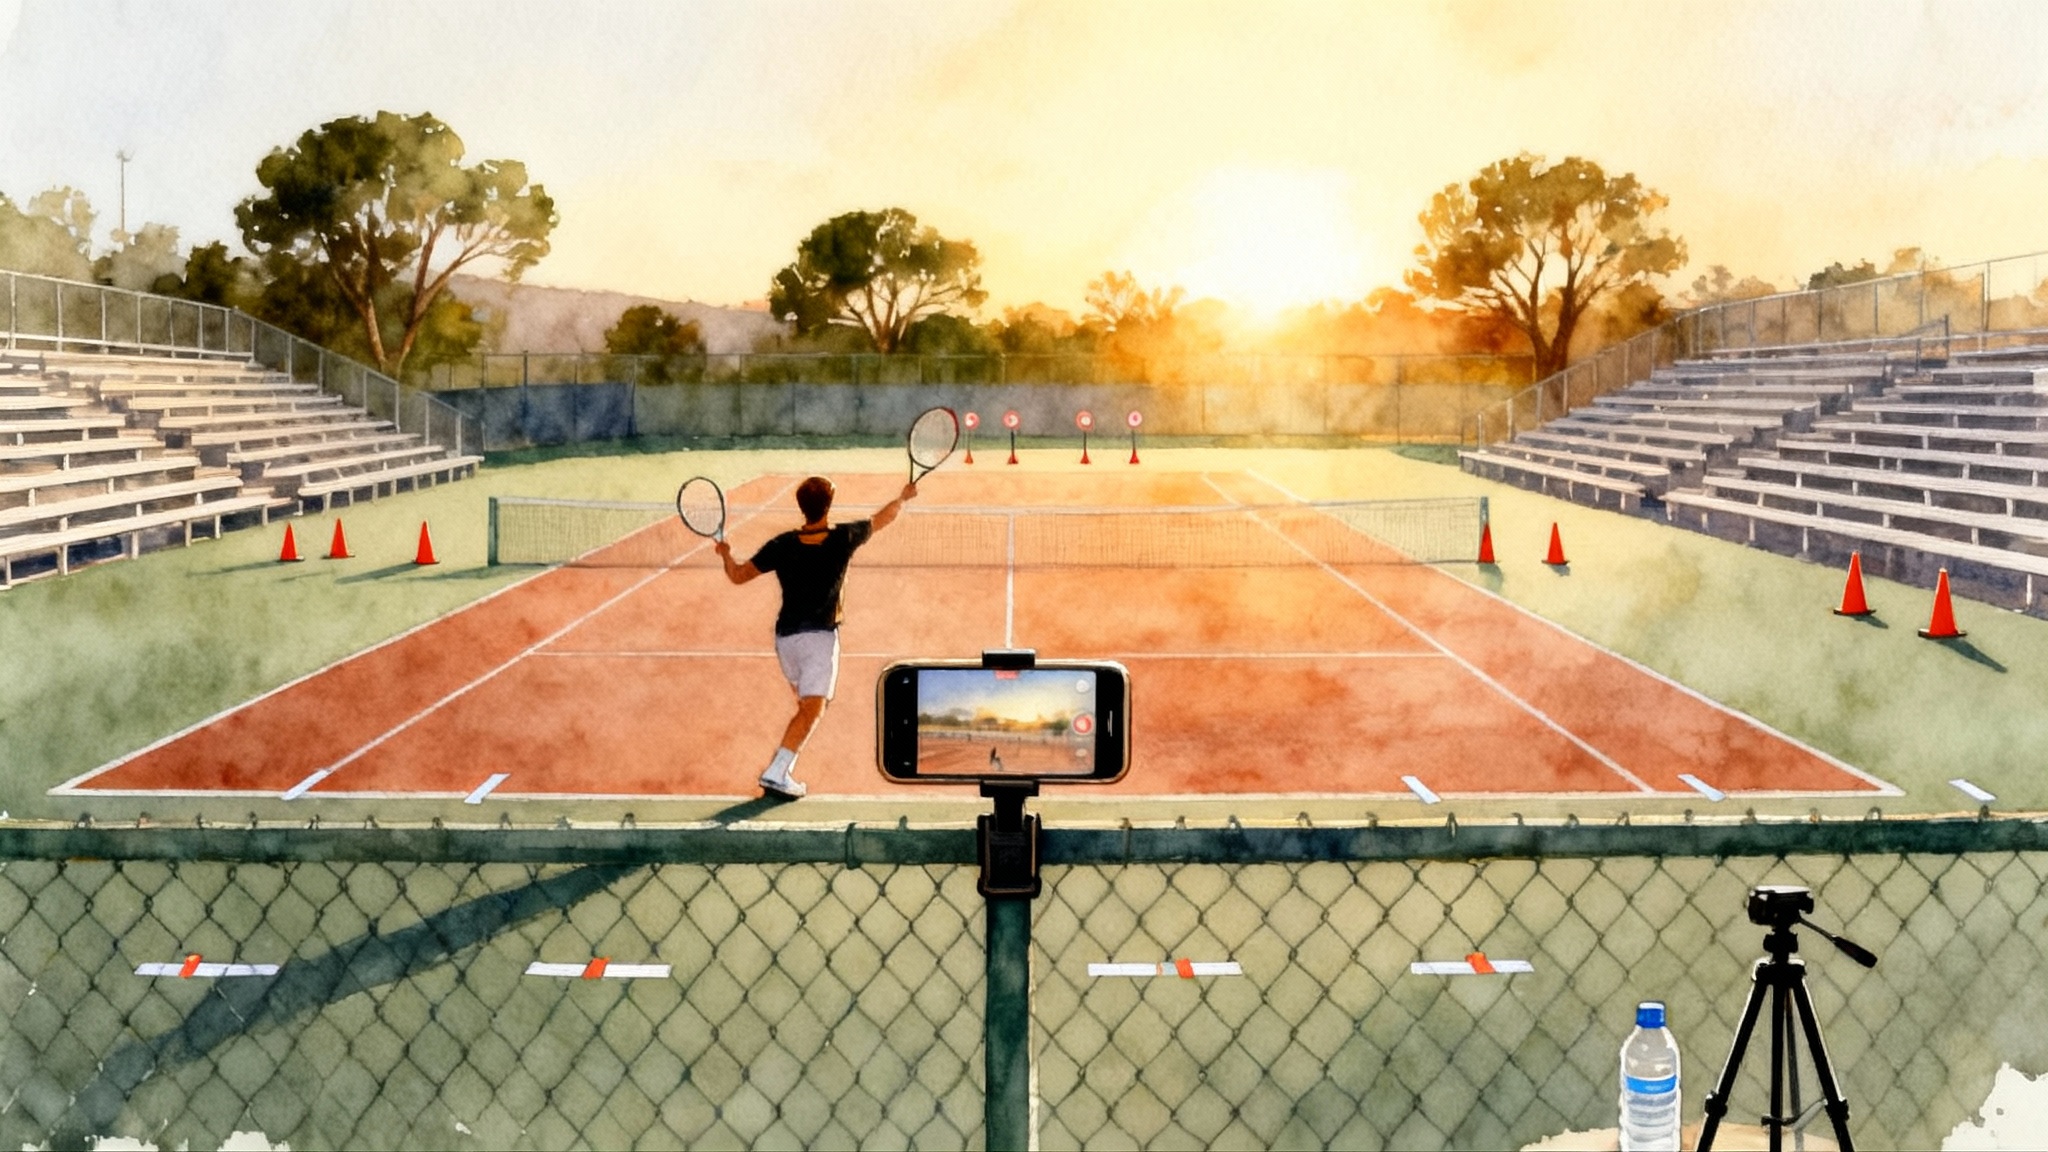
You do not need a biomechanics lab to measure progress. Use your phone and these tests.
- Slow-motion contact check
- Record a rally or return session in slow motion. Many phones offer 120 or 240 frames per second. At 240 frames per second, each frame is about 4.17 milliseconds.
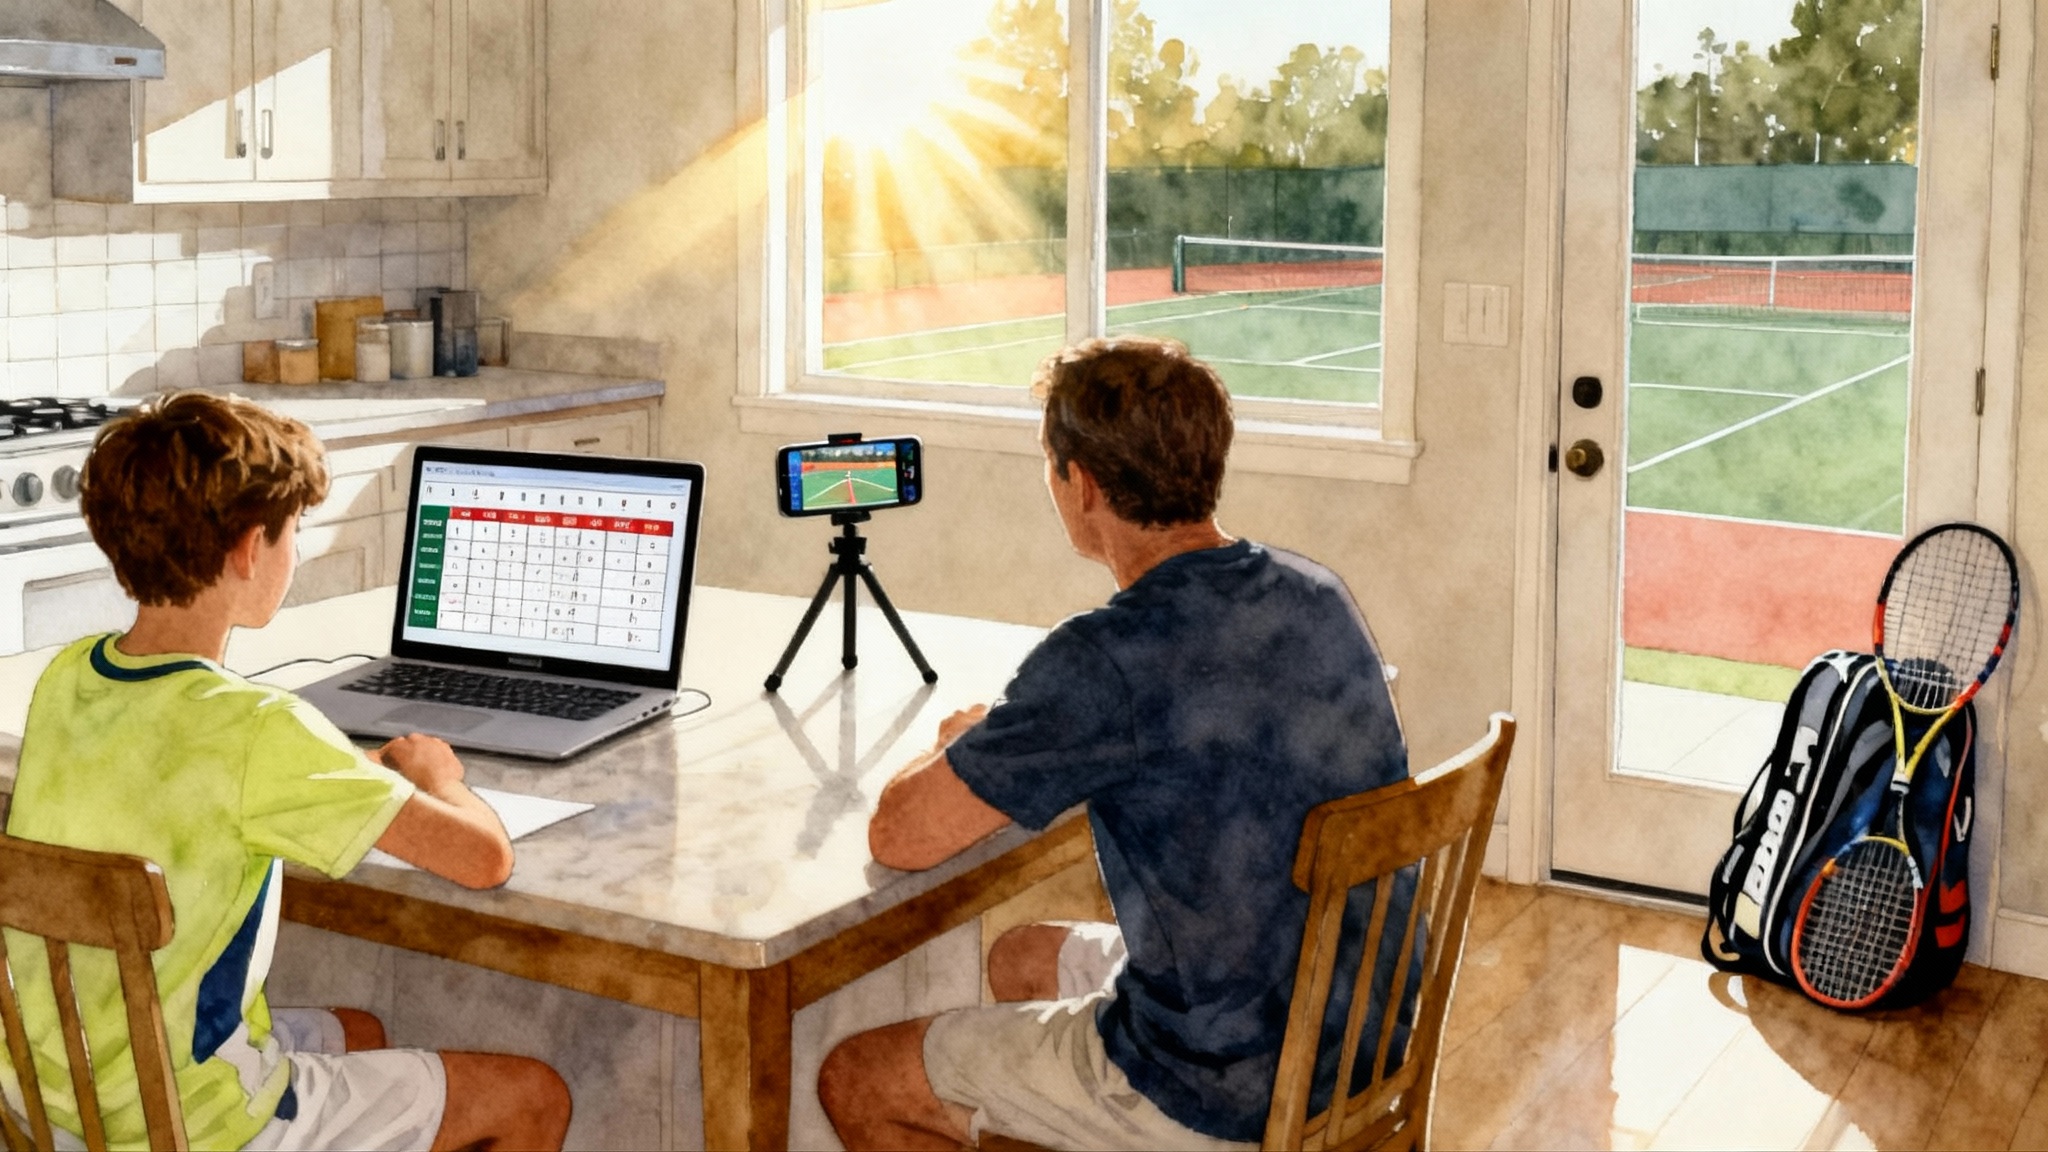
- Count frames between opponent contact and your landing. Great timing is zero to two frames after contact at 240 frames per second. If you land before contact by multiple frames, you are early. If you are still airborne well after contact, you are late. For setup and angles, see our smartphone tennis analysis guide.
- Sound sync test
- Place your phone microphone toward the court. Record ten feeds. Play back and listen for the two sounds: opponent hit and your shoe tap.
- Goal: shoe tap overlaps or follows the hit by a hair. If taps consistently precede hits, you are early.
- Freeze and go
- Have a partner feed. You split-step on their toss, but freeze at landing. Partner calls left or right. You should be able to push without rocking or extra steps. If you have to rock back or reset, your landing posture is off.
- Posture snapshot
- At landing: hips low but not collapsed, chest tall, eyes steady, knees outside big toes, heels light, weight on the balls of the feet. If a still frame shows your heels slammed down or knees collapsing inward, fix posture before chasing timing.
A level-by-level guide: juniors, parents, and adult players
Ages 8 to 10: movement literacy and the quiet hop
- Goal: make the split-step automatic without overloading growth plates.
- Cue: hop like a cat, land like a ninja. The landing is quiet, soft, and balanced.
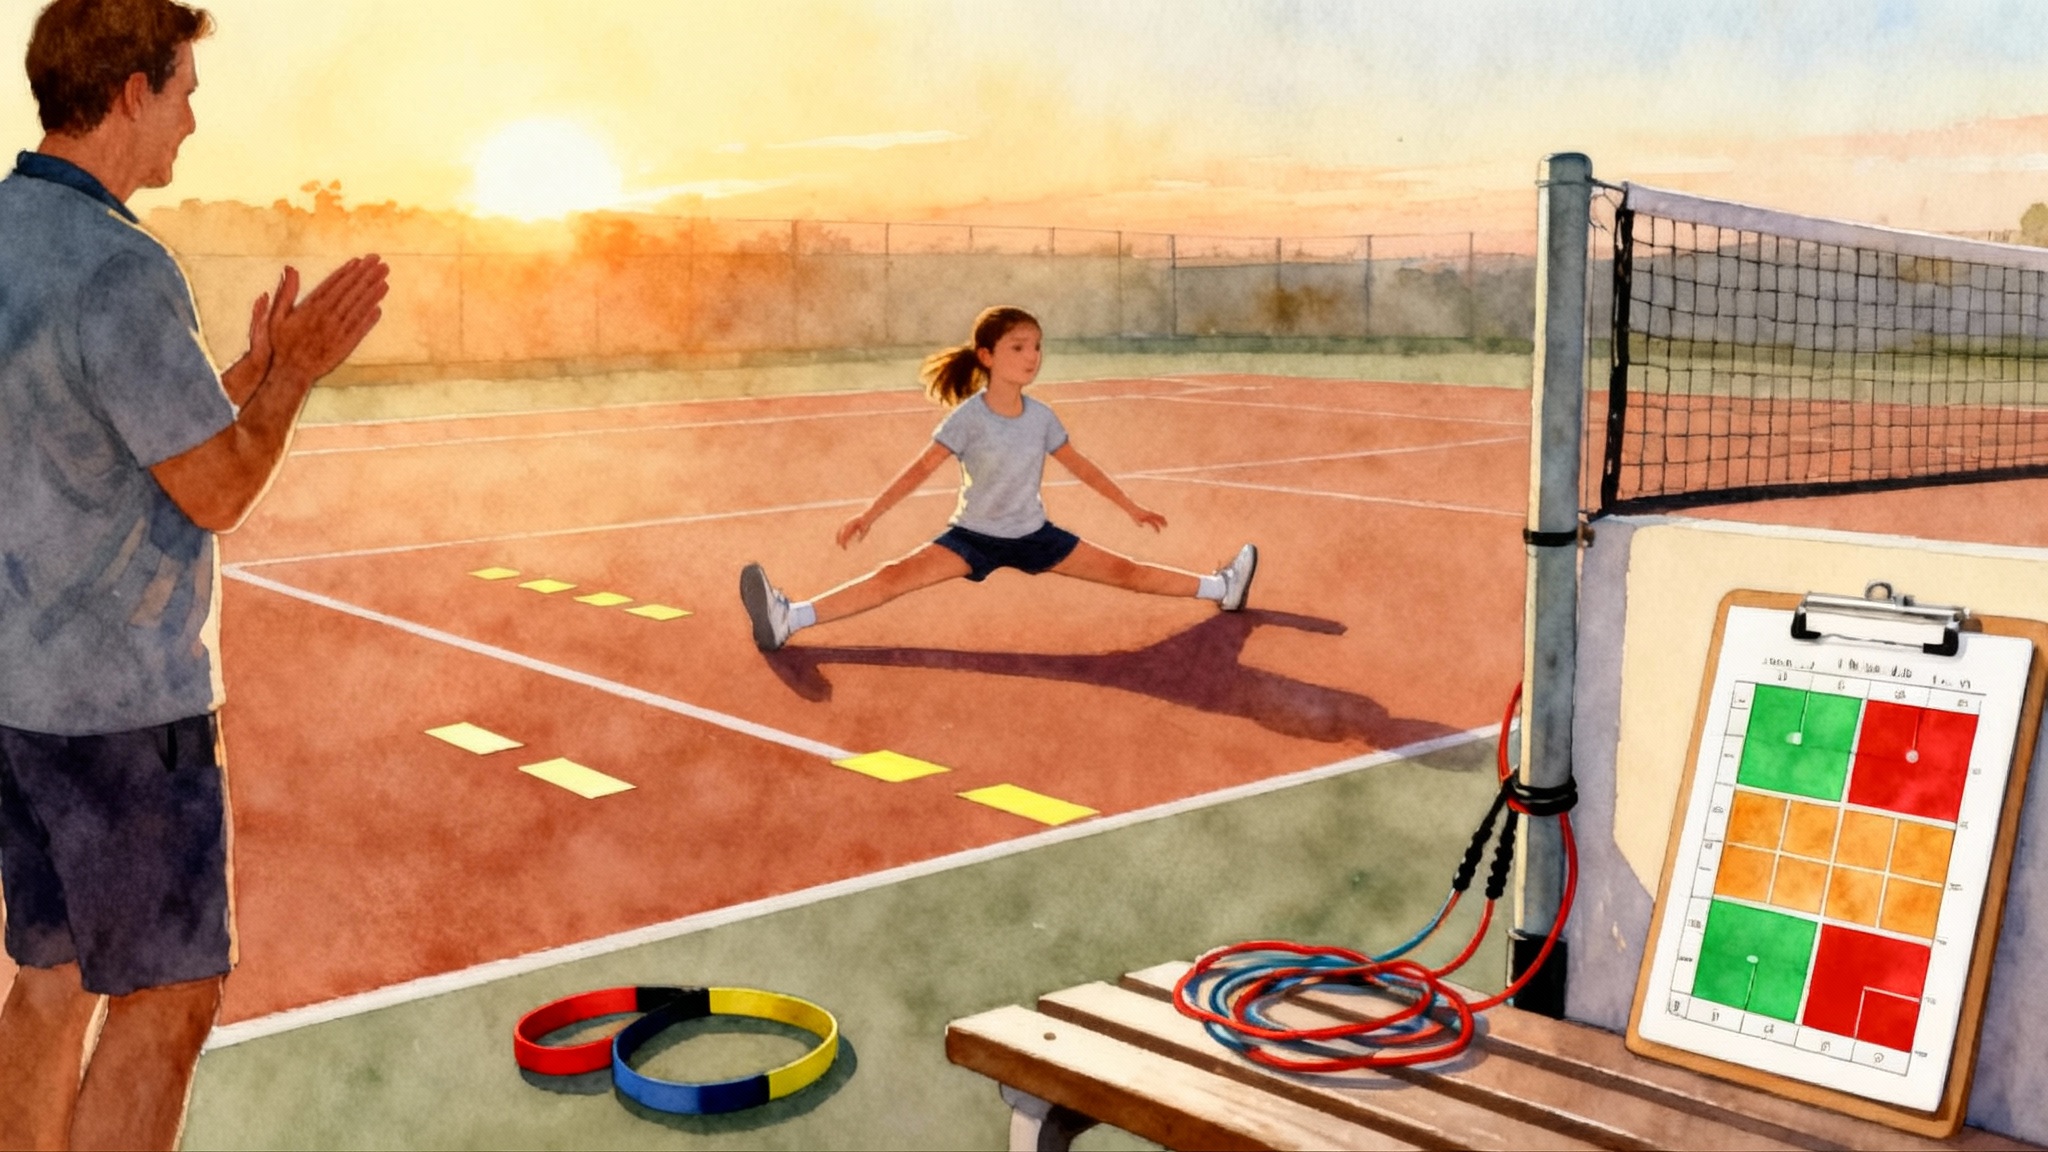
- Drill: Red light, green light. Feeder tosses. Player mini-hops on the toss, freezes at landing, then moves only when the ball clears the net. This builds patience and balance.
- Constraint: draw two small boxes with chalk. Player must land one foot in each box on the split. The boxes teach consistent width without coaching jargon.
- Volume: 6 to 8 sets of 10 hops across a session, spread across games. Zero maximal depth jumps at this age.
Ages 11 to 14: timing to contact and first-step direction
- Goal: land at contact, then push with the outside leg.
- Drill: Contact clap. Feeder calls “hit” exactly at contact. Player aims to touch down on “hit.” Fade the call after a while to build prediction.
- Drill: Two-ball read. Feeder holds two balls, drops one at contact. Player lands as the racket strikes and explodes toward the dropped side. This drives reading and reaction.
- Volume: 8 to 12 sets of 6 to 8 quality reps per station, two to three stations per session.
- Notes on safety: keep hops under ankle height, emphasize soft landings and alignment.
Ages 15 to 18 and performance juniors: surface-specific mastery
- Goal: adjust hop amplitude and landing window for hard, clay, and indoor conditions without cue changes.
- Drill: Surface ladder. On hard, mini hop to contact, first step fast. On clay, land a touch earlier and emphasize a long deceleration step. On indoor carpet or slick acrylic, keep the hop tiny and avoid overcommitting.
- Drill: Return timing wave. Serve machine or coach serve in waves of tempo: slow, normal, fast. Player must keep landing synced to contact regardless of serve speed.
- Volume: 12 to 16 sets of 5 high-quality returns, with one minute rest between sets.
Adult club players: make timing your fitness multiplier
- Goal: reduce wasted steps and protect joints by landing at contact.
- Drill: Two-beat split. Partner rally. Count “one” on the opponent’s forward swing, “two” on contact, and land on two. Then remove the count and keep timing.
- Doubles return: land at contact with a smaller hop, then commit to your lane. If your hop is huge, you will be late on poaches. For patterns and positioning, study our return of serve blueprint.
- Volume: Work in 10-minute blocks between hitting segments to avoid fatigue-based errors.
Age-safe plyometric progressions that respect growth and joints
Plyometrics are about quality, not exhaustion. Progress when mechanics are crisp and landings are quiet.
-
Phase 1: Elastic ankles and posture
- Pogo series: 2 sets of 15 small ankle bounces, hands on hips, knees soft. Rest 45 seconds.
- Split and stick: mini hop, land, hold for two seconds, then reset. 3 sets of 8.
-
Phase 2: Directional first step
- Lateral split to push: mini hop, land, immediate push left or right for a single step. 3 sets of 6 each side.
- Quarter turn split: land, quarter turn toward the ball side, then first step. 2 sets of 6 each direction.
-
Phase 3: Reactive prompts
- Color call: coach holds two cones, calls color at contact. Player lands and moves. 3 sets of 8.
- Bounce and go: mini hop timed to a hand clap on contact. Immediate first step. 3 sets of 10.
Guidelines by age:
- Under 12: keep hops low, total contacts under 60 per session, twice per week.
- 13 to 16: up to 80 to 100 contacts with perfect form, twice per week, not on back-to-back days.
- 17 and up: increase intensity cautiously. Never chase height. Chase timing and posture.
Home drills parents can run in 10 minutes
Set a timer for 10 minutes. Rotate through the three blocks below.
- Living room shadow timing (3 minutes)
- Play a rally on television muted. Your player shadow splits on the opponent’s swing and lands at the moment of onscreen contact. Count five correct landings in a row before moving on.
- Toss-and-call split (4 minutes)
- Stand 15 feet away. Toss a foam ball underhand. Call “now” exactly on your release, and your player must land on your “now.” The foam ball gives a visual swing cue without a racket. Switch to calling on catch to vary the rhythm.
- Mirror and freeze posture (3 minutes)
- Face your player. Hop together and land quietly. Parent points left or right after landing. Player takes one push step that direction and freezes. Check knees, heels, and chest posture.
If you have a small space, use painter’s tape to mark landing width: two strips just wider than shoulder width. The visual cue cleans up posture without more words.
How much hop is enough
Your split-step should barely clear the court. If someone across the net can read your shoes leaving the ground from the baseline, the hop is probably too high. The goal is elastic loading, not air time. The shorter the hop, the easier it is to land at contact.
Common timing mistakes and targeted fixes
-
Early landing
- Symptom: you land well before contact and rock forward while waiting.
- Fix: delay your initiation by watching the opponent’s swing path. Start your mini hop as the opponent moves from backswing to forward swing, not at the very start of their takeback.
-
Late landing
- Symptom: you are still airborne after opponent contact and lose your first step.
- Fix: reduce hop height. Begin sooner in the opponent’s forward swing. Use the contact clap drill to recalibrate.
-
Heavy heel strike
- Symptom: loud slap on landing, heels crash.
- Fix: land on the balls of the feet, heels kissing the court rather than smashing it. Think of holding a fragile egg under each heel.
-
Narrow base
- Symptom: feet land too close, first push is weak.
- Fix: draw two dots at shoulder width and force each landing to hit the dots. A wider base sets up stronger lateral pushes.
-
Frozen hips
- Symptom: torso stays square and the first step is late.
- Fix: add a quarter turn toward the anticipated side as you land. This pre-rotates the hips so the push is immediate.
Return of serve and volley specifics
-
Return of serve: land exactly at opponent contact, but shrink the hop. The faster the serve, the more your landing must be on time and compact. If you drift forward during the hop, you will be late. Think vertical and small. For deeper patterns and neutralizing tactics, see the return of serve blueprint.
-
First volley: many players skip the split as they close. Keep a very small hop timed to the opponent’s contact even when moving. Land with your chest tall and weight centered so you can move through the volley.
Example stations from Legend Tennis Academy in Austin
Here is how one high-quality session can look when the theme is timing to contact. These stations slot into a 90-minute academy block and rotate every 12 minutes with 3 minutes for transitions. Volumes scale by age. At Legend Tennis Academy in Austin, this format keeps reps sharp without bloating session length.
-
Station 1: Contact clock
- Setup: feeder on service line with basket, player at baseline.
- Task: feeder hits on a verbal “now” that represents contact. Player aims to land exactly on “now.” Fade verbal cue after two minutes so players read the swing.
- Coaching points: soft landings, zero to two frames after contact in review.
-
Station 2: Split runway
- Setup: three pairs of dots taped at shoulder width across the baseline.
- Task: player rallies crosscourt. Each time the opponent prepares to hit, the player must land on the next pair of dots. Builds consistent base and rhythmic timing.
- Progression: shrink dot spacing for advanced groups to force a compact hop.
-
Station 3: Direction read lane
- Setup: coach shows a colored card at the moment of contact.
- Task: land at contact, explode toward the color with one strong push step, then stop in balance. This merges timing with first-step direction.
-
Station 4: Return timing wave
- Setup: serve machine or coach serves in tempo waves of slow, normal, fast.
- Task: returner keeps the same landing cue regardless of speed. Focus on small hop, on-time landing.
-
Station 5: Surface transfer corner
- Setup: a section of clay court or a slick mat to simulate lower friction.
- Task: rehearse the same cue with slightly softer land and longer first step for clay scenarios. On slick mats, reduce hop height and emphasize control.
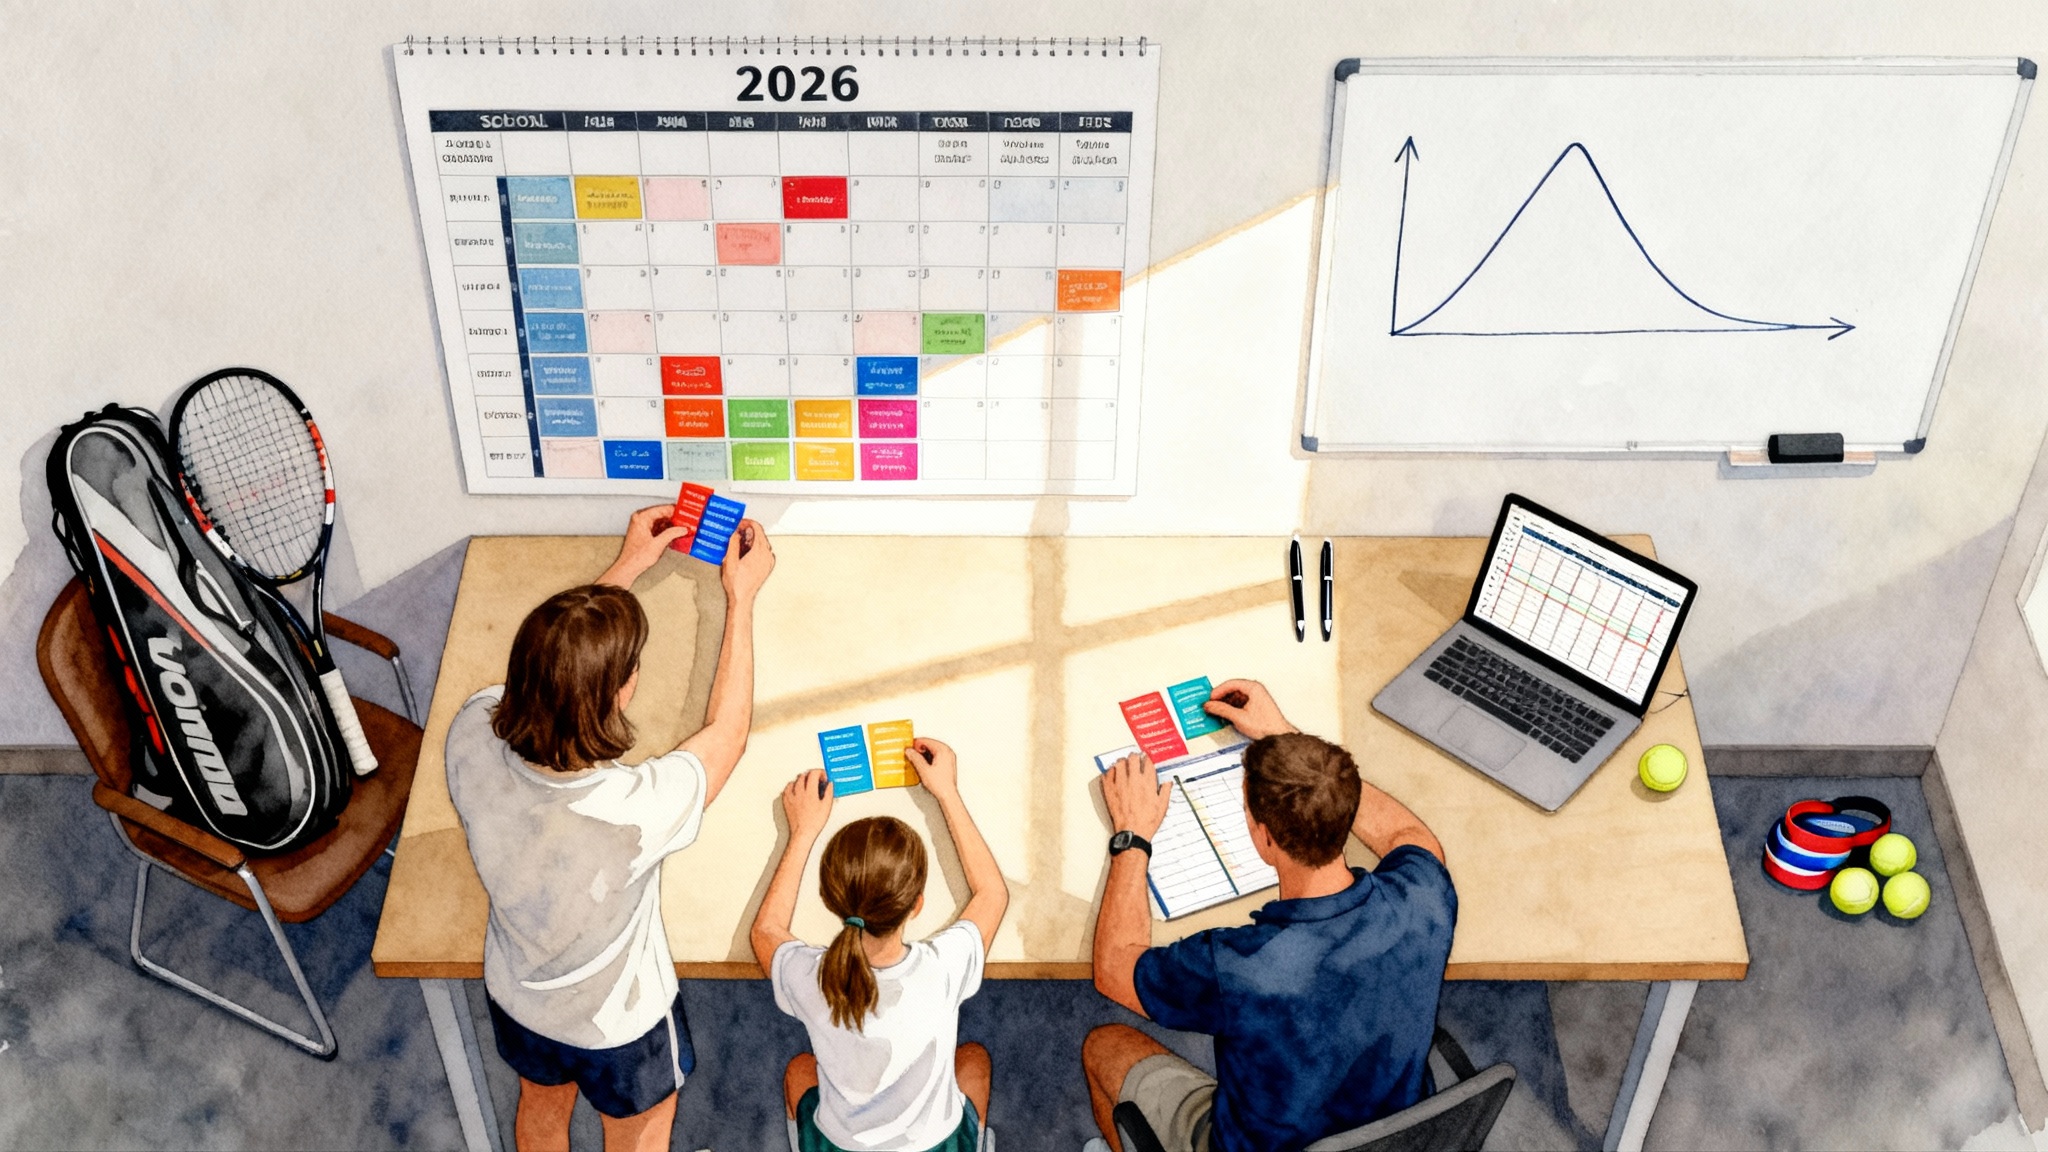
A two-week microcycle that fits academy life
This plan fits into a standard Monday to Saturday junior or adult training model. Each on-court day includes a 15-minute timing block and a 10-minute plyometric block, followed by normal technical or tactical themes. Sunday is off or light mobility.
Week 1
-
Monday: Baseline timing
- On-court timing block: Contact clap and split runway, 2 sets each.
- Plyo block: pogo series and split and stick, 3 sets each.
- Tactical theme: crosscourt consistency.
-
Tuesday: Return focus
- Timing block: return timing wave, 6 sets of 5 balls.
- Plyo block: lateral split to push, 3 sets of 6 each side.
- Tactical theme: neutralizing the first ball.
-
Wednesday: Surface adaptation
- Timing block: surface ladder on hard and clay simulation, 3 rounds.
- Plyo block: quarter turn split, 2 sets of 6 each direction.
- Tactical theme: defending wide balls.
-
Thursday: Light day or mobility
- Off-court 12 minutes: ankle stiffness hops, calf and hip mobility, soft tissue.
-
Friday: Direction read and first step
- Timing block: direction read lane, 4 sets of 6 reps.
- Plyo block: color call, 3 sets of 8.
- Tactical theme: building to offense.
-
Saturday: Match play integration
- Timing focus: require one player per court to film four points for timing review. Measure frames between contact and landing.
- Plyo block: bounce and go, 3 sets of 10 between sets.
Week 2
-
Monday: Reinforce baseline timing with constraints
- Timing block: split runway with narrowed dots, 3 rounds.
- Plyo block: split and stick into one push step, 3 sets of 6 each side.
-
Tuesday: Return of serve with variability
- Timing block: return timing wave plus serve placement changes.
- Plyo block: lateral split to push with a pause, 2 sets of 6, then without pause, 2 sets of 6.
-
Wednesday: Doubles application
- Timing block: poach read. Net player lands at server contact, then moves on toss and strike cues.
- Plyo block: quarter turn split for forward movement, 3 sets of 6.
-
Thursday: Recovery and review
- Off-court: 10 minutes video review per player. Aim for zero to two frames after contact at 240 frames per second. Note patterns by surface.
-
Friday: Speed under fatigue
- Timing block: two-ball read after 6-ball rally. Keep landing crisp even when tired.
- Plyo block: color call with shorter rest, 3 sets of 10.
-
Saturday: Assessment day
- Re-run the slow-motion contact check from Week 1. Target improvement in both consistency and posture.
This microcycle pairs well with any academy’s technical themes. Legend Tennis Academy in Austin uses a rotating station model so each group encounters timing, direction, and surface transfer every week without bloating session length.
The science in plain language
Why does landing at contact work so well? Your muscles and tendons behave like rubber bands coupled with sensors. When you land, those sensors trigger reflexes that briefly increase stiffness, letting you push off faster. If you land too early, that reflex fades. If you land too late, you never store the elastic energy. Aligning landing with opponent contact maps your internal spring to the external event that matters most.
In practice, the simplest actionable proxy is the visual of the opponent’s swing. Start your mini hop as their forward swing starts. Land as you hear and see contact. Then push.
Indoor, outdoor, and weather tweaks
- Bright indoor lighting can trick players into hopping too soon because the ball looks faster. Fight that by shrinking your hop and holding posture until contact.
- Windy days outdoors slow reads. Focus on the sound of contact, not just the ball flight.
- Humid conditions make balls heavier. Keep the same landing cue, but expect to push a fraction harder on the first step to cover the heavier ball’s slower pace off the bounce.
A 60-second courtside checklist
- Land at opponent contact
- Hop small and vertical
- Feet shoulder width at landing
- Heels light, knees track over toes
- Chest tall, eyes steady
- Push with the outside leg toward the ball
If you can check those six boxes, you will feel quicker without getting fitter. Timing multiplies whatever speed you already have.