Film-to-Feedback 2026: Tennis Video Analysis Guide
Turn simple smartphone footage into real improvement. Learn camera angles, low-cost mounts, what to tag, practical stroke checklists, level-based benchmarks, and how to convert clips into weekly drills for juniors and adults.
Why video beats memory
Memory smooths over the exact moment your forehand floated long or your toss drifted left. Video does the opposite. It catches posture, spacing, and timing in the split second that matters. If you care about your National Tennis Rating Program level, which the United States Tennis Association uses to describe skill bands, clear video makes your benchmarks visible and repeatable. Read the official overview of the United States Tennis Association NTRP levels.
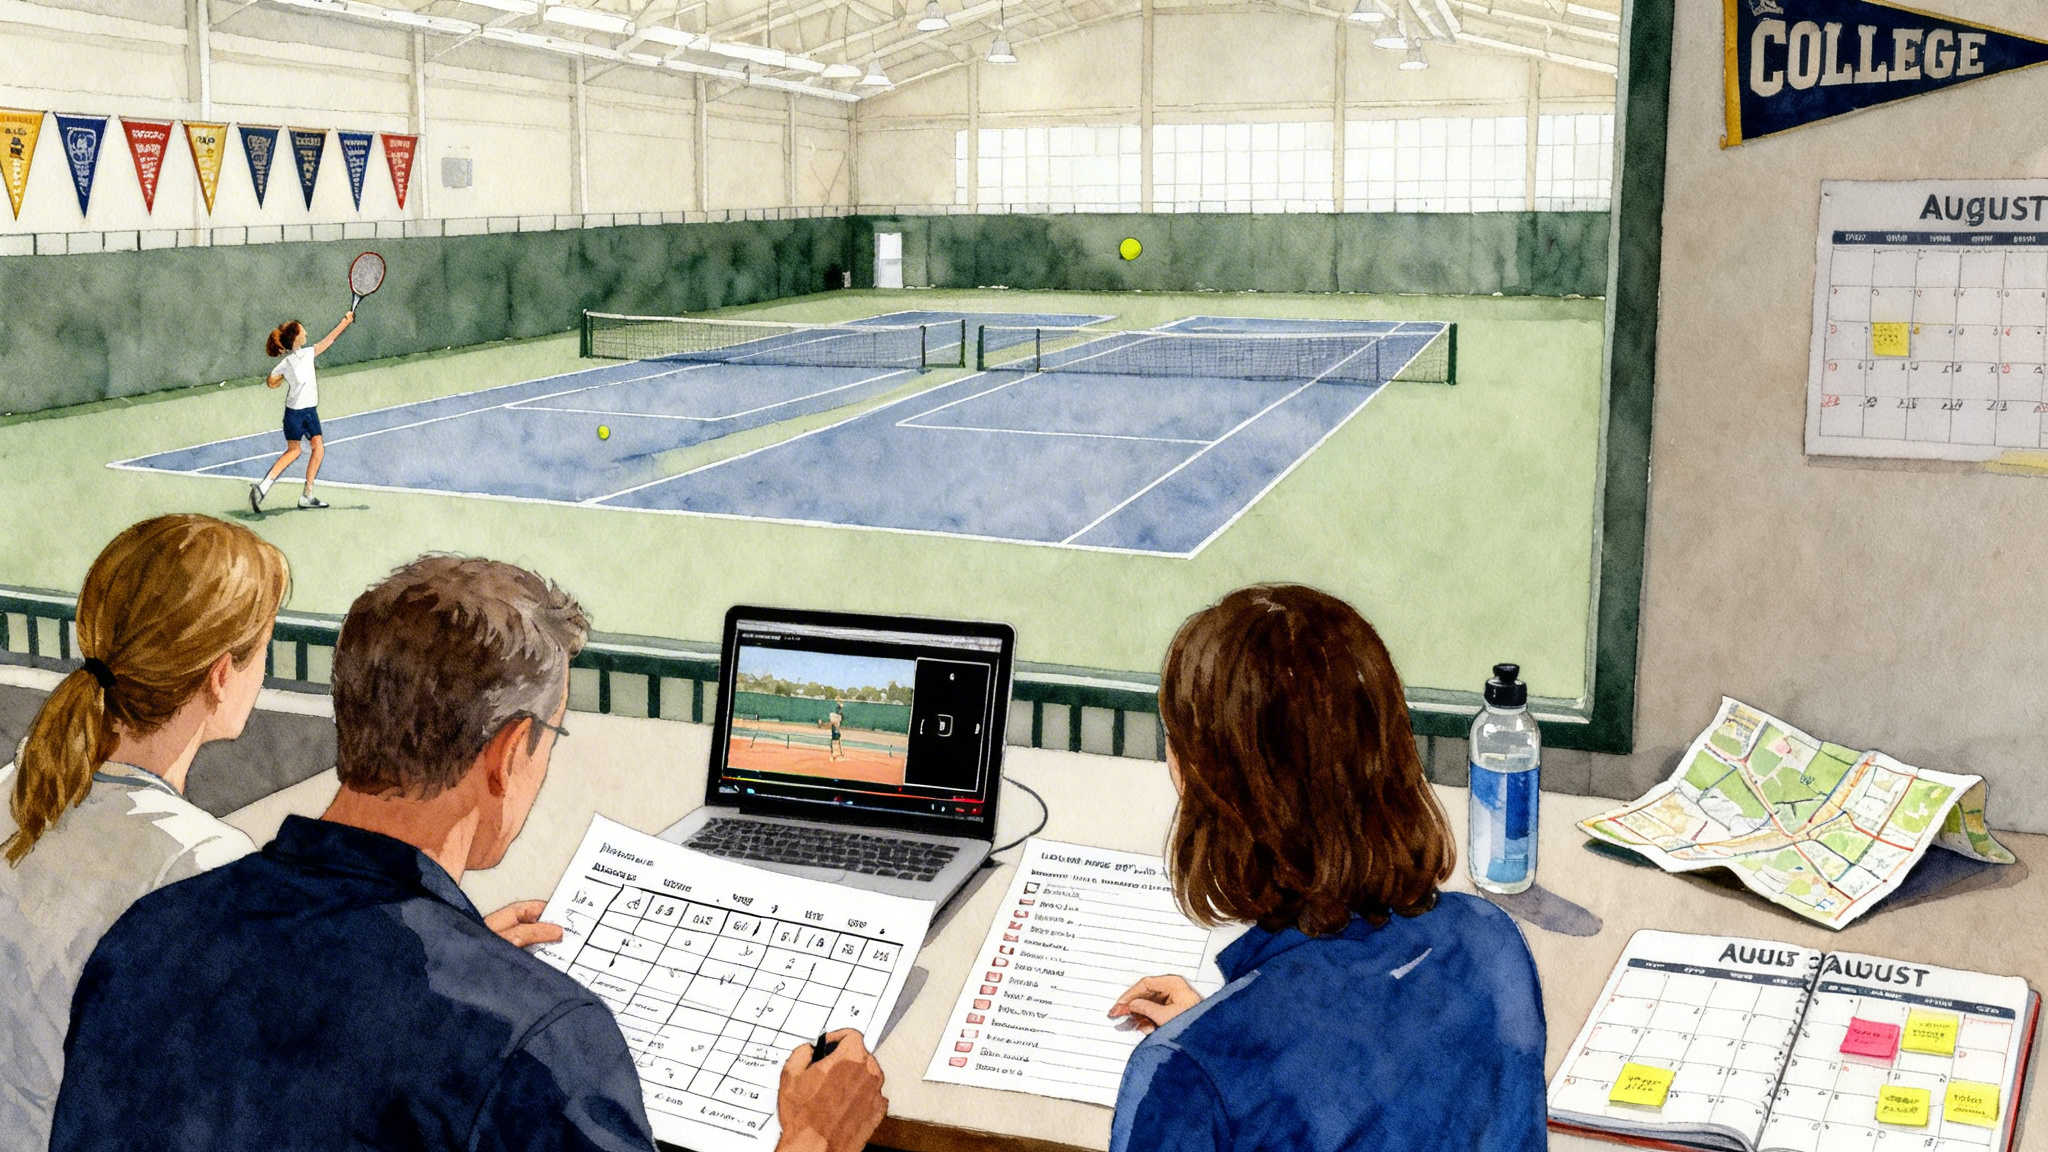
This guide shows juniors, parents, and adult players how to turn a phone into a coach in your pocket. You will learn the best camera angles, budget mounts that survive fences and gusts, what to tag, stroke checklists, realistic benchmarks by level, and a method to turn clips into a weekly drill plan. If you want professional eyes on your footage, we will also show how to close the loop with a Video Baseline session and remote analysis through Legend Tennis Academy.
Equipment that works on any budget
You do not need a cinema rig. You need stability, a clear view of ball flight, and enough frames to freeze contact.
Phone settings that matter
- Resolution: 1080p is plenty. It balances detail with small file sizes.
- Frames per second: Set 60 frames per second if your phone allows it. Sixty frames per second lets you see the ball on strings, toss drift, and split steps much more clearly than 30 frames per second.
- Exposure and focus: Tap and hold on your player to lock focus and exposure so the image does not hunt as the ball moves.
- Gridlines: Turn on gridlines to judge height over the net and body alignment.
- Stabilization: If your phone has optical or electronic stabilization, leave it on unless you mount behind a fence and see warping. If you notice warping, turn stabilization off.
- Audio: Keep audio on. Footwork sounds and contact timing help.
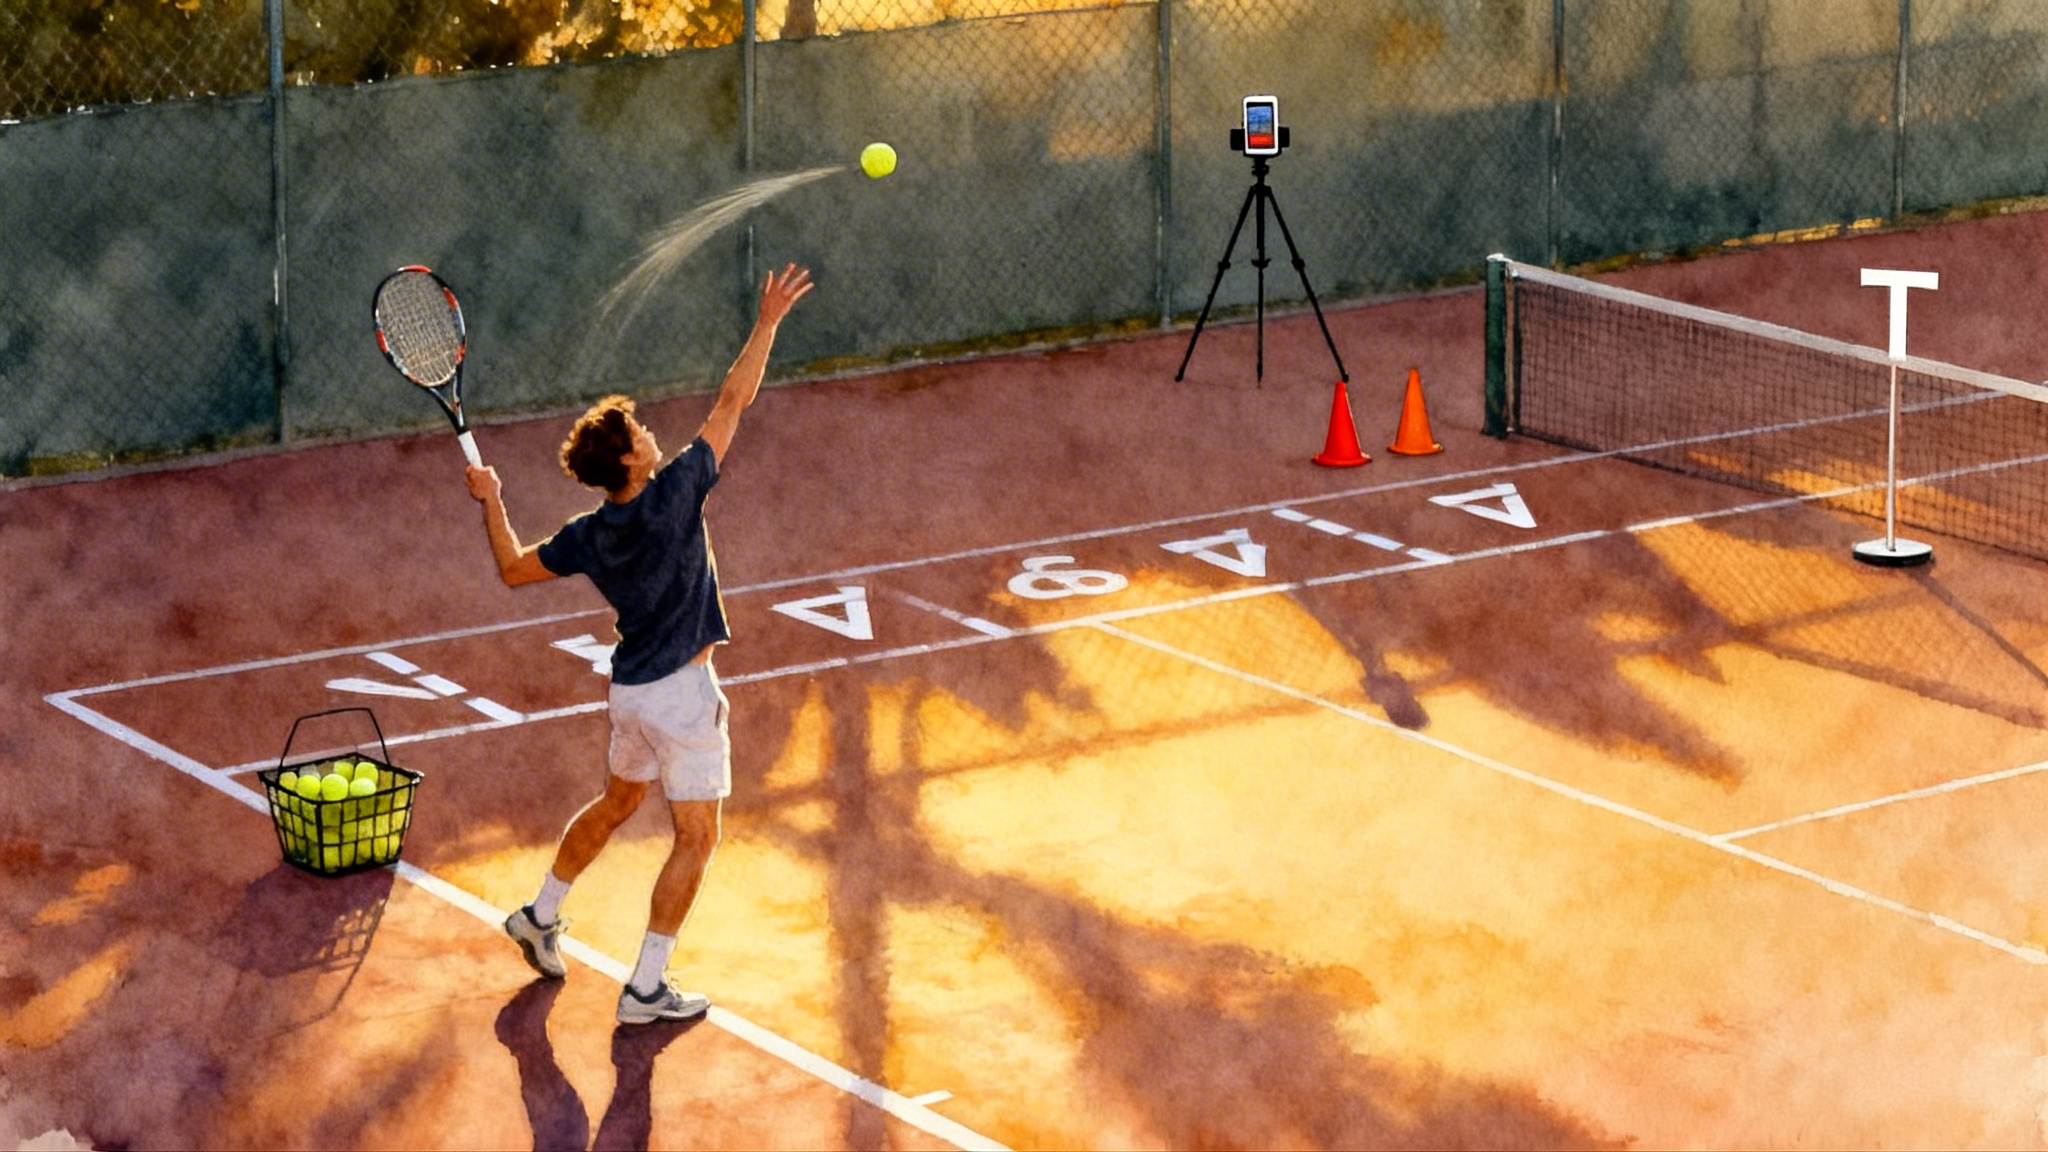
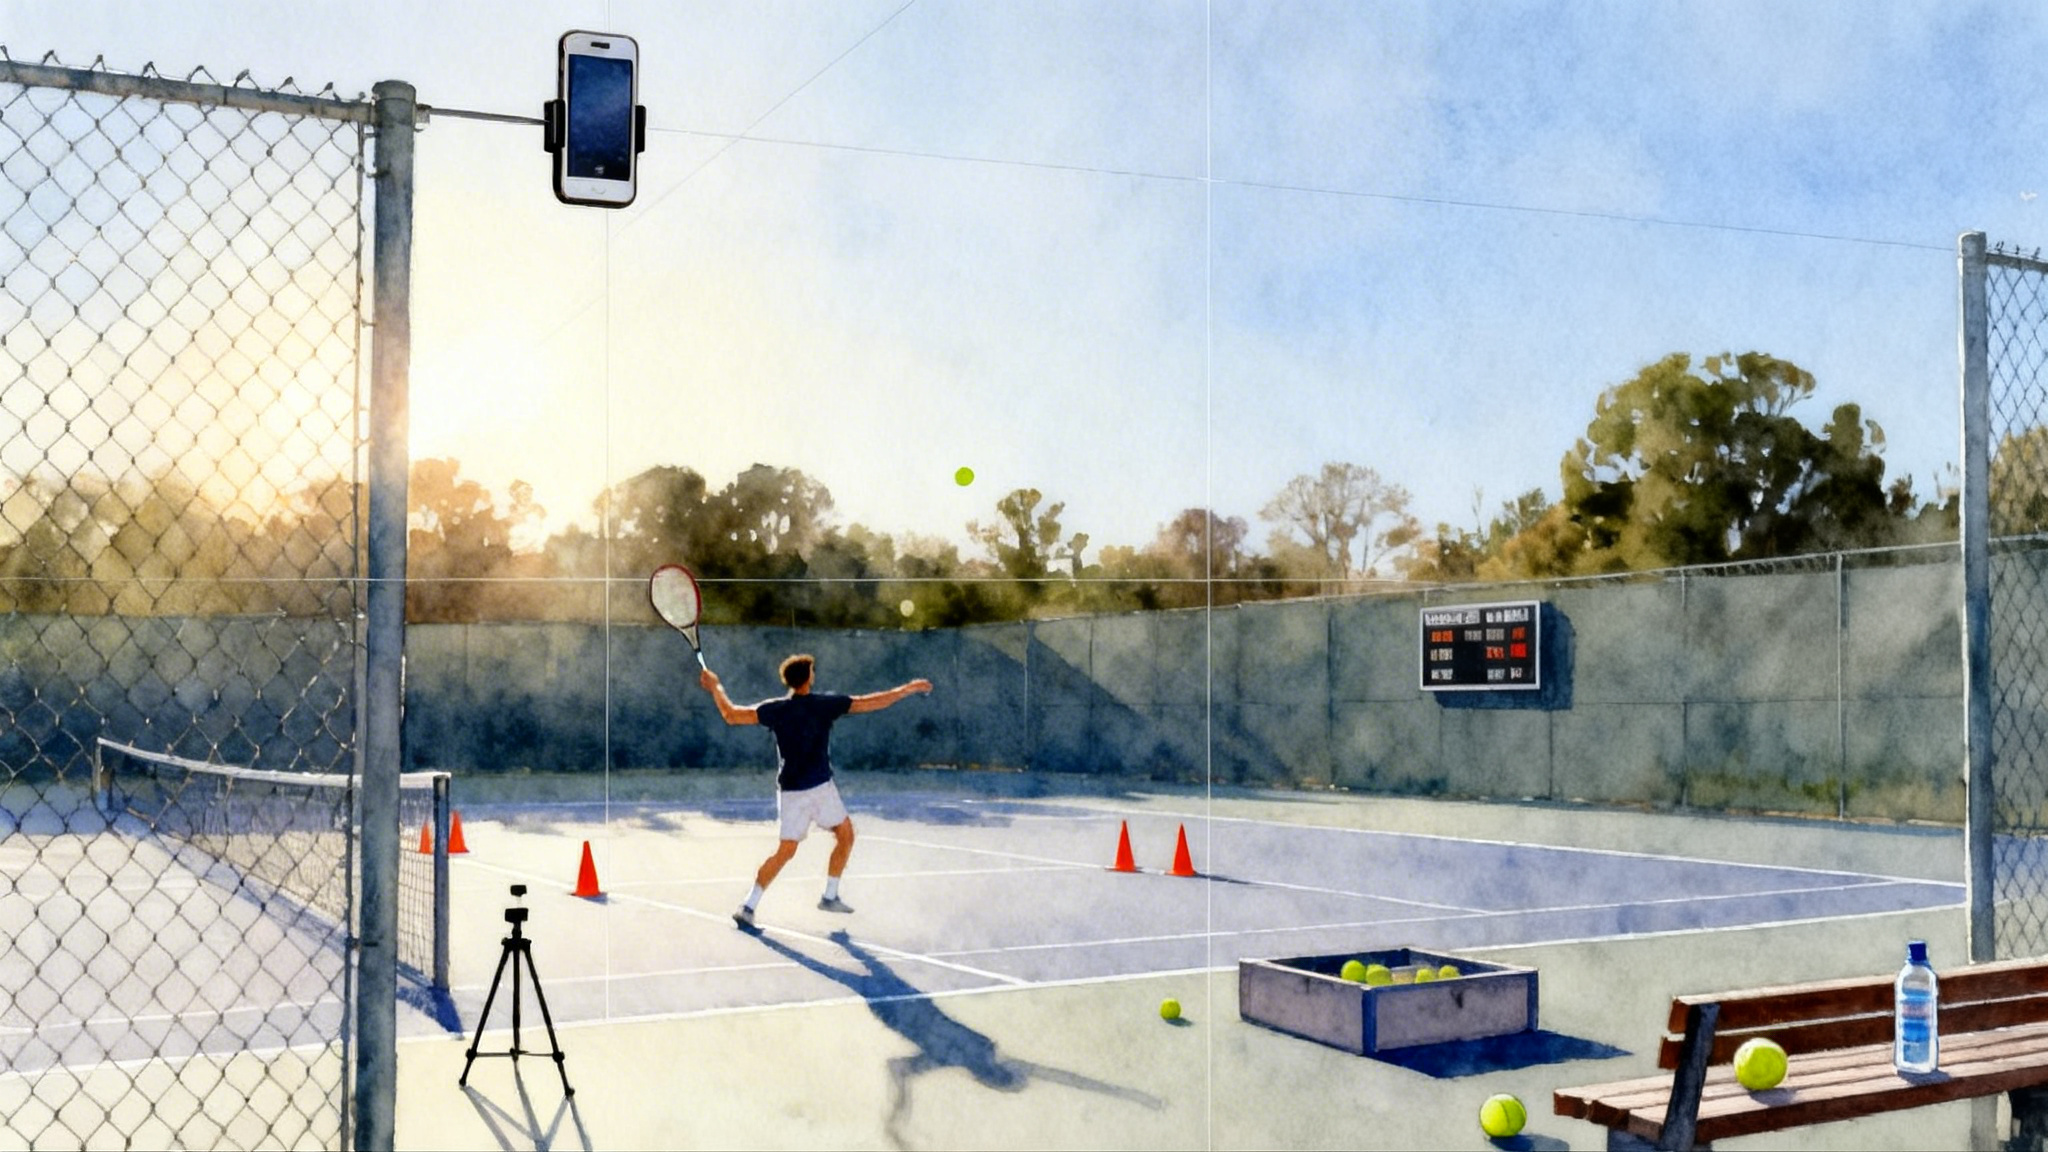
Cheap and reliable mounts
- Fence clip with phone clamp, 15 to 30 dollars. Clips high on the back fence for the behind baseline angle.
- Mini tripod, 20 to 40 dollars. For the side angle at the service line. Add a small sandbag or a water bottle for weight.
- Safety lanyard, under 10 dollars. Tie the phone to the fence as a backup.
- Optional wide lens, 30 to 60 dollars. Useful on tight courts to capture both sidelines.
Tip: Always test the setup for 30 seconds before you start play, then check the frame. You want the full baseline, both sidelines, and at least 6 feet of clearance above the net tape.
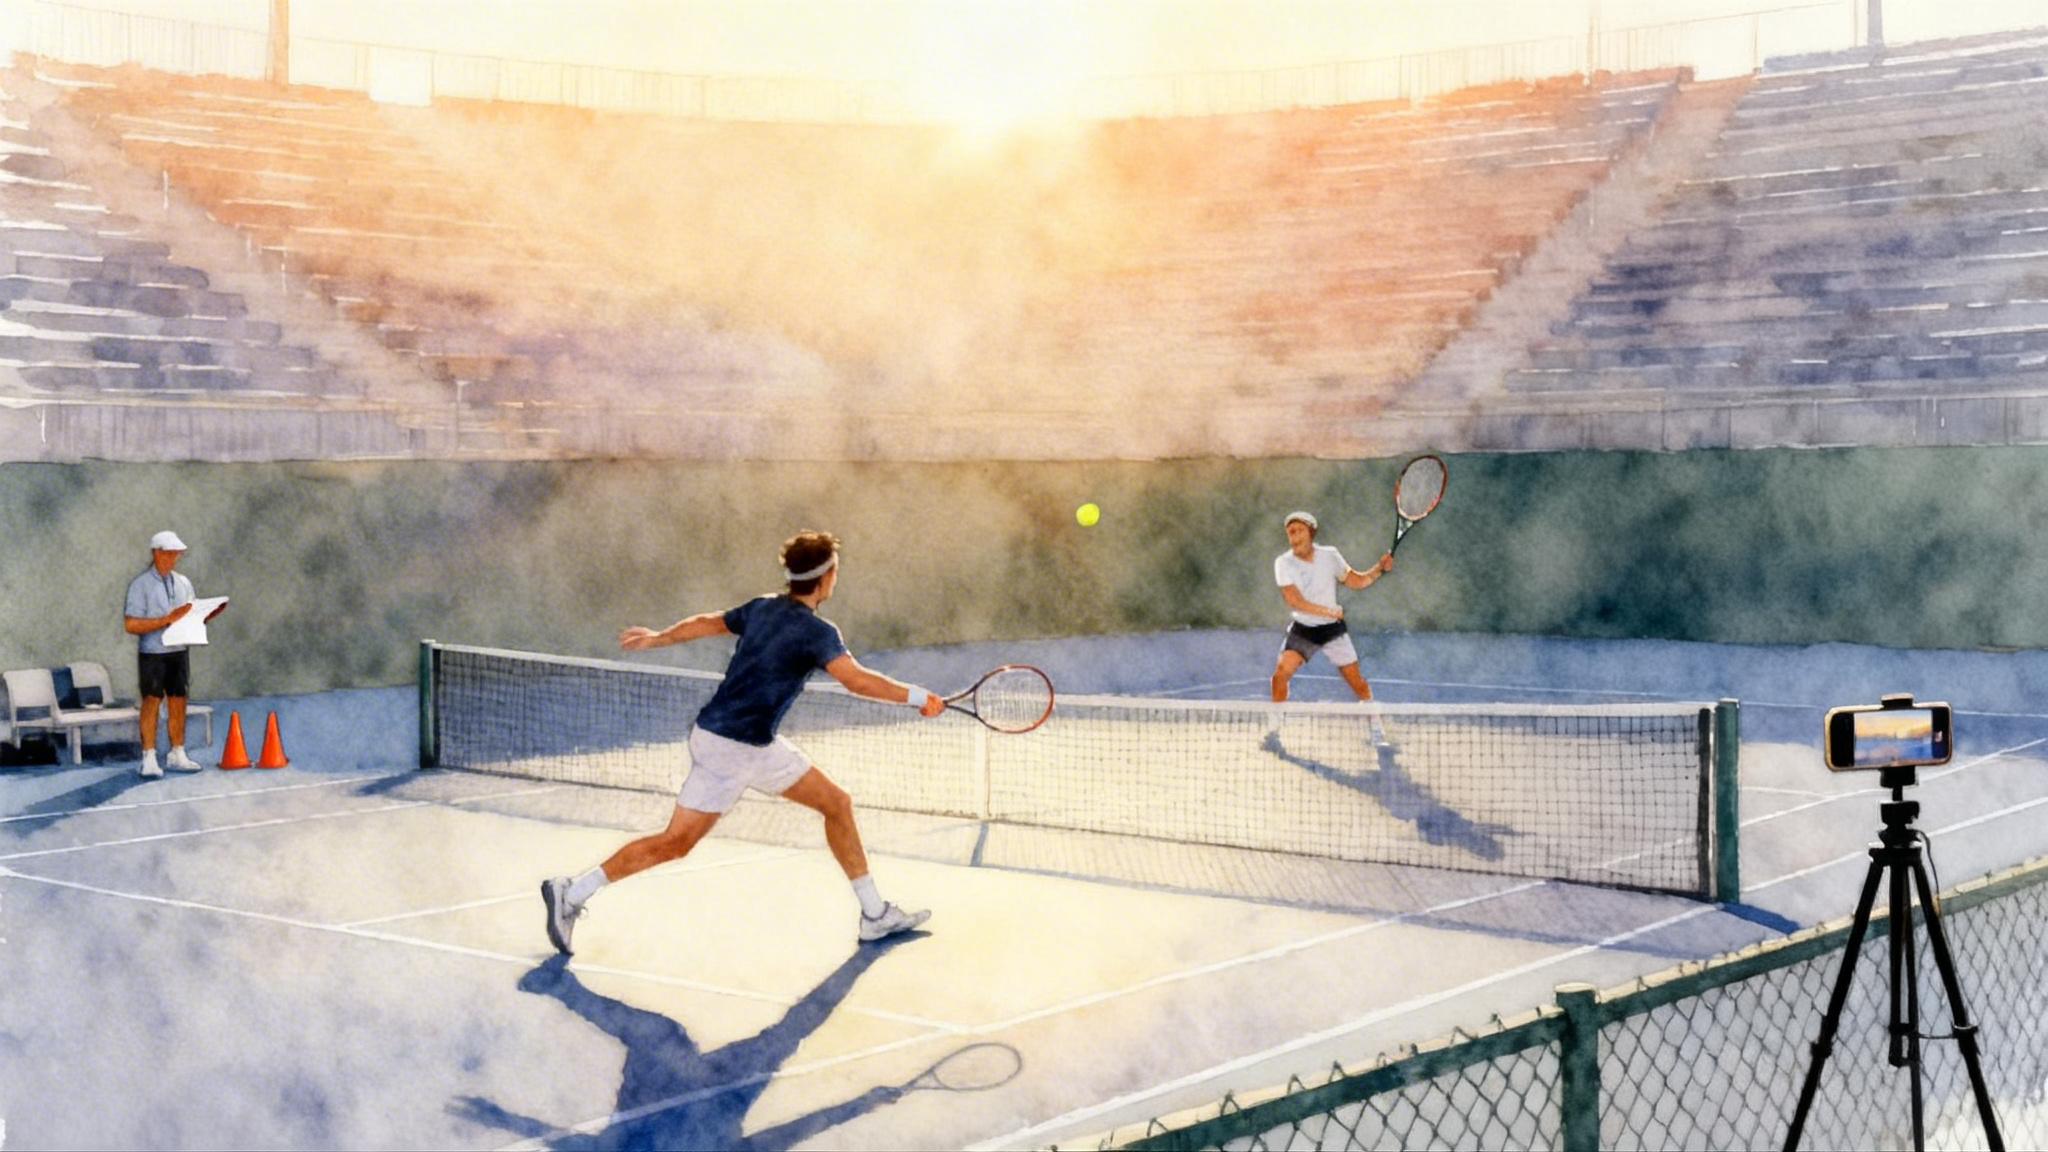
The two camera angles you will actually use
You can capture everything you need from two views. Each reveals different problems and prevents guesswork.
- Behind baseline, centered on the player
- Height: Around 9 to 12 feet if the fence allows. Higher is better for ball tracking.
- Distance: As far back as the fence lets you sit while keeping the full baseline and both sidelines in frame.
- What it shows: Ball trajectory, court geometry, spacing to the ball, directional control, serve targets, and footwork patterns.
- Side view from the service line, camera midpoint at net height
- Height: About 3 to 4 feet, roughly net height.
- Distance: Two steps behind the doubles sideline, on the same side as the player.
- What it shows: Contact point height and timing, posture, racquet drop, knee bend, hip and shoulder tilt, and net clearance.
Optional for serves: A rear corner angle that sees your back and hitting side can clarify toss position and body rotation, but the two primary views cover almost all needs.
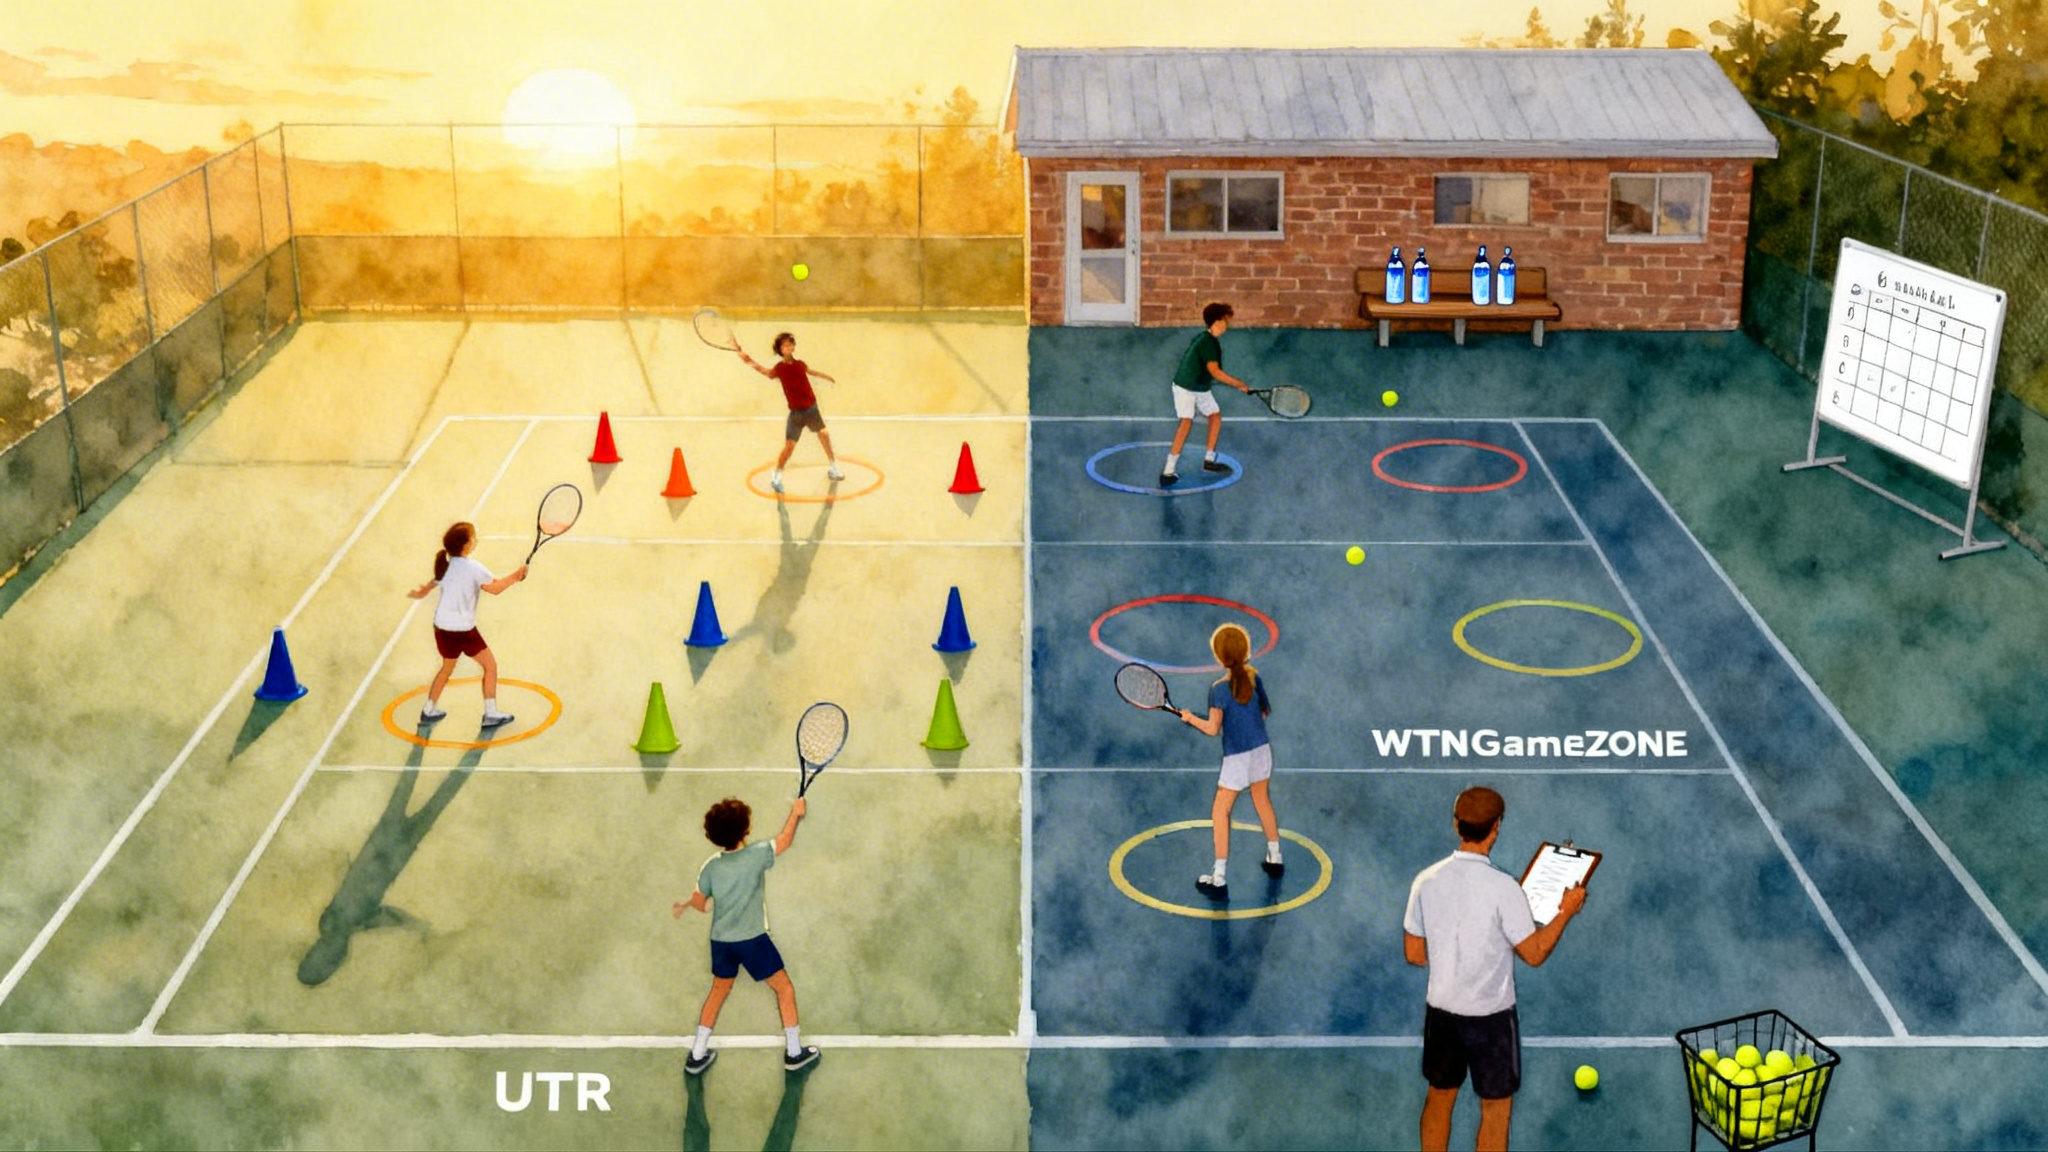
What to tag and why it matters
Tagging is the bridge between raw video and clear action items. You are creating index cards for the future you.
Rallies
- Tag by pattern: crosscourt, down the line, change of direction.
- Tag by result: forced error, unforced error, rally winner, defensive error.
- Tag by contact zone: inside the baseline, on the baseline, two steps behind.
- Numbers to extract: longest rally count, average rally length in cooperative drills, percentage of balls that land past the service line, percentage of changes of direction that stay in.
Serves
- Tag by target: wide, body, T, and second serve to backhand or forehand.
- Tag by outcome: in, let, long, net, weak return forced, return winner allowed.
- Numbers to extract: first serve percentage, second serve percentage, double faults per set, make rate to each target, second serve that lands deep past service line.
For a deeper plan to track and raise serve speed and accuracy, see the 6-Week Serve Plan tracking.
Pressure points
Pressure tells you who you are under stress. Tag moments that change the set.
- Tag game points, break points, and tiebreak points.
- Tag the previous point if the player looked rushed or hesitant.
- Numbers to extract: win rate on pressure points, unforced errors on pressure points, serve target choices on pressure points versus neutral points.
Tools you can use: the built-in favorites feature in your Photos app, color labels in desktop tools, or dedicated analysis apps like OnForm, SwingVision, and Kinovea. If you keep it simple and consistent, any option works.
Simple stroke checklists you can steal
Treat these like pocket cards. Film, check two items at a time, then refine.
Forehand
- Preparation: Unit turn starts before the ball crosses the net. Racquet head above hands at start.
- Spacing: At contact, the elbow clears the body, and the wrist is not jammed.
- Contact: Slightly in front of the front hip, at a comfortable height. Head still through contact.
- Path: Low to high with a stable wrist. Finish over shoulder or around body depending on ball height.
- Feet: Split step on opponent contact, then adjust with small steps.
Backhand
- Two hand: Shoulders turn early, non-dominant hand drives. Contact in front of the left hip for right handers. Balanced finish with chest to target.
- One hand: Left hand on throat in preparation, strong shoulder turn, hit in front, firm wrist, full extension, high finish. No collapse of the hitting shoulder.
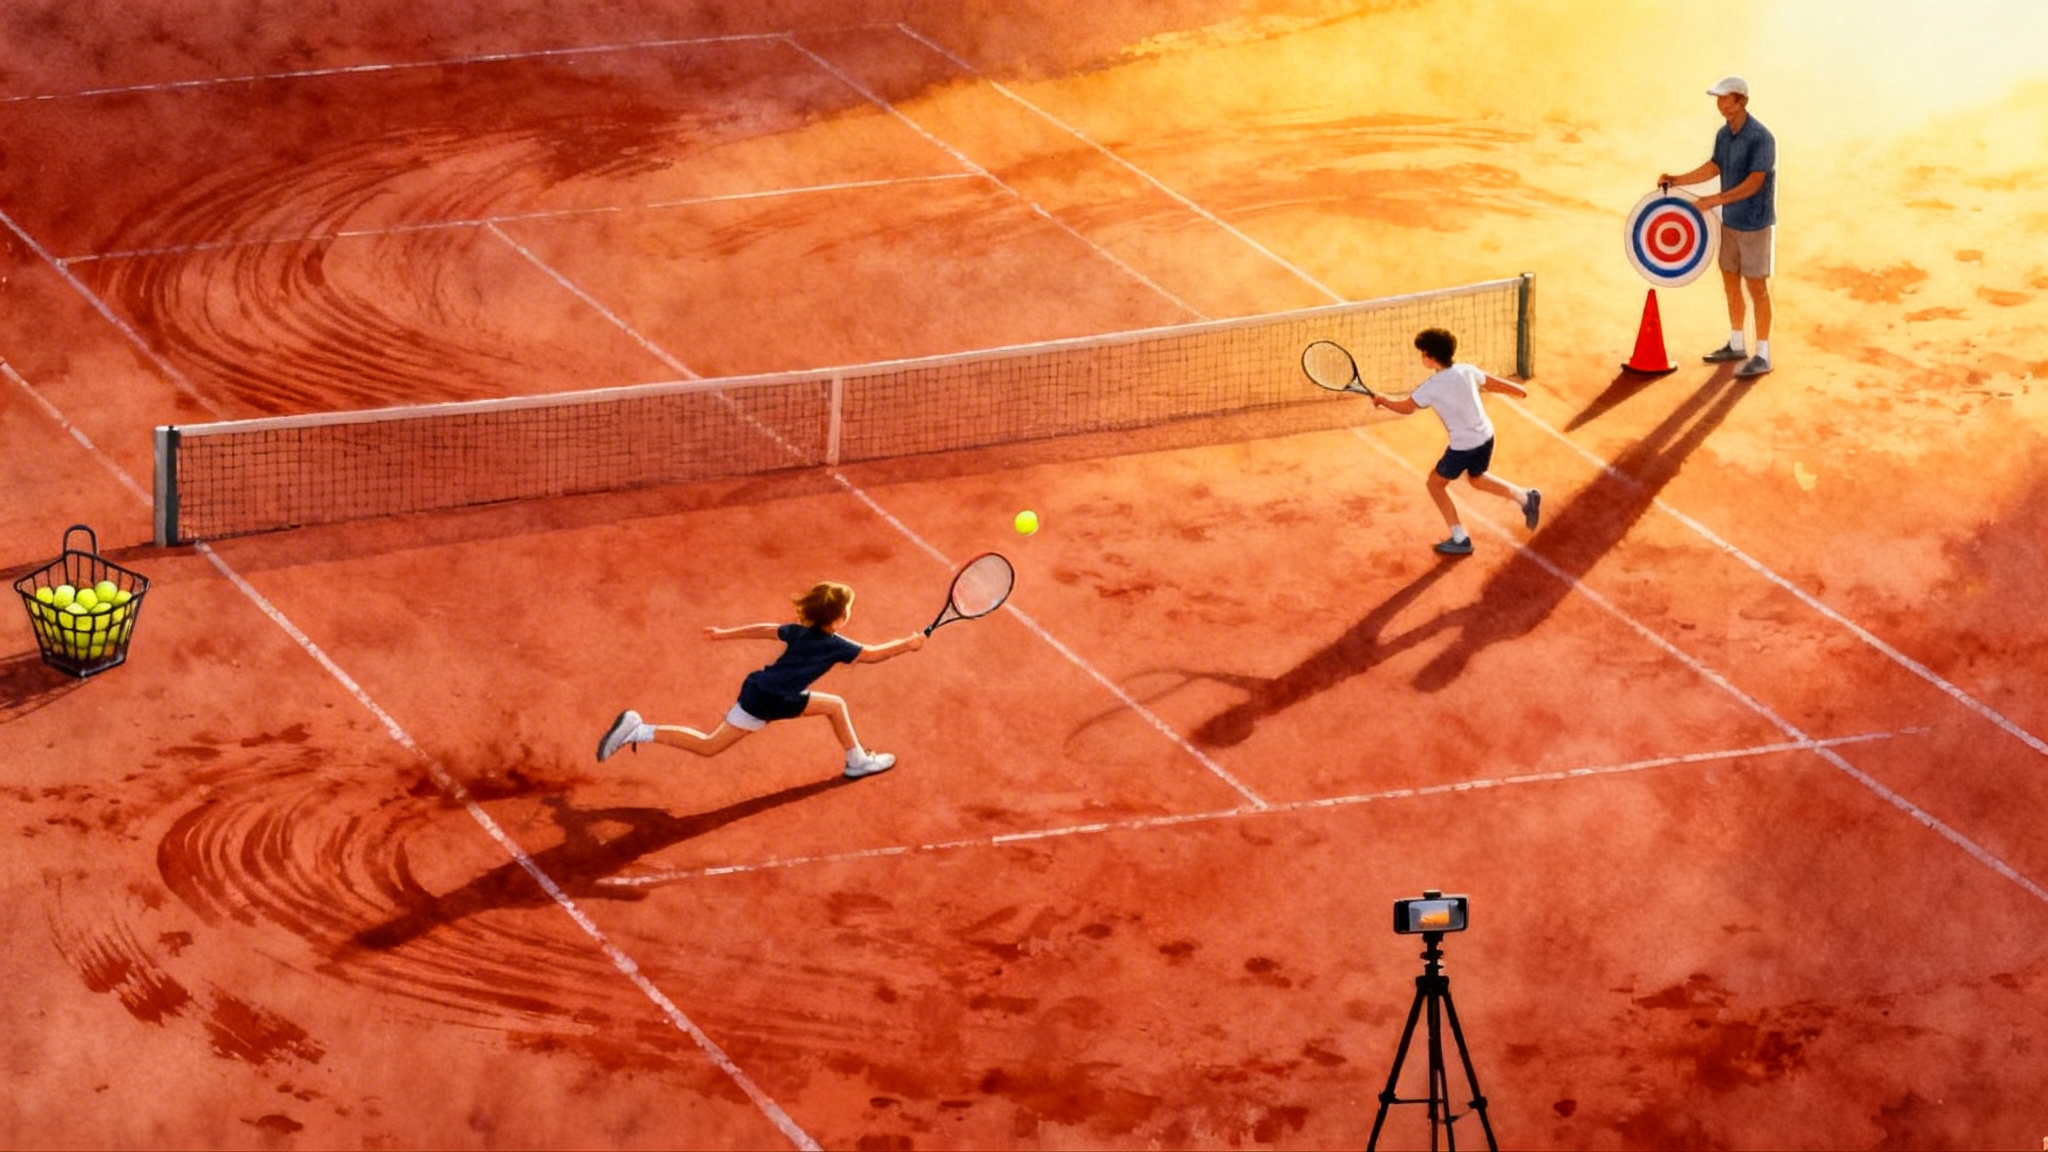
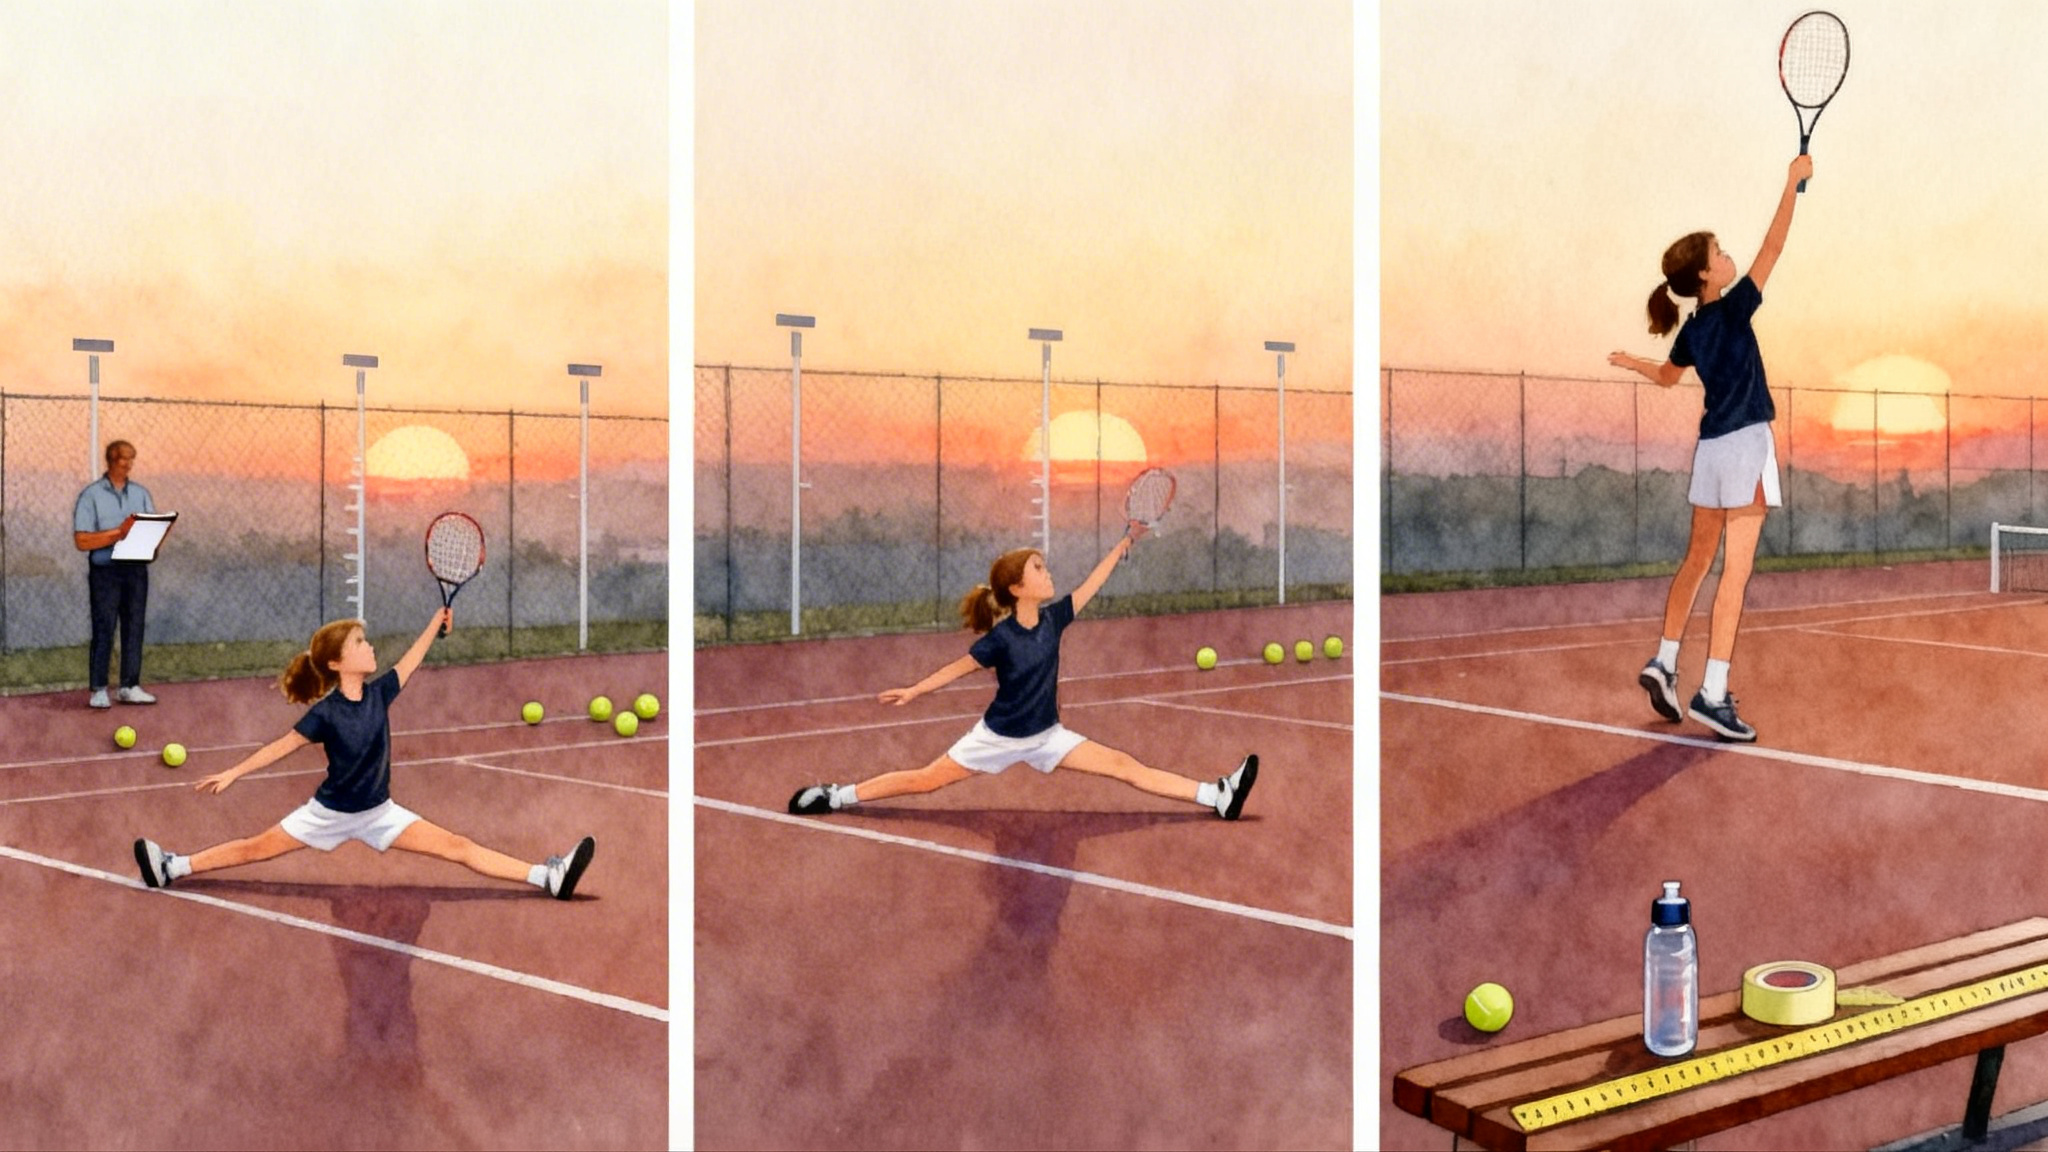
Serve
- Toss: Starts slightly in front of the lead foot. At apex, the ball is inside the court for a first serve, closer to the baseline for a second serve.
- Loading: Knees and hips load together. Racquet drop is loose, not forced.
- Contact: Full reach, arm straight, head up, chest lifts to the ball.
- Finish: Land inside the court on first serves, recover balanced. Second serve shows visible spin, not a push.
Return
- Ready: Split step as server tosses. Compact backswing.
- Contact: Early and firm. Aim deep middle on first serves, then adjust.
Volleys and overheads
- Volleys: Quiet head, short punch, shoulders square, contact in front. No back-swing.
- Overheads: Turn first, non-dominant hand points to ball, move with cross steps, contact high and extended.
Film each checklist item in slow, cooperative patterns first. Then confirm under live pace.
Benchmarks by level you can measure on video
These targets map loosely to National Tennis Rating Program bands. Use them as practice goals, not as absolute truths.
- Starter to 2.5: Hit 10-ball cooperative crosscourt rallies on both wings. First serve in at 40 percent, second serve in at 60 percent. Depth past the service line on 40 percent of rally balls.
- 3.0: 12-ball crosscourt rally on both wings. First serve in at 50 percent to two targets. Second serve lands past the service line 50 percent of the time. Two clean changes of direction per 10-ball live rally.
- 3.5: 15-ball rally on one wing, 8-ball on the weaker wing. First serve in at 55 percent with three distinct targets. Second serve shows visible spin shape. Three of five backhand changes of direction stay in live ball.
- 4.0: 20-ball rally on a strong wing at medium pace. First serve in at 60 percent, second serve above 75 percent. Four-direction rally pattern without error at cooperative pace. Approach plus first volley made 6 of 10 times.
- 4.5: Hold serve in 7 of 10 practice service games against a similar level. First serve in at 62 to 65 percent with placement. Second serve that lands deep 60 percent of the time. Convert 50 percent of sitter forehands.
- 5.0 and above: Serve plus one pattern wins more than half of your service points. Three-ball patterns off both wings on command. Neutral ball depth past the service line at 70 percent or better.
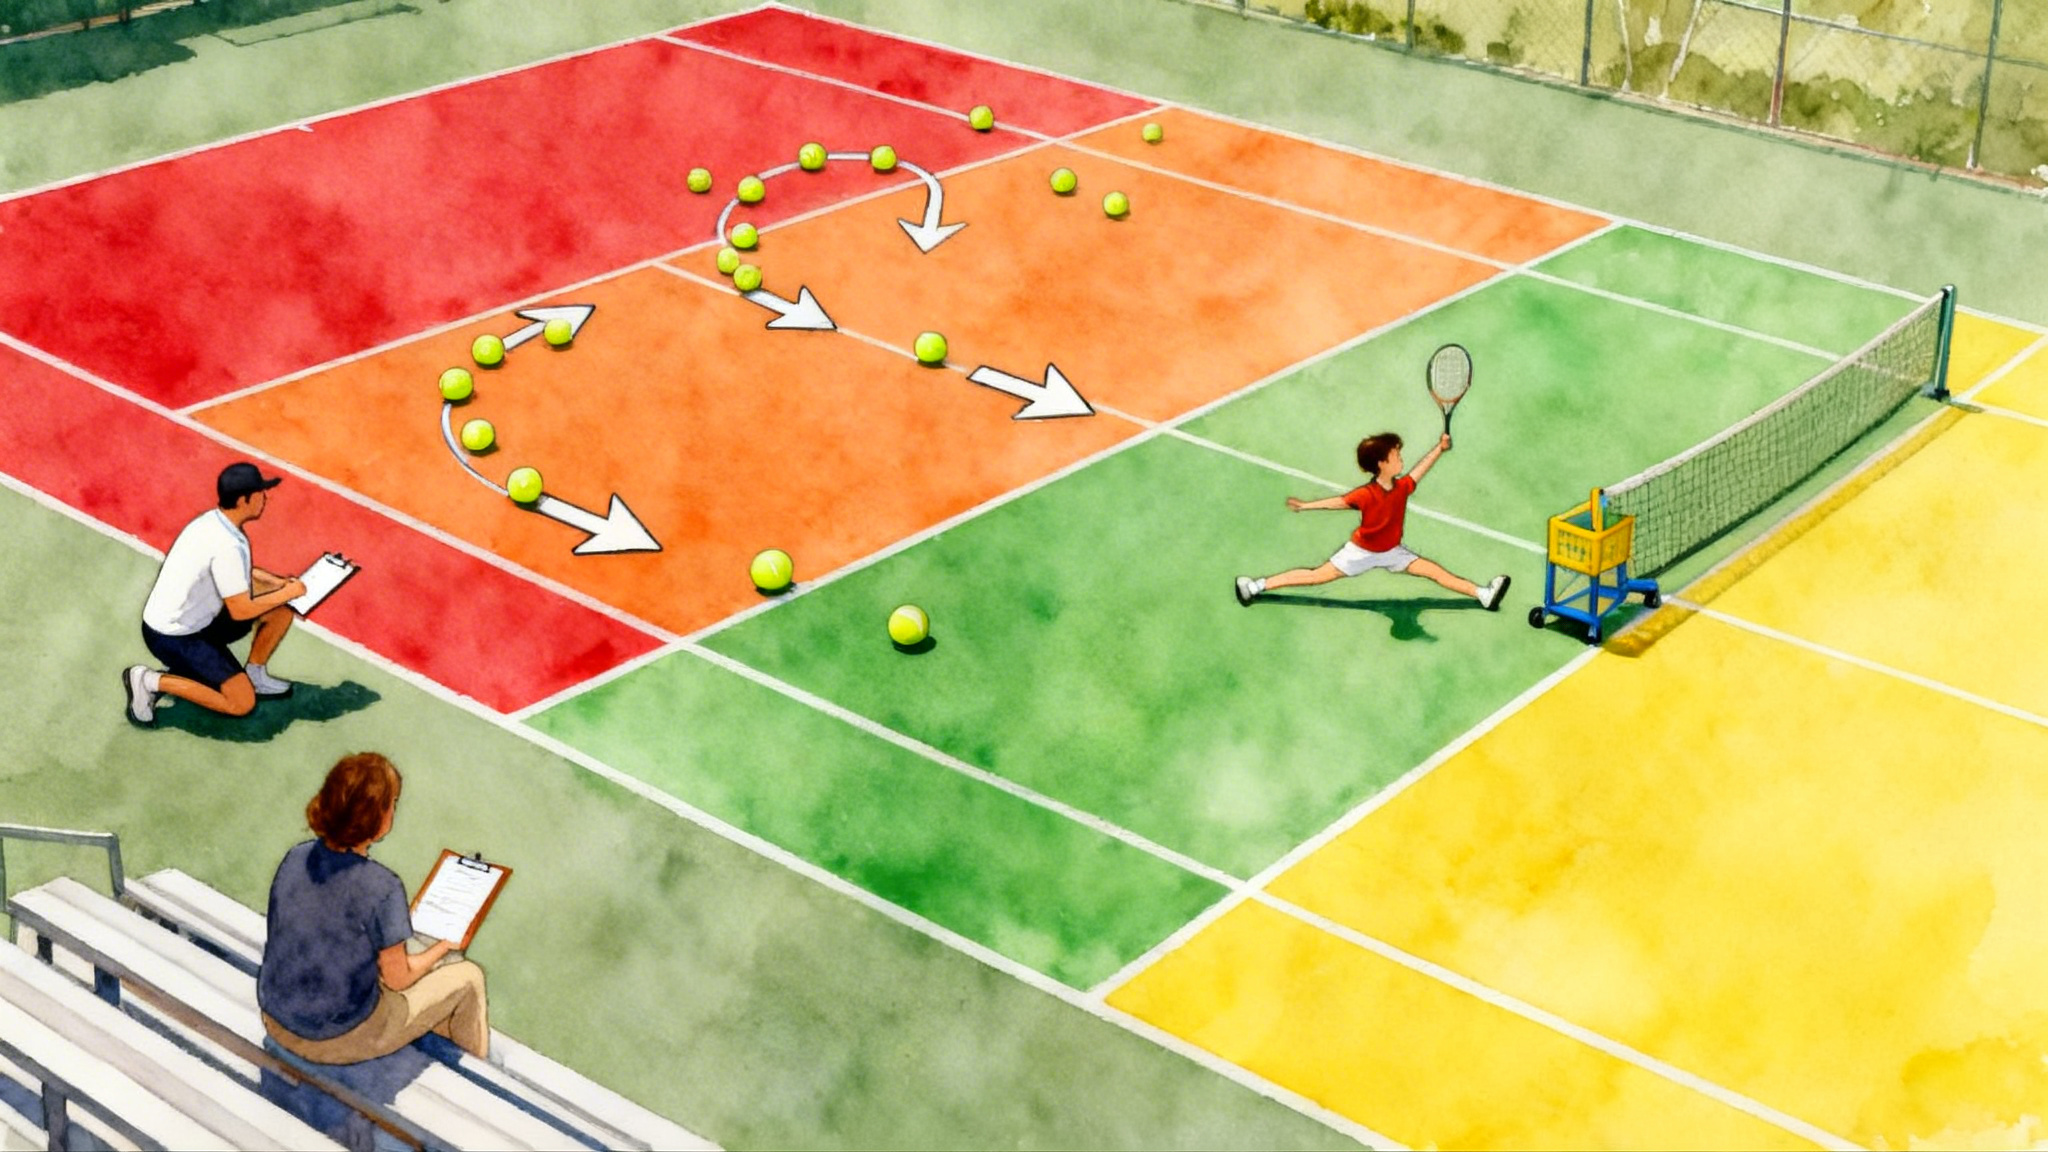
Tip: Make the target visible. Draw a box one racket length inside each corner with removable painter’s tape. Your video will show hits and misses clearly.
Calibrate your court so numbers mean something
Trust your measurements by anchoring them to real dimensions.
- Confirm net height: Center strap is 36 inches, posts are 42 inches. You can verify standard dimensions in the official rules via the International Tennis Federation court dimensions.
- Use the service line as a depth cutoff: Any rally ball that bounces beyond the service line counts as deep.
- Set targets with cones or tape: Two targets on each service box corner, one body target. On the baseline, mark a 3-foot alley inside each sideline to measure how often your direction changes stay fair.
Turn clips into a weekly drill plan
Your goal is a short list of work that fits real life. Use this five-step method each Sunday night.
- Pull three signals from tags
- One strength to weaponize, one leak to fix, one behavior to test under pressure.
- Choose two drills per signal
- Strength example: If forehand crosscourt depth was 75 percent, add inside-out plus inside-in patterns, 2 sets of 8 reps each side.
- Leak example: If first serves to the T scored 30 percent, run 50 ball block practice to targets, record first and last 10 serves to compare.
- Pressure example: If break points dipped, play first-to-three tiebreaker starts of 3 points with serve to the body only, record decisions.
- Set measurable reps and thresholds
- Example: 3 sets of 10 serves to the wide target, make rate goal 6 of 10, then 7 of 10, then 8 of 10 across weeks.
- Example: Cooperative crosscourt rally to 12 balls, then the hitter calls and changes direction on ball 13, goal is 4 successful changes in 10 attempts.
- Film the first and last five minutes
- This gives you before and after clips for the same drill. Keep these in a playlist called Week 8 Serve or Week 8 Forehand.
- Review in ten minutes
- On Friday, tag one clip good, one clip needs work, and write one sentence about why. Keep it to three sentences total. Next week starts with those notes.
Junior, parent, and adult variations
- Juniors: Keep sessions to 30 to 45 minutes. Use smaller targets first. Parents can call out simple cues like contact in front or split step now. For equipment and rally scaling, use the ball-color progressions checklist.
- Parents: If you are behind the camera, use your voice as a timing metronome. Count split steps or rally length aloud. Consistent cadence helps juniors find rhythm.
- Adults: Batch serve practice to save time. Do 3 sets of 8 to each target with 45 seconds rest. Then 10 second serves under a one-bounce rule to simulate pressure.
A simple tagging template you can copy
Create a single sheet or note you reuse every session.
Session title: Date, court, angle used
- Rallies
- Crosscourt forehand: longest rally, average length, deep past service line percent
- Crosscourt backhand: same metrics
- Changes of direction: attempts, successes
- Serves
- First serve: percent in, wide percent, body percent, T percent
- Second serve: percent in, deep percent, kick shape visible yes or no
- Pressure points
- Game points: win percent
- Break points: win percent
- Tiebreak points: win percent
- Notes
- One sentence on a strength, one on a leak, one on a test
Save this template as a pinned note. After three sessions you will see patterns.
How to read your video like a coach
Look for cause, not just the symptom.
- If forehands fly long, check contact height and finish. Often the body tilts back, finish drops, and the ball sails.
- If backhands float, check preparation. Late unit turns force a push.
- If second serves sit up, check toss alignment and shoulder tilt, then confirm racquet drop and pronation rather than arming the ball.
- If pressure points crumble, chart where you aimed. Many players default to the opponent’s forehand by accident.
To sharpen pattern recognition and timing, add these see the ball sooner drills.
Pause at contact, then roll three frames forward. Do this on five random points. You will often find the real issue before the miss is obvious.
Common filming pitfalls and quick fixes
- Wobbly video: Add a second point of contact, like a bungee around the fence, and use a sandbag on tripods.
- Busy background: Film with the sun behind the camera and avoid white walls that hide the ball.
- Zoomed in too tight: You lost the ball off frame. Always test with two rally balls before serious sets.
- Short clips only: You need whole games to learn pressure habits. Film the full set once a week.
Close the loop with Legend Tennis Academy
When your tags and drills are consistent, a single expert review can jump you forward. Legend Tennis Academy offers a structured Video Baseline session that mirrors the angles and tags in this guide. Record with your own phone, upload, and receive time-stamped comments, benchmarks by level, and a three-week plan that fits your schedule. If you cannot get to a session, send your match or practice set through our Legend remote analysis service. We review behind baseline and side angles, chart your serves by target, and build the exact weekly checklist you need.
Putting it together in one Saturday
Here is a one day sprint you can repeat monthly.
- 8:30 a.m. Setup and test: behind baseline, 60 frames per second, gridlines on.
- 8:40 a.m. Warm up and film 5 minutes crosscourt forehands, 5 minutes crosscourt backhands.
- 8:55 a.m. Film 5 minutes serves each side, targets wide and T. Tag ten first serves and ten second serves.
- 9:15 a.m. Play four games, film all. Mark pressure points.
- 9:45 a.m. Quick review on court bench. Write three notes.
- 10:00 a.m. Set three drills for the next week based on notes. Film first five minutes of the first drill.
In ninety minutes you collected angles, tags, and a plan. Next Saturday you will stack another set of data on top.
Final thought
Smartphone video becomes a coach when you make it measurable. Two reliable angles show ball flight and body shape. Simple tags expose decisions under pressure. Checklists turn guesswork into cues you can train. Benchmarks by level give you targets that fit your game today. A weekly plan converts those targets into habits. Close the loop once in a while with expert eyes, and your highlights will stop being accidents and start being your standard. That is film to feedback, and it works.