Master the Modern Forehand: Biomechanics, Drills, Cues
Turn your forehand into a reliable weapon. We explain the kinetic chain in plain language, then give step by step drills, footwork maps, and an eight week plan that builds spin, timing, and placement.
Why the modern forehand decides matches
When you watch a tour match on television, the camera spends most of its time following one shot: the forehand. Players use it to start points safely, to move opponents off the court, and to finish with pace or heavy spin. For club players, the forehand often becomes the first true weapon that changes results. It adds margin over the net without giving up depth, and it survives pressure because it rests on strong body mechanics rather than hand tricks.
This article shows you how to build that kind of forehand. We will simplify the biomechanics, translate them into drills you can do alone or with a partner, and map them to realistic patterns that win games. You will leave with a plan you can follow for eight weeks, a checklist to self-correct, and concrete cues that hold up under stress.
The kinetic chain, explained like stacking springs
Think of your body as a series of springs stacked from the ground up. Each spring stores a little energy and passes it along. The legs set the base, the hips and trunk rotate, the arm carries the stored energy forward, and the wrist and strings deliver it to the ball. If a spring in the stack is stiff or out of sequence, the shot feels jerky and weak. When the springs release in order, the racquet moves fast without strain.
Break the chain into five simple jobs:
- Feet and legs: create a stable base and a slight sit into the outside hip. This is the first spring. It sets rhythm and balance.
- Hips: coil during the unit turn, then uncoil toward the ball. The pelvis starts the rotation.
- Trunk and shoulder: rotate as the hips slow, passing energy up the chain. The chest faces the net later than the hips; that difference gives you torque without forcing it.
- Arm and forearm: carry the racquet on a relaxed path. The elbow leads the racquet handle toward contact like a courier, not a hammer.
- Hand and strings: stay loose enough to let the racquet head lag, then catch up as you brush up the back of the ball.
If you remember one image, use this: load a spring into the outside hip, turn a wheel with your hips, then let the racquet head whip past a stable contact point. That is the modern forehand in one sentence.
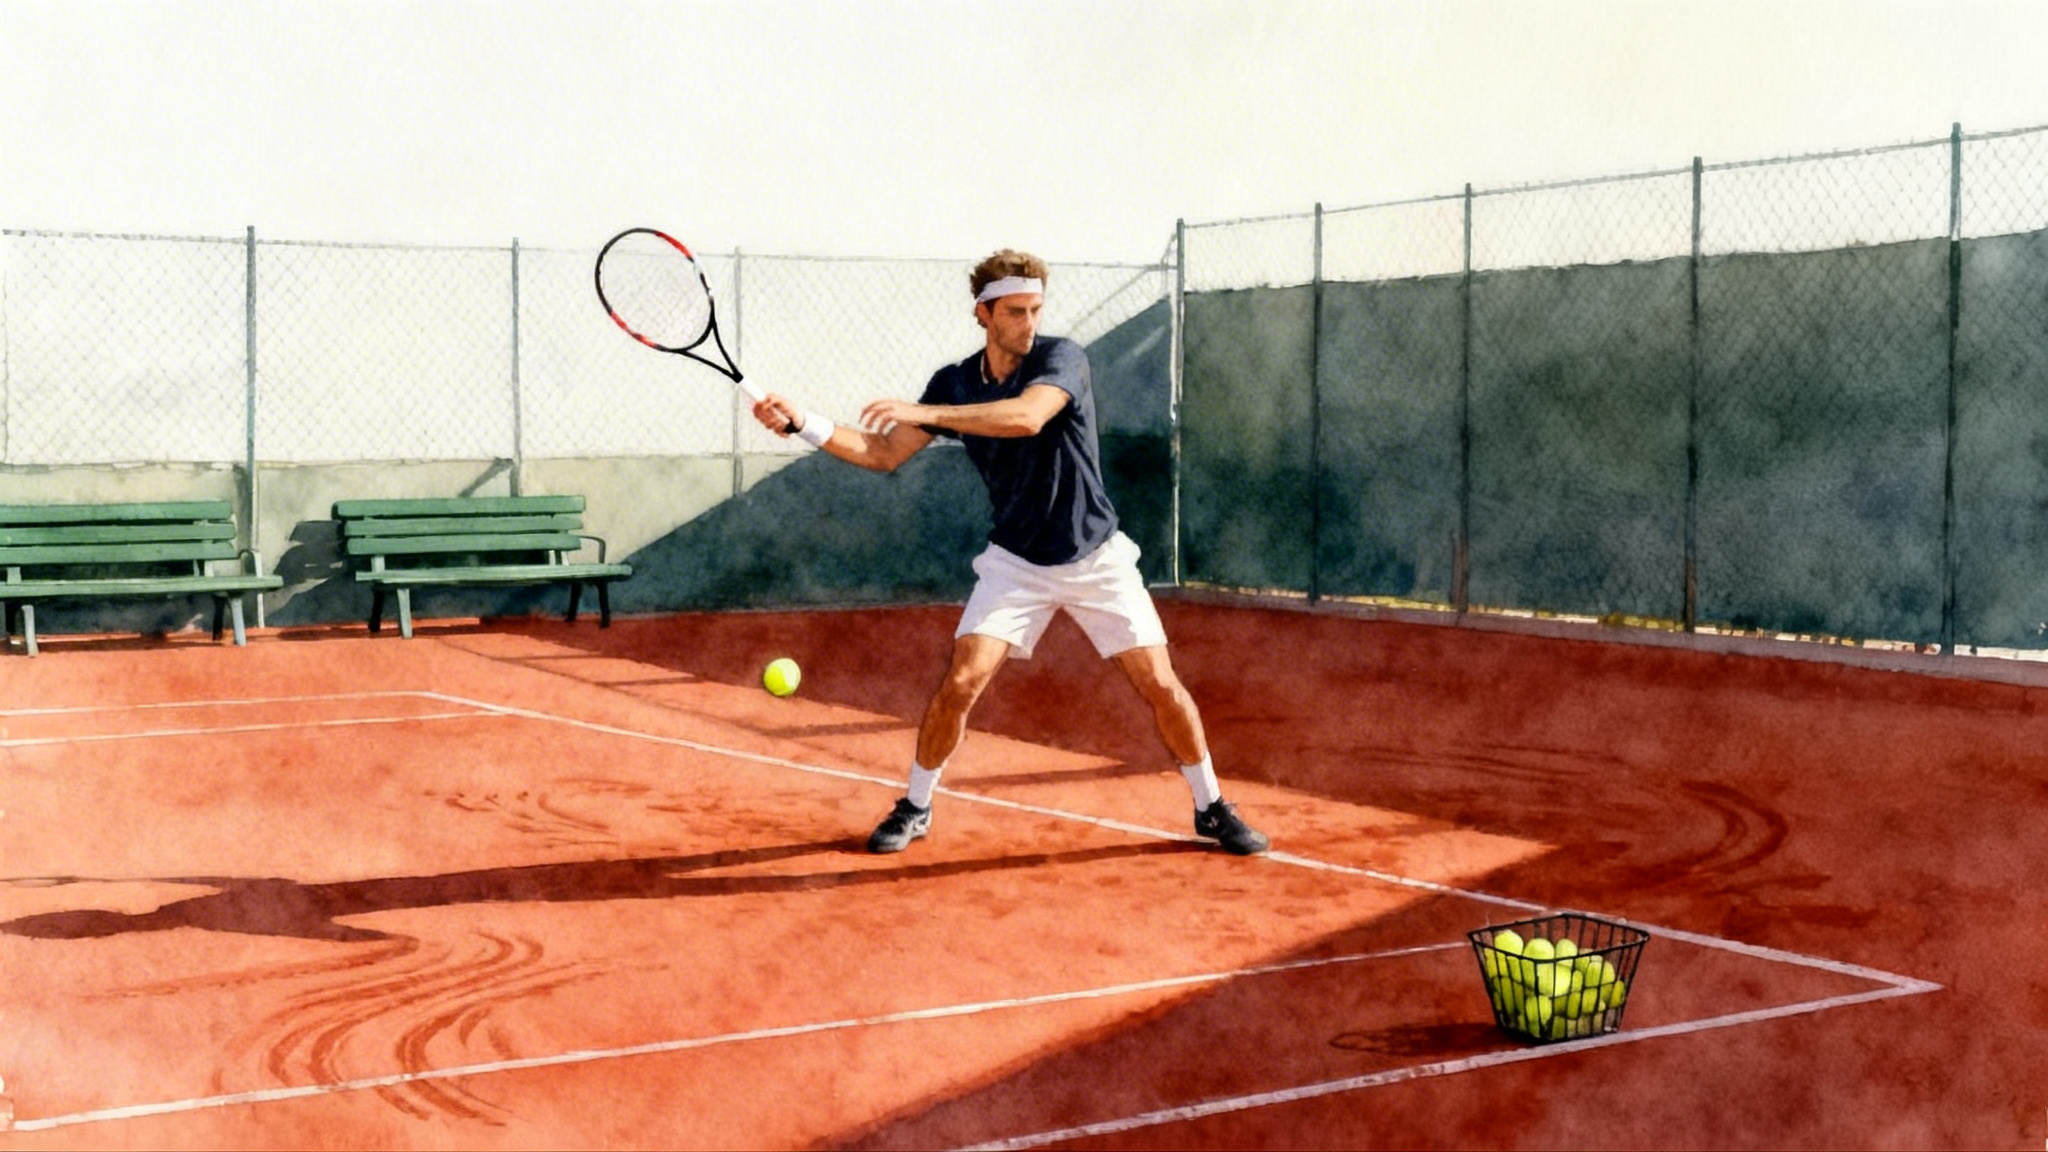
Setups that make the chain work
You can hit a great forehand from different stances. What matters is how you arrive and how you leave.
- Neutral stance: feet on a line that faces the net. This helps with line drives and approach balls.
- Semi open stance: the most common. It allows strong rotation and easy recovery.
- Open stance: useful when pulled wide. You trade some forward momentum for a quicker recovery.
The footwork is a repeatable sequence: split step as your opponent hits; adjust with small shuffles; load into the outside leg as you complete your unit turn; step or drive off that outside leg; land balanced after contact; recover on a C-shaped path back to center. Think letter shapes when you learn: a small V for the set, a J for the swing, and a C for the recovery.
The unit turn and the feel of leverage
The unit turn is when your shoulders and hips rotate together as soon as you recognize forehand. Put both hands on your racquet for the first half of the turn. This locks your shoulders and keeps the racquet in front of you instead of drifting behind the body too soon.
Two simple checkpoints create easy leverage:
- Racquet tip points to the side fence at the end of the unit turn, not straight back. This keeps the racquet on a compact circle.
- Back shoulder sits a little behind the ball line, like you are leaning into a light breeze. This is the feeling of stored energy without a big backswing.
The drop, the lag, and the brush
From the end of the unit turn, the racquet head drops below the hand. Gravity helps. The wrist is relaxed, not forced back. As your hips begin to uncoil, your hand leads, and the racquet head lags behind like a flag in the wind. Just before contact, the racquet head overtakes the hand. Your strings travel from low to high and a little inside to outside. That path creates topspin and shape. Contact happens slightly in front of the lead hip with the strings facing your target.
Let the follow through match the ball you want:
- Windshield wiper finish for heavy crosscourt rally balls.
- Across the shoulder for a higher, looping ball that buys recovery time.
- Around and lower across the ribs for a flatter inside out drive.
Five field tested drills that build real skill
You can build a reliable forehand with drills that isolate the right feel. Each drill adds one spring to your stack.
- Fence brush
- Stand one racket length from a chain link fence. Shadow swing slowly and brush the fence with the top two crosses of your strings. No slapping. Five sets of ten slow swings, then five sets of five faster swings.
- Goal: feel a low to high path without pushing the racquet behind your body.
- Drop hit ladder
- Drop the ball with your non hitting hand and hit three balls in a row with rising targets: net strap height, top of the net, then one foot above the net. Repeat on the deuce and ad courts. Five ladders per side.
- Goal: control trajectory with your path, not your wrist.
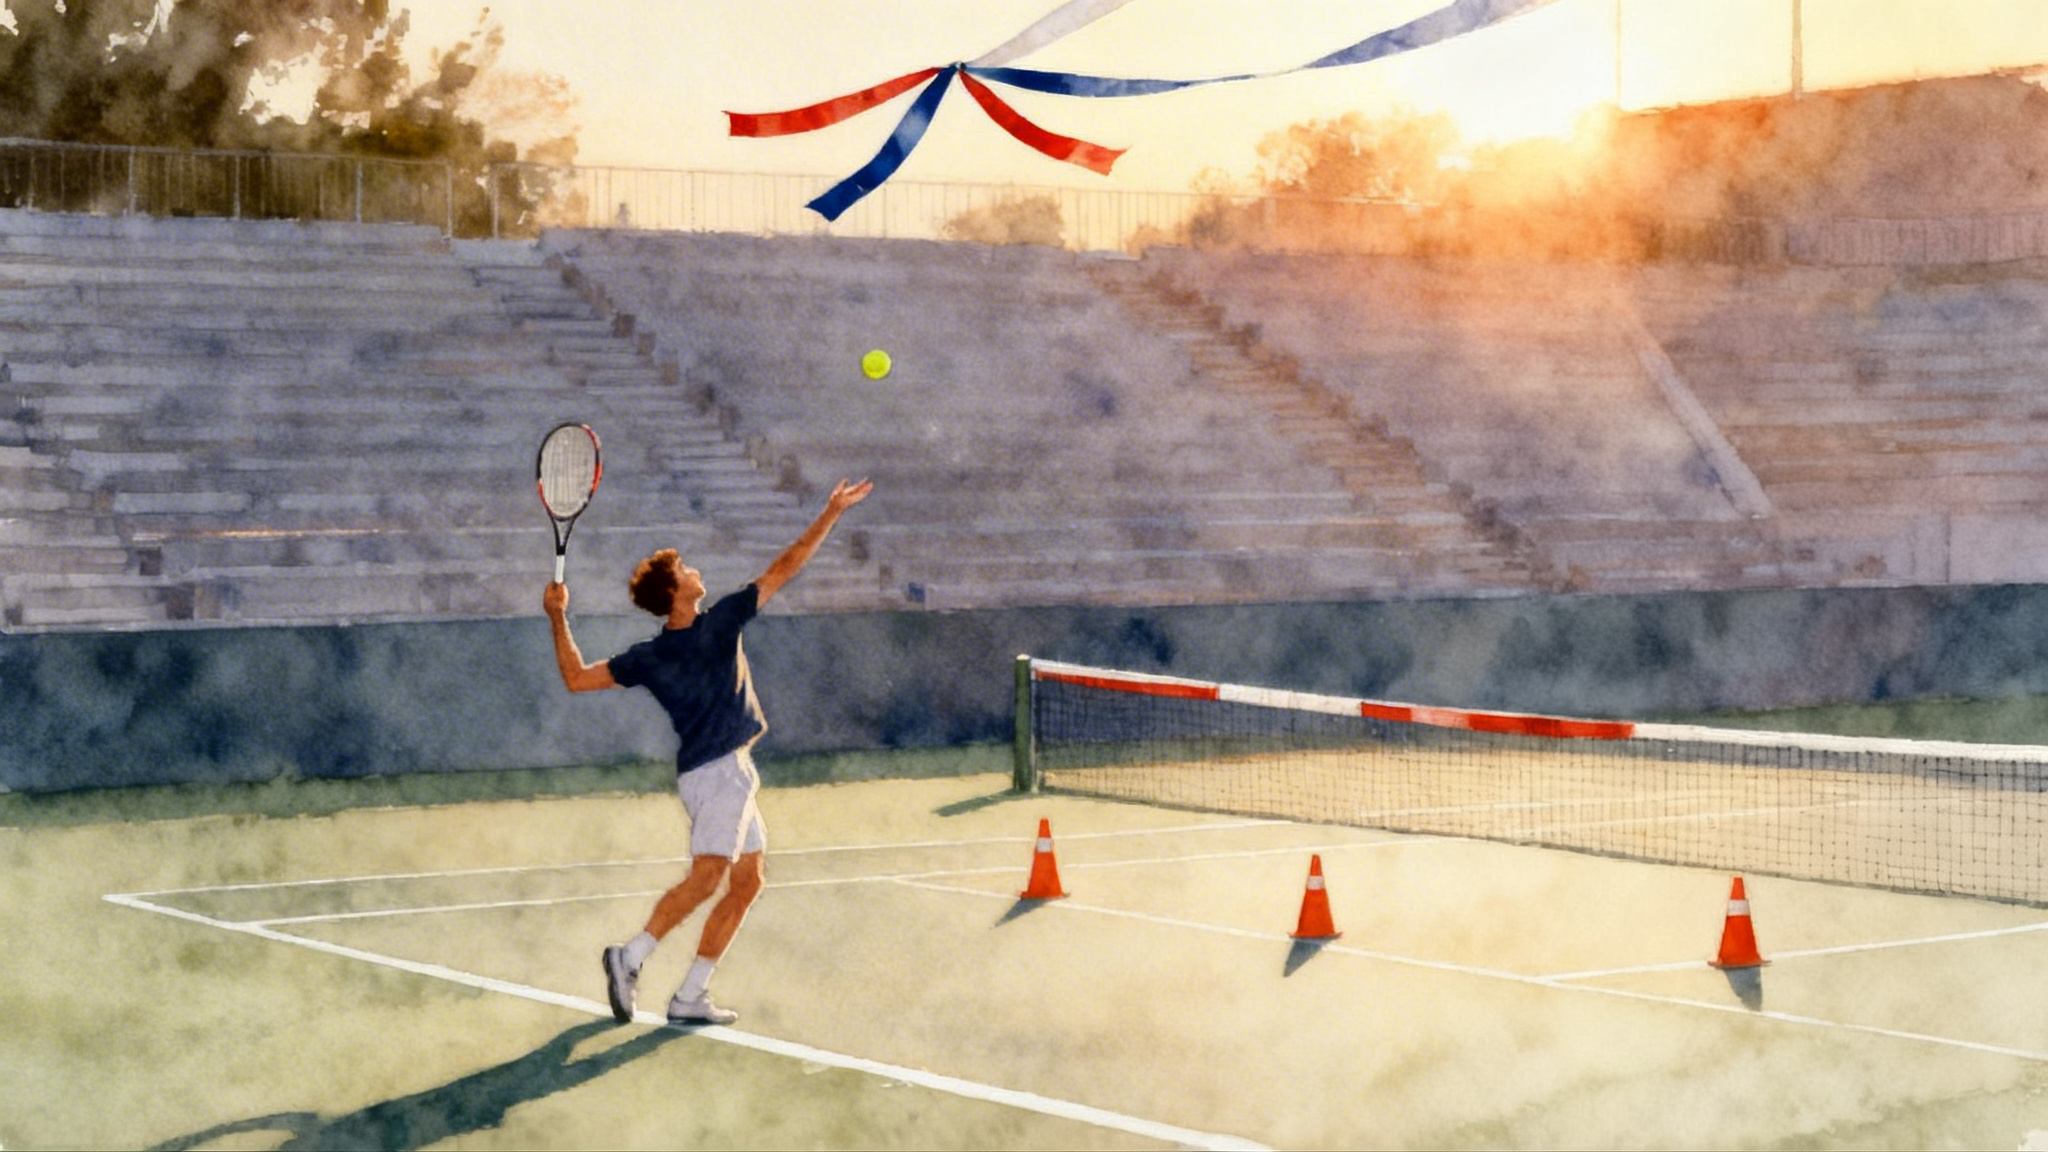
- Cone gates for direction
- Place two cones five feet apart down the middle and two cones five feet apart near the deuce corner. Rally with a partner or feed yourself and alternate targets through the middle gate and the corner gate. Ten balls per set, four sets.
- Goal: learn to change direction only when you are on balance.
- Inside out runway
- Place a strip of tape or chalk line diagonally from your backhand corner toward the deuce sideline. Start from the middle, step around to the backhand corner, load on the outside leg, and drive an inside out forehand that lands crosscourt. Recover back on the same runway. Three sets of eight.
- Goal: efficient footwork into and out of the inside out pattern.
- Three ball plus one
- Server or feeder sends three neutral crosscourt balls. You rally them crosscourt with height and spin. On the fourth ball, you attack line or inside out to a cone. Rest, then repeat. Six rounds.
- Goal: patience for three, precision on one.
Pattern play that wins at any level
-
Crosscourt first, then change once: Rally four balls crosscourt to build rhythm and court position. Change direction only on a slower or shorter ball. This respects geometry. The crosscourt gives you a higher net and more court to land the ball.
-
Plus one pattern: Serve wide on the deuce side. Expect a shorter reply into your forehand. Step in and drive inside out to the open court. If the return is deep, repeat the crosscourt rally until you can change safely. You can sharpen the serve foundation with our kick serve guide.
-
Inside in after inside out: If your opponent starts to camp in the backhand corner, take the next ball early and go inside in down the line. Recover fast. You just asked more of your balance, so keep your finish compact.
Equipment choices that support mechanics
Racquets and strings do not swing for you, but they can make your mechanics easier to repeat. A few grounded tips:
-
Racquet weight and balance: Many players do best with a frame in the 300 to 315 gram range unstrung and a head light balance. Brands like Wilson, Babolat, and Head offer frames in this middle ground. The added stability keeps the racquet from twisting on off center hits without tiring your arm.
-
String type: Polyester strings can enhance control, especially for players who swing fast and create topspin. Multifilament strings are softer and add comfort. If you are new to polyester, start with a hybrid that pairs a polyester main string with a softer cross. String tension shapes feel. Lower tension increases comfort and spin potential while higher tension tightens the response for flatter drives.
-
Grip: Make sure your overgrip is fresh so you can relax your hand. A slippery grip invites tension, which kills the racquet head speed you need for spin.
If you want a focused training block with clay-court reps and small-group attention, consider a week at Ljubicic Tennis Academy.
Test one variable at a time for two weeks. Record where your forehands land and how your arm feels the next morning. Comfort and repeatability beat small gains in raw pace.
Measure what matters without fancy gear
Feedback turns practice into progress. You do not need laboratory equipment to get it.
-
Use your phone camera at 120 frames per second if available. Place it behind the baseline on a small tripod at waist height. Film five minutes of crosscourt forehands. You want to see the racquet drop, contact out front, and a consistent finish.
-
Mark Targets with cones or chalk. Track how many out of twenty land in a two by two meter box crosscourt and down the line. Repeat weekly. If your percentage in the box rises while your swing stays relaxed, you are on track.
-
Listen for sound. A clean brush has a longer, lower whoosh than a slap. This is not poetry. It is a cue your ears can learn.
-
Note recovery steps. After contact, do your feet stutter and get stuck, or do you glide on a small C back to center? Good recovery is part of a good forehand because it keeps you ready for the next ball.
If you like tech, racket mounted sensors and video analysis apps can add layers of data. Use them to confirm the basics rather than to chase perfect numbers.
Common faults and simple fixes
-
Late contact: If balls sail long or float, you may be late. Fix by starting the unit turn as soon as you read forehand. Count “turn, bounce, hit” out loud. Practice the drop hit ladder and force yourself to meet the ball in front of the lead hip.
-
Wrist slap: If your hand and wrist do the work, you get a harsh feel and erratic spin. Fix by softening your grip pressure to a three out of ten. Think elbow leads the handle, strings brush the ball. Use the fence brush drill to retrain path.
-
Over rotation: If your chest faces the side fence at contact, you spun too far. Fix by keeping your head quiet and your front shoulder slightly closed at contact. Place a cone at your front hip. Feel your hand pass the cone before your chest fully opens.
-
Open racquet face: If balls sail high and deep, your strings may face the sky. Fix by aligning your forearm and racquet on a slight forward tilt at contact. Shadow swings with a coin balanced on the strings teach a square face.
-
Falling backward: If you hit while drifting away, your shot loses weight. Fix by loading on the outside leg and feeling pressure move into the ground under the lead foot at or just after contact. Film your feet for proof.
Coaching cues that hold under pressure
Cues work best when short and physical. Use one at a time.
- Sit then turn: reminds you to load the outside leg before you rotate.
- Hand leads, head whips: keeps the arm relaxed and the racquet lagging.
- Brush the outside seam: promotes an inside to outside path for spin.
- See the ball, freeze the head: stabilizes contact.
- Finish early, recover now: stops you from admiring the shot.
An eight week plan you can trust
This schedule assumes three days per week. Sessions last sixty to seventy five minutes. If you are a beginner, slow the feeds and shorten the boxes. If you are advanced, shrink the targets and add pace.
Week 1 to 2: Build the path
- Warm up: five minutes of shadow swings, then fence brush, five by ten.
- Footwork: split step timing with mini tennis, three sets of twenty balls.
- Drills: drop hit ladder, five ladders per side; cone gates, four sets.
- Finish: film five minutes from behind and review two checkpoints.
Week 3 to 4: Add rotation and direction
- Warm up: unit turn with both hands on the racquet, twenty shadow swings.
- Drills: inside out runway, three by eight; crosscourt rally to two by two meter box, five sets of ten balls.
- Pattern: plus one serve and forehand, eight rounds.
- Finish: recovery C path footwork, three by ten shuffles.
Week 5 to 6: Layer decision making
- Warm up: split step and first step burst, three by ten.
- Drills: three ball plus one, six rounds; random feed direction changes, four sets of twelve balls.
- Pattern: crosscourt first, change once, six games to seven.
- Finish: serve plus forehand plus volley, three by six points.
Week 7 to 8: Pressure and polish
- Warm up: target ladder at net strap, top of net, one foot above, three ladders.
- Drills: ten in a row rule. If you miss, restart the set. Do this for crosscourt, then for line.
- Pattern: inside out then inside in, eight rounds. Film two rounds for tempo and balance.
- Match play: two sets of short sets to four games starting each game with a serve plus forehand pattern.
Between sessions, write a two line note: what your best cue was and what miss showed up most. In week eight, compare your first video to your latest. Your swing should look calmer, your contact point a step farther in front, and your follow through more consistent.
Practicing alone when partners are busy
-
Wall sessions: draw a chalk box two meters wide and one and a half meters high. Hit one hundred forehands that land in the box. Move two steps closer and repeat. The wall tells the truth.
-
Ball machine settings: medium speed, moderate topspin, and a feed to your forehand corner. Program three neutral balls crosscourt, then one short ball to attack. Machines like Slinger Bag make it possible to practice this pattern on your schedule. Bring a recovery plan, not just a bucket of balls.
-
Target circles: place three hula hoops crosscourt at different depths. Hit ten balls to each without rushing. This builds depth control without obsessing about the line.
If you need a year-round base with consistent court access, our Austin Hill Country Tennis guide outlines smart options.
When the best play is not a forehand
A strong forehand does not mean every ball becomes a forehand. If you move so far that you expose the backhand side of the court, your opponent will find it. Defend crosscourt when pulled wide. Absorb, reset, and recover. Wait for the next short ball before you take the inside out run again.
Bring it all together
The modern forehand is not a mystery. It is a chain of simple parts that you can feel and train. Use the spring stack image to guide your body. Use the five drills to engrain the path and the sequence. Use the patterns to win more points without forcing low percentage shots. Measure your progress with video, cones, and honest notes. Repeat the plan for eight weeks and then repeat it again with smaller targets and fewer bounces between contacts. The result will not be a fragile trick. It will be a shot that stands up on a windy day, late in a long match, against a real opponent who wants the same thing you do: control of the point. The player who controls with the forehand usually gets it. Make that player you.